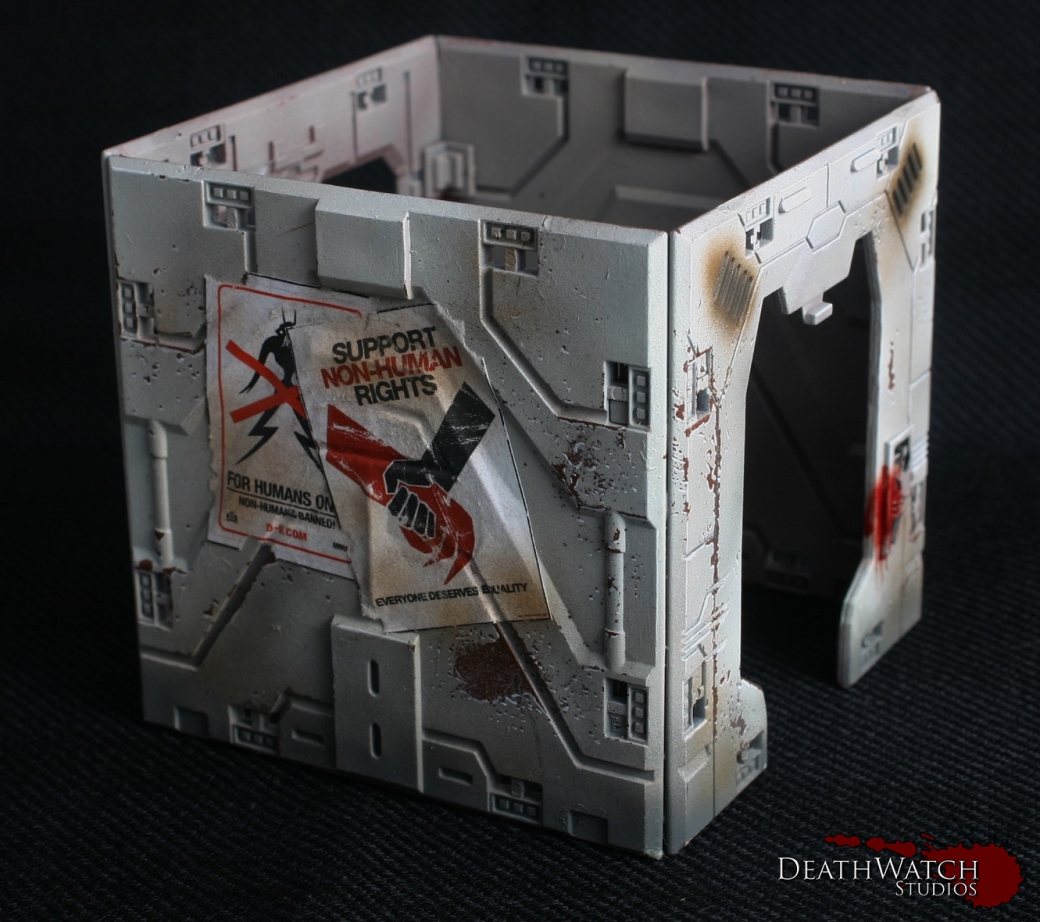
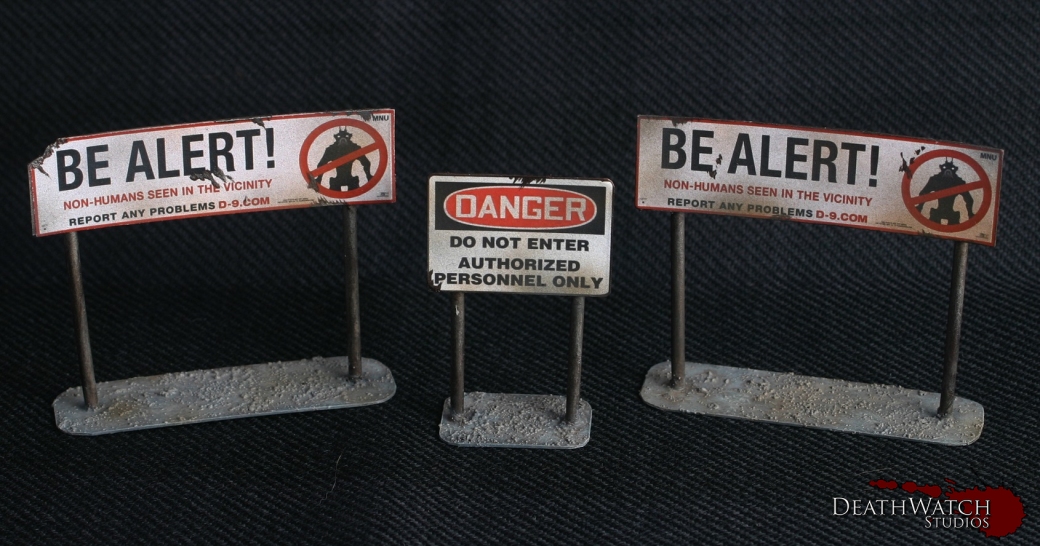
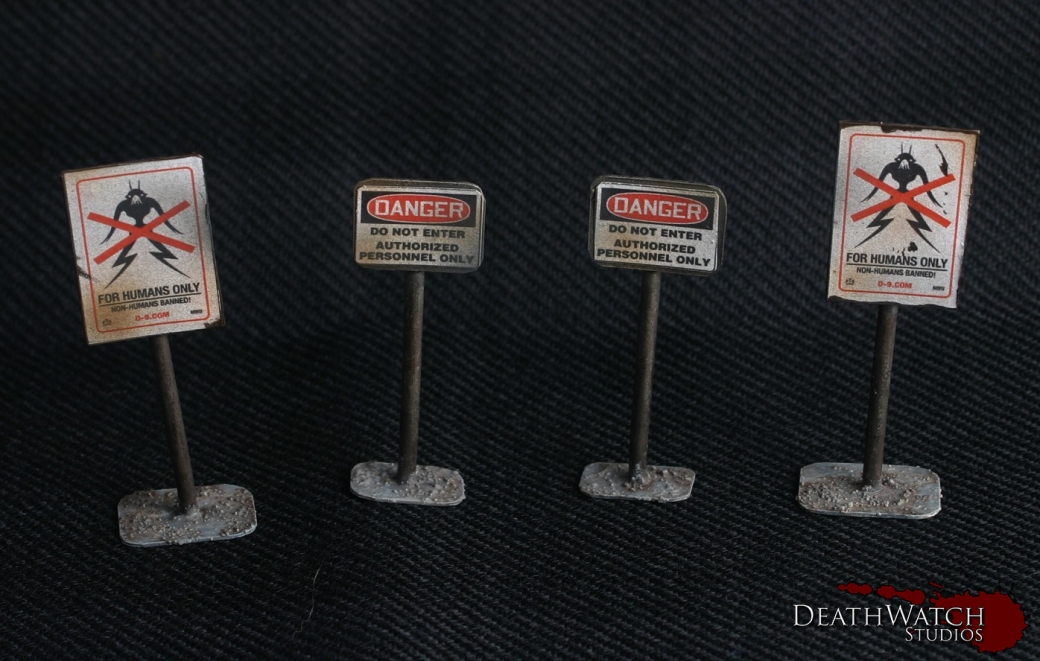
Over the weekend I decided to try something a wee bit different to add a little extra character to the Deadzone terrain, signposts and posters 🙂
The posters have I had not seen done before(until this weekend that is, when a few images were spotted on the Containment Protocol facebook page) I wanted to supply a wee bit of knowledge as to how to do it. First things first you need some images, I scoured the web looking for appropriate designs and cam up with a fair amount…
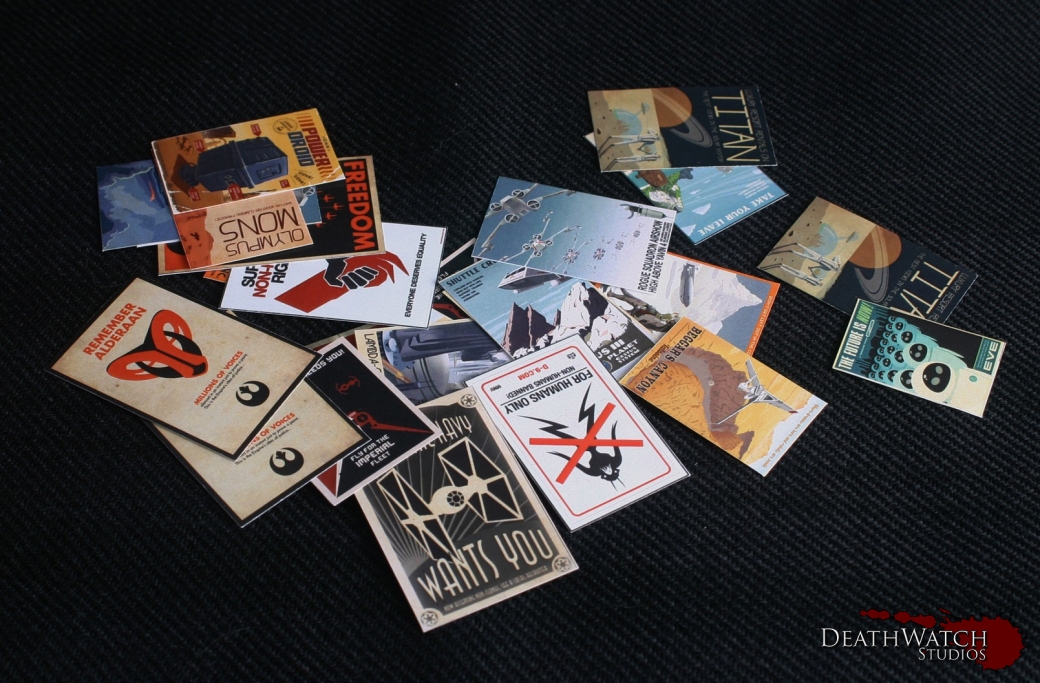 These will keep me going for a wee while 🙂
I know there is also a fantastic resource on the aforementioned facebook page in the files section (Kudos to Mr Patterson for those :)), in the form of a pdf filled to the brim with great designs.
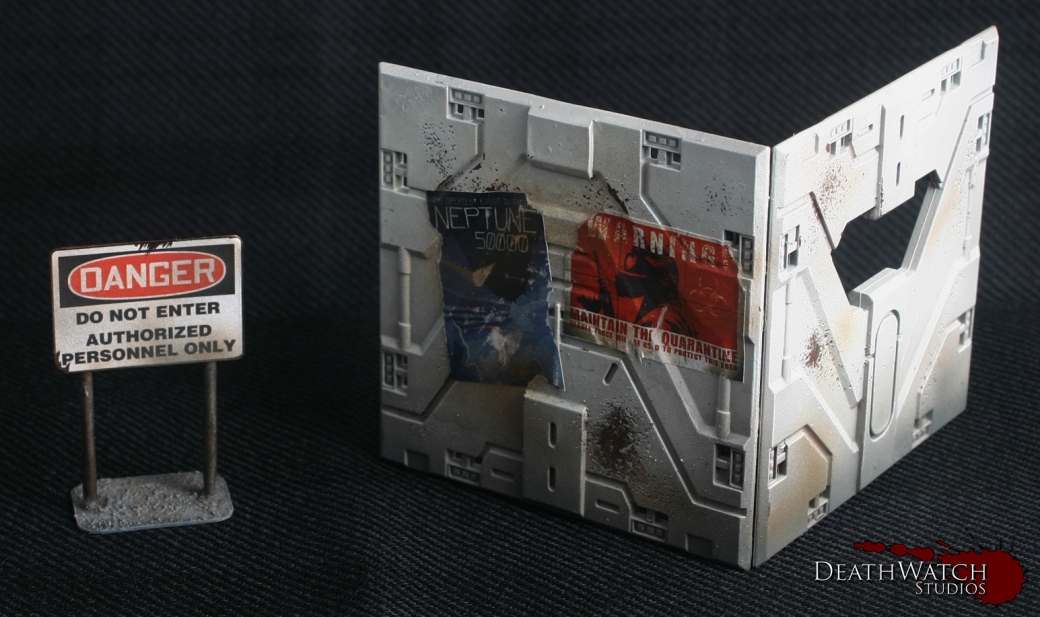
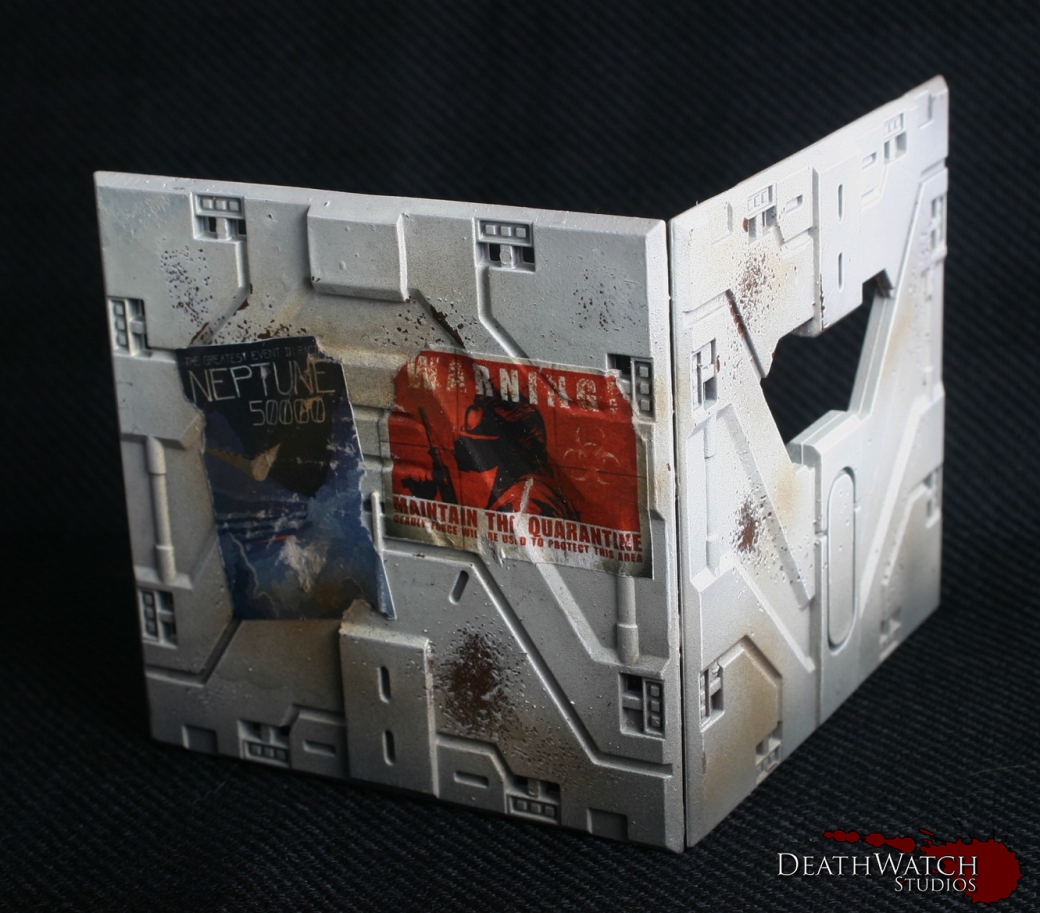
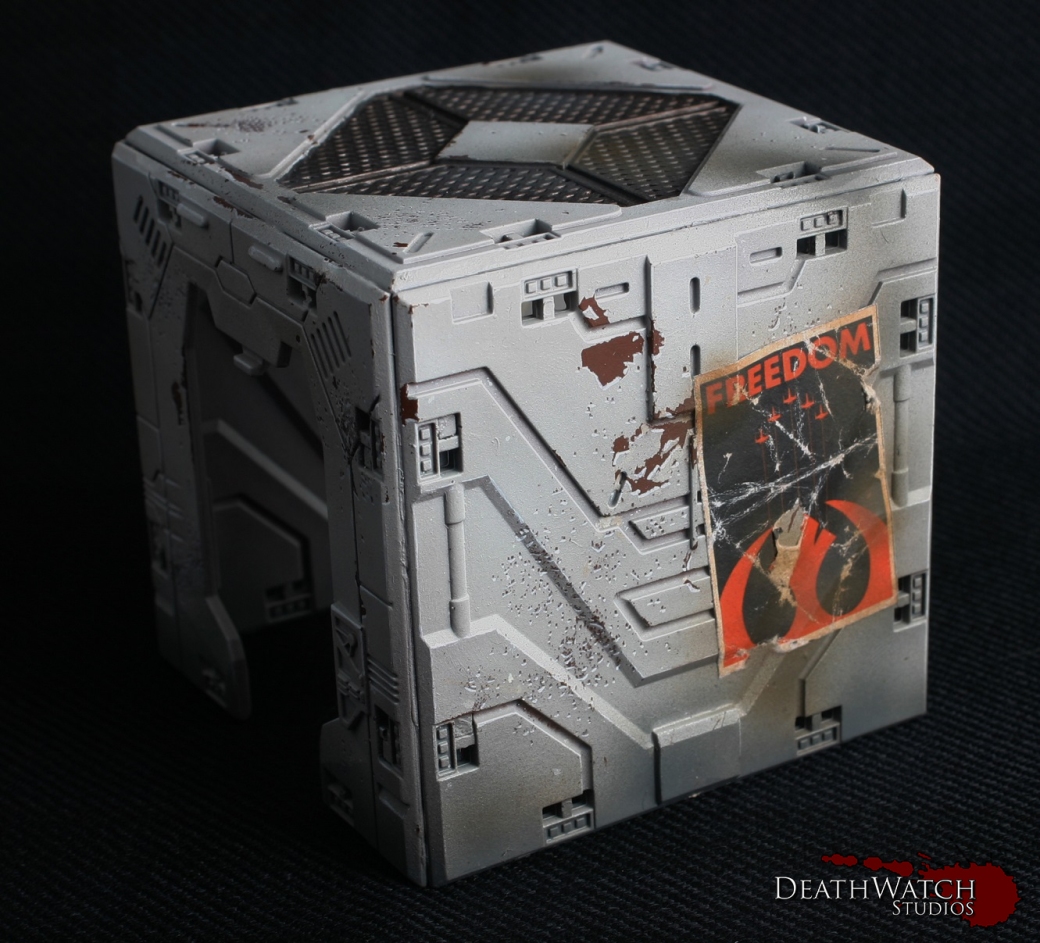
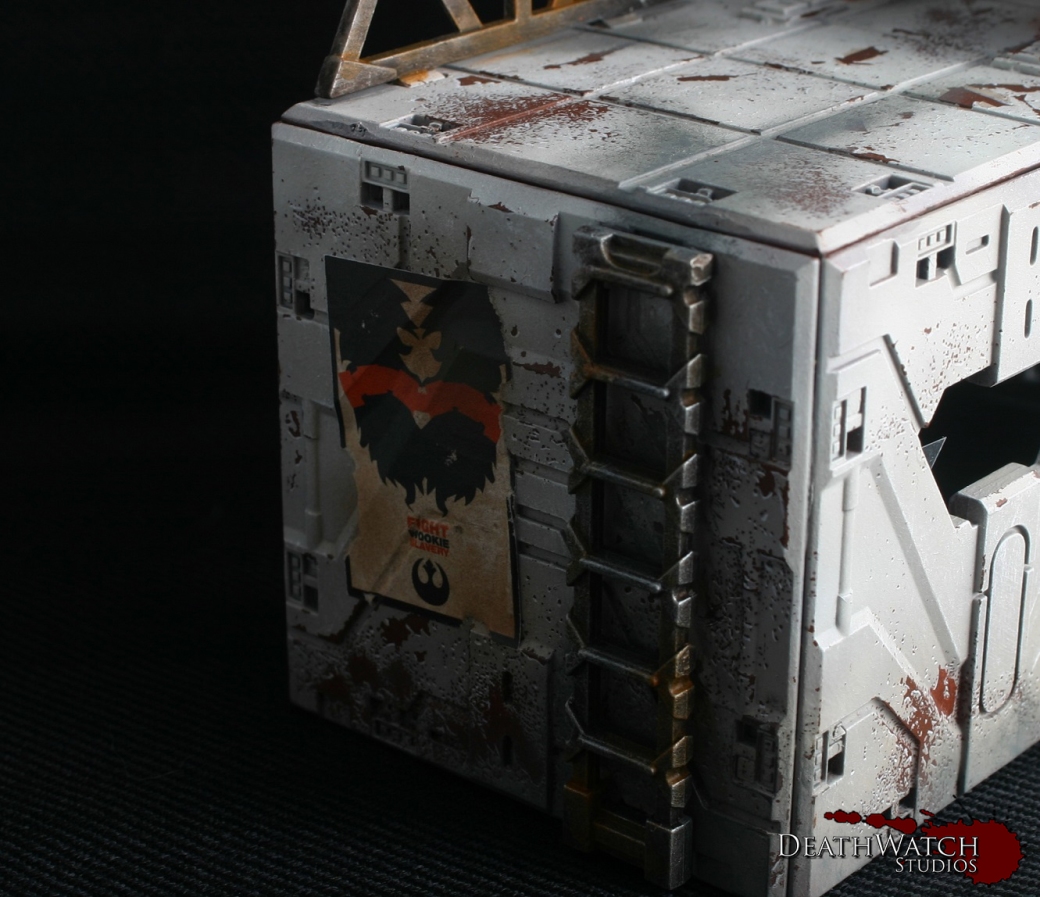
Once these have been scaled and printed they were carefully cut out in preparation for applying. Before sticking them on I distressed them a little by either scrunching them up then flattening again or by tearing small sections from around the edges. To stick them on I gave it the old dry run, figuring out where a poster would go before any stickiness was applied. Once I had found the right location I affixed them in a paper mache style. I got a small tub and mixed some pva with water, at least 4 parts water to 1 part pva, dipped the poster in and scraped off any excess liquid. This was then applied to the area I wanted it and smoothed down, then left to dry. Here’s how they look…
The next thing I wanted to try out was some signs, primarily to add that touch of character I was talking about but also to give a few extra pieces of cover. These where made from a thing sheet of plasticard, some plastic tubing and the similar printouts to the posters. I started by cutting out and measuring the poster bits and cutting a section of plasticard to the same size. I then cut two or one(depending on the size of the sign) sections of plastic tubing out and glued these to the backs of the section of plasticard, making sure they were level at the bottom. The next bit to make was the base, I cut another section of plasticard this time winging it on the size but just making sure it was roughly the same length as the sign but deeper. Once cut I glued the sign to this. Once dry I then applied a coat of GW Astrogranite over the base to give it some texture.
Once all of that was dry it was onto painting them. I undercoated the whole thing black and used the following paints for each section:
Sign: Drybrush of Warplock bronze
Drybrush of Leadbelcher
Agrax Earthshade wash
Base: Coat of Mechanicus Standard Grey
Drybrush of Codex Grey
Drybrush of Fortress Grey
Drybrush of Terminatus Stone
Coat of extremely watered down Dryad Bark
I left all that to dry and then aplied the sign decal in exactly the same fashion as the posters, with watered down pva glue. Then applied a wee bit of weathering by adding some scrapes with Warplock Bronze and a few very light drybrushes of a 1:1 mix of Dryad Bark and XV-88, and another few light drybrushes of Mechanicus Standard grey, here and there. That all gave me these…
