I’ve been working through getting all the terrain painted up for my set of Deadzone and wanted to give everybody a run through as to how I have been doing it from start to finish. This first part will be focusing on the main colour whilst I will be doing another couple of parts later on this week on the rest of the main colours as well as some of the detailing.
Construction: Before starting the painting I chose to glue all of the buildings, barricades and structures together. Whilst the clips are a useful idea ie being able to dismantle terrain after each battle/build them in different configurations, I felt this would be far too time consuming as well as leading to damaged clips needing replaced on a regular basis. Whilst I still used the clips in most instances to add some strength in areas, some sections where just glued on where there was enough support already (ceilings primarily). The only sections I didn’t glue together were each story of multi story structures. This allowed a bit more flexability when playing games, if for instance someone wanted to place a model inside, they didnt have to squeeze them through a window or door.
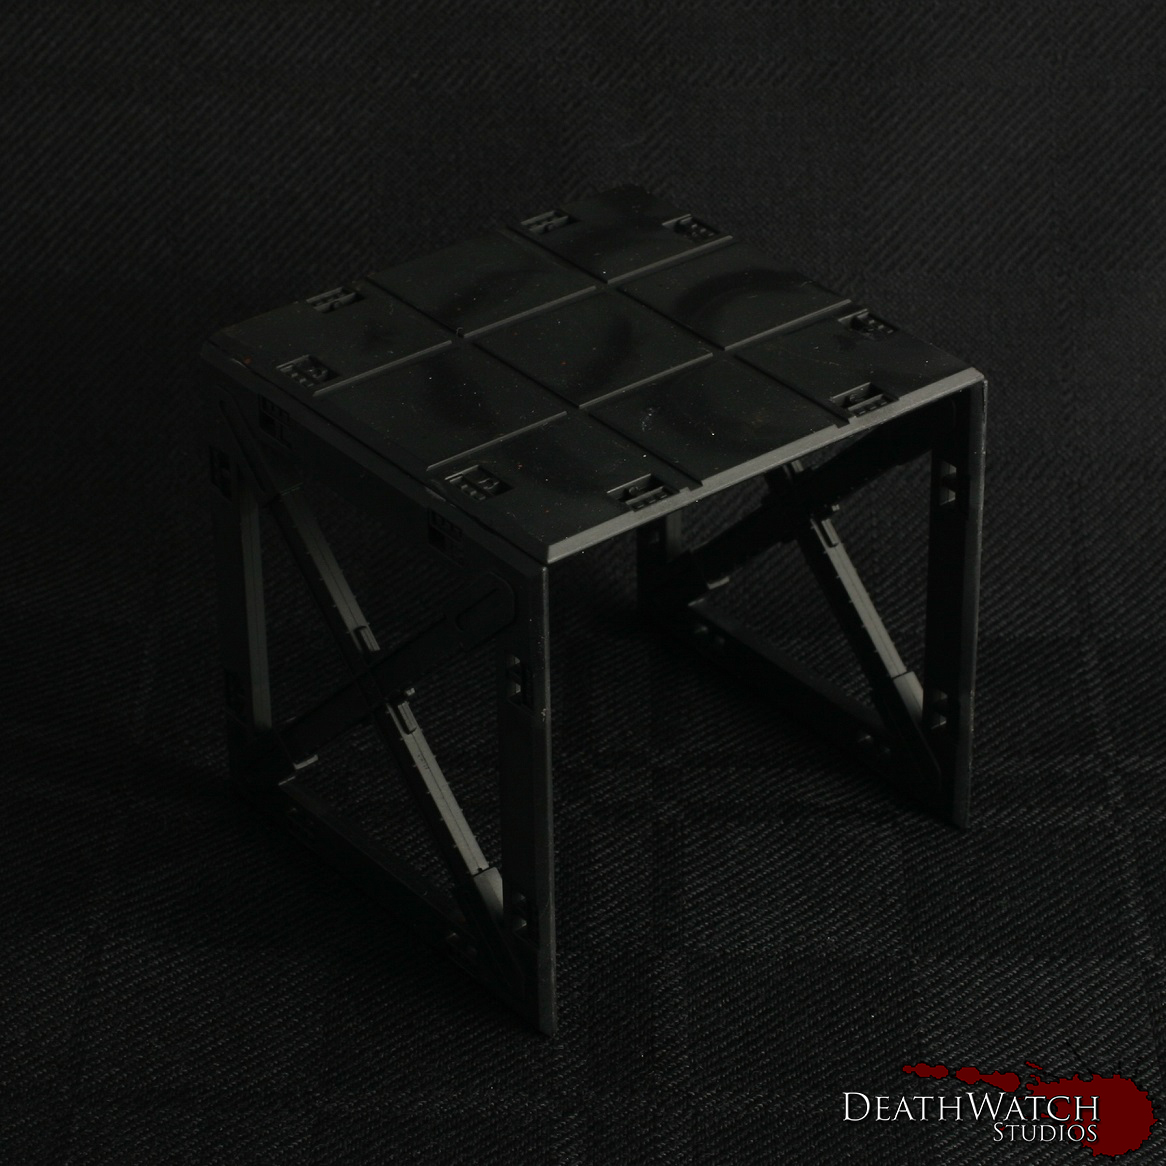
Painting: The first stage in getting the buildings painted up was an undercoat. I went with black:
Once this had dried I applied a couple of coats of Doombull Brown until I had a nice flat colour all over:

This is were I began the saltmasking, a technique I’ve used on all of my Rebs and a fair bit over the last few months. The first tutorial I used to get some help with this was found on Youtube, and you can see this here. I also found Whitewolves blog entry for this fairly useful, especially since it was the same kit.
The way I’ve done it was to give the terrain piece a healthy coat of hairspray (just a bog standard, cheap can from the supermarket), and sprinkle some salt over the areas I was looking for the weathering:

I usually left this to dry for at least a couple of hours, just to be sure, but once dry its onto the top coat. This is were an airbrush comes in very handy and I would maybe even go so far as to say it is essential. You need very thin coats on top of the salt in order for you still to be able to remove it easily. So with airbrush in hand I gave the whole thing a coat of Rakkarth Flesh:
This gives the main base colour, but to add a little more definition I then added a highlight coat of Menoth White Highlight but just over the top half of the terrain piece and at a 45 degree angle:

Removing the salt is a fairly easy process, all you need is a mug of hot water and a light brush. The first step is to paint a coat of water over the whole of the model very gently and leave to soak in for a few minutes. Following this it’s a case of wetting the brush and lightly going over the areas where you can see salt. It should start to lift off fairly easily. For some more pronounced areas of chipping you can use a harder brush, such as a drybrush, to brush away the paint rather than just relying on the salt to give the effect. Most of the larger areas you’ll see on my terrain were created by doing this.
Once you have the desired areas taken away it’s worth leaving the model to cool and then give it a quick rinse under the tap. This helps clear away any residue left over by the process.
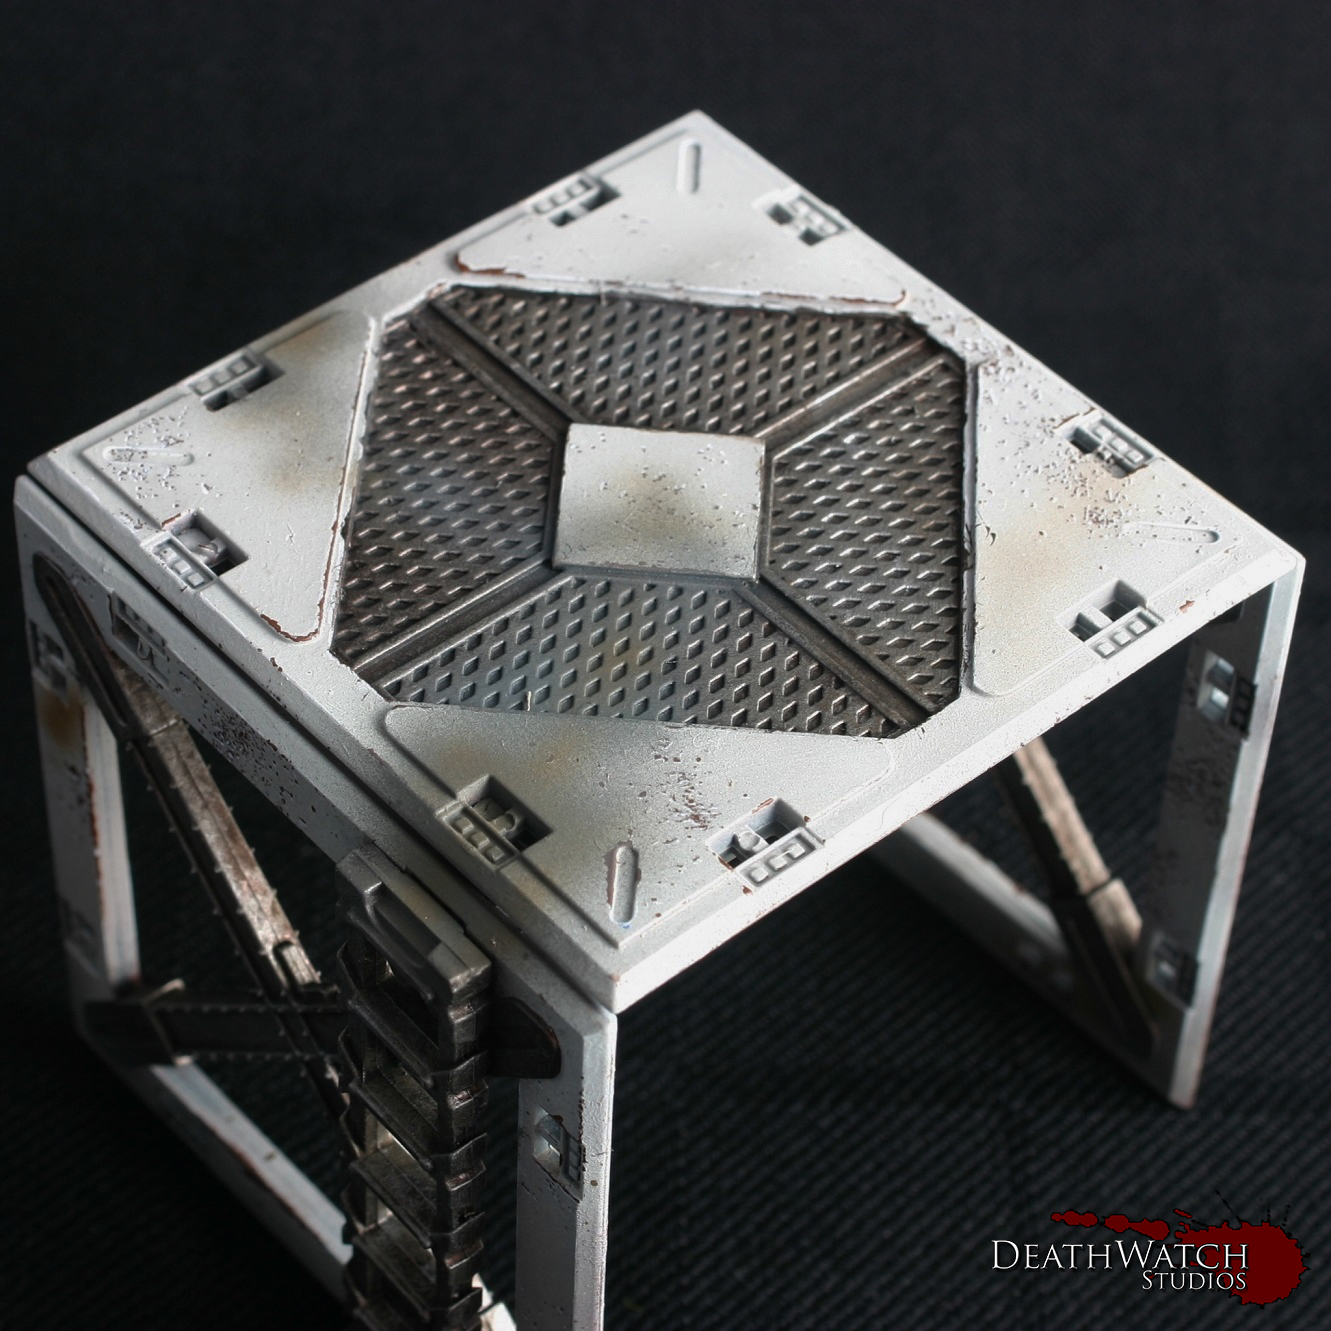
Once all that was done I ended up with something that looks like this:

The next stage is to make it look a little nicer with some highlights. Using Ceramite white I gave it a fine edge highlight along the top of all the hard edges. Also to give a 3d effect to the paint chips I added a highlight to the bottom edge of each wee bit. This can take a wee while, but the effect you get from it is definitely worthwhile, and if your doing salt masking I would say essential. This is how it turned out:

As you can see it really enhances the whole look 🙂
The next stage was all of the metals. To start them off I gave them a good basecoat of Warplock Bronze:
Which was followed by a drybrush of Leadbelcher:
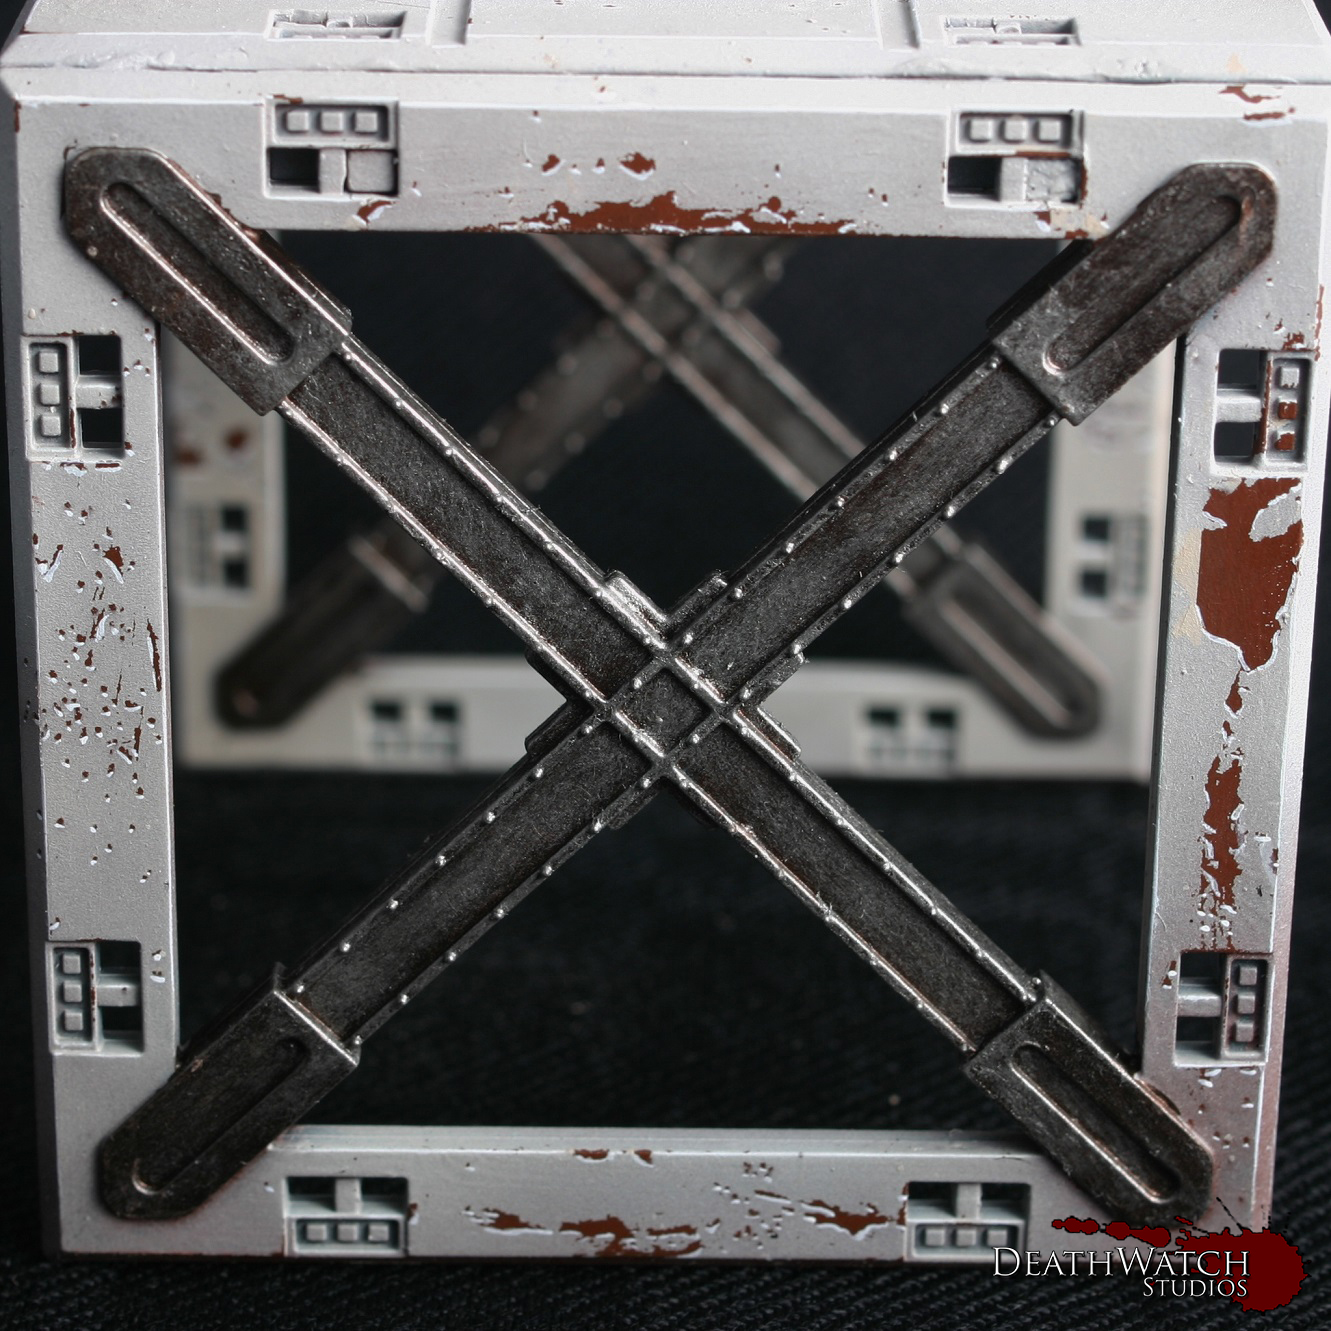
To finish this off and tone it back a little it was then given a wash of Agrax Earthshade.
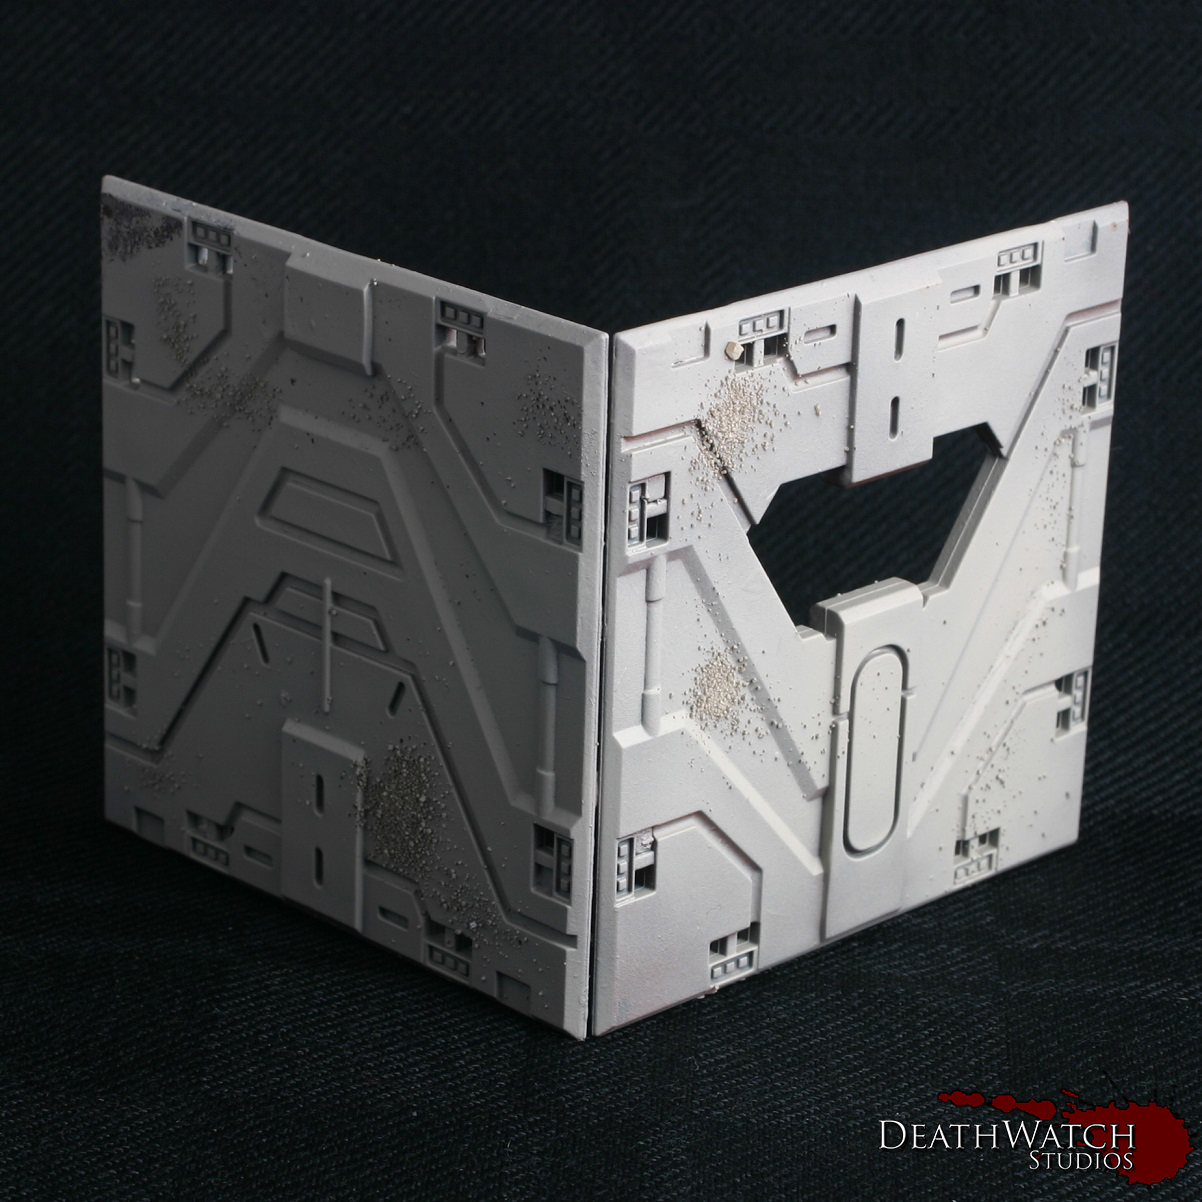
At this stage the bulk of the work is done and the terrain looks pretty good, but to really make it pop there was a few bits of detailing still to add. The first of these was a little bit more airbrushing, although drybrushing would certainly work just as well for them. I started by giving them a light dusting of Mechanicus Standard Grey along any section that would be touching the ground, this was to represent general dust and dirt kicked up around the buildings. The second was a dusting of XV-88 mixed with a little Dryad Bark sporadically over the terrain to add to the grimy, used nature of the buildings:

A also used the same colours and effect on the tops of some of the terrain and the walkways to try and show the areas in which troops would have been moving about and the dirt and grime from there boots has dirtied the ground:
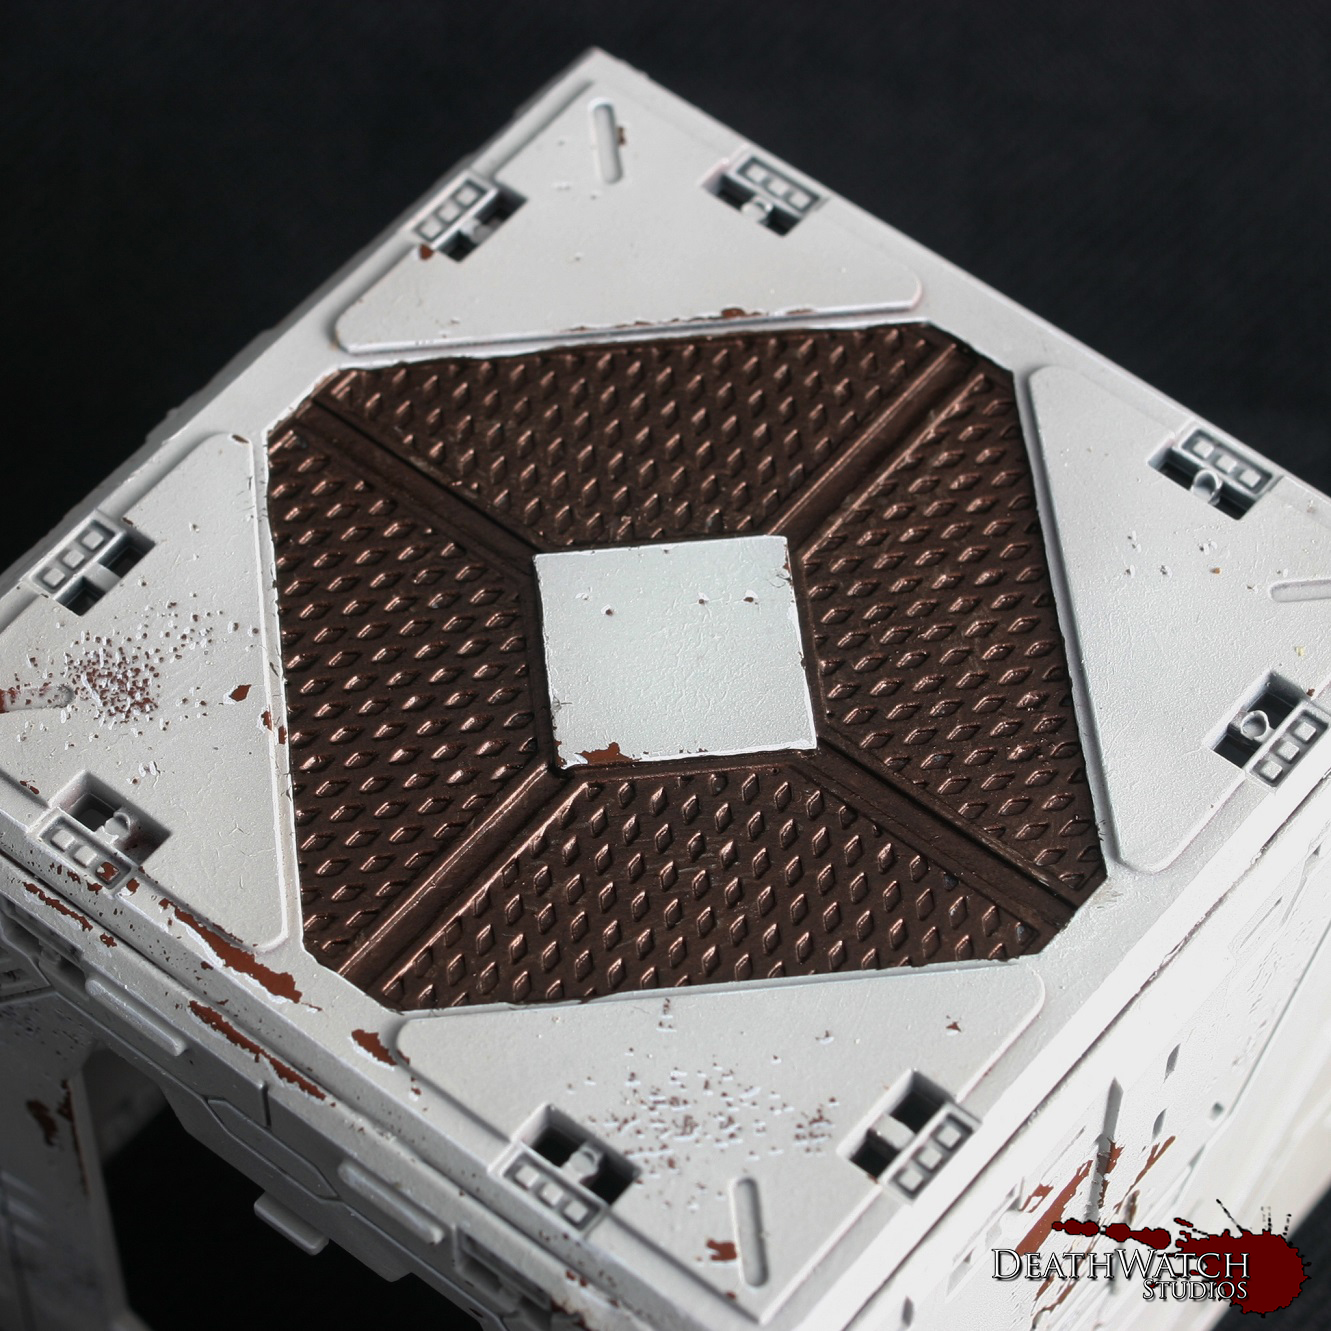
Another touch I wanted to add was some weapon fire effects/burning. I used the same brown as previously to set down a base, adding small dots for laser fire markings and a larger area on some of the vents:


I then added some black to the mix and added a smaller amount in the centre to finish off the effect.
Next up was blood splatter. Gotta have some blood splatter 🙂
I used the GW technical paint BLood for the Blood God for this, and have to say it is fantastic. Straight out the pot it looks great. The main difficult thing about it is just getting the shape and consistency of the splatter looking like it actually would. I would recommend taking it slow and steady, but also looking at some resources to see how real blood splatters. It sounds grim, but it helps. You also want to remember gravity, the blood will inevitably drip downwards if there’s any great amount so keep that in mind. Here’s a few examples of the effect I got:


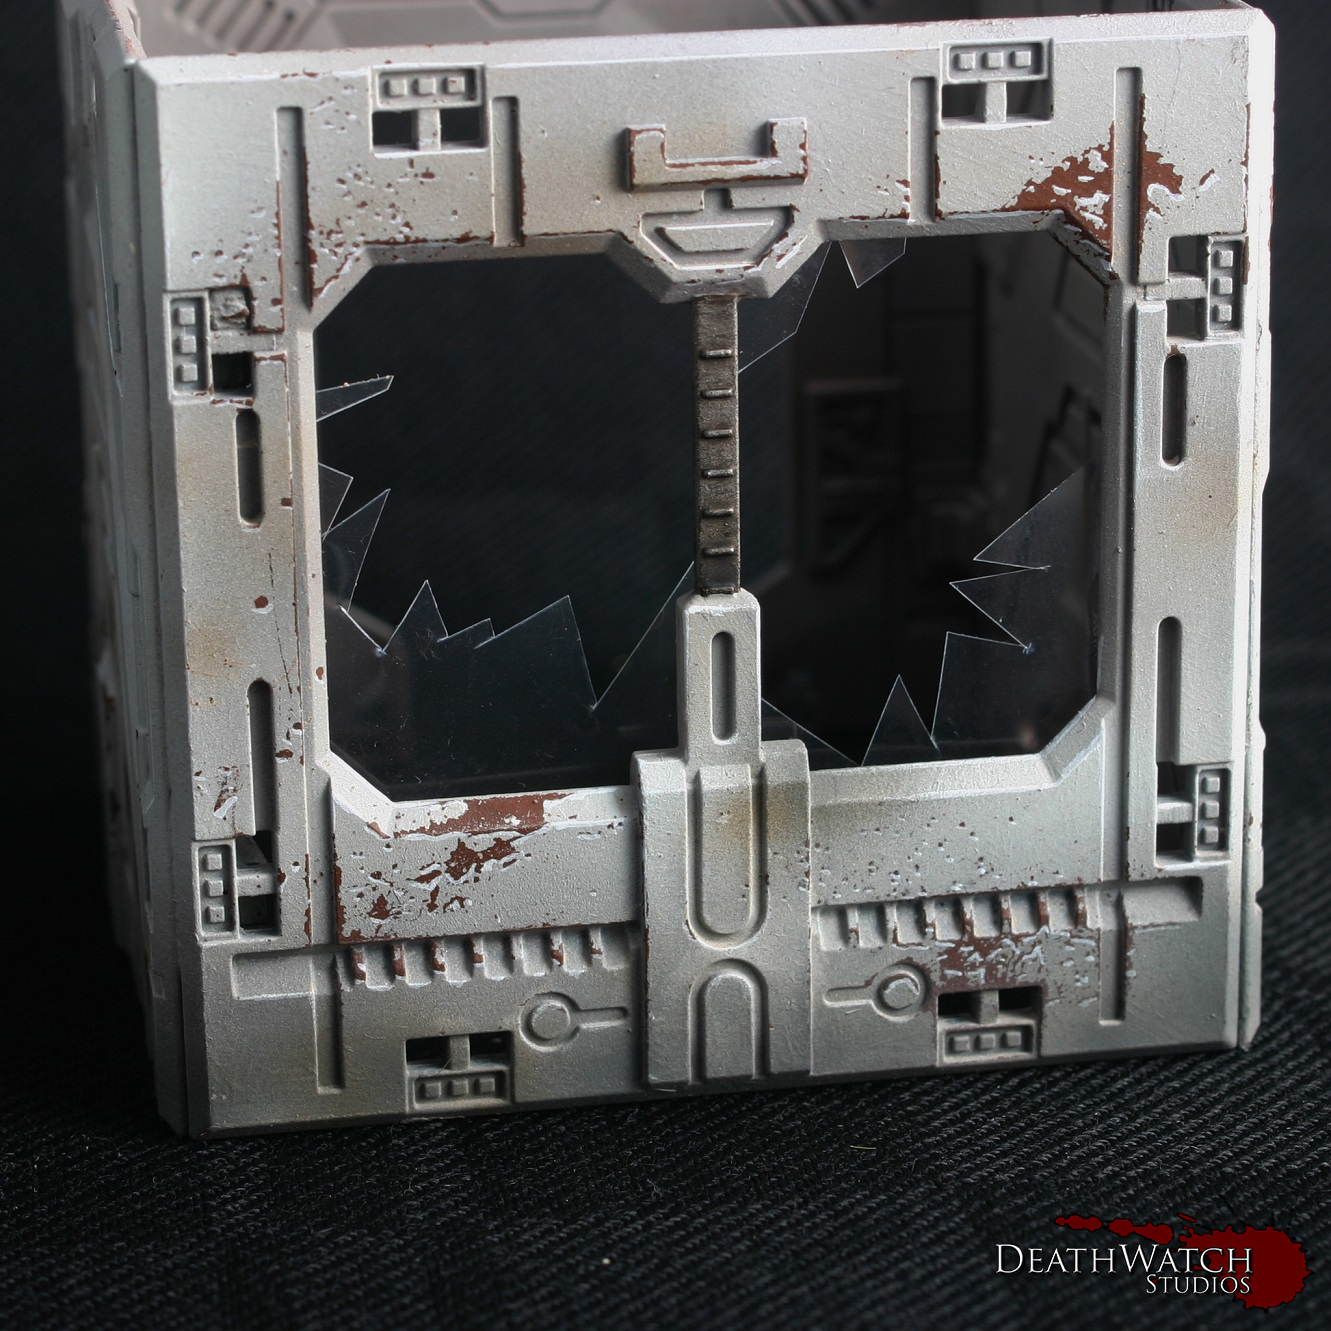
The final thing I wanted to add was broken windows. I can’t remember where I first saw this being used with the Deadzone terrain, but the idea just grabbed me and wouldn’t let go.
I used some clear plastic packaging I had lying about cut up with a pair of scissors. It’s fairly simple to do, just cutting at angles and making sure it all is fairly straight and jagged. Before gluing always check to make sure you have a good fit, and it looks good in place. Once checked I just used a small dab of super glue to fix them in place. Honestly it can look a little haphazard from the back, which is why I’ve stuck with adding it to terrain pieces you can’t really see inside. Here’s an example of one of the set’s I put together:
And that, my friends, is how I did my Deadzone terrain. If there is anything you think I may have missed or if you would like me to expand on anything just let me know in the comments.
Look out later in the week for some pictures of the whole lot together 🙂

nice, quick and effective.
Pingback: Deadzone – Reb Zees Started! | DeathWatch Studios
Pingback: Deadzone -TK Zero Weapons Team Started! | DeathWatch Studios
Pingback: Deadzone -TK Zero Weapons Team Finished! | DeathWatch Studios
Pingback: Deadzone – Rebs Painting Guide! | DeathWatch Studios