Dreadball – Z’zor update!

Back to the painting :D. I’m back to the hobby after a couple of weeks of extra normal work, and getting stuck into the third of my Dreadball teams, the Z’zor, and here’s how they’re looking:

Z'zor Jacks

Z’zor Jacks

Z'zor Strikers

Z’zor Strikers

Z'zor Guard

Z’zor Guard

I’m very pleased with how they’re coming along, with the main addition above and beyond the tester being the red in the joins. I think this helps tie the whole lot together quite nicely :). Still have a fair amount of work to put into these guys, and will be looking to get the turquoise armour sections, the reds and the eyes finished off for tomorrow…

Dreadball – Pitch Designs Update

I’ve been fairly busy over the last week, working some extra hours at my other job, which has meant a lack of painting time to get some updates on here. Unfortunately it looks like it will be the same until October :(. However it does mean some extra pennies for some cool stuff. I’ve already got some season 3 Dreadball goodies coming soon, which will include a Teraton team, season 3 book and dozer :D. I’ve also decided to invest in a couple of pitches for my current teams and have been working on finalising the designs for this and would love to get some feedback or see if there’s anything wrong anybody can spot. So first up we have a redo of the Gamma Slammers home field, the Gamma Dome:

The Gamma Dome logo

The Gamma Dome logo

The Gamma Dome pitch design

The Gamma Dome pitch design

And here’s the pitch for the Silver Centurions, the Coliseum:

The Coliseum logo

The Coliseum logo

The Coliseum pitch design

The Coliseum pitch design

I tried to keep them in a similar kinda design, they have the same team manager after all :D.

I’ve also been toying with the idea of making up some of the accessories for these pitches ie. the home/away fan cards, action tokens, and markers for the score/eye in the sky and this is what I’ve come up with:

home-&-away-cards

As I’ve said I would love to hear what you think, especially if you think there are any errors or such. and if anyone is looking to get a design done themselves feel free to get in touch through the contact page

Dreadball – Z’zor test model

Painted up a test model for the Z’zor today and here he is:

Z'zor test

Z’zor test

Z'zor test

Z’zor test

Would love to hear your thoughts on this guy as I’m still unsure on the colour choices. I’m pretty set on green being the main colour but unsure on the claws being the turquoise colour or the red sections. If you have any ideas, let me know 😀

Warhammer 40k – Stormraven Base

Had a break from the hobby this weekend, so the wife and I could have a long weekend to celebrate our first year of marriage :D, and much enjoyment was had by the pair of us.

With the jetbike finished I’m now onto the next job, which is the base for a Stormraven. The client is looking for something with that little bit extra, nothing too fancy, just an obliterated nid. So with that in mind I scavenged through my bits box and found a few of my old hivefleet, Irb-Nri, and felt that the Gargoyle would be the best fit for the job. Here’s what I’ve got so far:

Storm Raven Base

Storm Raven Base

Storm Raven Base

Storm Raven Base

Dreadball Tutorial – Dreadball Gloves

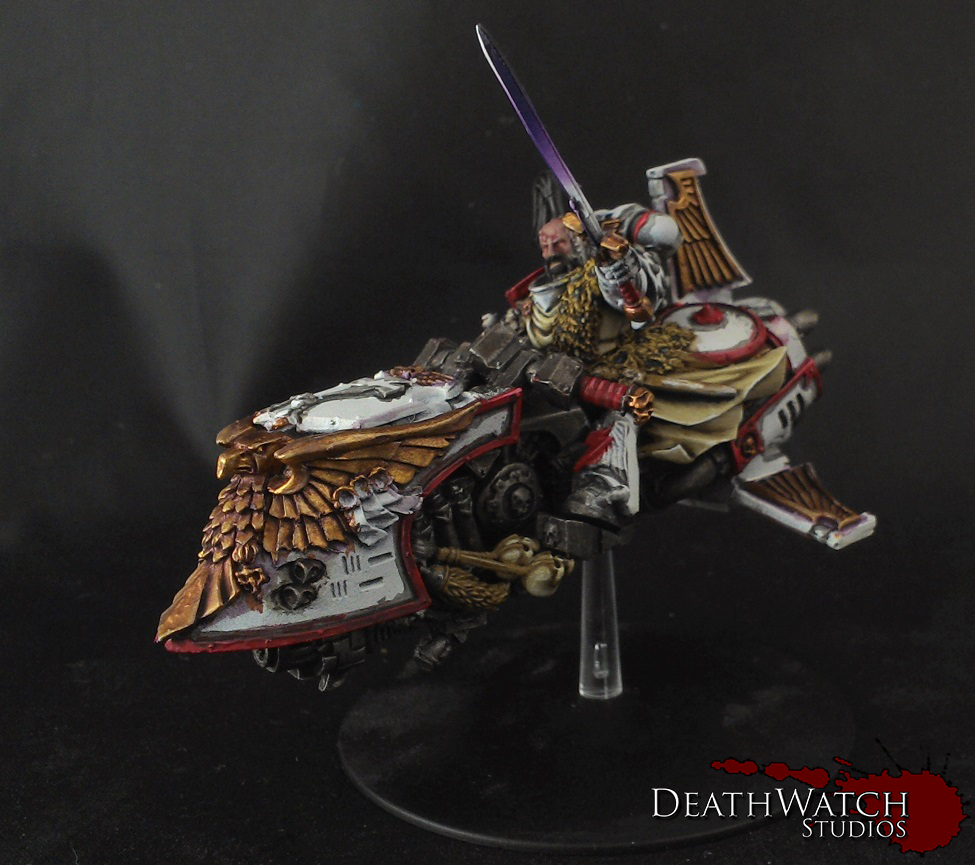
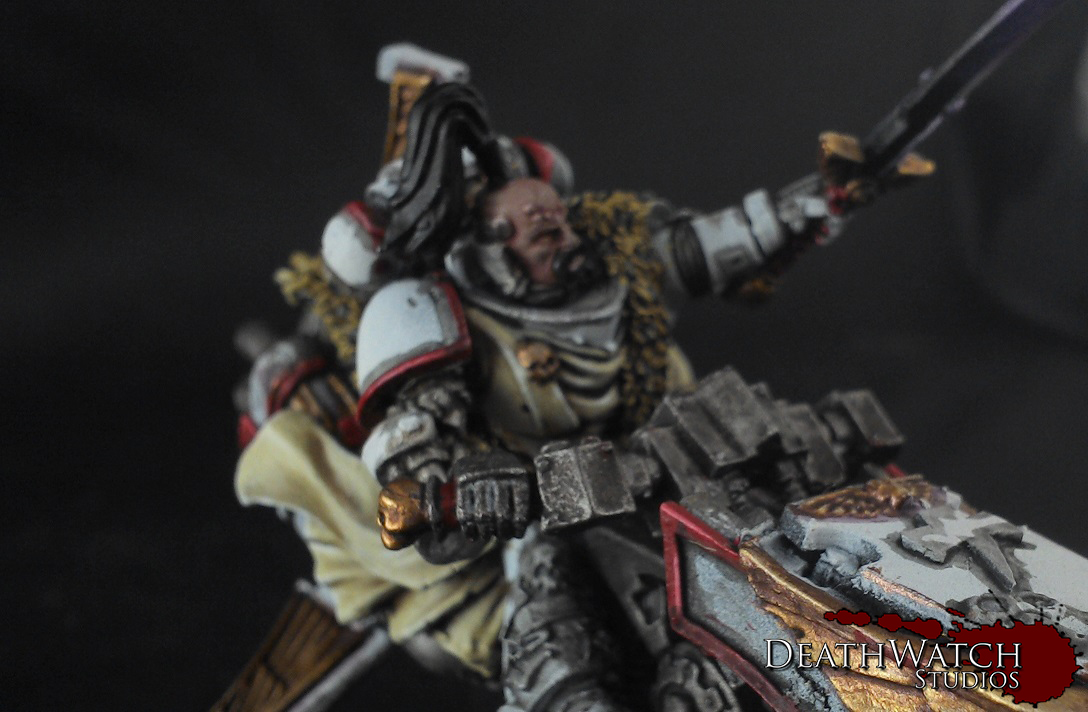
So, with getting a lot of praise for the Dreadball gloves on the Silver Centurions (Really appreciate it folks :D), I’ve decided to put together a tutorial on how I did them.

The inspiration for giving them a go came from two places, the first was the front cover for Dreadball showing the fancy holo glove. The second was the Nidavellir Flames, a gorgeous Forgefather team. With a good idea in my head form these sources as to what I wanted to do I set out to find some suitable materials. I knew I wanted to have a slight curve to them so my first thought was clear plastic straws (these still might be suitable), but could only find coloured ones in any local stores. I then realised I had some plastic pipettes which I got off ebay, a hundred only cost a few quid:

Pipettes

Pipettes

Turned out they where perfect for the task, so I proceeded to hack ’em apart.

Stage 1

Stage 1

All I needed form them was the top section so using just a pair of scissors I cut them off.

Stage 2

Stage 2

I then proceeded to cut these into strips a little bit bigger than the size needed (worth having the mini handy for this)

Stage 3

Stage 3

Then it was a case of trimming it down to the correct width to fit in the “projector” part of the wrist and curve of one of the ends. Again I just used a pair of small scissors for this.

Stage 4

Stage 4

Next I curved off the opposite end, making sure I cut it to give the desired length. On my minis I made the gloves on the strikers about 150% the size of the ones on the jacks, just to make them a wee bit different but I also thought the strikers variation would be that little bit better. At the end of the day the length is up to you, so long as it fits onto the model 🙂

Paints used

Paints used

Next up was painting them. Above are the colours I used for mine, but I recommend going for a colour that will compliment your team. All you need is a midtone, a lighter version of this, white and lahmian medium.

Stage 5

Stage 5

To start the painting I used Caledor sky right around the end of the glove coming up to where it joins at the projector. The best way to do this, and the following highlights, is using just the flat of the brush against the edge of the plastic.

Stage 6

Stage 6

Next was a 1:1 mix of Caledor Sky and Ice blue, going around the edge again but leaving a small section of the original colour near the projector end.

Stage 7

Stage 7

Next was the same again but with pure Ice Blue and again leaving a little of the last colour showing.

Stage 8

Stage 8

And finally for the edge was a 1:1 mix of Ice Blue and White, just on the top most curve.

Stage 9

Stage 9

The last paint to add is to the projector end. I wanted to leave this section clear to show the innards of the projector showing through, but because I needed to use superglue to affix them, this left the white residue showing all over the glove. This was done with a 2:1 mix of Caledor Blue and Lahmian Medium. Make sure your brush strokes are going from the left to right (using the picture above), as this means the strongest of the paint will be at the projector end.

Stage 10

Stage 10

Next is the same but with a 2:1 mix of Caledor sky/Ice Blue and Lahmian Medium. Just as before, leaving some of the original colour showing at the edge.

Stage 11

Stage 11

Next is 2:1 mix of Ice Blue and Lahmian Medium.

Stage 12

Stage 12

And finally the edge highlight of 1:1 Ice Blue and White. Then all you need to do is stick it onto the mini 🙂

And there you have it, a simple but effective way to give your models some Dreadball Gloves. If you have any questions or anything was not clear in the above please let me know and if you give it a go I would love to see your results 😀

Warhammer 40k – White Scars Jetbike Progress!

Today I have been working on the sword, cloak, animal skin and face on the White Scars jetbike. I managed to finish all of them off other than the face and some final touches to the animal skin and here are the results:

White Scars Jetbike WIP

White Scars Jetbike WIP

White Scars Jetbike WIP

White Scars Jetbike WIP

White Scars Jetbike WIP

White Scars Jetbike WIP

White Scars Jetbike WIP

White Scars Jetbike WIP

White Scars Jetbike WIP

White Scars Jetbike WIP

I’m particularly pleased with how the sword has turned out and chose the colours in order to match the Kor’sarro Khan I did earlier in the year for the same client. This was done by blening from blackto naggaroth purple, then to genestealer purple to white. In regards to the animal skin, I decided to do this in a semi leopard pattern, as I think this suits the White Scars more than a standard grey or brown affair you’d find on say a Space Wolf. I still think this needs a little work just to pull the colour out a little bit more. Next up is soem more work on the face. hair and beard as so far I have only laid down the base colours for these.

In other news I received a couple of MVPs as part payment for the Dreadball robots commission, so I’ll be painting these up alongside the Enforcer once the jetbike is done 😀

Dreadball MVP's

Dreadball MVP’s

Warhammer 40k – White Scars Jetbike Painting Started

I’m happy to report that painting has begun on the White Scars jetbike, and this is what I have so far:

White Scars Jetbike WIP

White Scars Jetbike WIP

White Scars Jetbike WIP

White Scars Jetbike WIP

I’ve decided to leave the white until last, as it’s too easy to mess it up if done before many of the other details. Especially with a colour like red being involved.  So next up will be getting that aforementioned red looking a bit nicer than it is, and getting on with all the details 😀