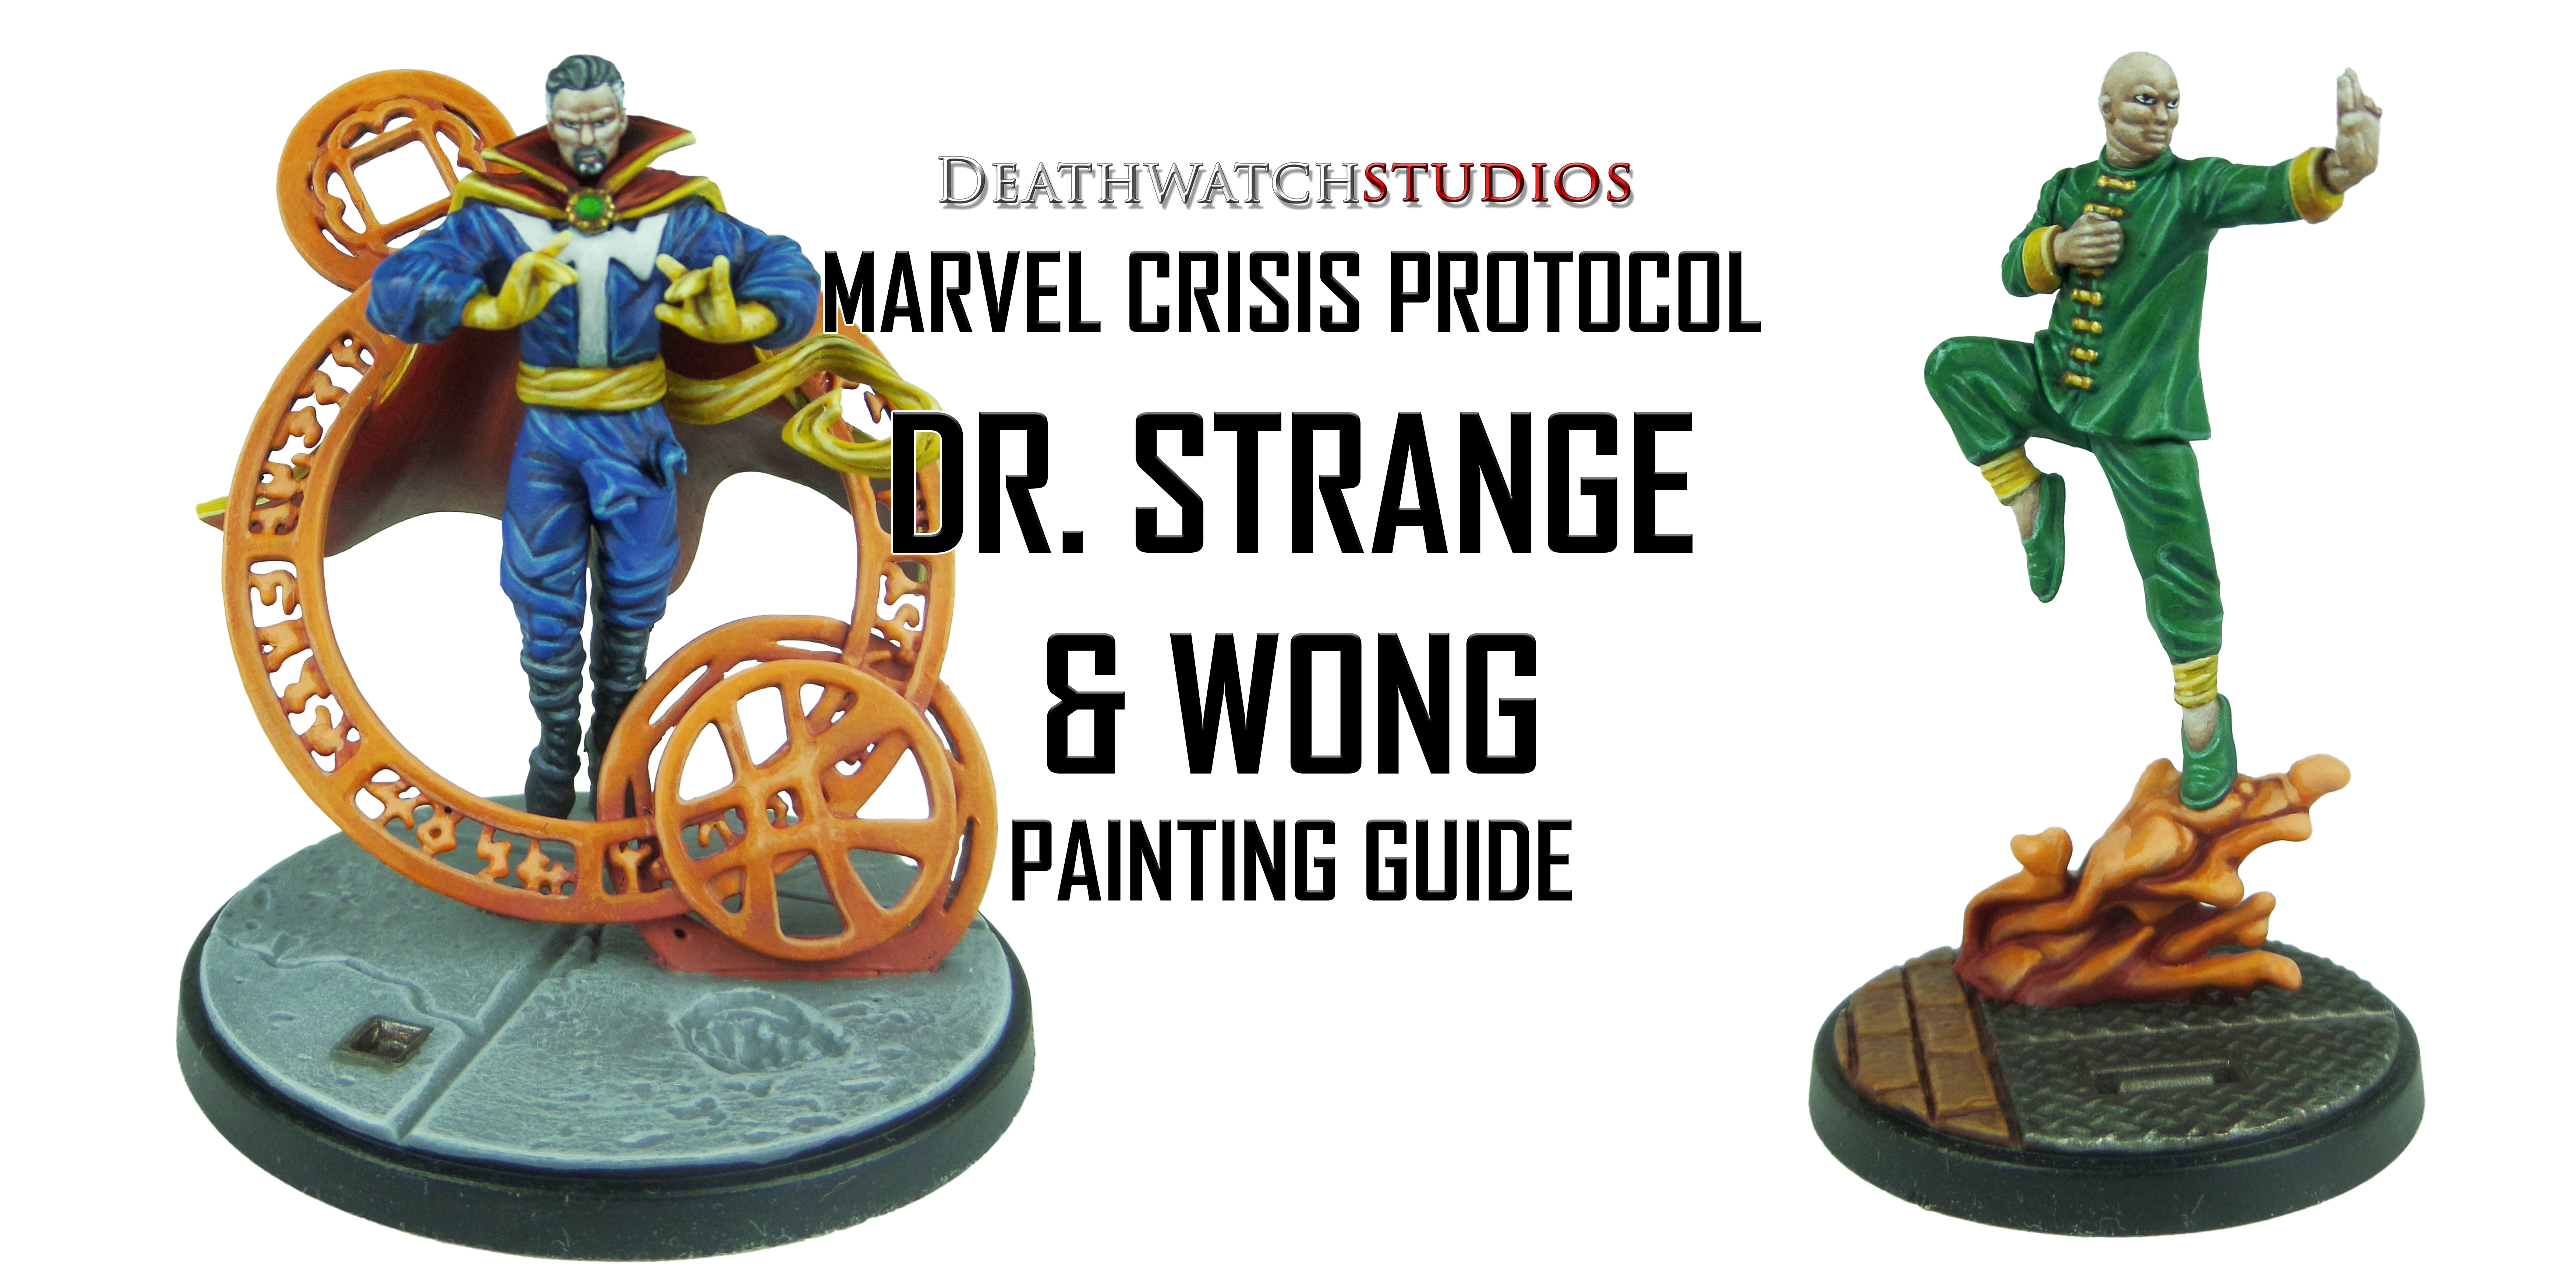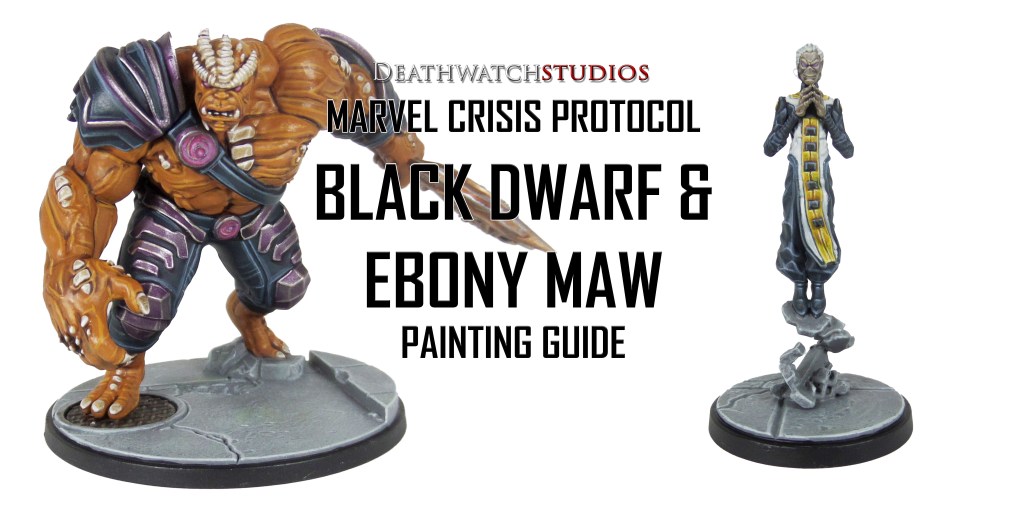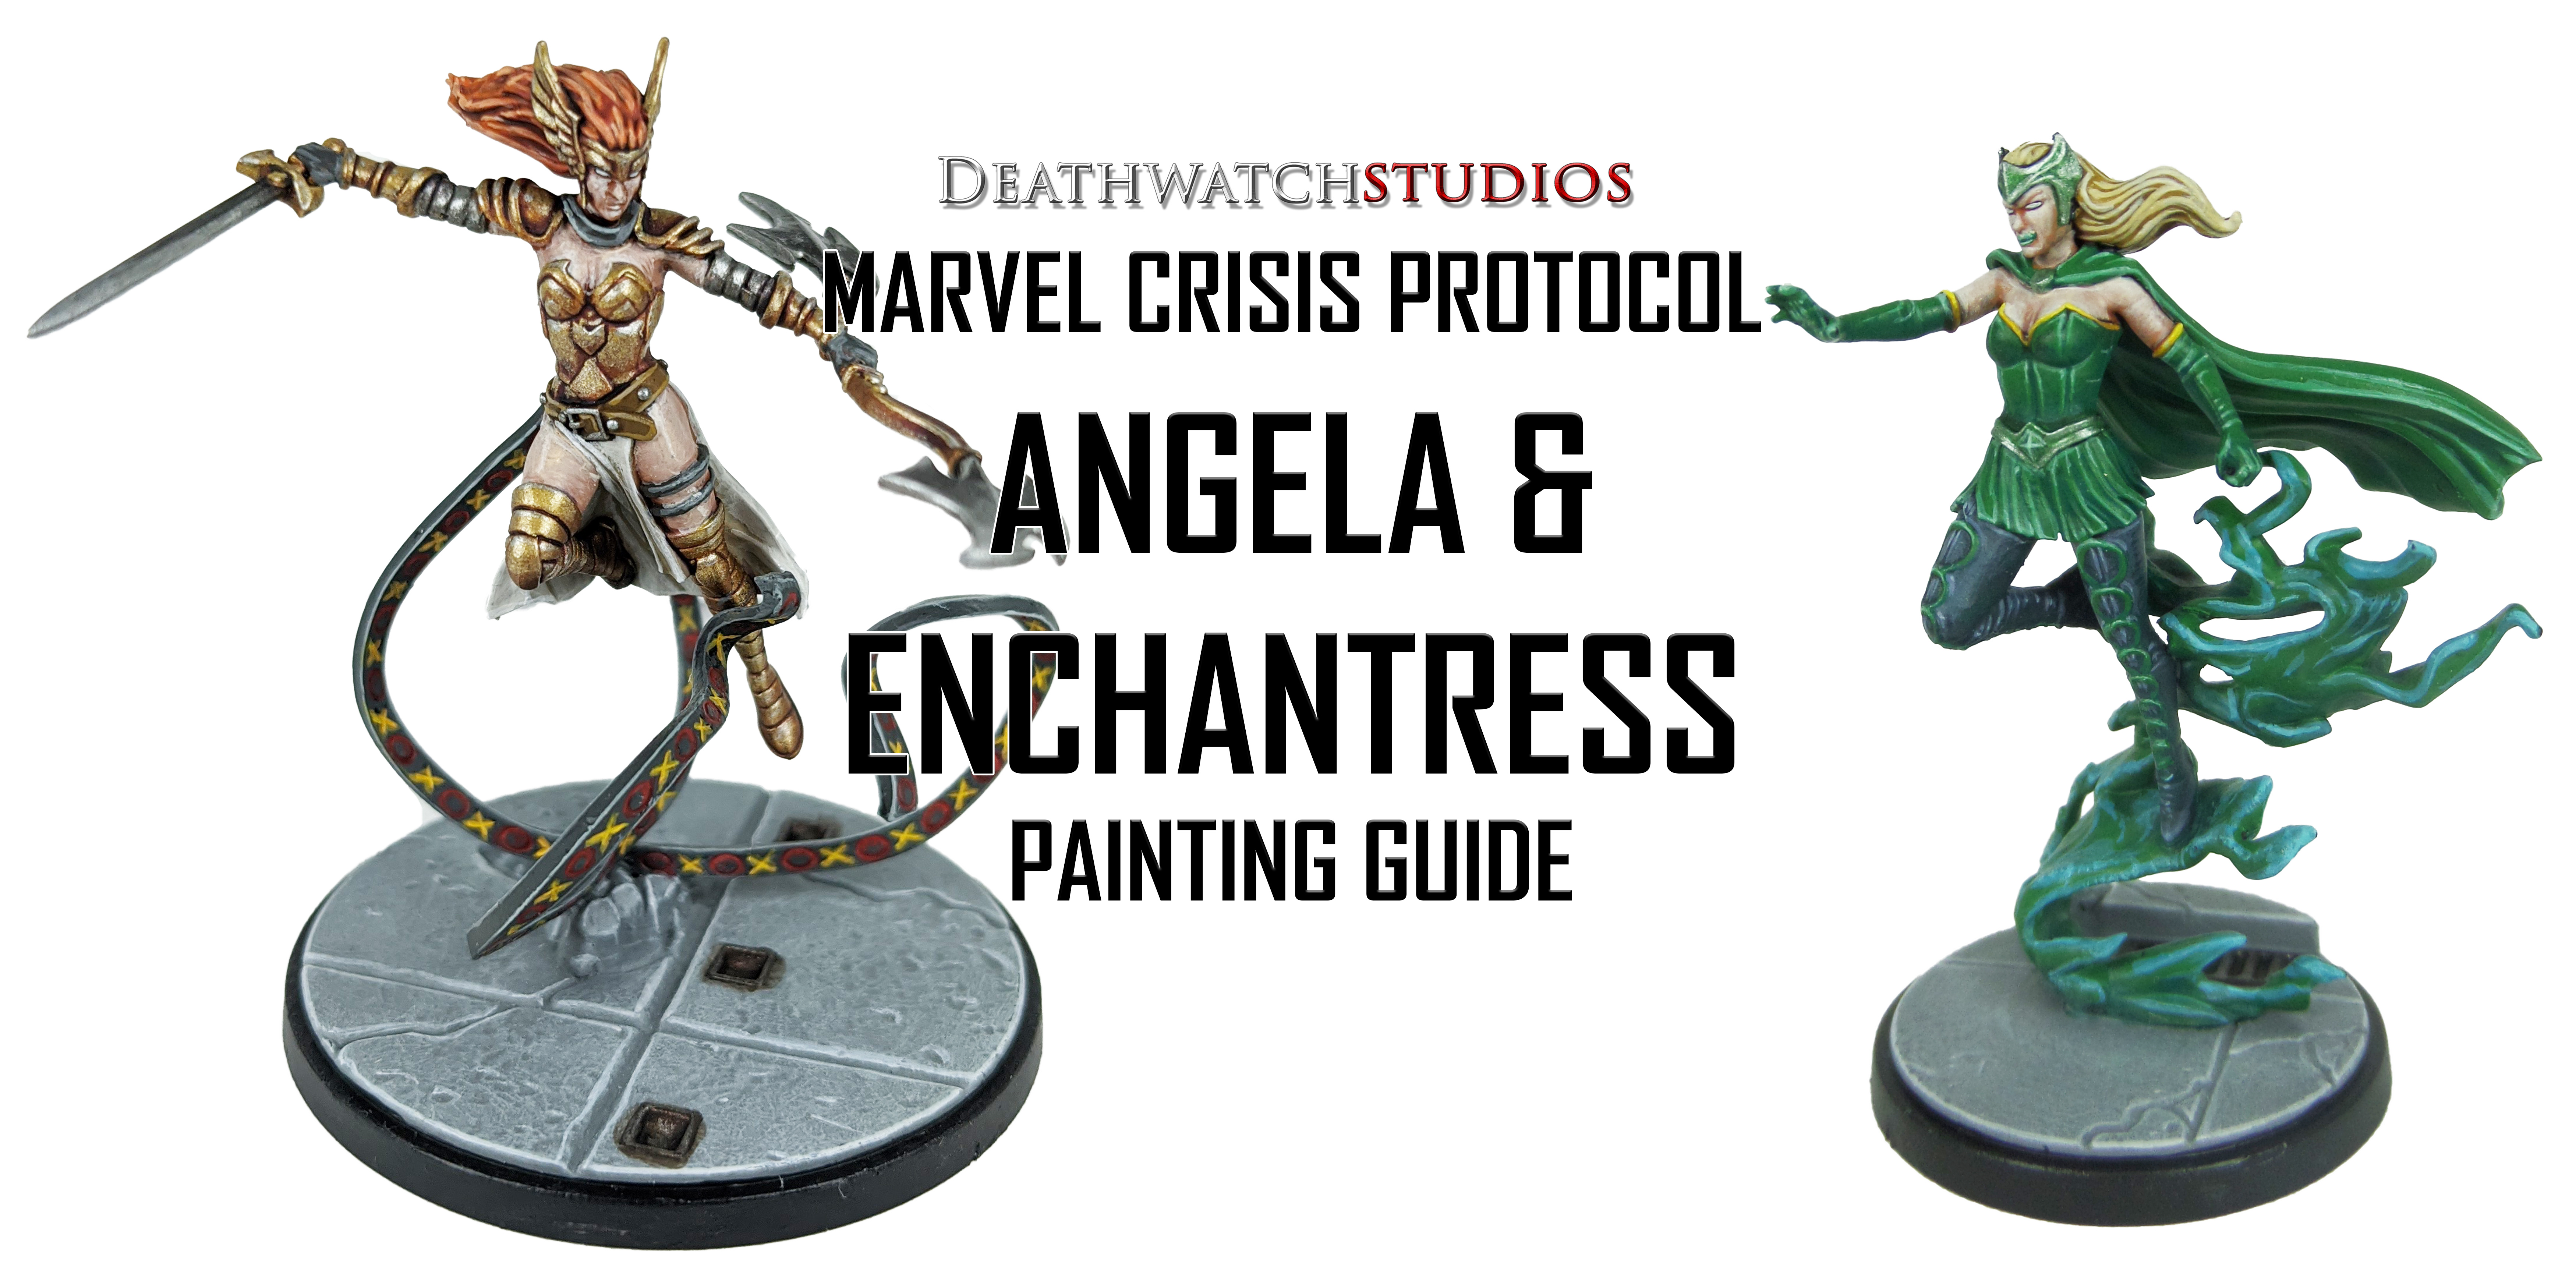
Welcome to my latest painting guide!
I need your support. Because my guides takes time and supplies to do, any support you can offer would mean the world to me. A supportive message in the comments is enough, but if you have the means why not send me a gift on Ko-Fi or PayPal. Thank you!
Prep: Fully build both models and undercoat black.
Angela
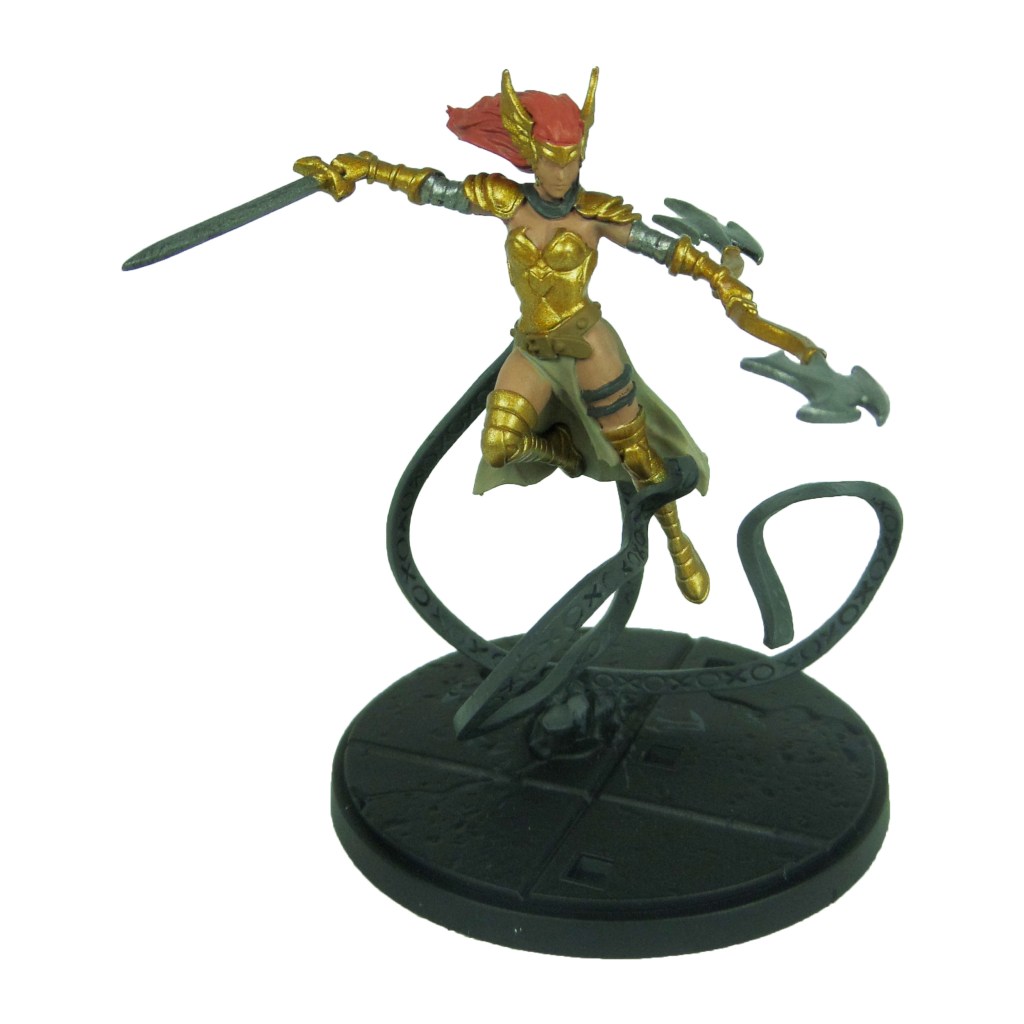
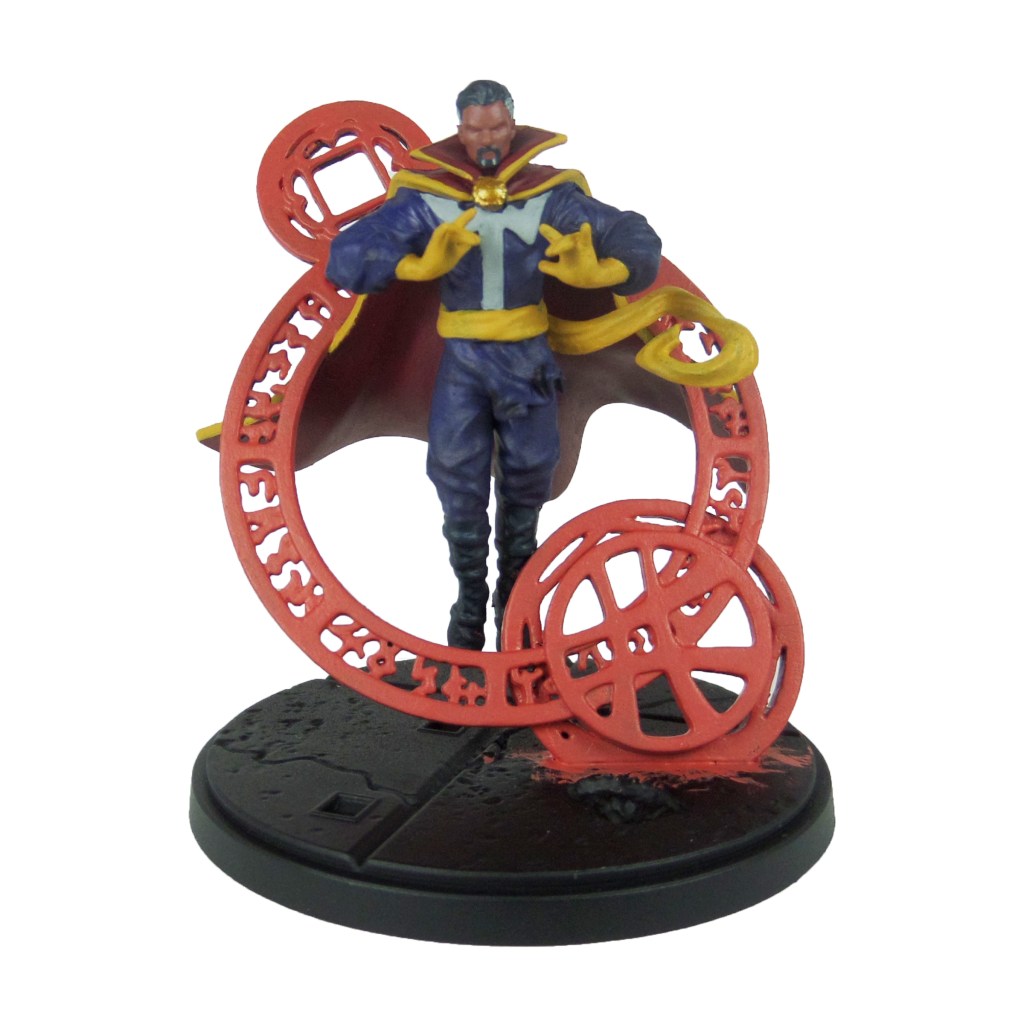
Stage 1
Retributor Armour: Apply a basecoat to the armour.
Cadian Fleshtone: Apply a basecoat to the skin.
Squig Orange: Apply a basecoat to the hair.
Leadbelcher: Apply a basecoat to the weapon heads and upper arm armour.
Skavenblight Dinge: Apply a basecoat to the straps and ribbons.
XV88: Apply a basecoat to the belt.
Karak Stone: Apply a basecoat to the tabards.

Stage 2
Druchii Violet: Apply a shade to the armour.
Reikland Fleshshade: Apply a shade to the skin.
Agrax Earthshade: Apply a shade to the hair.
Nuln Oil: Apply a shade to the weapon heads and arm armour.
Pallid Wych Flesh: Apply a layer to the tabards.
Mephiston Red: Apply carefully in to the circle designs on the ribbons.
Averland Sunset: Apply carefully in to the cross designs on the ribbons.

Stage 3
Liberator Gold: Apply a layer to the armour.
Basic Skintone 70.815(Vallejo): Apply a layer to the skin.
Troll Slayer Orange: Apply a layer to the hair.
Ironbreaker: Apply a layer to the weapon heads and arm armour.
Dawnstone: Apply an edge highlight to the ribbons.
Balor Brown: Apply a line highlight to the belt.
White Scar: Apply a line highlight to the tabards.
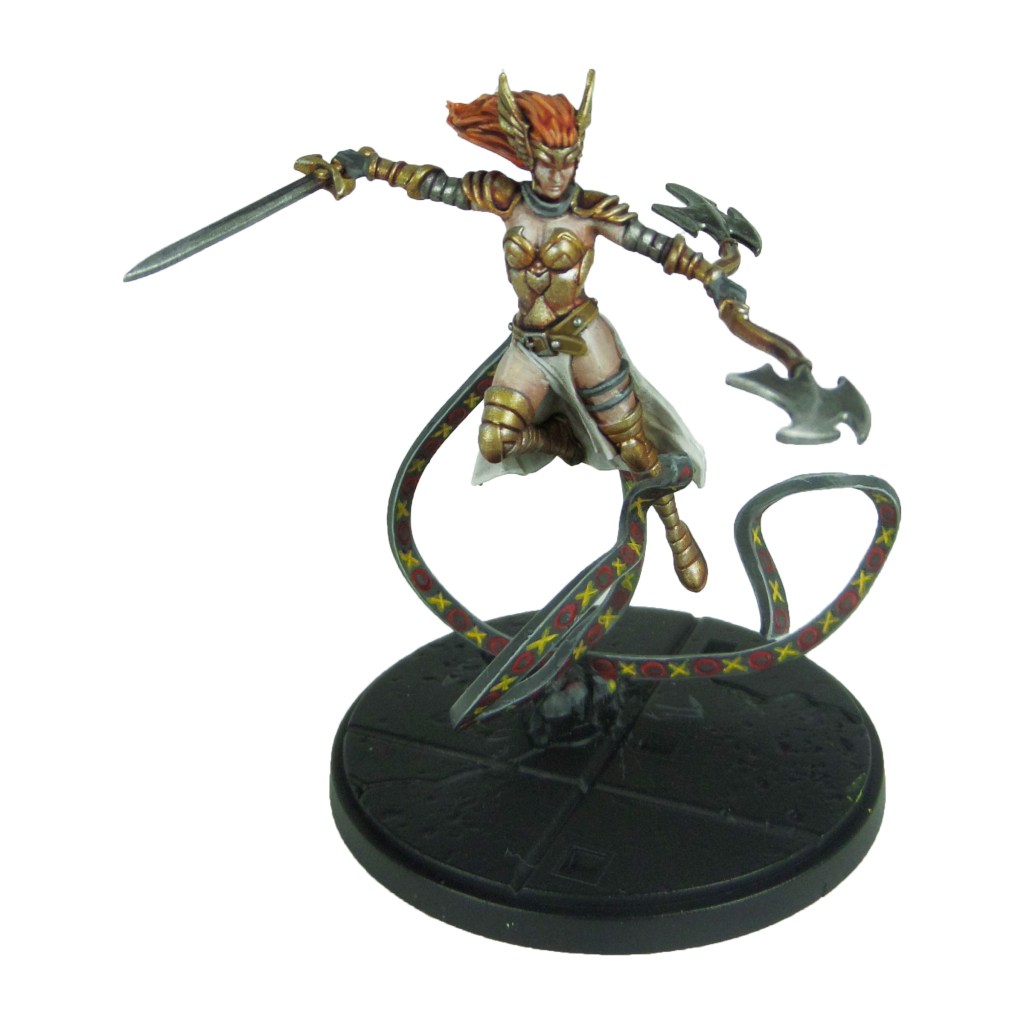
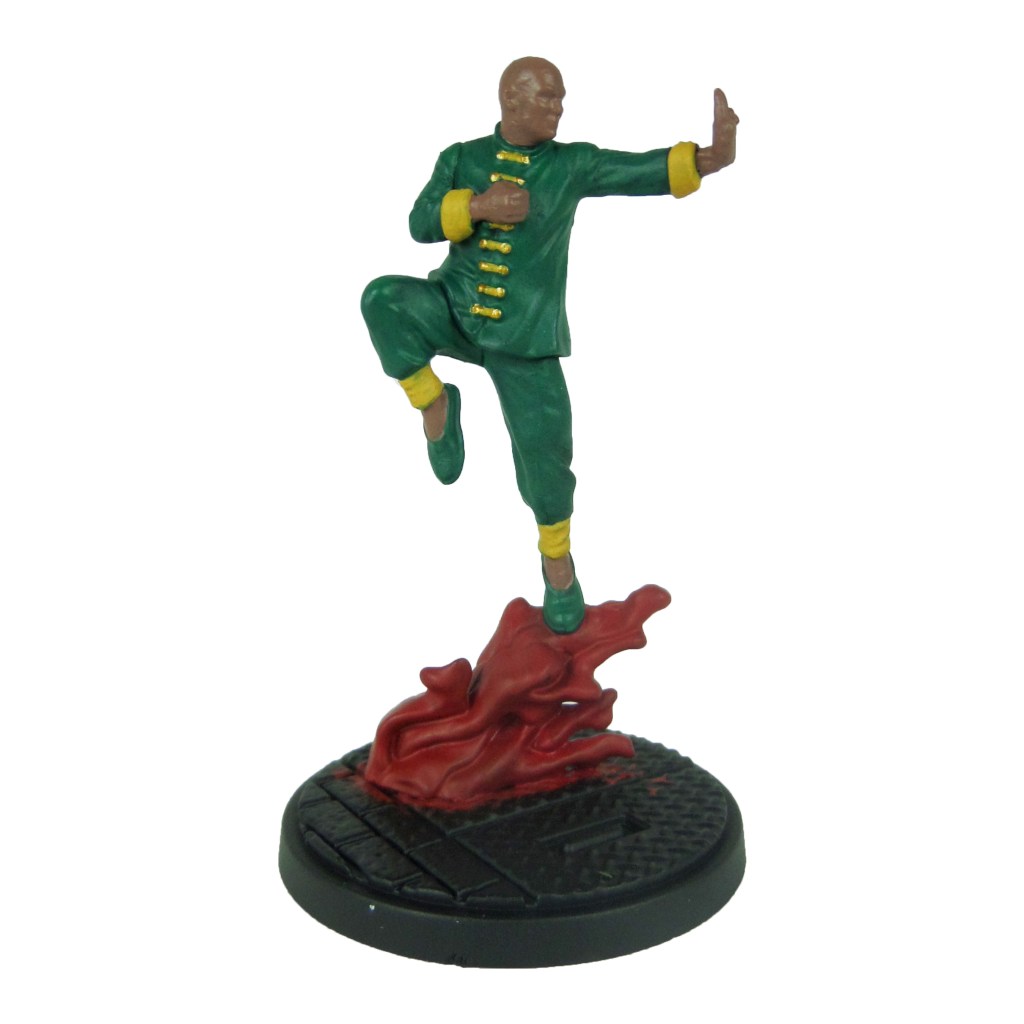
Stage 4
Stormhost Silver: Apply a spot highlight to the weapon heads and arm armour.
Light Flesh 70.928 (Vallejo): Apply a spot highlight to the skin.
Lugganath Orange: Apply a spot highlight to the hair.
Celestra Grey: Apply a spot highlight to the ribbons.
Karak Stone: Apply a spot highlight to the belt.
Yriel Yellow: Apply a spot highlight to the cross designs on the ribbons.
Evil Sunz Scarlet: Apply a spot highlight to the circle designs on the ribbons.
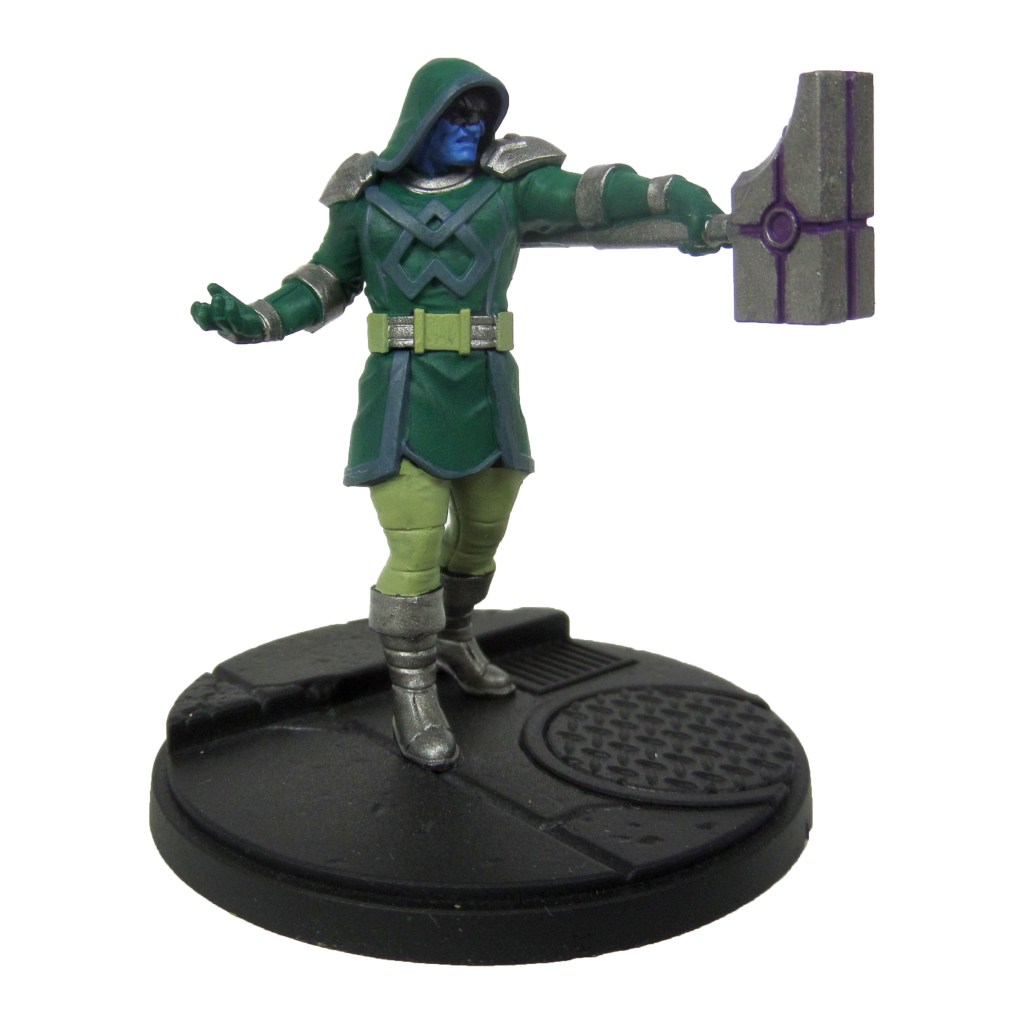
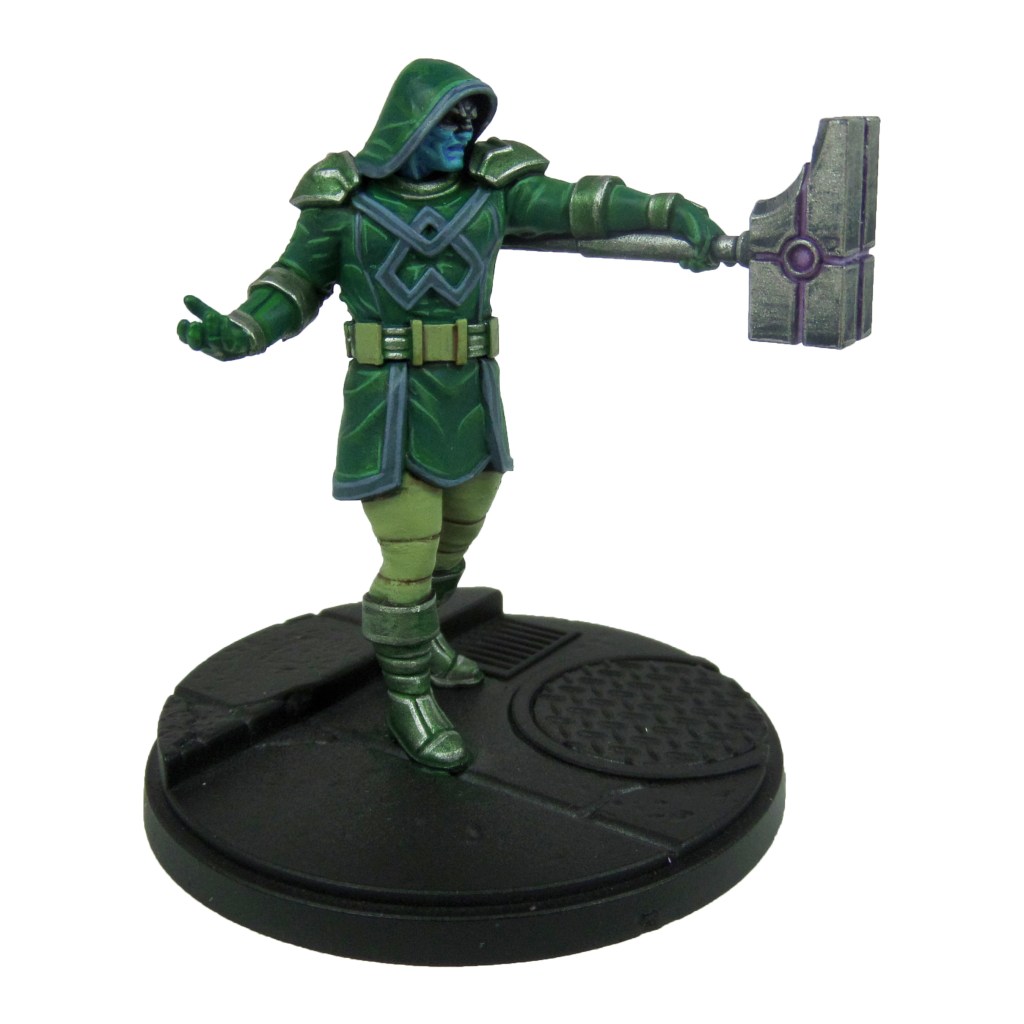
Enchantress
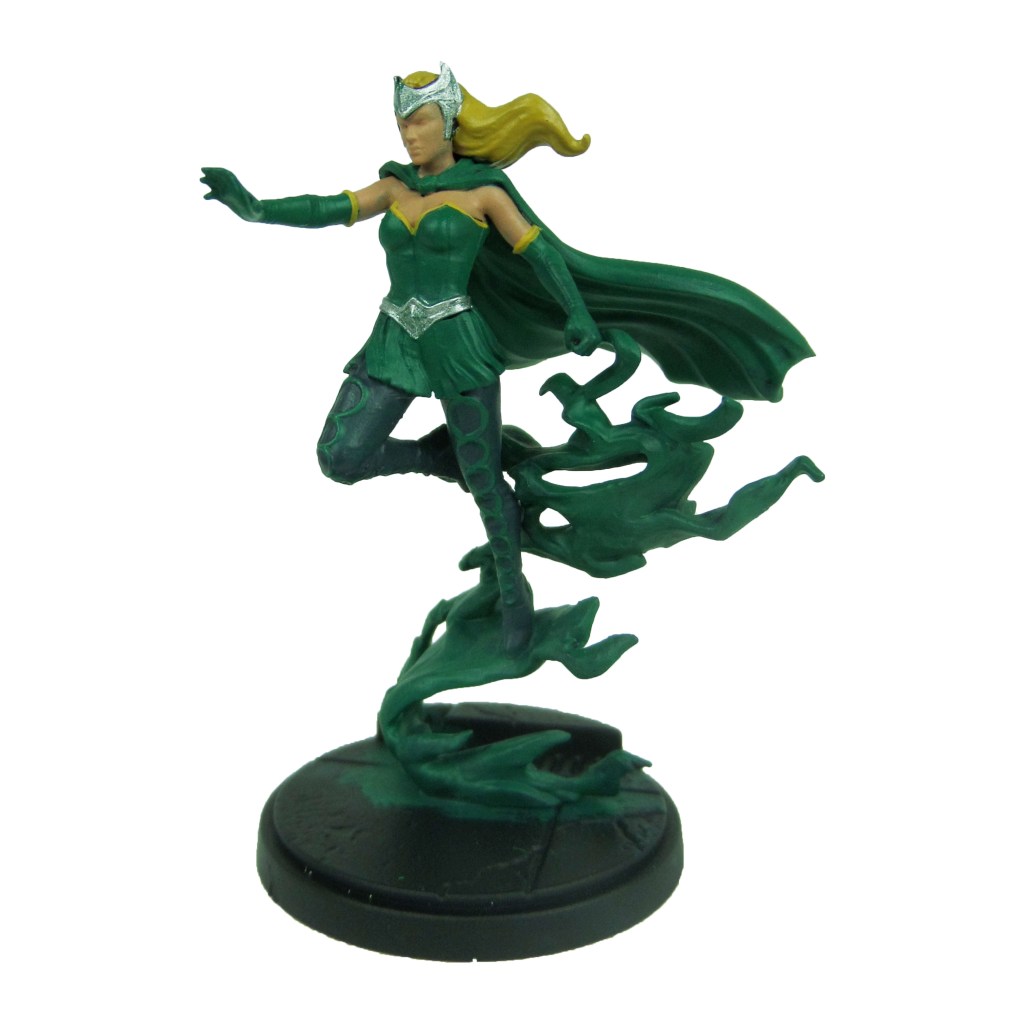
Stage 1
Kabalite Green: Apply a basecoat to the clothes, gloves, cape and smoke.
Cadian Fleshtone: Apply a basecoat to the skin.
Zamesi Desert: Apply a basecoat to the hair.
Incubi Darkness: Apply a basecoat to the trousers.
Averland Sunset: Apply a basecoat to the glove and bodice lining.
Ironbreaker: Apply a basecoat to the crown and belt.

Stage 2
Warpstone Glow: Apply a layer to the clothes, gloves, cape and smoke.
Reikland Fleshshade: Apply a shade to the skin.
Agrax Earthshade: Apply a shade to the yellow lining and hair.
Thunderhawk Blue: Apply a layer to the trousers.
Biel-tan Green: Apply a shade to the crown and belt.

Stage 3
Sybarite Green: Apply a line highlight to the clothes, gloves and cape.
Basic Skintone 70.815(Vallejo): Apply a highlight to the skin.
Blonde Hair 09257 (MSP): Apply a layer to the hair.
Russ Grey: Apply a line highlight to the trousers.
Stormhost Silver: Apply a layer to the crown and belt.
Yriel Yellow: Apply a layer to the yellow lining.
Temple Guard Blue: Apply a highlight to the smoke.

Stage 4
Gauss Blaster Green: Apply a spot highlight to the clothes, gloves and cape.
Light Flesh 70.928 (Vallejo): Apply a spot highlight to the skin.
Blonde Highlight 09258 (MSP): Apply a line highlight to the hair.
Fenrisian Grey: Apply a spot highlight to the trousers.
Phalanx Yellow: Apply a spot highlight to the yellow lining.
Baharroth Blue: Apply a spot highlight to the smoke.
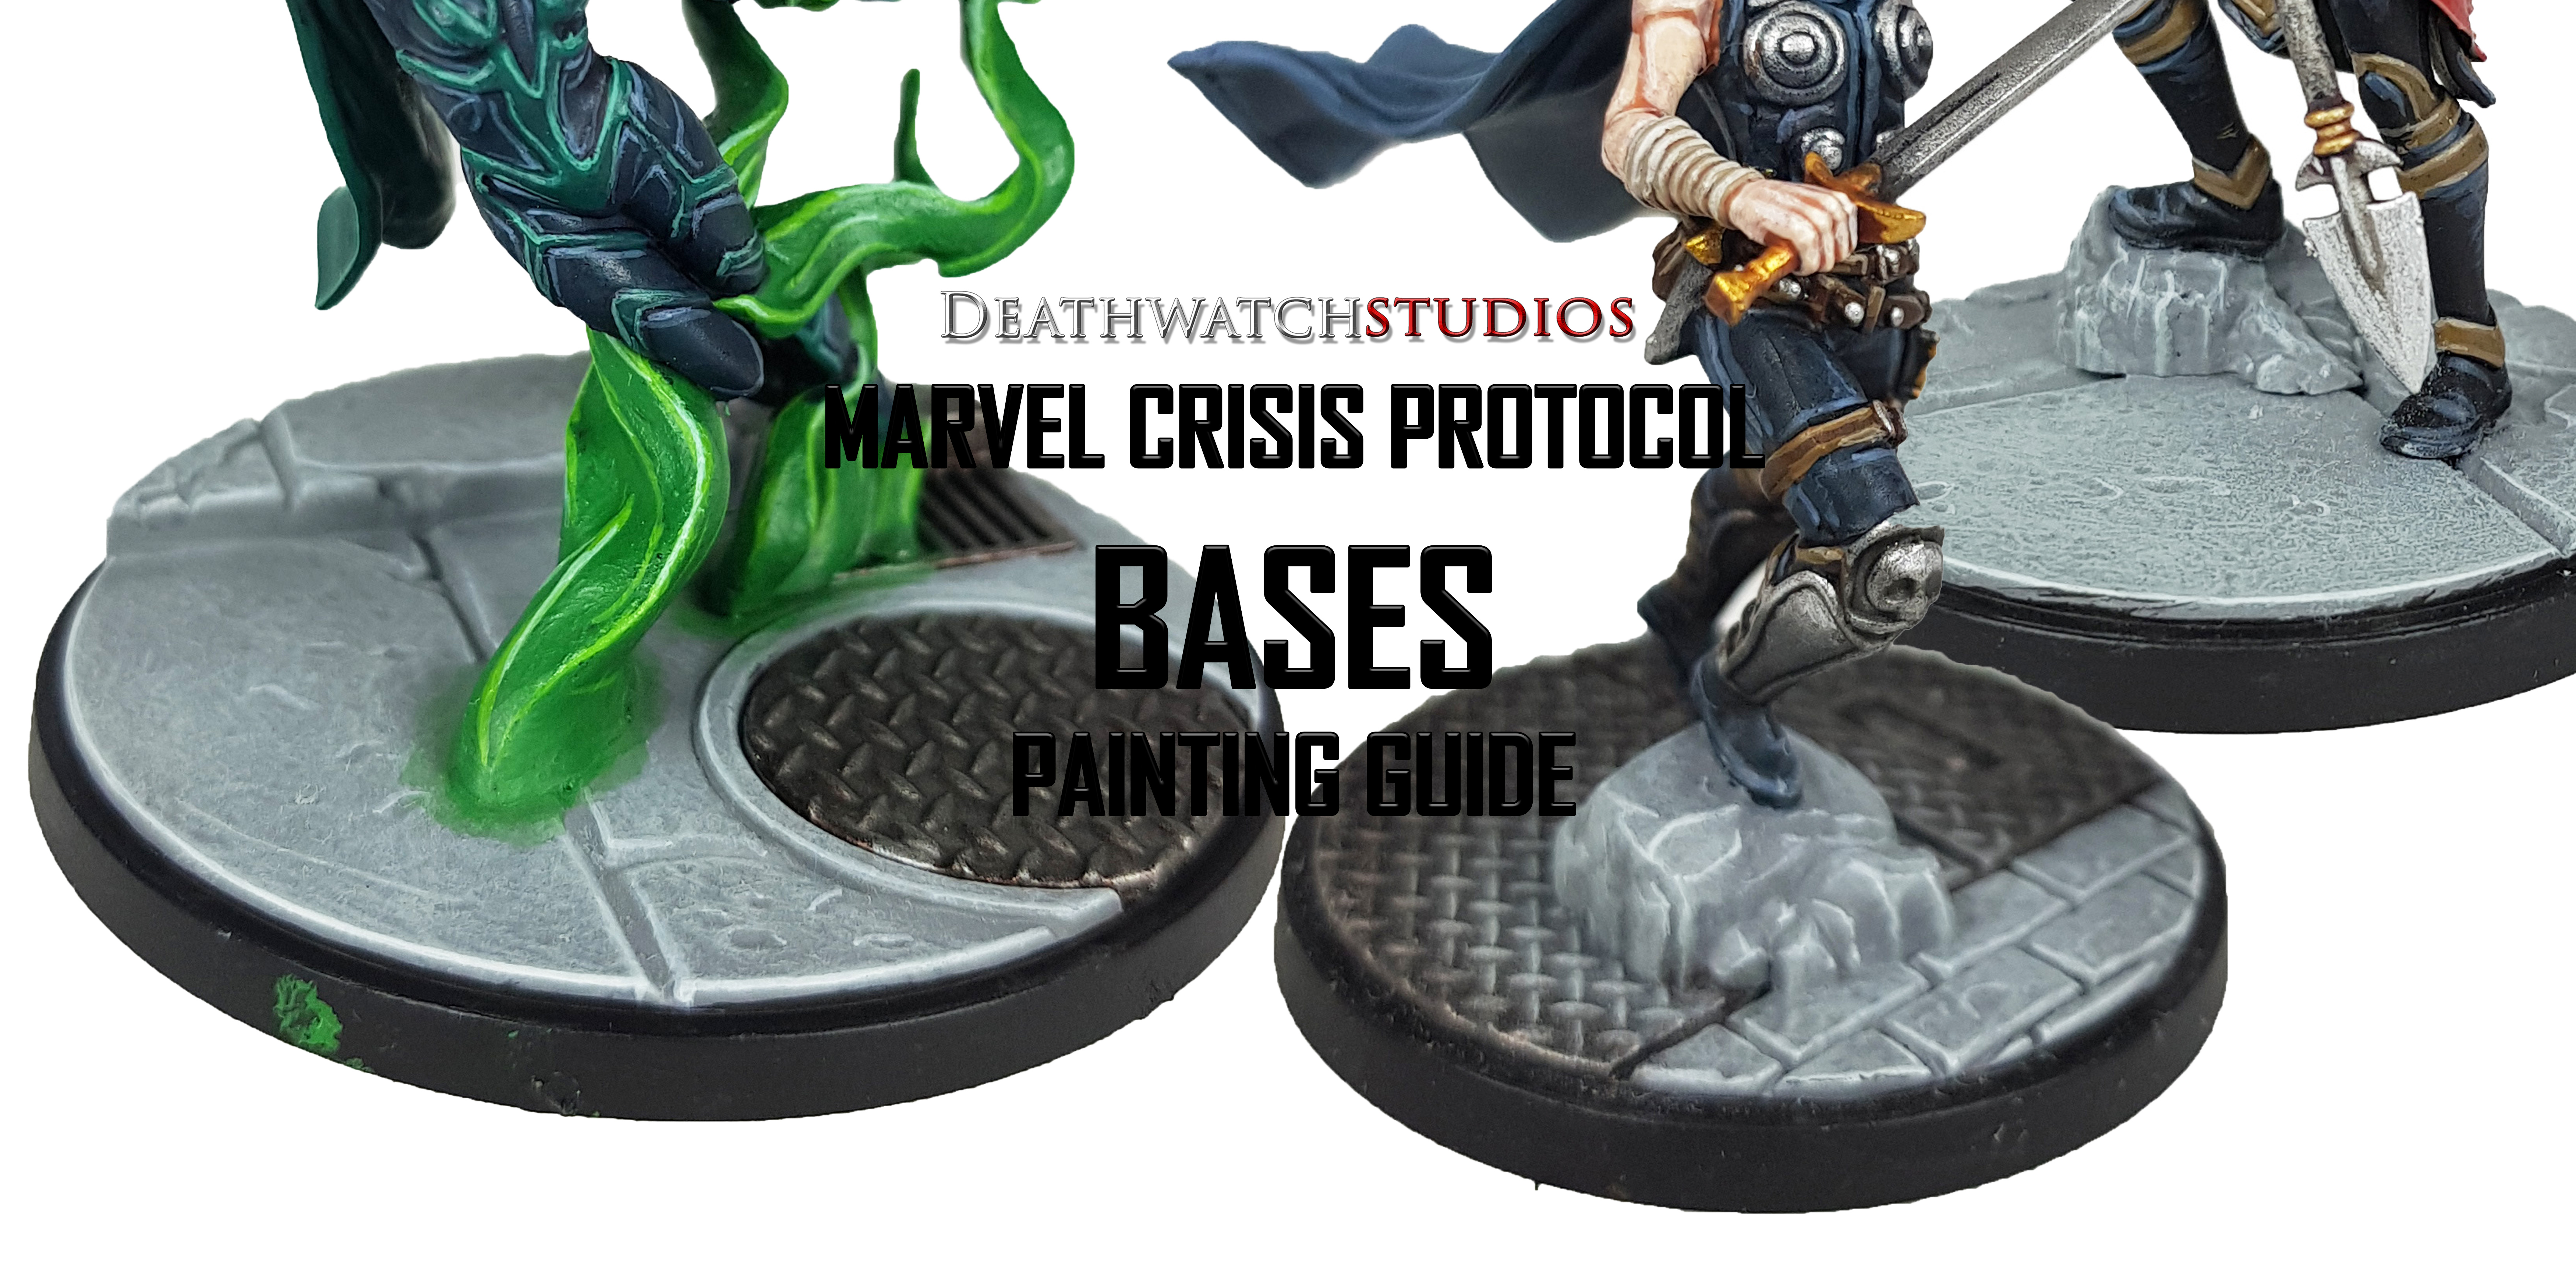
Finish the model of by painting the base, using my Base Painting Guide.