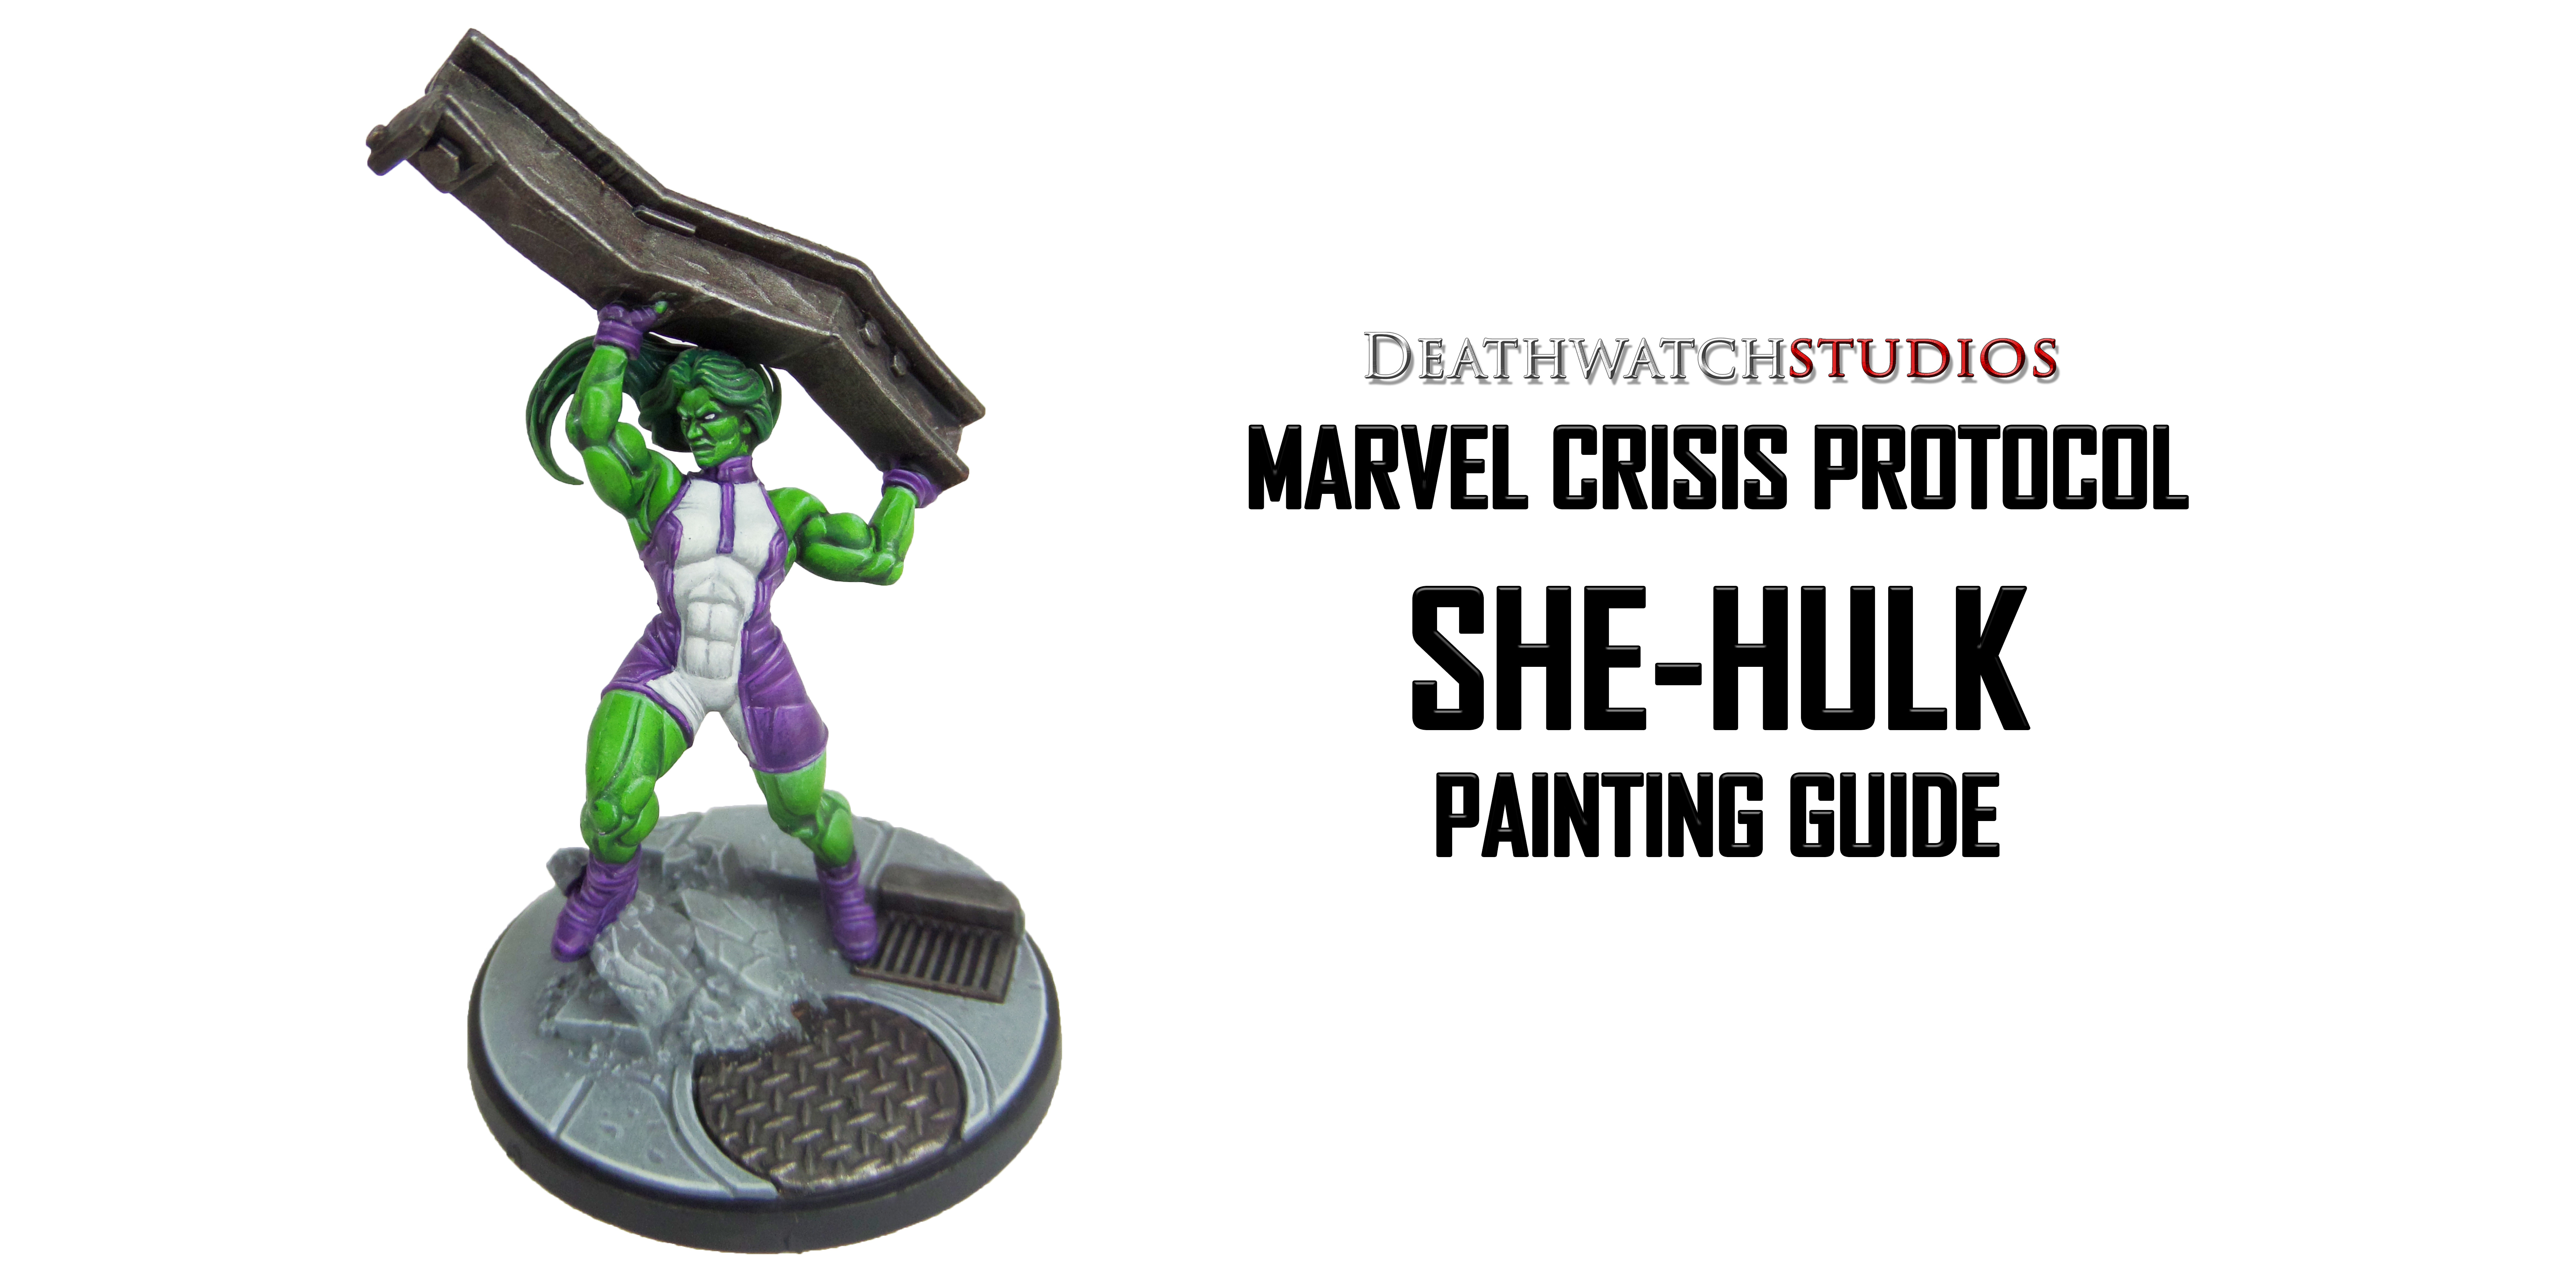
Welcome to my latest painting guide!
I need your support. Because my guides takes time and supplies to do, any support you can offer would mean the world to me. A supportive message in the comments is enough, but if you have the means why not send me a gift on Ko-Fi or PayPal. Thank you!
Prep: Fully build both models and undercoat black.
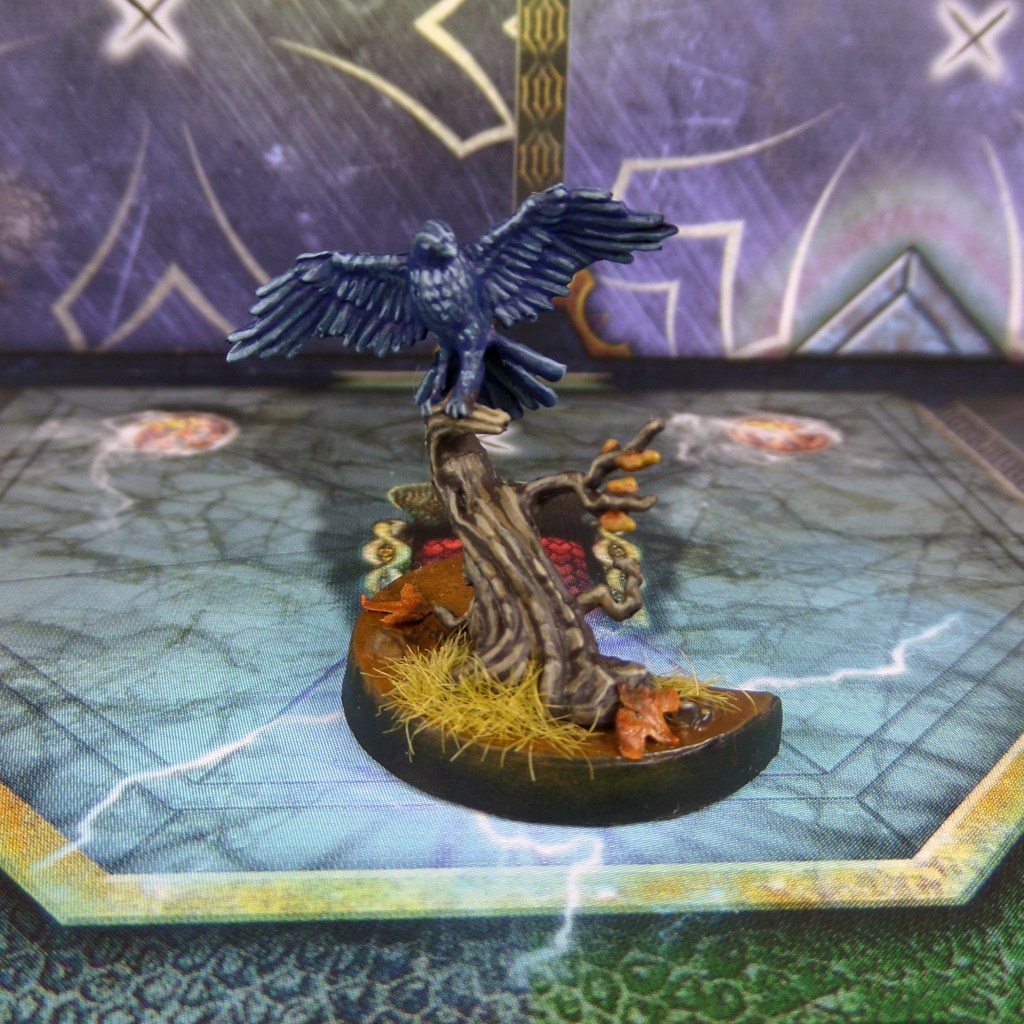
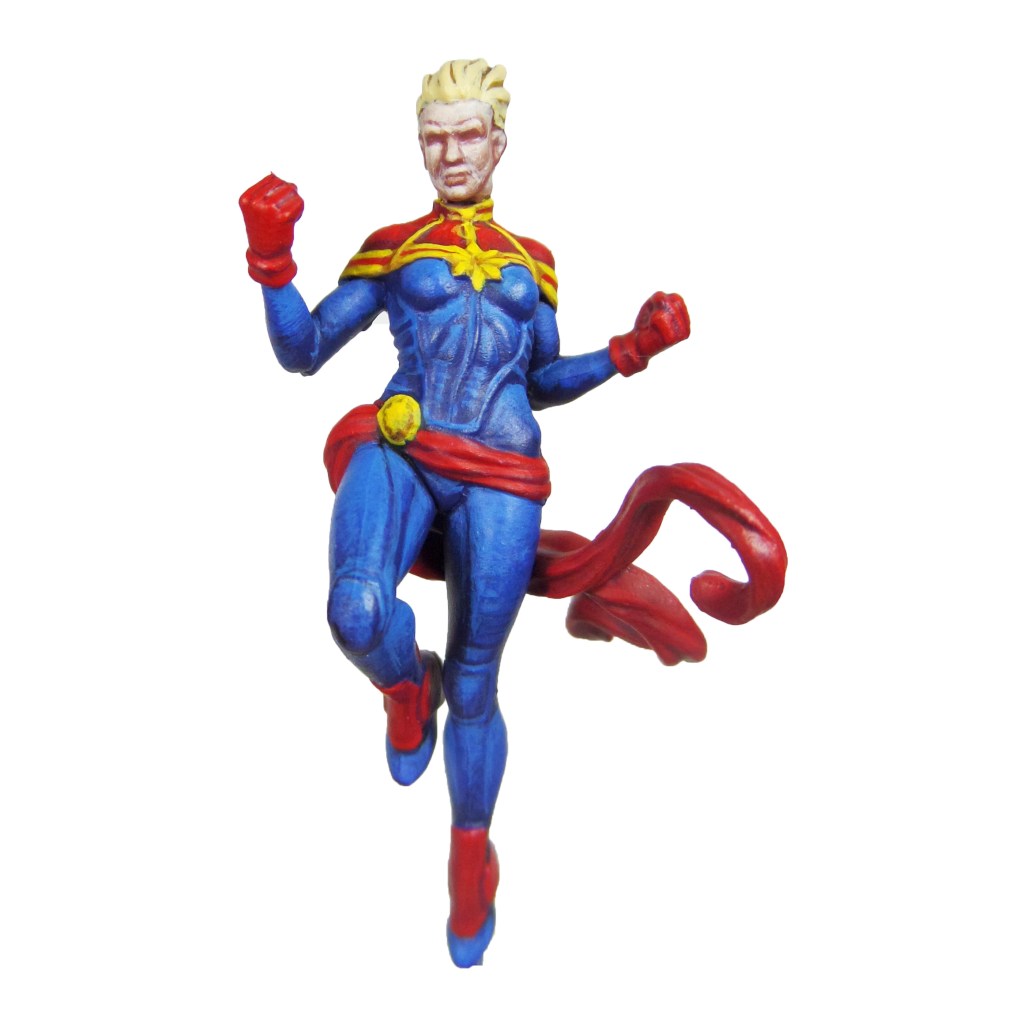
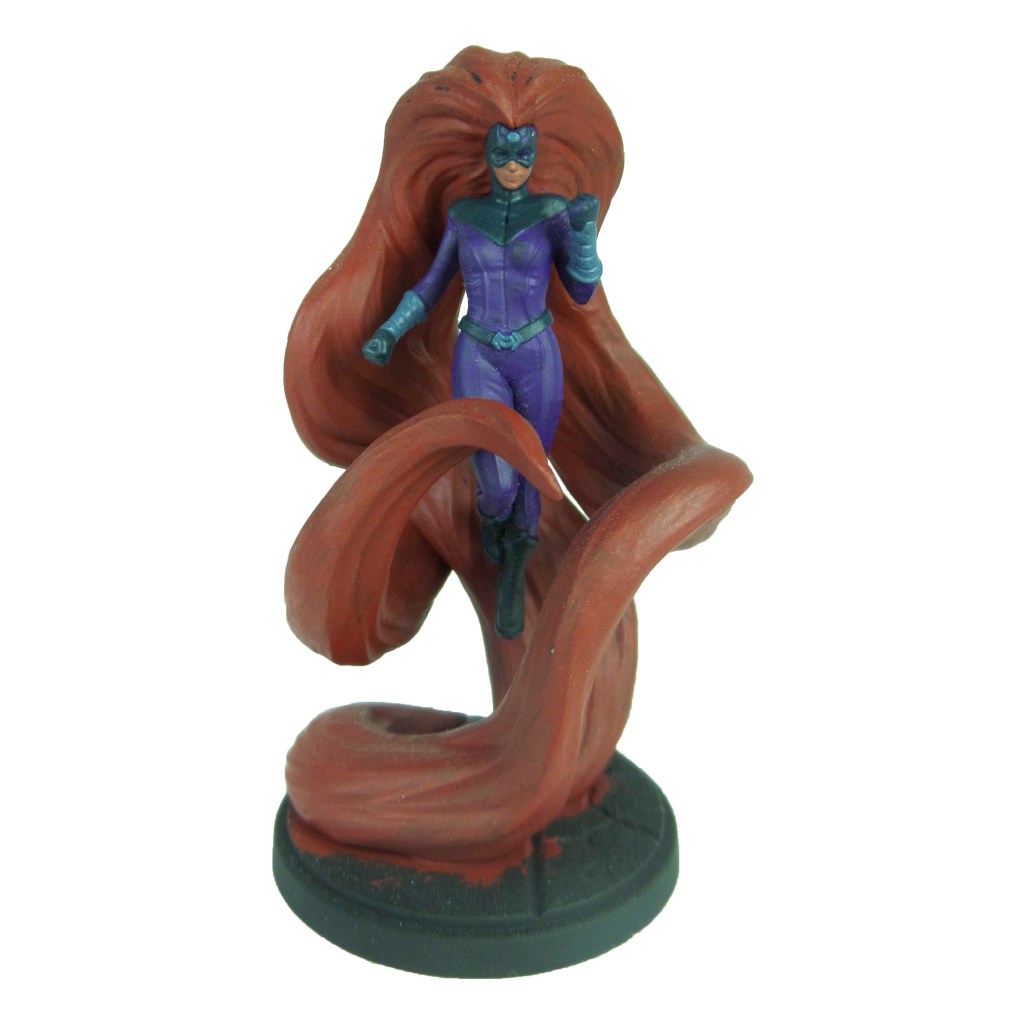
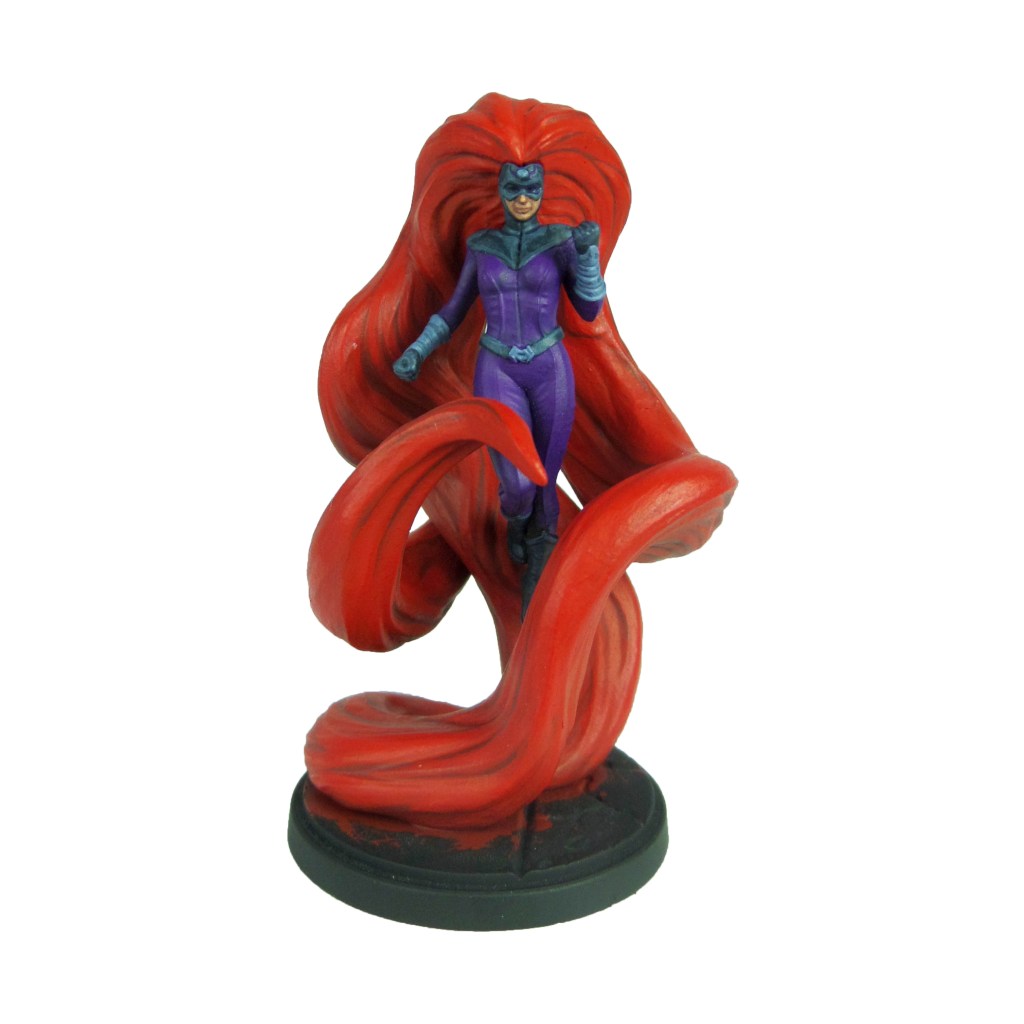
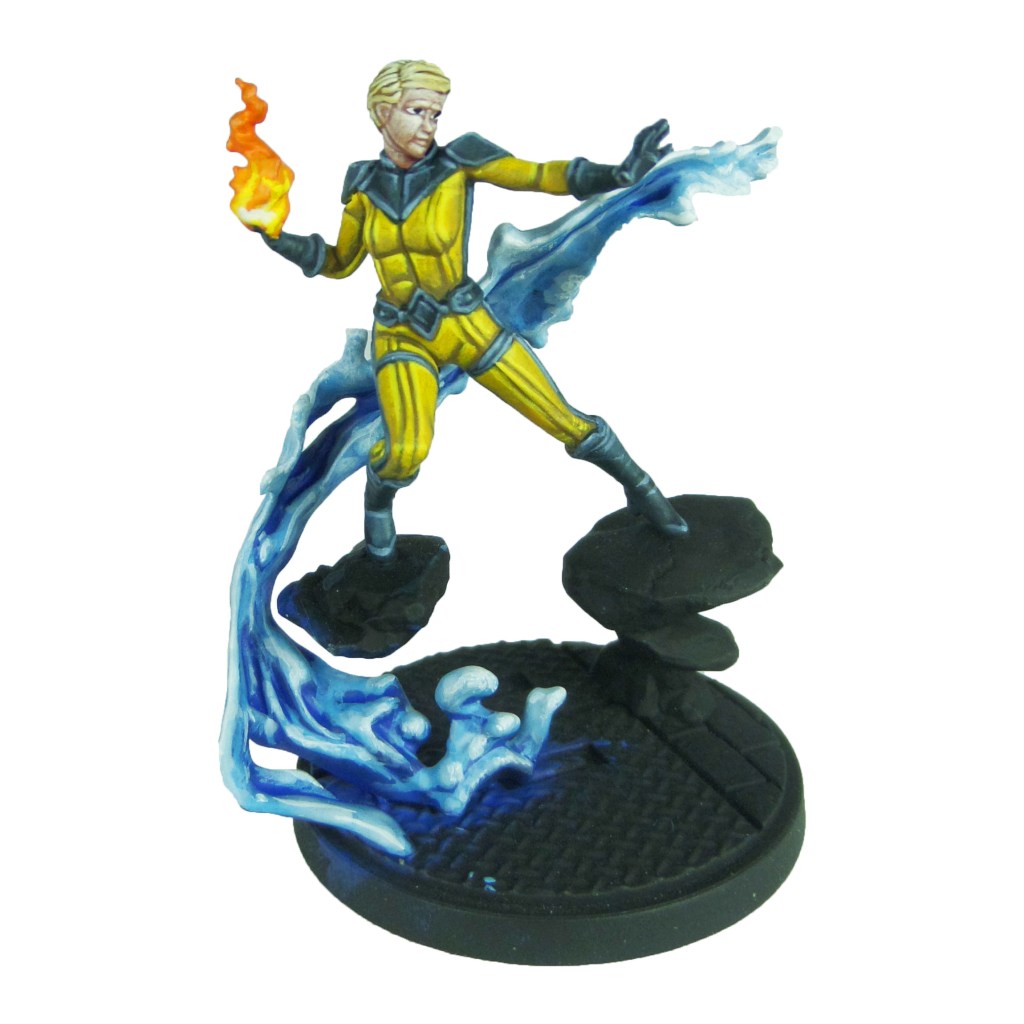
Crystal

Stage 1
Zamesi Desert: Apply a basecoat to the hair.
Bugman’s Glow: Apply a basecoat to the skin.
XV-88: Apply a basecoat to the bodysuit.
Caledor Sky: Apply a basecoat to the water.
Incubi Darkness: Apply a basecoat to the bodysuit patterning and gloves and boots.
Trollslayer Orange: Apply a basecoat to the flames.

Stage 2
Agrax Earthshade: Apply a shade to the hair.
Cadian Fleshtone: Apply a layer to the skin.
Averland Sunset: Apply a layer to the bodysuit
Lothern Blue: Apply a thinned layer to the water.
Thunderhawk Blue: Apply a layer to the bodysuit patterning and boots and gloves.
Fire Dragon Bright: Apply a thinned layer to the centre of the flames.

Stage 3
Blonde Hair 9257(MSP): Apply a line highlight to the hair.
Basic Skintone 70.815(Vallejo): Apply a thinned layer to the skin.
Yriel Yellow: Apply a line highlight to the bodysuit and a thinned layer to the centre of the flames.
Blue Horror: Apply a thinned layer to the edges of the water.
Stage 4
Blonde Highlight 9258(MSP): Apply a spot to the hair.
Light Flesh 70.928(Vallejo): Apply a spot highlight to the skin.
Phalanx Yellow: Apply a spot highlight to the bodysuit and fire.
White Scar: Apply a spot highlight to the water.
Fenrisian Grey: Apply a spot highlight to the bodysuit lining, boots and gloves.
Finish by painting the base with the Base Painting guide.
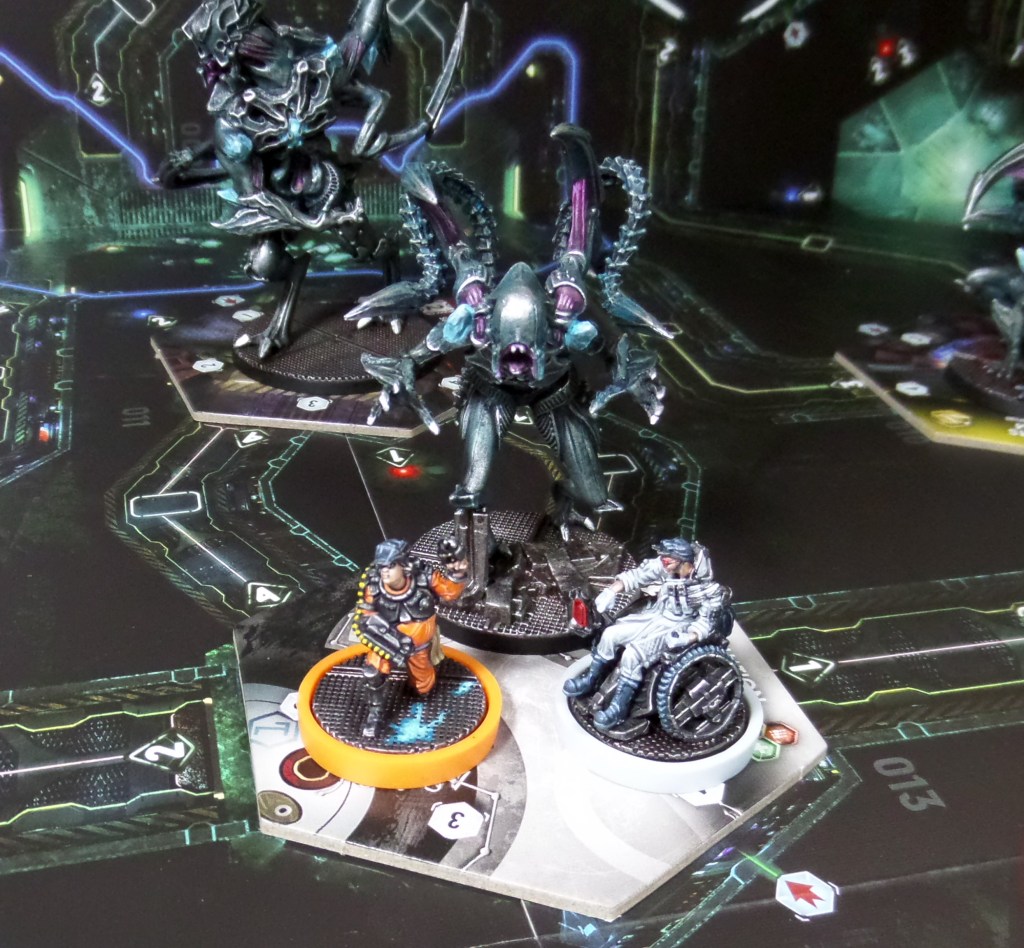
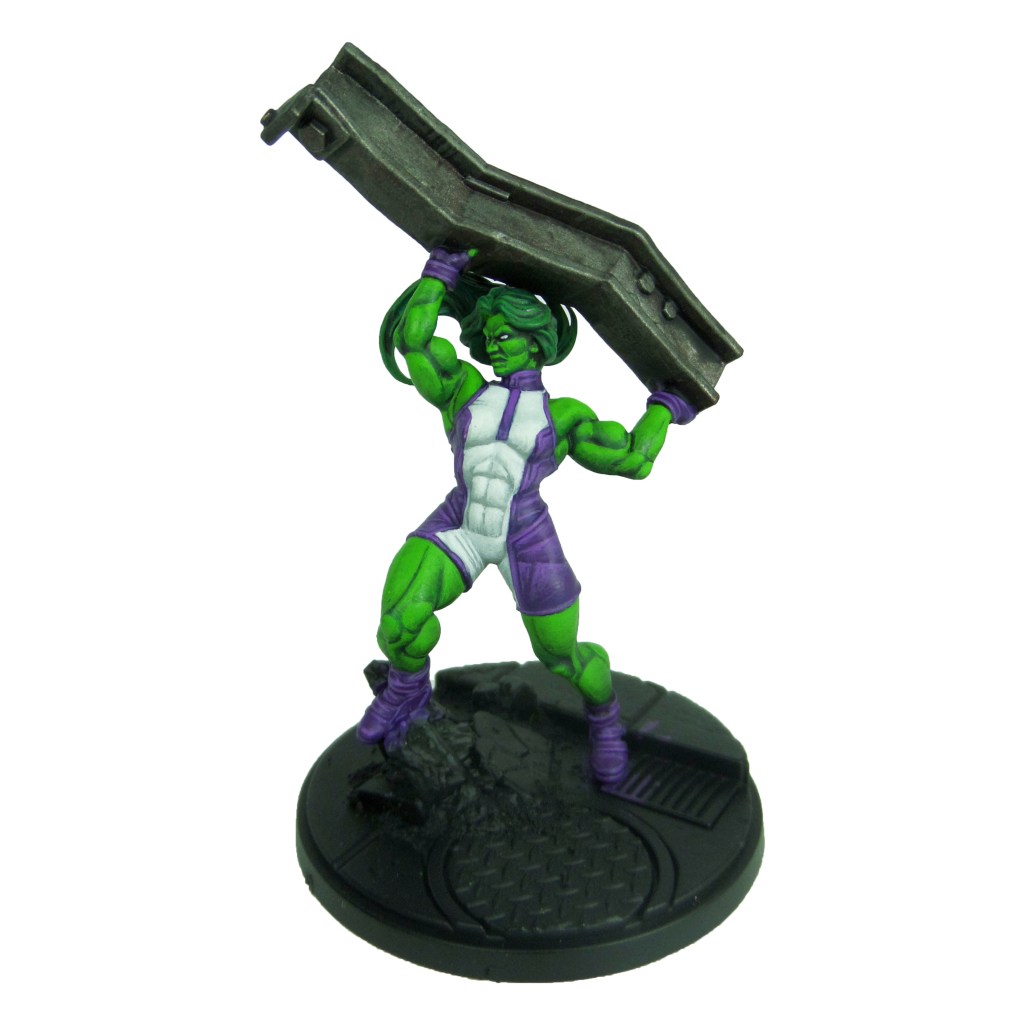
Lockjaw

Stage 1
XV-88: Apply a basecoat to the fur.
Eshin Grey: Apply a basecoat to the forehead symbol.
Rhinox Hide: Apply a basecoat to the snout and around the ears and a glaze around the eyes.
Screamer Pink: Apply a basecoat to the mouth and tongue.
White Scar: Apply a basecoat to the eyes.
Blue Horror: Apply a basecoat to the saliva.
Flayed One Flesh: Apply a basecoat to the teeth.

Stage 2
Balor Brown: Apply a layer to the fur.
Russ Grey: Apply a layer to the forehead symbol.
Mournfang Brown: Apply a thinned layer to the snout.
Emperor’s Children: Apply a layer to the mouth and tongue.
Teclis Blue: Apply a circle to the centre of each eye.
Pallid Wych Flesh: Apply a layer to the saliva and teeth.
Thunderhawk Blue: Apply a layer to the nose.

Stage 3
Zandri Dust: Apply a thinned layer to the fur.
Blue Horror: Apply a line highlight to the forehead symbol.
Steel Legion Drab: Apply a line highlight to the snout.
Fulgrim Pink: Apply a line highlight to the mouth and tongue.
Abaddon Black: Apply the pupils to the eyes.
White Scar: Apply a spot highlight to the saliva and teeth.
Russ Grey: Apply a spot highlight to the nose.

Stage 4
Flayed One Flesh: Apply a spot highlight to the fur and the snout.
White Scar: Apply a spot highlight to the forehead symbol and the eyes.
Fulgrim Pink/White Scar: Make a 1:1 mix and apply a spot highlight to the mouth and tongue.
Fenrisian Grey: Apply a spot highlight to the nose.
Finish by painting the base with the Base Painting guide.