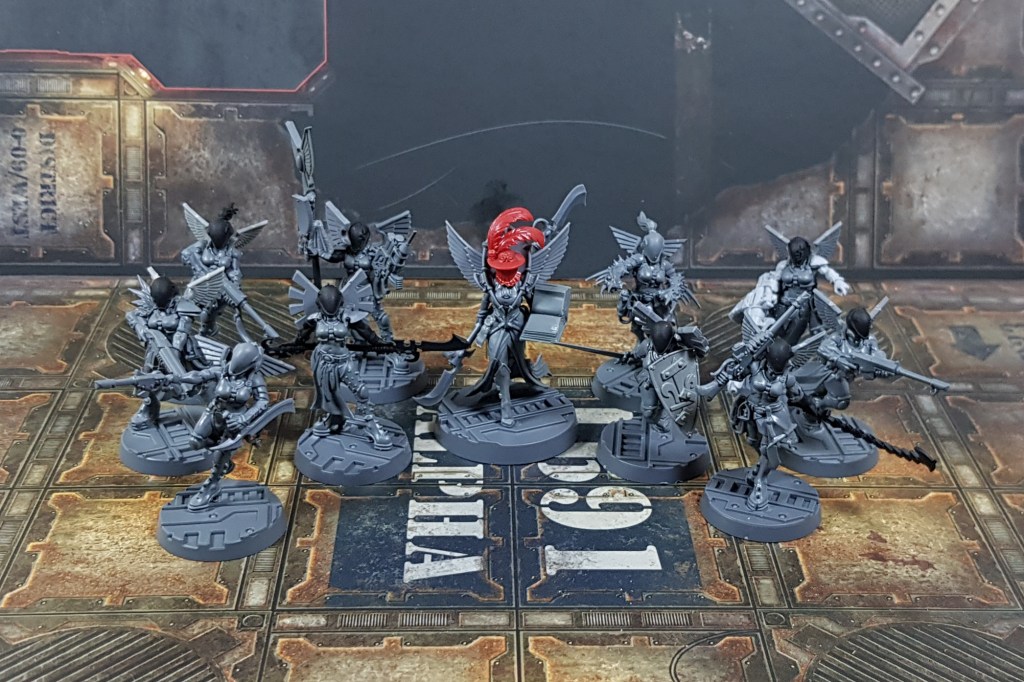
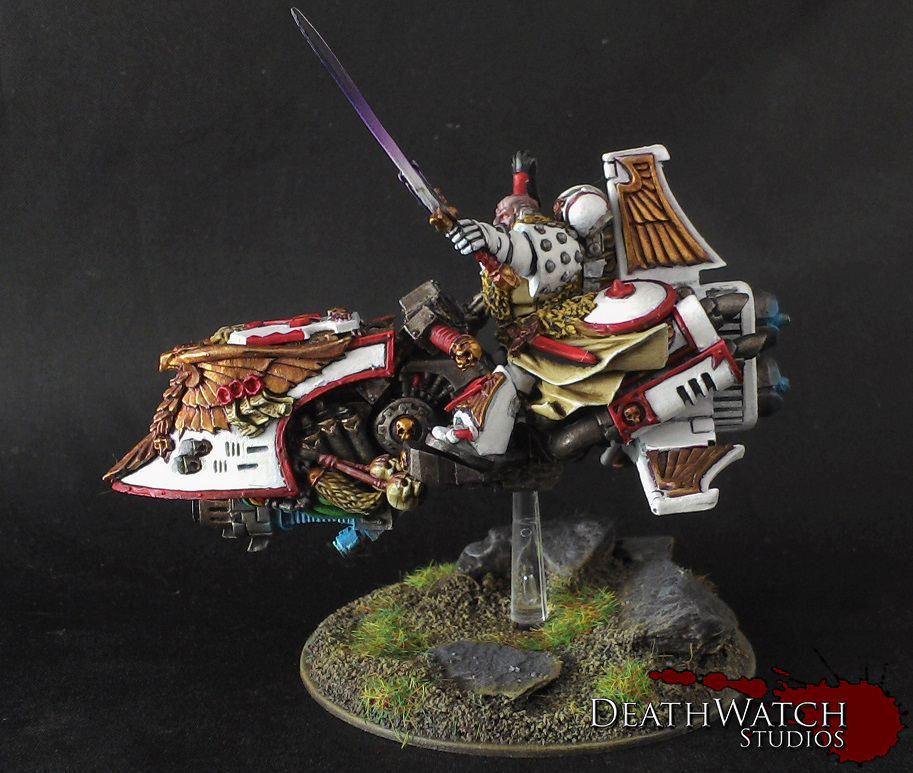
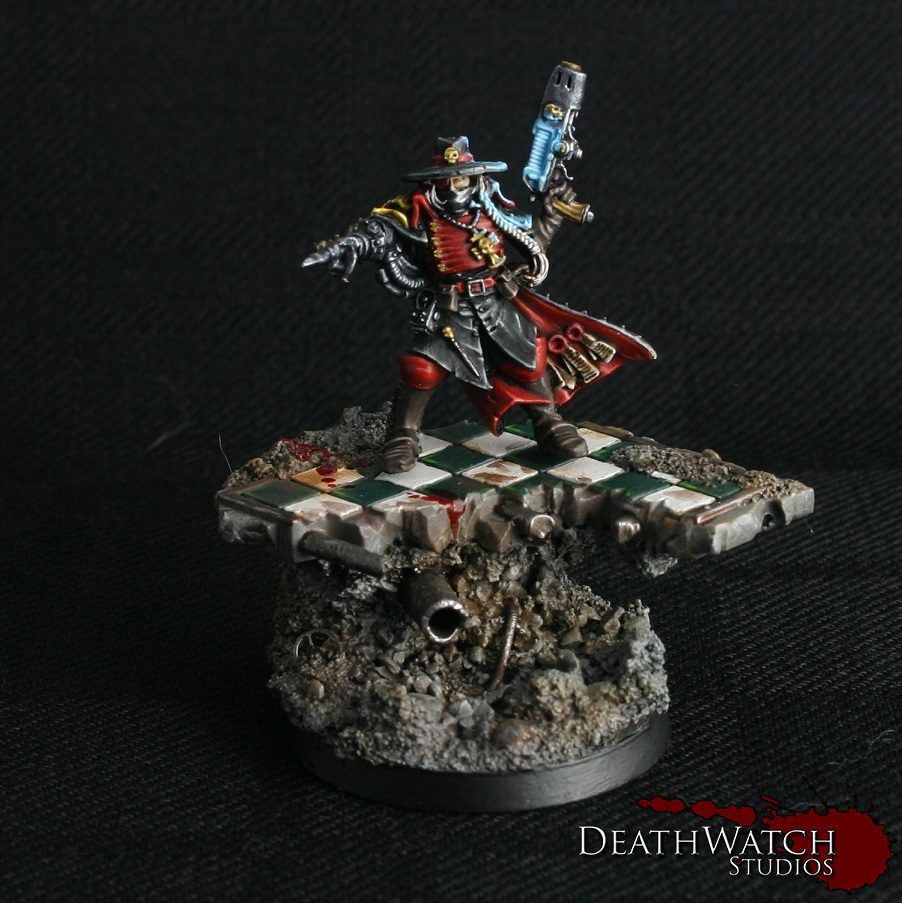
I was recently asked for some hints and tips on painting, specifically the Inquisitor Lorr model I painted over a year ago, on my Facebook page. So I thought I would gather my thoughts a bit, try and remember the colours and techniques I used and share with everybody how I achieved the paint job on this guy…
So without further ado let’s take a look at the first section, the reds…

I started these off with a straight up basecoat of Khorne Red, giving a couple of coats to ensure I had a nice flat base to work from.
This was followed by a wash of Agrax Earthshade. This wash more than anything was to show where the grooves and folds in the cloth were in order to better guide the following highlights.
The first of these highlights was with Mephiston Red, slightly watered down and applied over a couple of coats to get a nice bold colour. Make sure you leave only the recesses, shown by the previous wash, the original Khorne Red.
This was followed up with a highlight of Evil Sun Scarlet, making sure to keep some of the Mephiston Red highlight showing.
I then mixed a wee touch of White Scar into the Evil Sun Scarlet and applied a Highlight only to the very edges of the raised areas and following this just a few dabs of almost pure white.
The whole lot was then given a thin glaze of Bloodletter to help blend the colours together.

The black was started off, surprisingly, with a base of Abaddon Black.
The best way I’ve found to keep blacks looking nice and dark is to keep this basecoat as the most prominent colour, meaning any highlights applied are only on the folds and ridges. Even then only on the most prominent and keeping them to the very edges.
The first highlight was applied Mechanicus Standard Grey over a couple of watered down coats. Keep only a little of the watery paint on the brush and apply only a little to the edges at a time, and make sure the previous coat is dry before applying the next. Each successive coat should be kept a little closer to the edge than the last.
Do the same as above but this time with Dawnstone and then Celestra grey, just make sure to always keep a little of the previous colour showing through. The final highlight is a very light of touch of white, only on the very tips and points.
To finish it off give it a light wash of Nuln Oil, like the reds to blend the colours together.

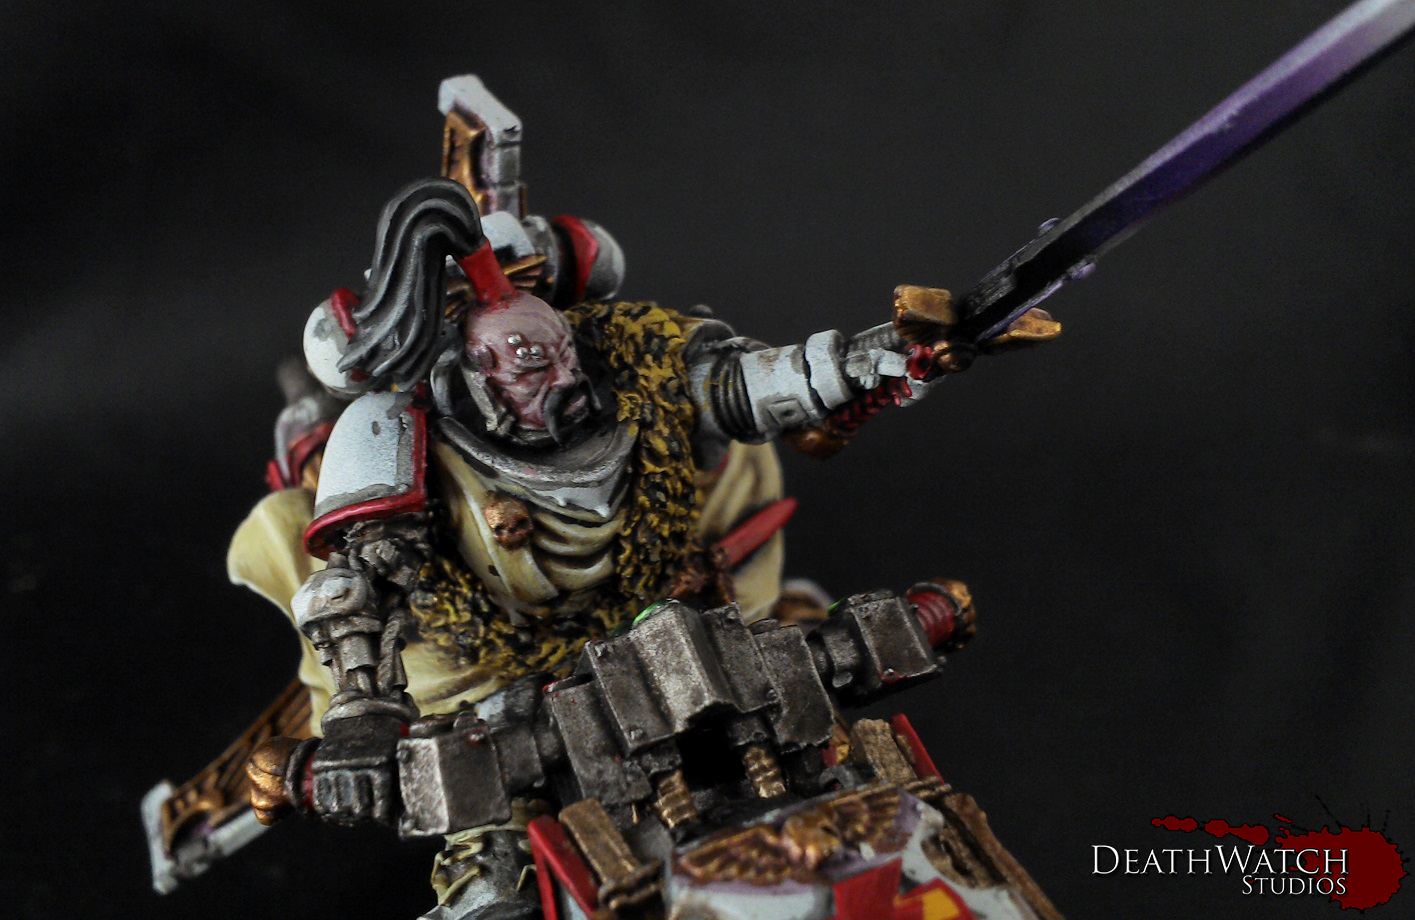
The glow from the plasma pistol was by far the trickiest part to achieve, but don’t be daunted to give it a try. All it takes is a little patience. One of the most important things to keep in mind when doing this is how the light travels to try and get a realistic looking effect. It’s tricky to get right and I find the best way to get a good look at how it would work on your model is to shine a torch or small light from roughly the same area as whats going to be your light source. Keep a mental note of where the light touches and where is shadowed.
This was applied once the rest of the areas around the light source were fully painted. I started it off by applying a very watered down coat of 2:1 Sotek Green and White Scar. You want about 4 parts water added in and only a light amount of the mix on your brush. Be gentle and apply the paint sparsely, building it up over several layers, getting the colour bolder towards the centre of the light source.
The next stage was to use the same technique as above but this time using only Lothern Blue and water. As before ensure you always leave a little of the last coat showing through. From here keep adding a little White Scar to the mix, and adding a coat of each mix, until it’s pretty much pure white being applied only to the very edges.
And there you have it. That’s how I did the main colours on my Gideon Lorr mini. If you have any other questions on how I painted this or any other figures you have seen on the site just give me a holler 🙂