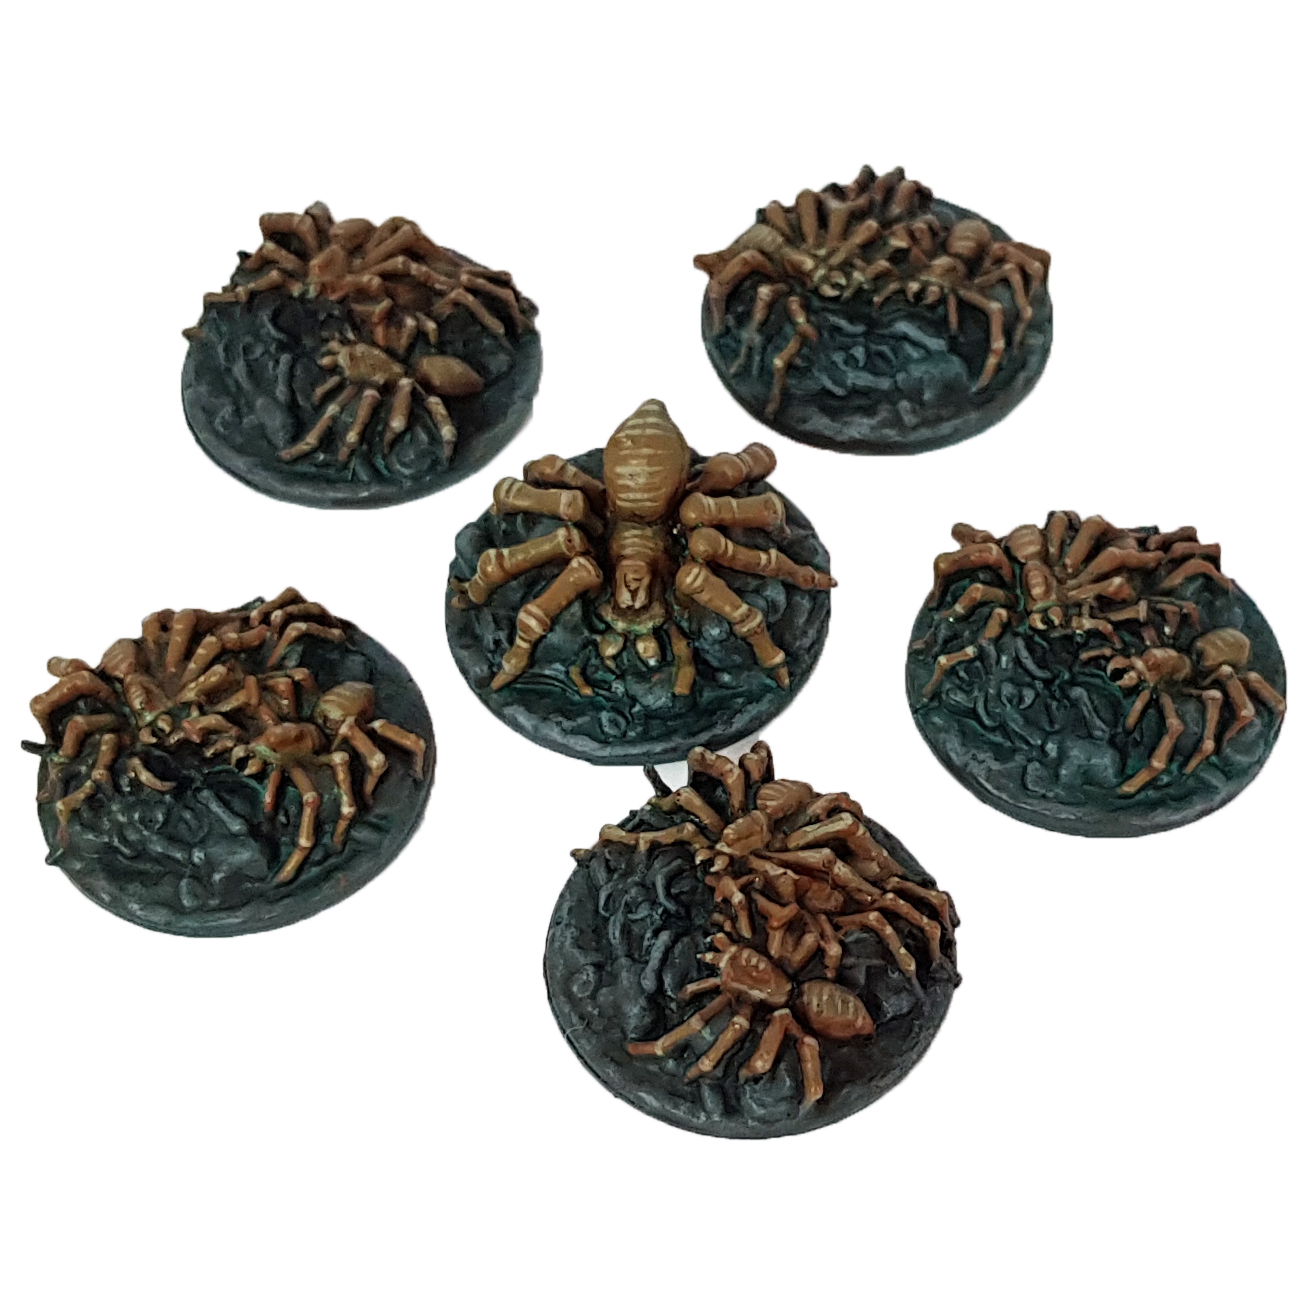
My most recent painting guide in Tabletop Gaming magazine covered the creatures of the deep from the board game Unfathomable. You can find the guide in Issue 65 of Tabletop Gaming magazine.
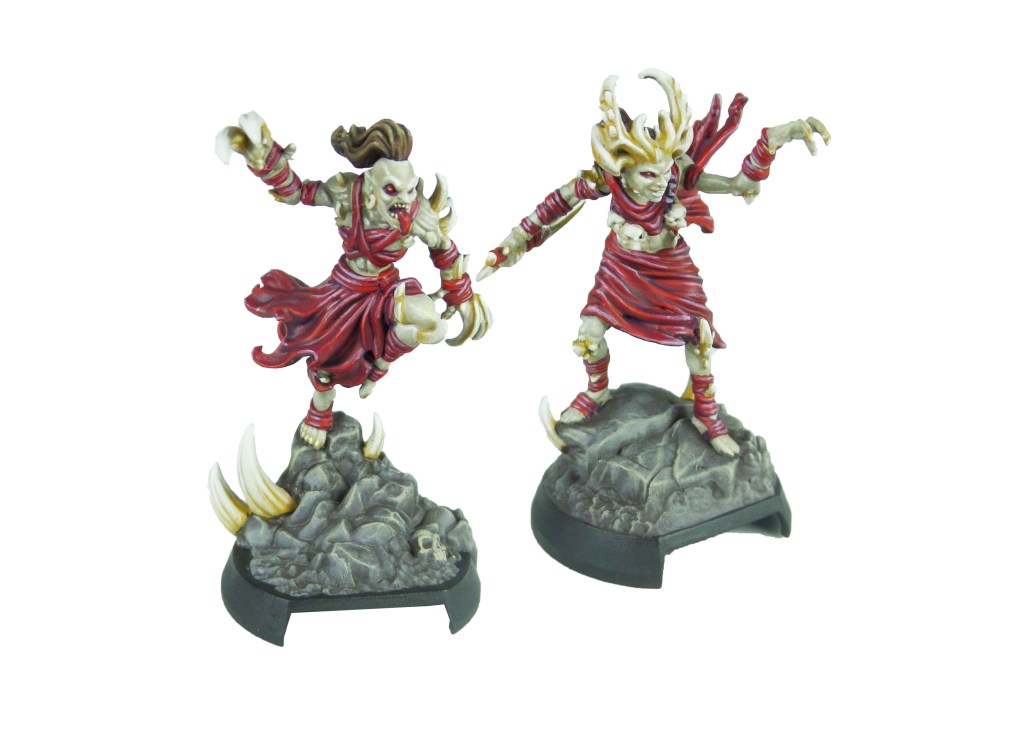
This one felt very similar to the Nemesis guide in that it had a variety of enemies painted in a very similar style, but without any hero models to go alongside them. I also love big gribblies, so the Mother and Father figure were a delight.
I opted for a purple to green tone to lean into the deep sea angle and keep them very similar to the art style of the game, and a red accent to the eyes to increase the sinister aspect.
My most recent painting guide in Tabletop Gaming magazine covered some goblins from the charming Moonstone. Find the guide in Issue 64 of Tabletop Gaming magazine.
This was a fun wee guide where I tried to push my NMM a little. Mostly the same tone of metal but I am really pleased with the results.
It’s something I’m likely to keep going with in the guides and pushing my own skills forward.
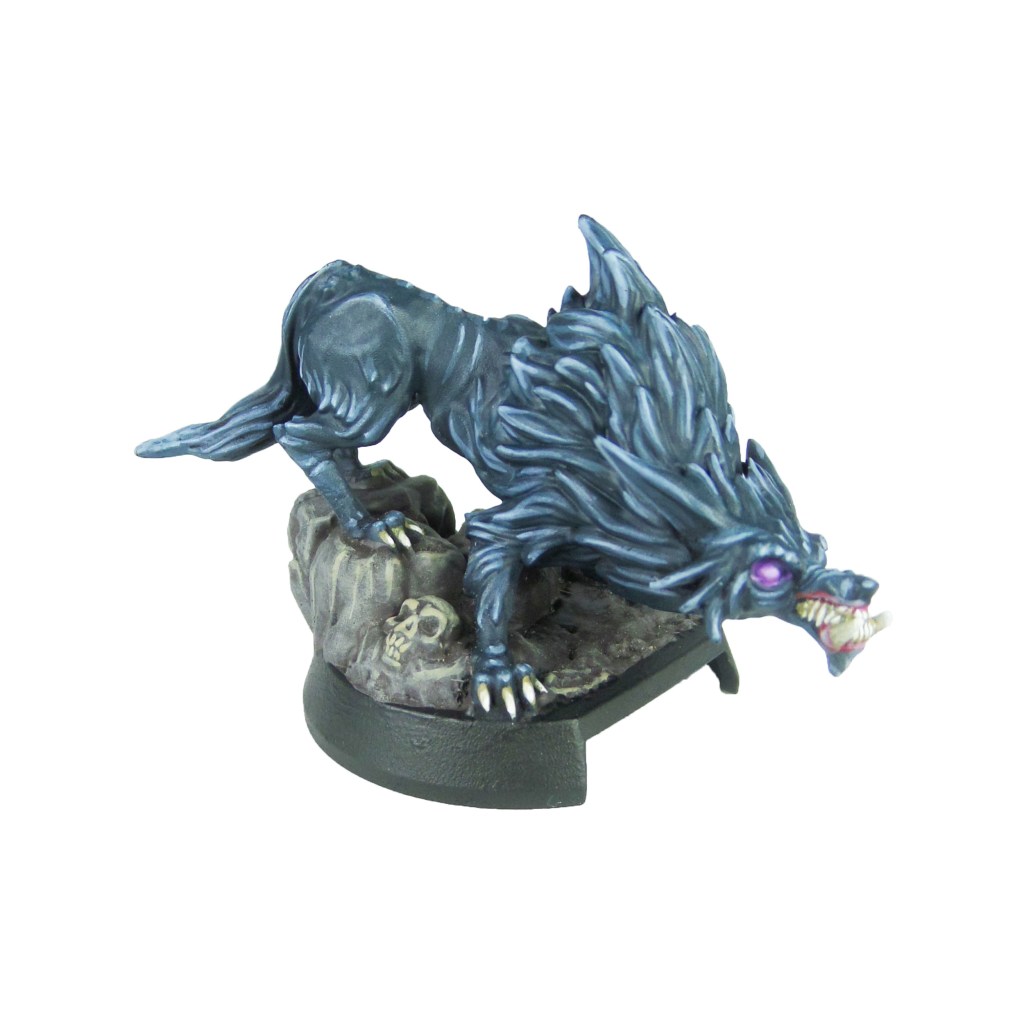
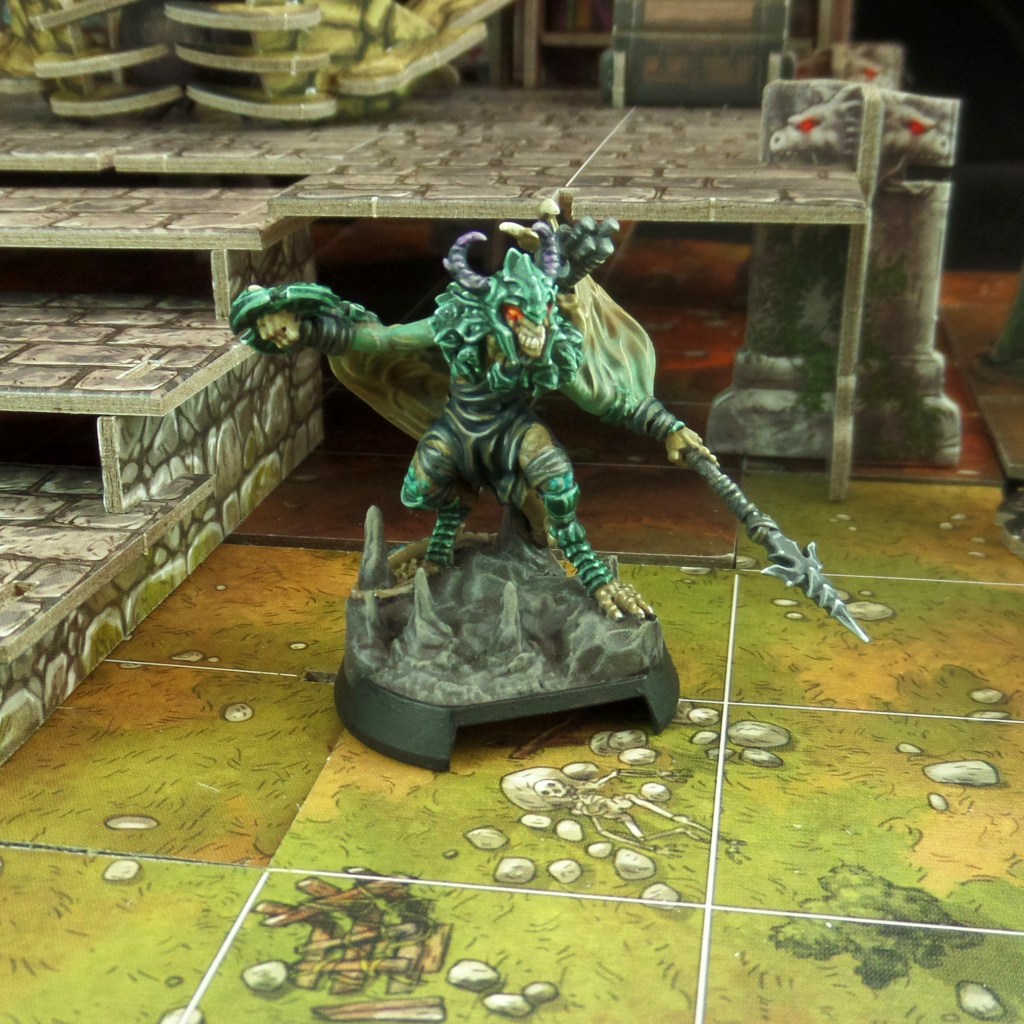
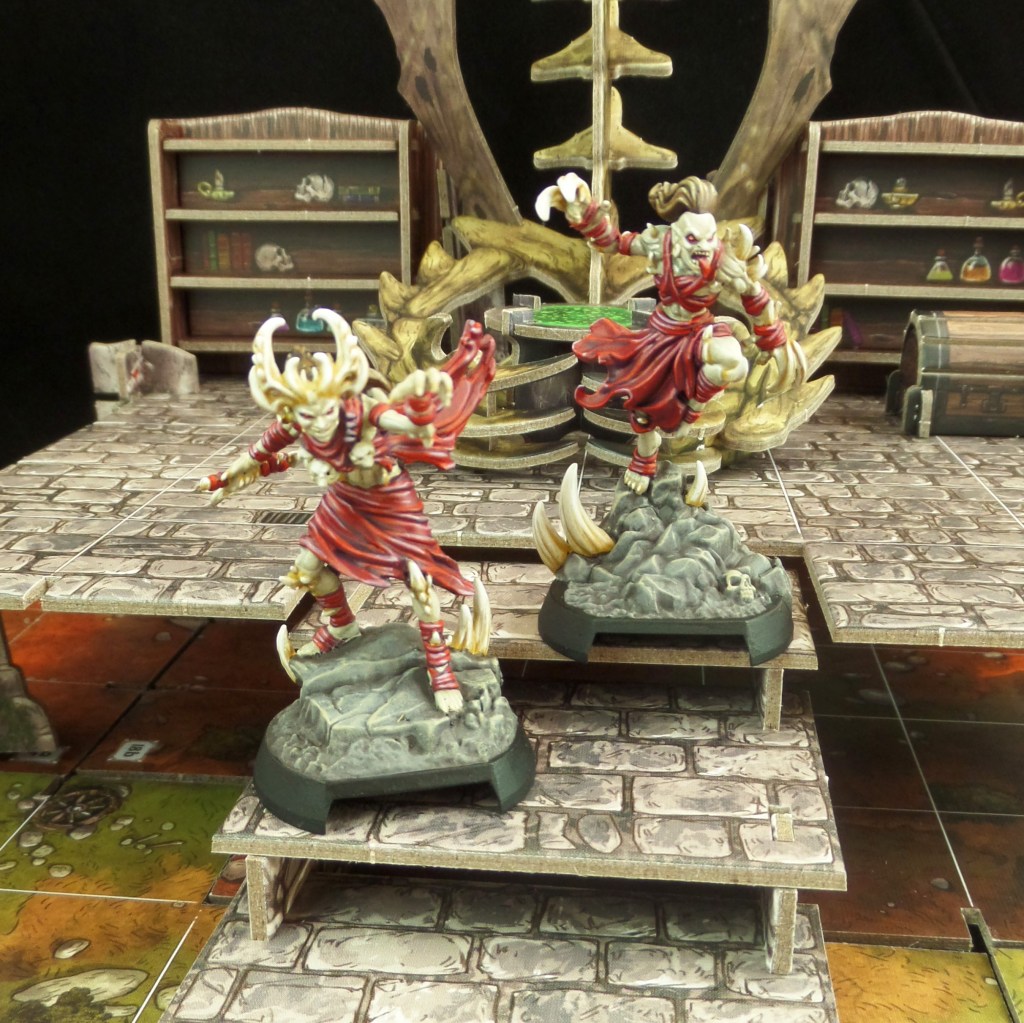
My latest guide sees me working my way through a massive game from Fantasy Flight. Descent: Legends of the Dark is a reboot of a classic dungeon crawler. The second part of my guides covers the enemies of the game.
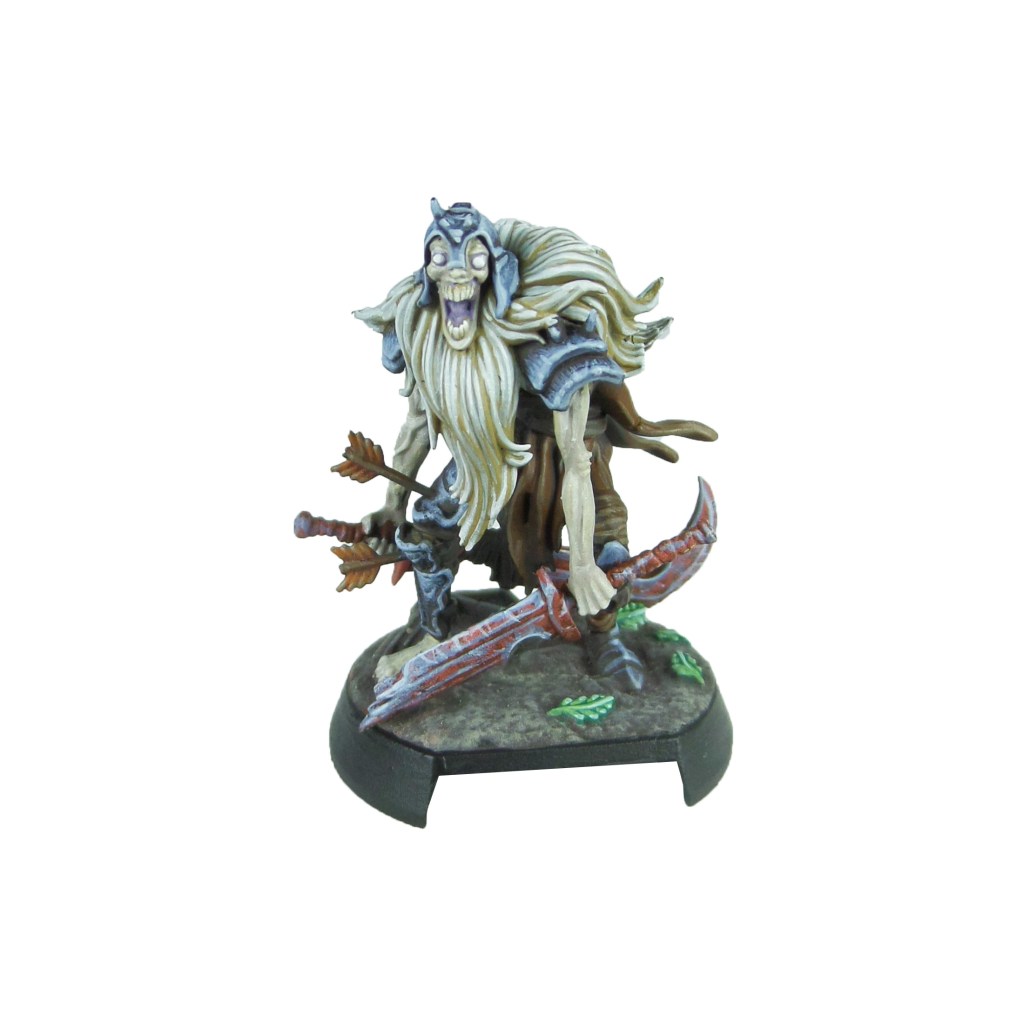
Just like the heroes before them, the enemies are stunning models. There’s a great variety, something usually missing from core set enemies, that really adds to the feeling of a living, breathing world. The detail is superb as well, these are not your usual board game minis. Each one oozes character and have a real feel of dynamism, such as the bandit leaping through a cloud of smoke.
I’m really excited to see what they do in future expansions.
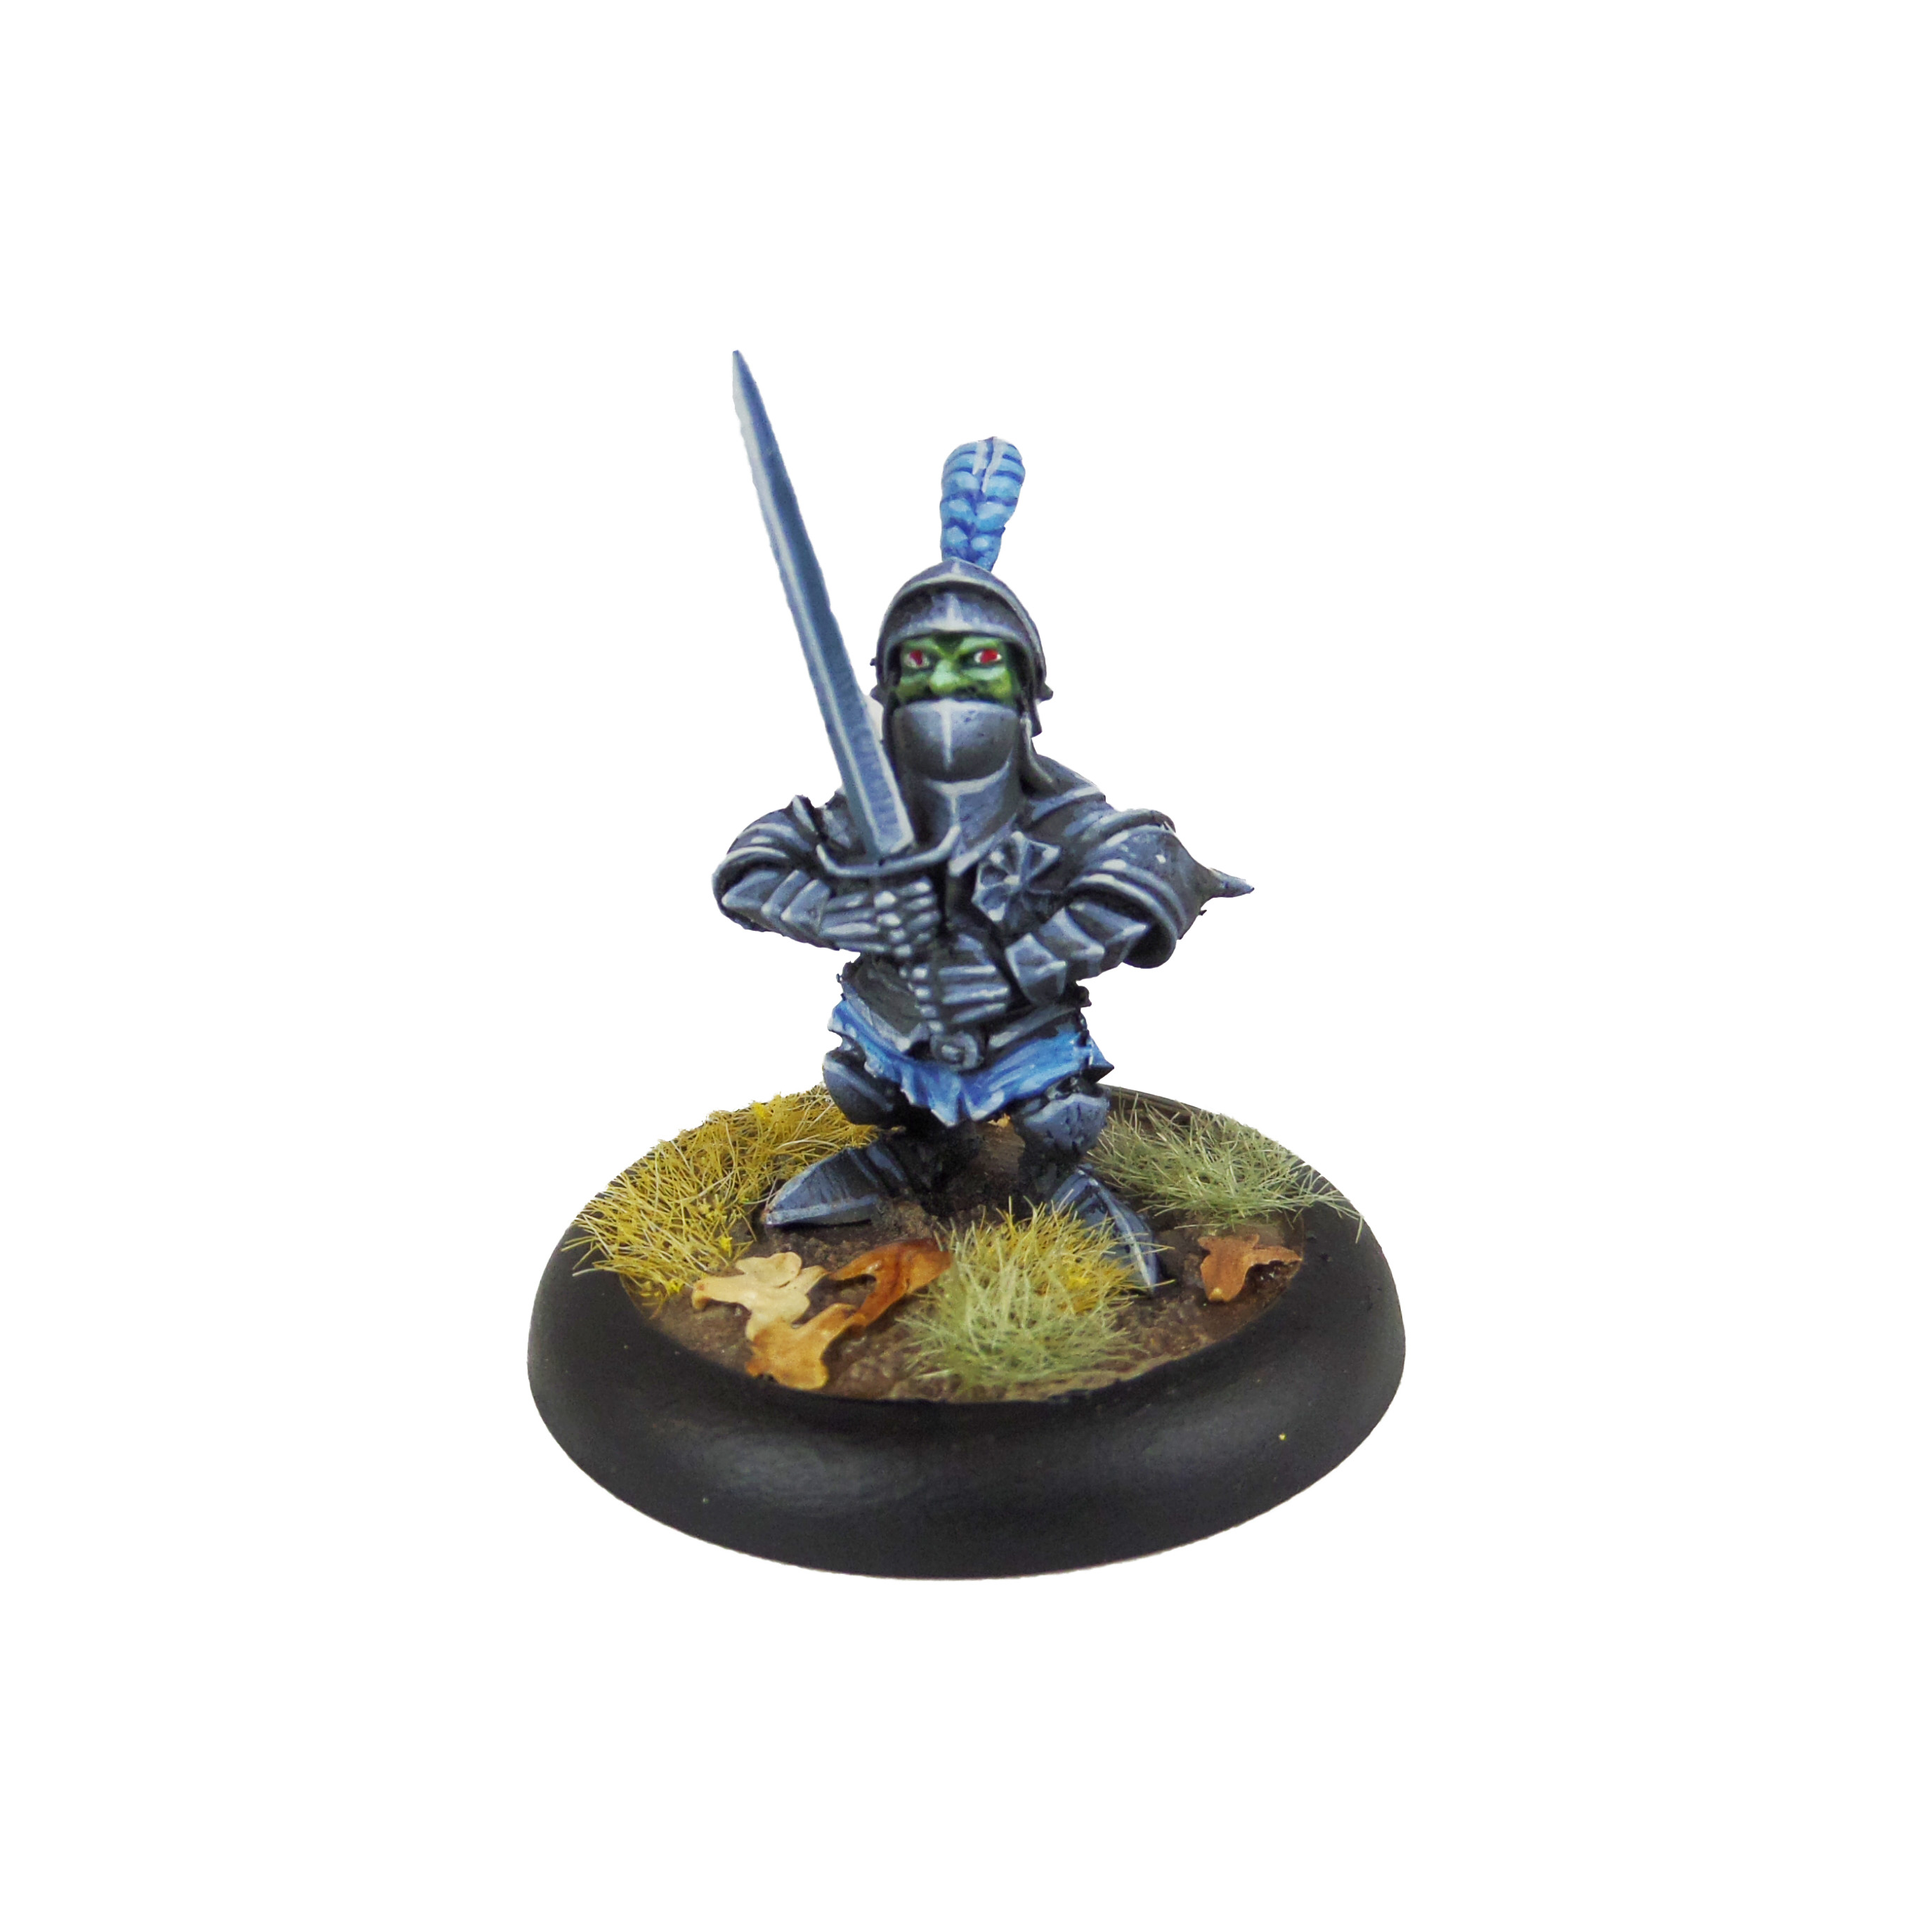
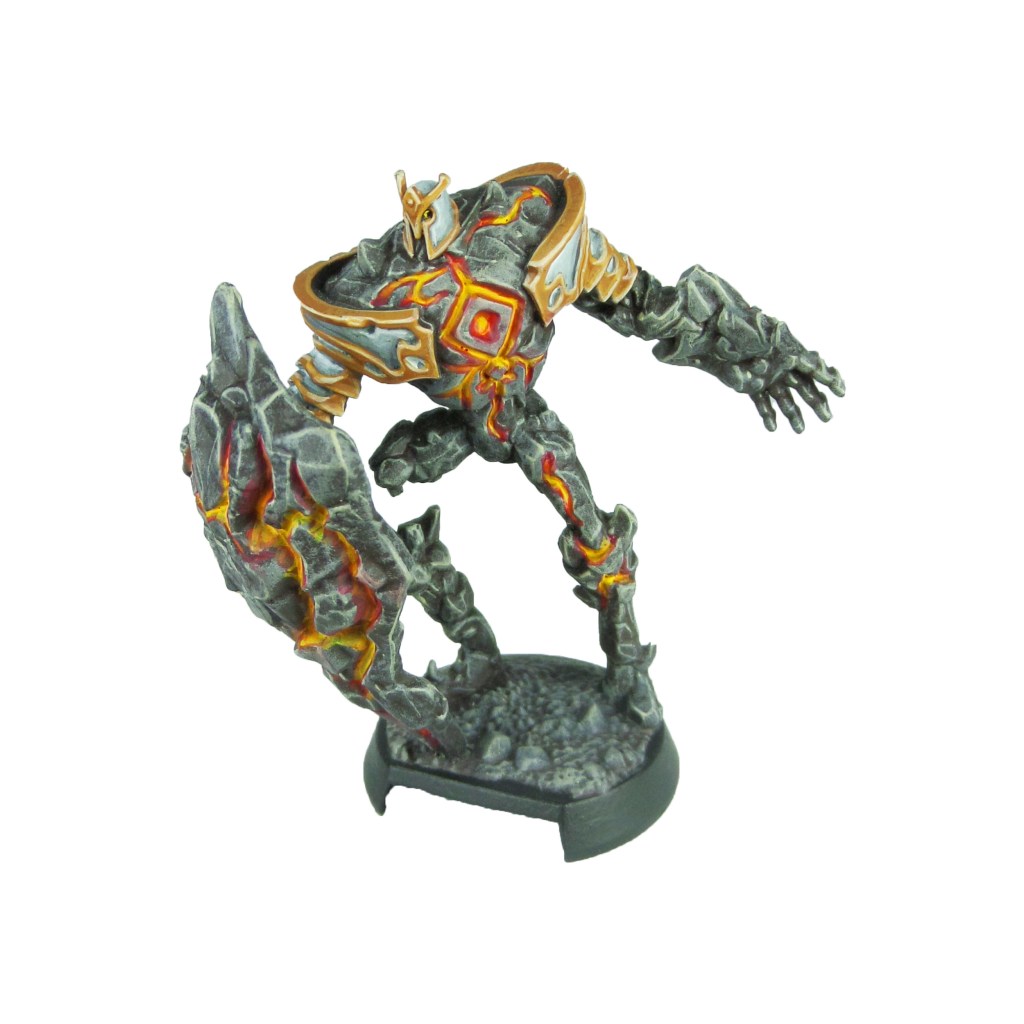
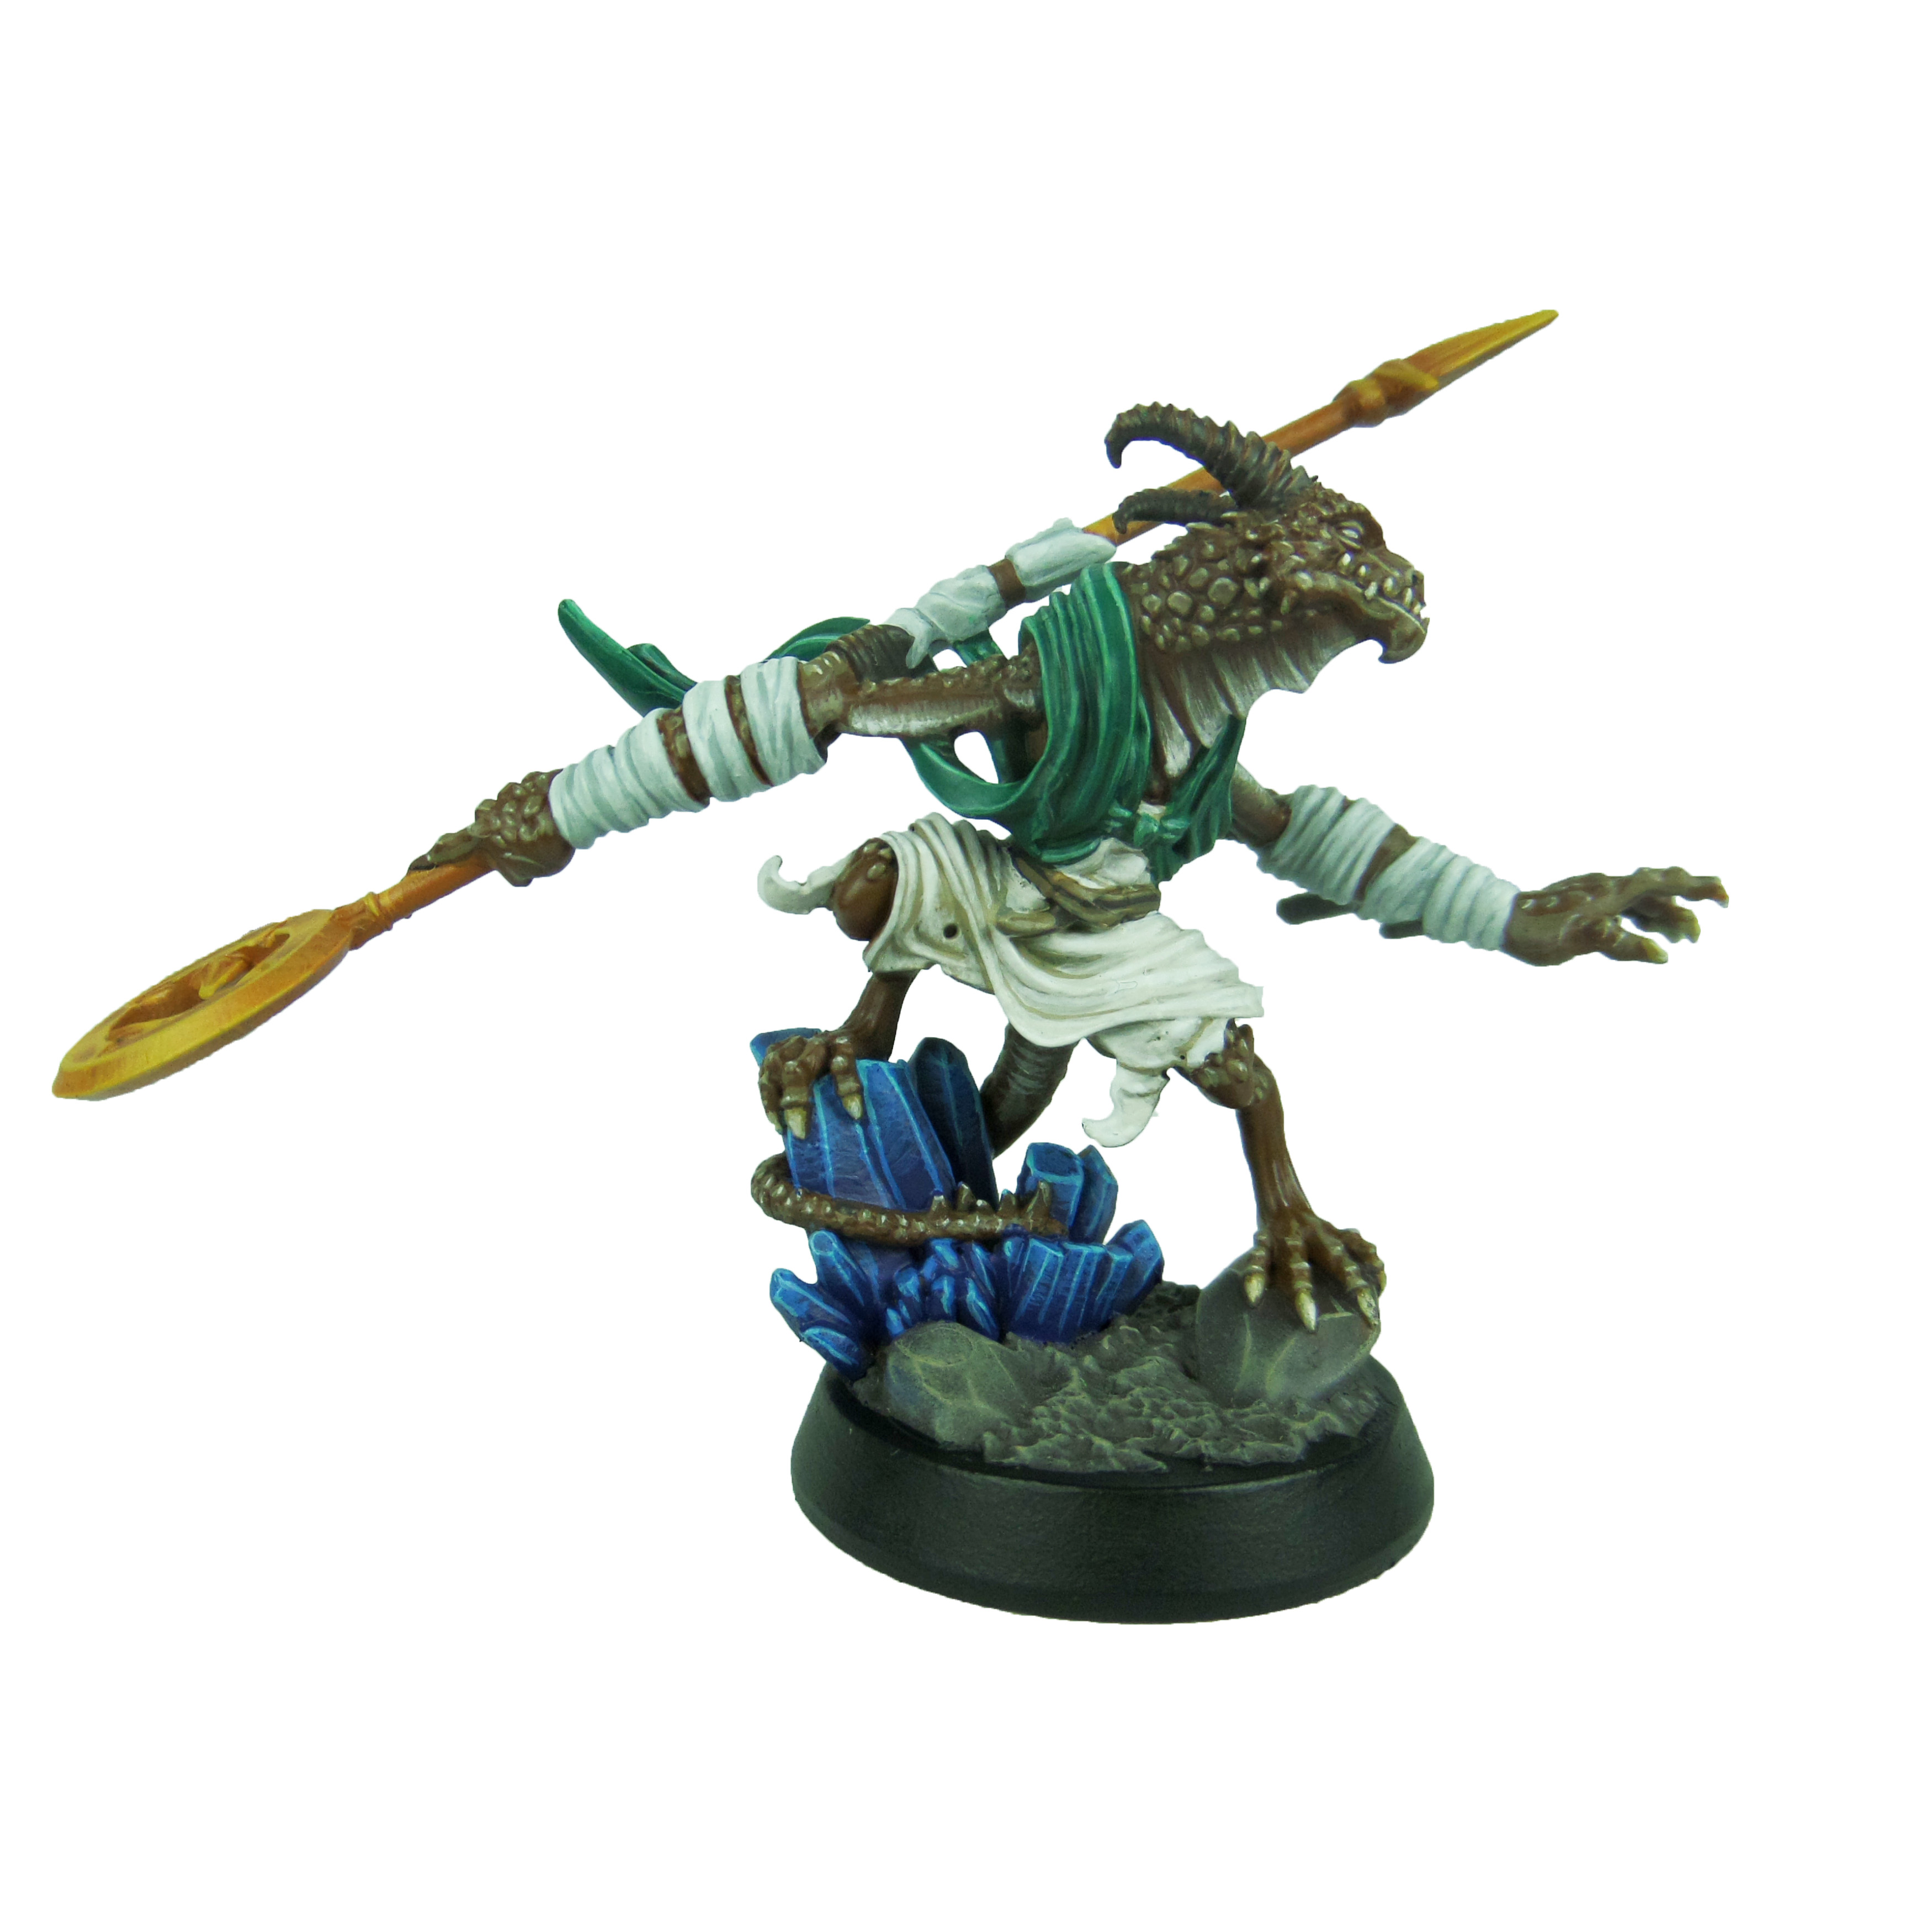
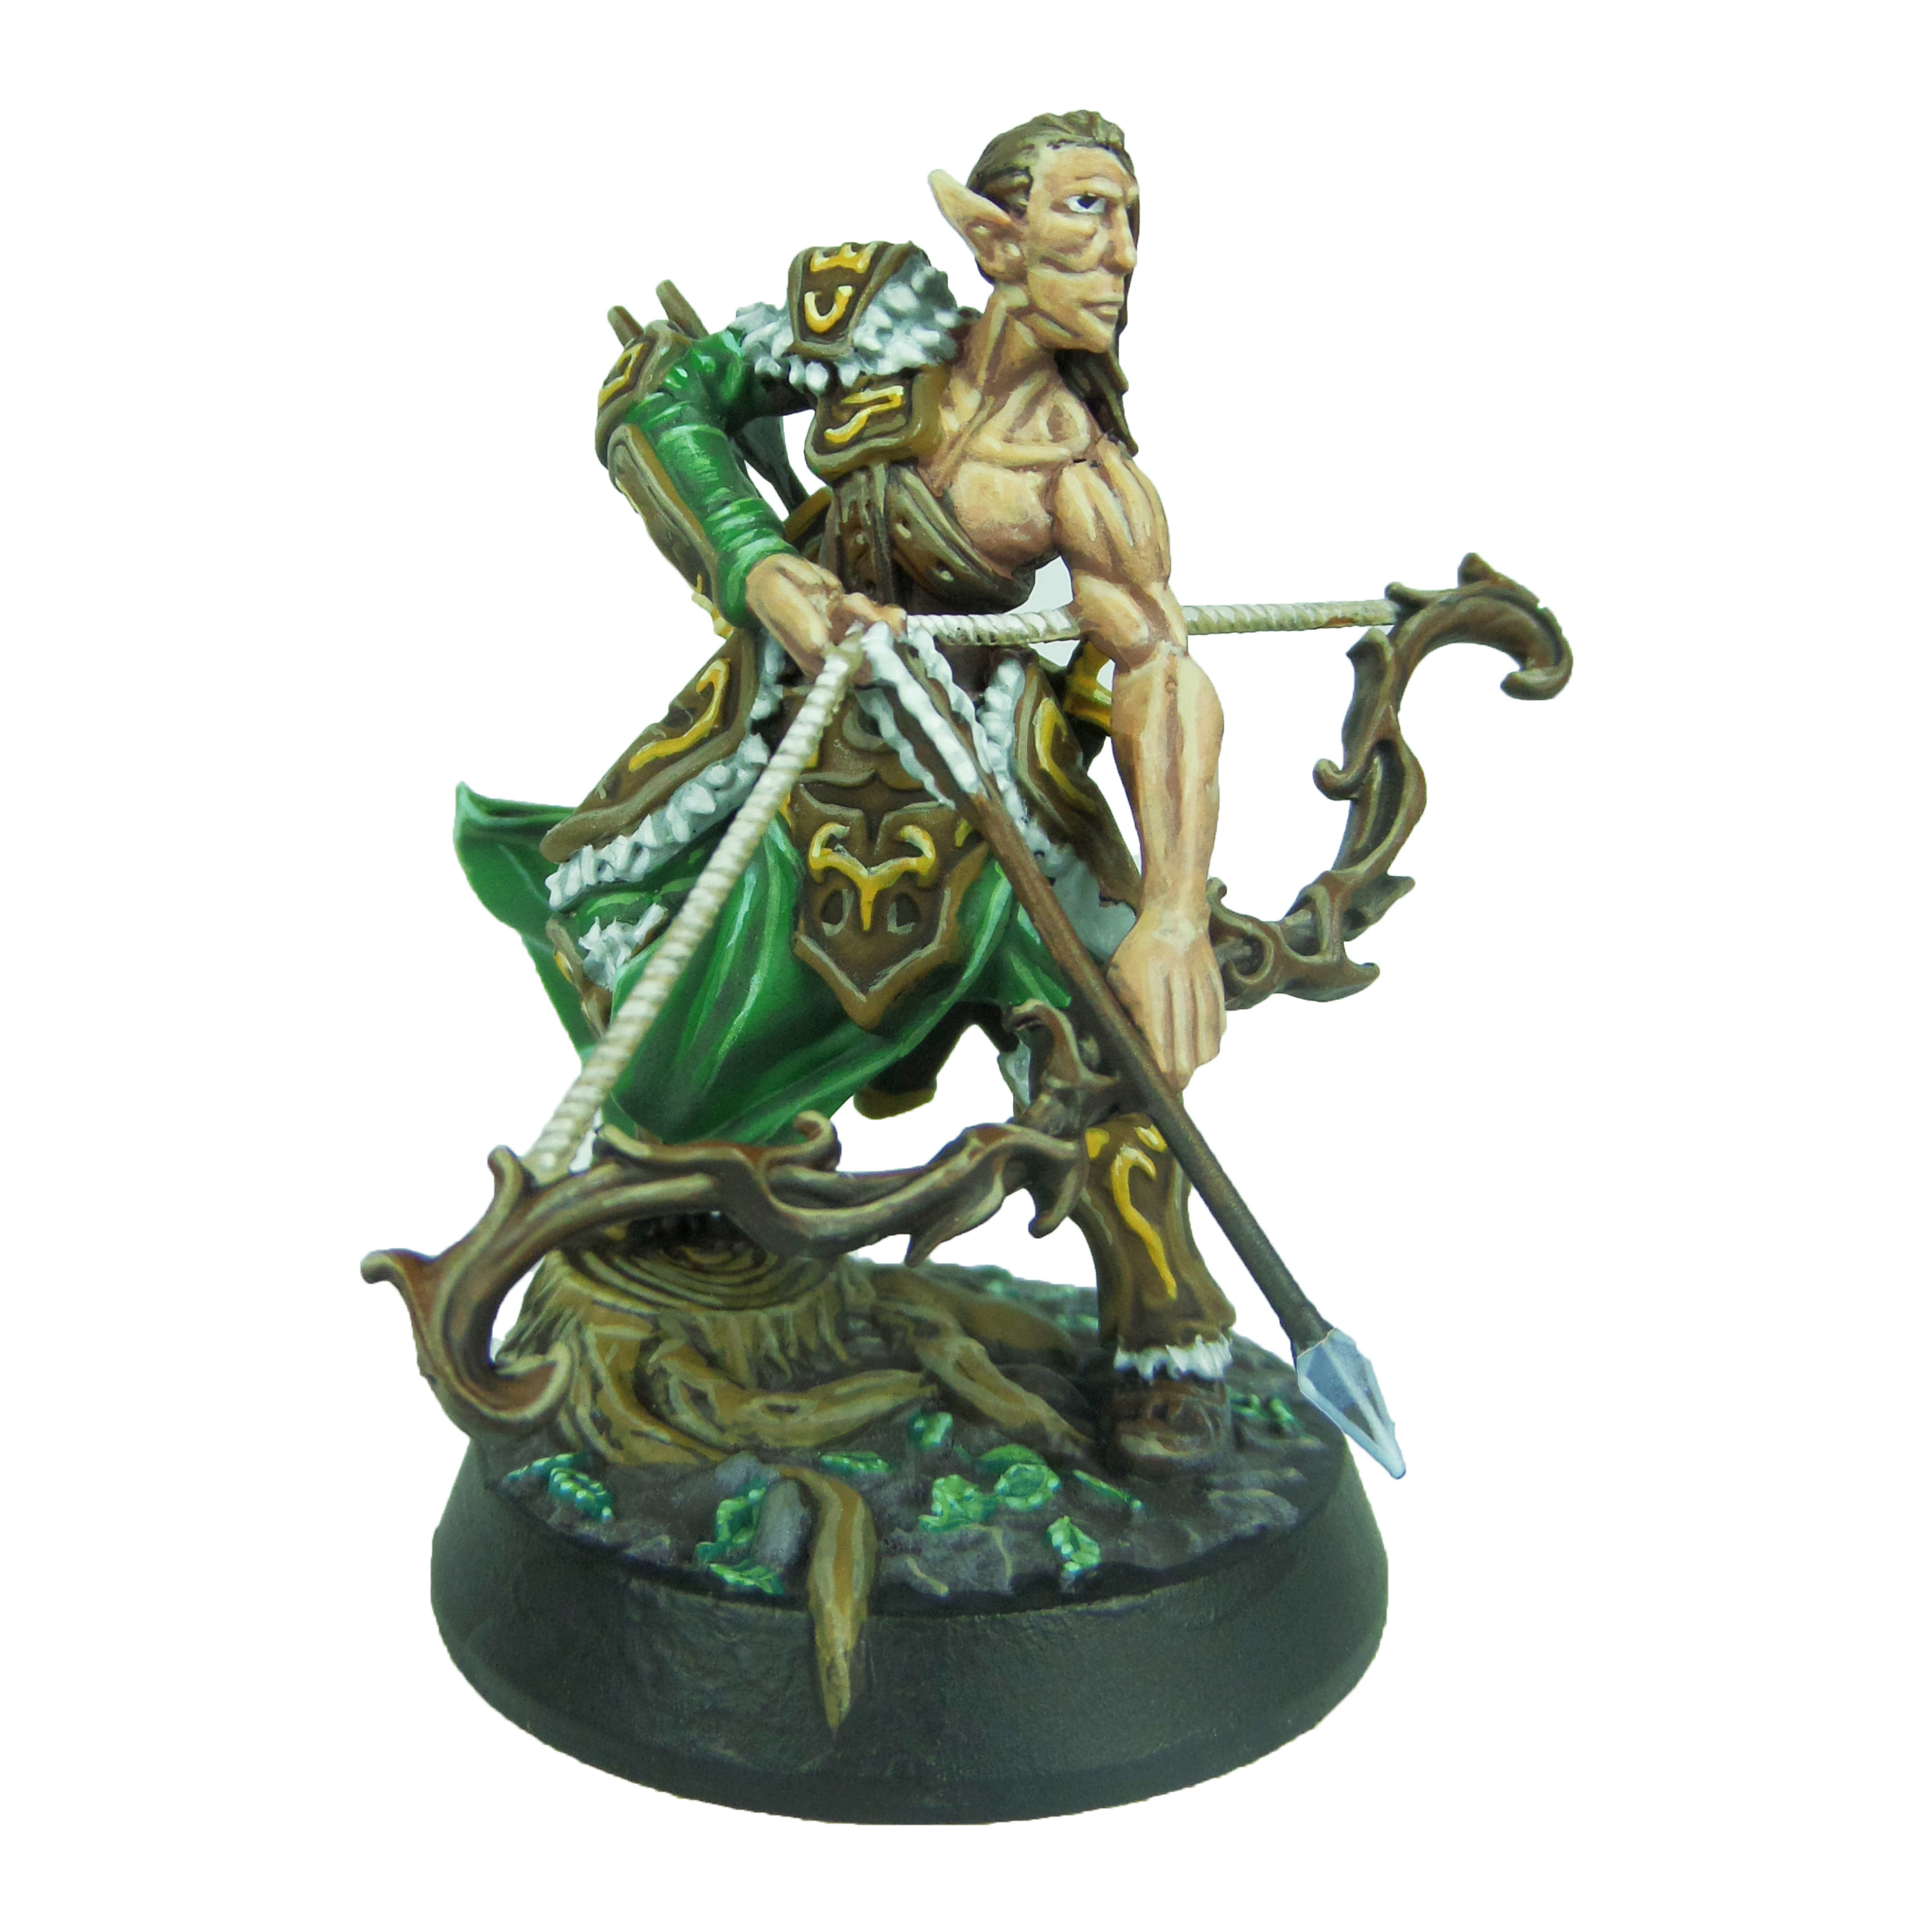
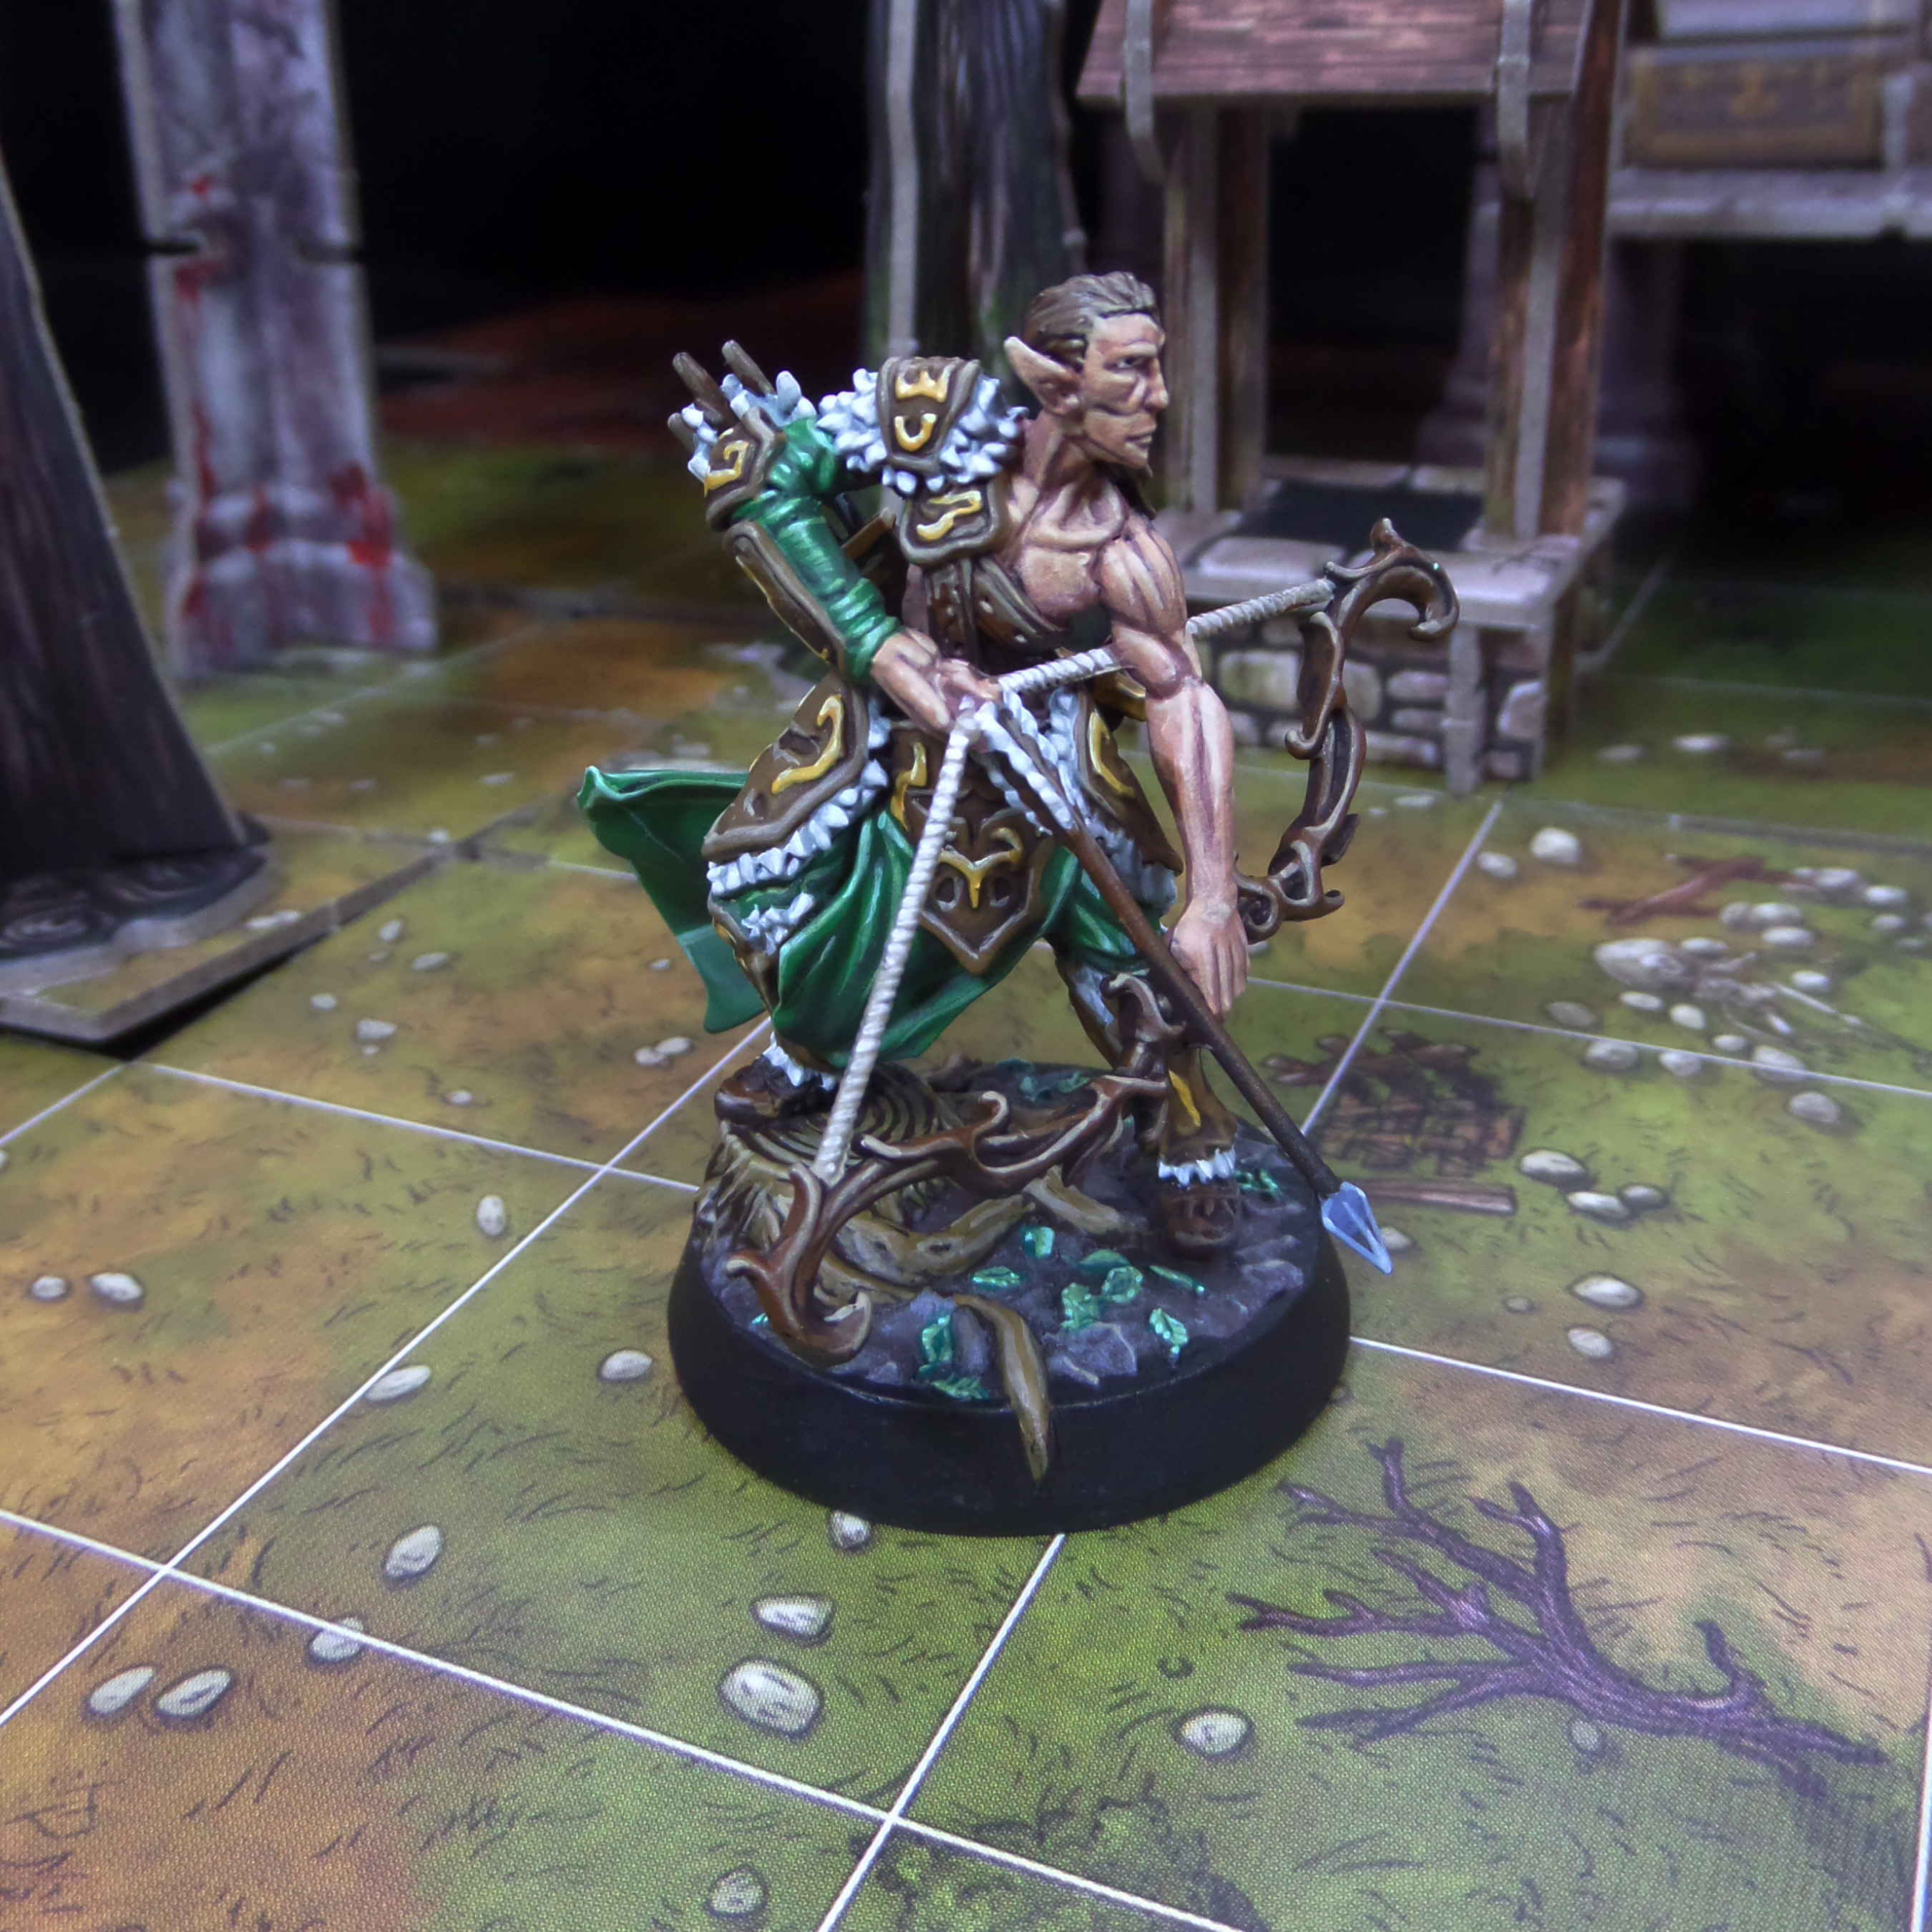
My latest guide sees me working my way through a massive game from Fantasy Flight. Descent: Legends of the Dark is a reboot of a classic dungeon crawler. The first part of my guides covers the heroes and the Dragon Hybrid Centurion. I’ll be covering the enemies in the next guide.
These are probably the best selection of characters I’ve seen from a dungeon crawler. A 32mm scale gives them much more presence and a great amount of detail. The variation is fantastic with both a cat and dragon person, a magical phoenix and 2 women. I only note the women as they fit in traditionally male roles, knight and dwarven fighter, in what I think is a tasteful way, no skimpy clothing or provocative poses.
I also loved the addition of POC. For these guides I base the paint job off the art work or other source material. This gave me the chance to stray from my norm and try different skin tones.
The only character that was a bit of a let down was Galaden the elf. Still great by most standards, just the most generic of the batch and very similar to nearly every other elven archer I’ve seen.
It’s a mild complaint though and they are some of the coolest models I’ve worked on in a while.
I wanted to start by saying thank you to all of the people that have got in touch to say they appreciate the guides. It makes my day to hear that people are finding them so helpful. Thanks folks.
I’m still working away on guides, with a couple more core set characters coming your way very soon…
These are all painted with a few changes made form the core set characters I’ve done in the past, and the rest of the core set characters may be a while before they’re tackled. I’m working on a few more conversions that are a bit more involved.
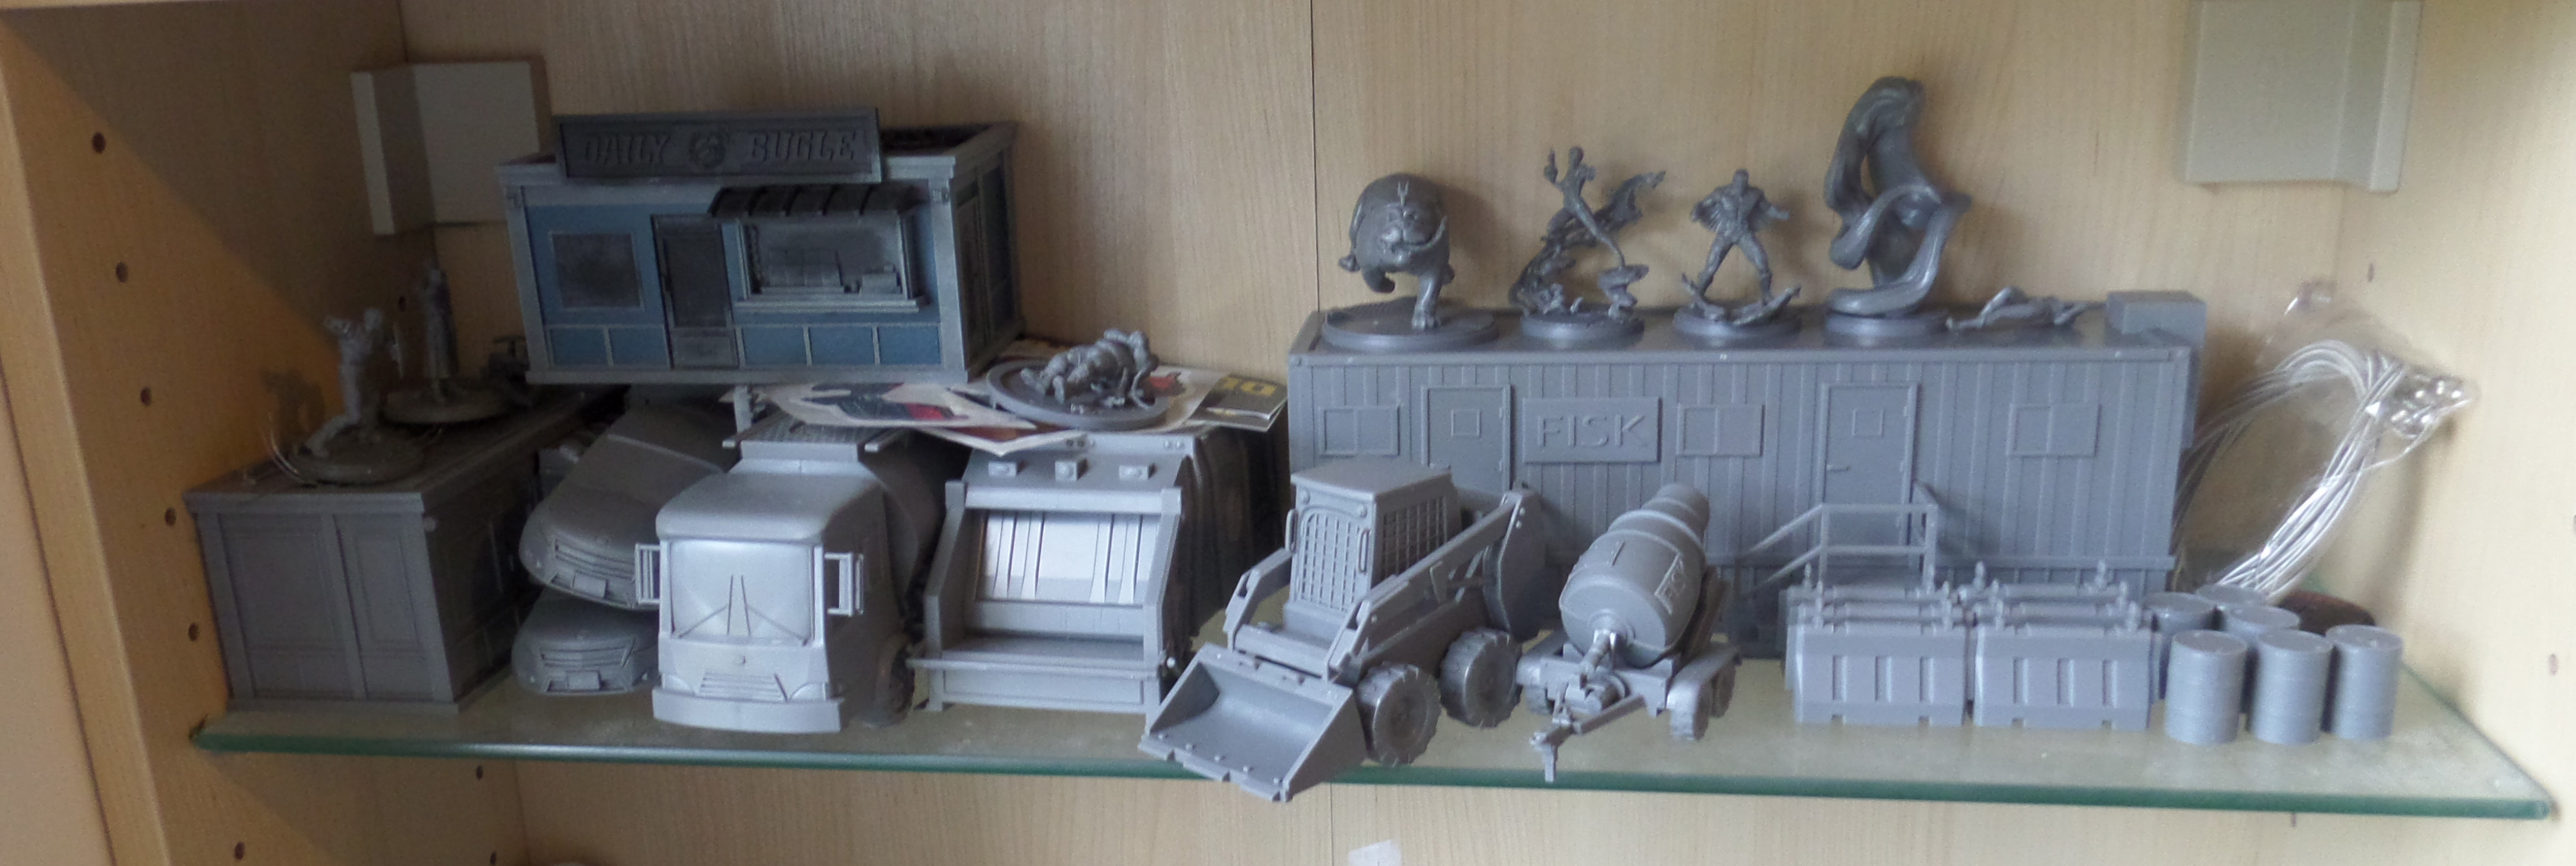
I’m also planning on working on filling some of the gaps. There are a few early characters I’ve not covered yet, and I will be going back to cover Hulk, M.O.D.O.K., Venom, Thanos and the Wakandans when I can. They’ll likely be with a twist on the standard colour scheme or some conversions. Let me know in the comments if theres a particularly cool colour scheme/alt costume you want to see.
I do have a bit of a backlog to tackle before any of that though…
The Inhumans are likely next up on the painting table, but then I would like to tackle some of the terrain. I’ve done some of the terrain from the core set before…
These have given me a bit of practice for the rest and I’m looking at putting together a guide for each of these peices of terrain as well.
I need your support. Because my guides takes time and supplies to do, any support you can offer would mean the world to me. A supportive message in the comments is enough, but if you have the means why not send me a gift on Ko-Fi or PayPal. Thank you!
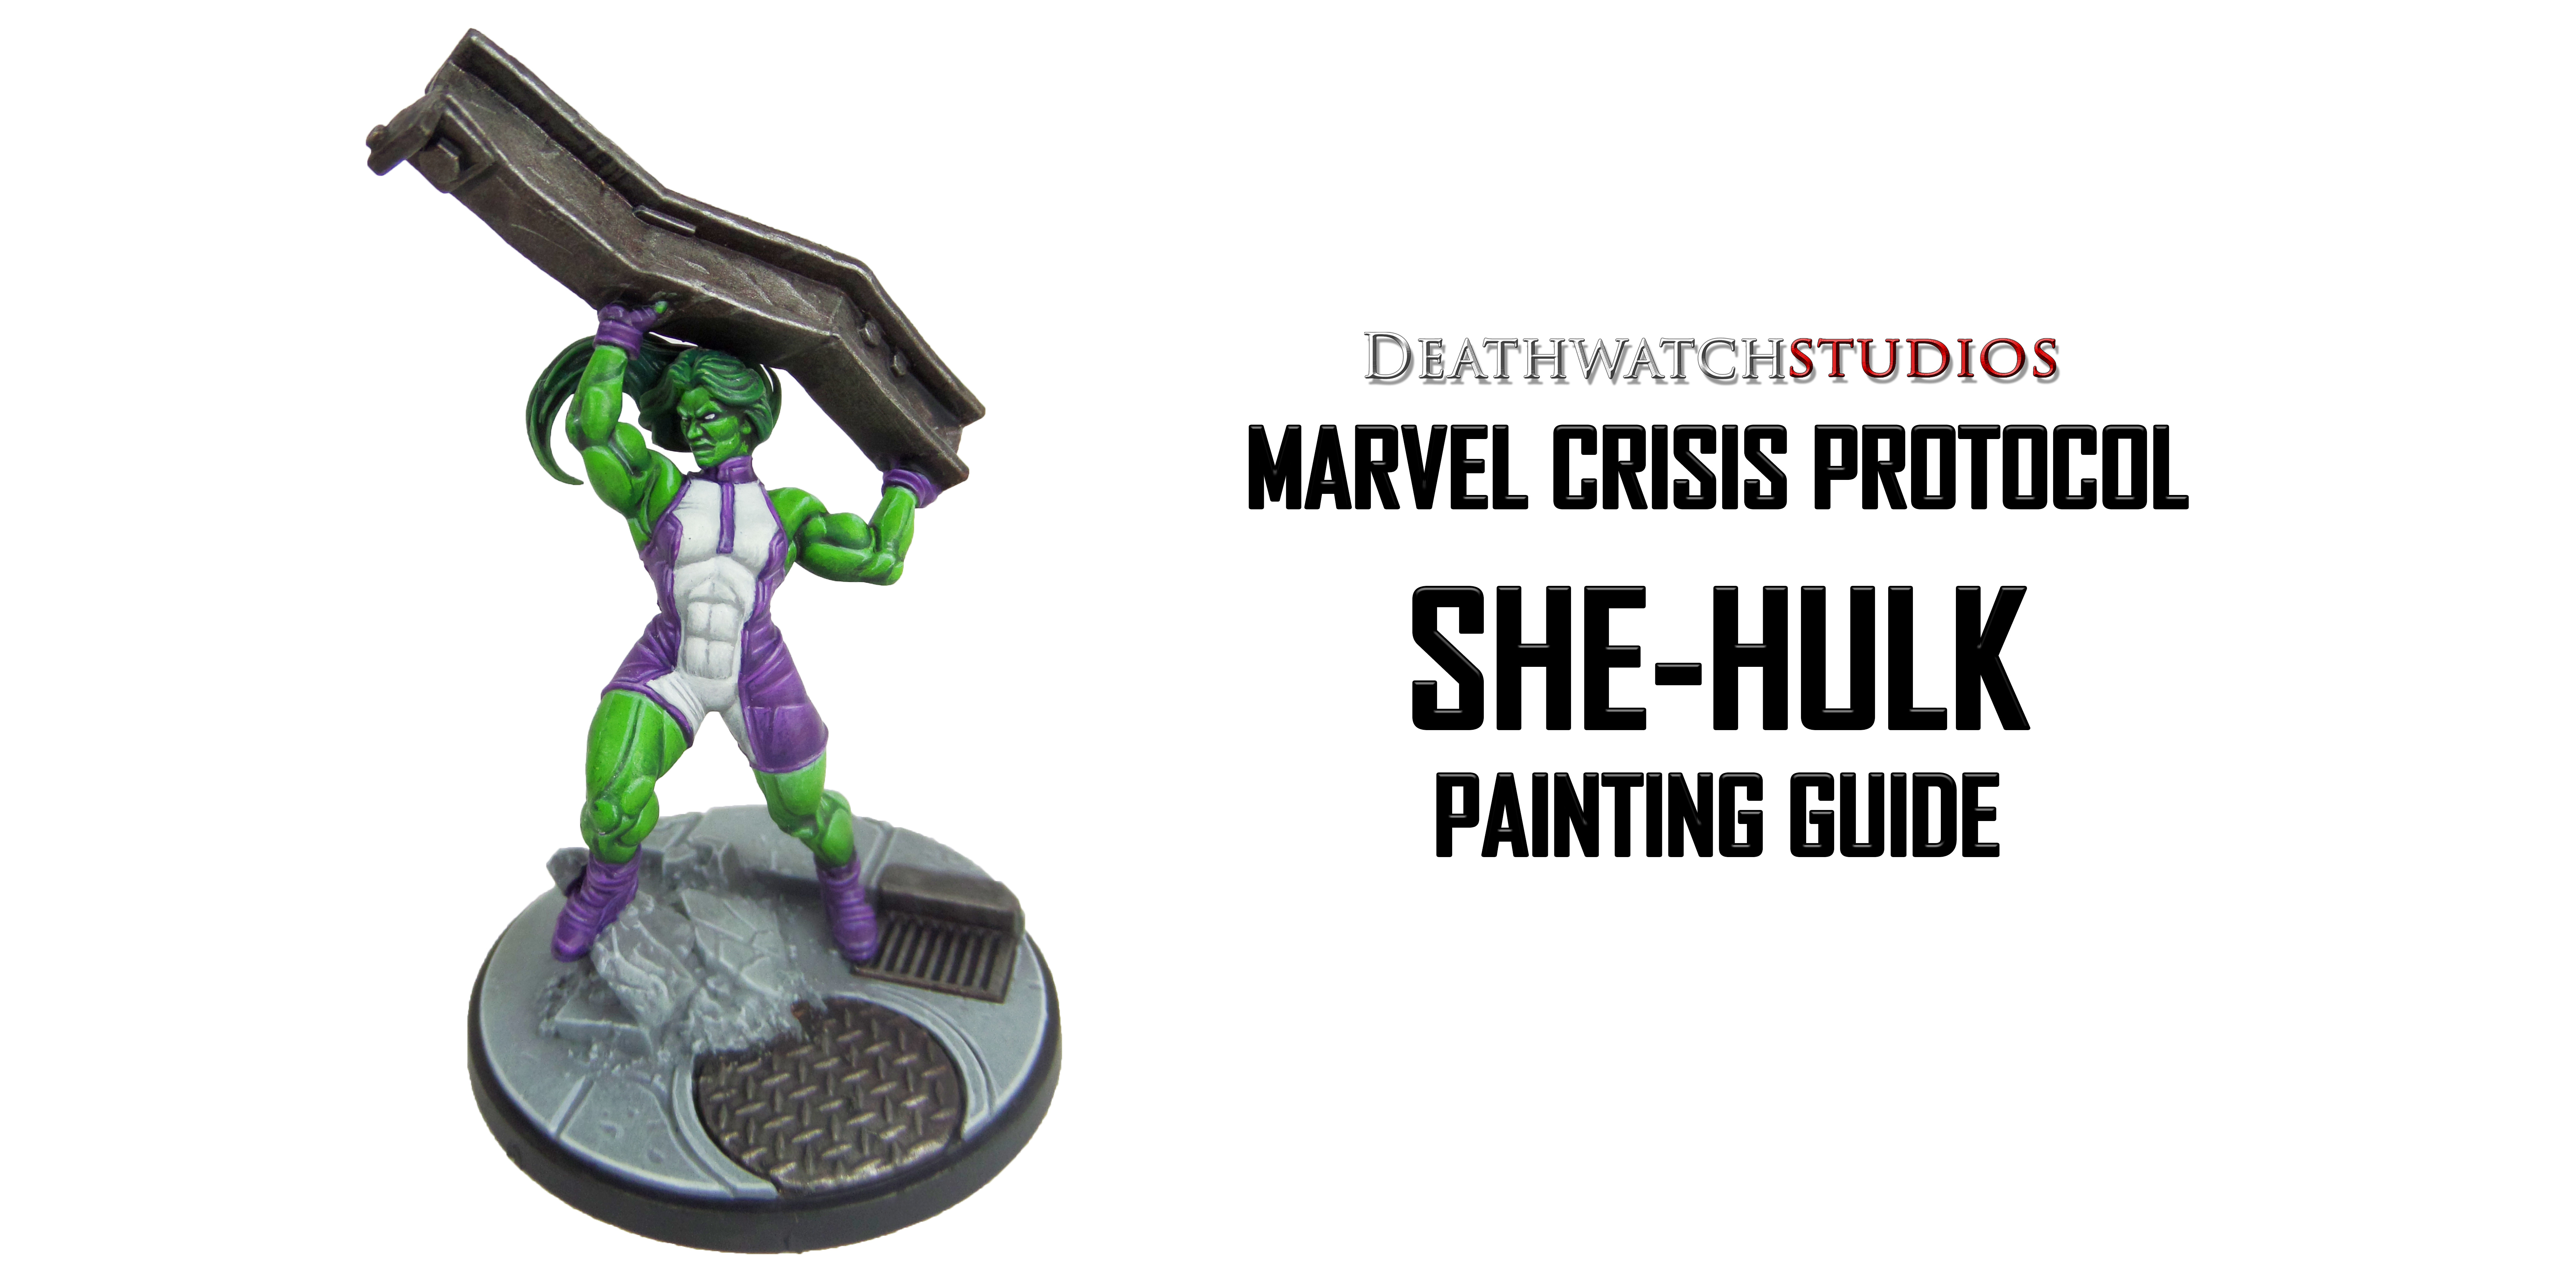
Prep: Fully build the model and undercoat black.
Stage 1
Celestra Grey: Apply a basecoat to the middle of the bodysuit.
Warpstone Glow: Apply a basecoat to the skin.
Warplock Bronze: Apply a basecoat to the girder.
Phoenician Purple: Apply a basecoat to the gloves, boots and outer bodysuit.
Kabalite Green: Apply a basecoat to the hair.
Stage 2
Ulthuan Grey: Apply a layer to the middle of the bodysuit
Druchii Violet: Apply a shade to the skin.
Leadbelcher: Apply a drybrush to the girder.
Xereus Purple: Apply a layer to the gloves, boots and outer bodysuit.
Nuln Oil: Apply a shade to the hair.
Stage 3
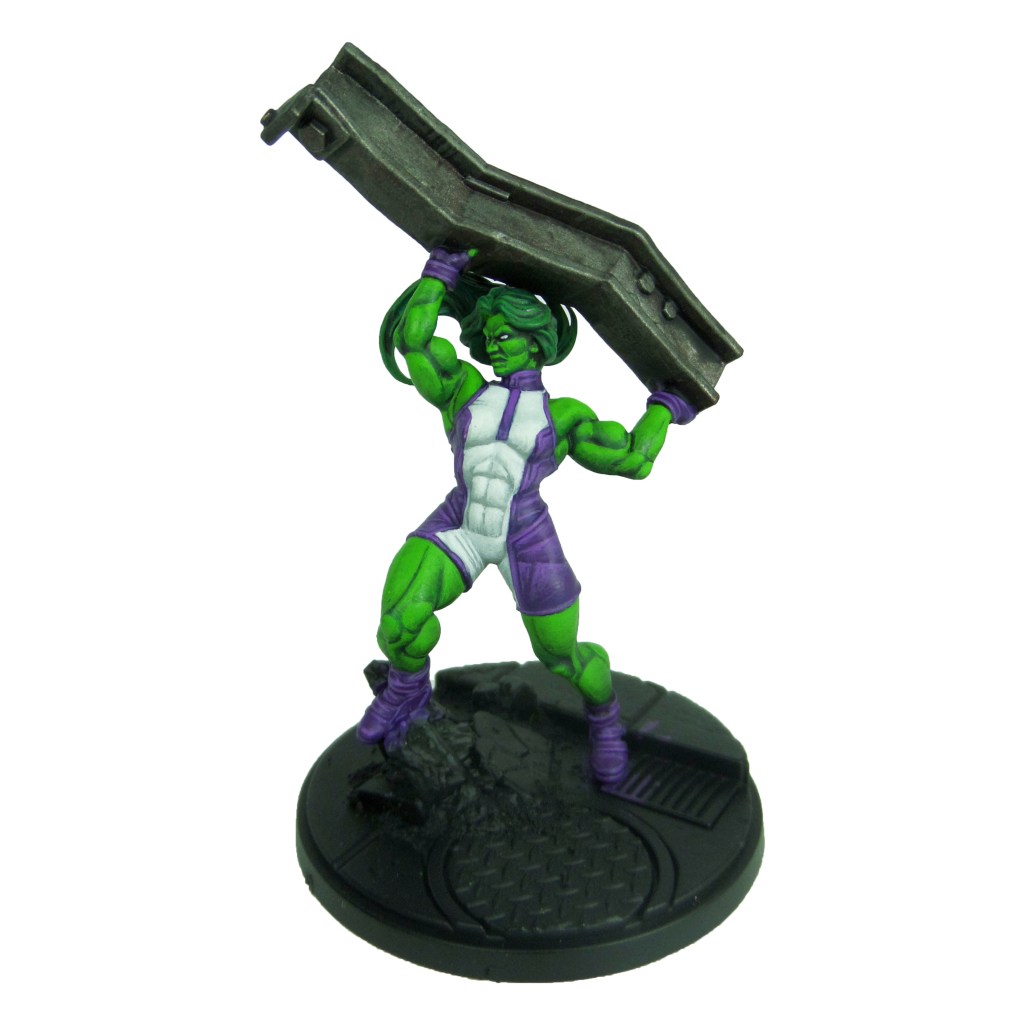
White Scar: Apply a highlight to the middle of the bodysuit, also apply a layer to the eyes.
Moot Green: Apply a layer to the skin. Build this up over several thin layers, focussing further up each muscle and feature as you go.
Nuln Oil: Apply a shade to the girder.
Genestealer Purple: Apply a highlight to the gloves, boots and outer bodysuit.
Warpstone Glow: Apply a layer to the hair.
Stage 4
Gauss Blaster Green: Apply a highlight to the skin.
Ironbreaker: Apply a line highlight to the girder.
Dechala Lilac: Apply a line highlight to the gloves, boots and outer bodysuit.
Skarsnik Green: Apply a line highlight to the hair, focussing on the roots and tips.
I need your support. Because my guides takes time and supplies to do, any support you can offer would mean the world to me. A supportive message in the comments is enough, but if you have the means why not send me a gift on Ko-Fi or PayPal. Thank you!
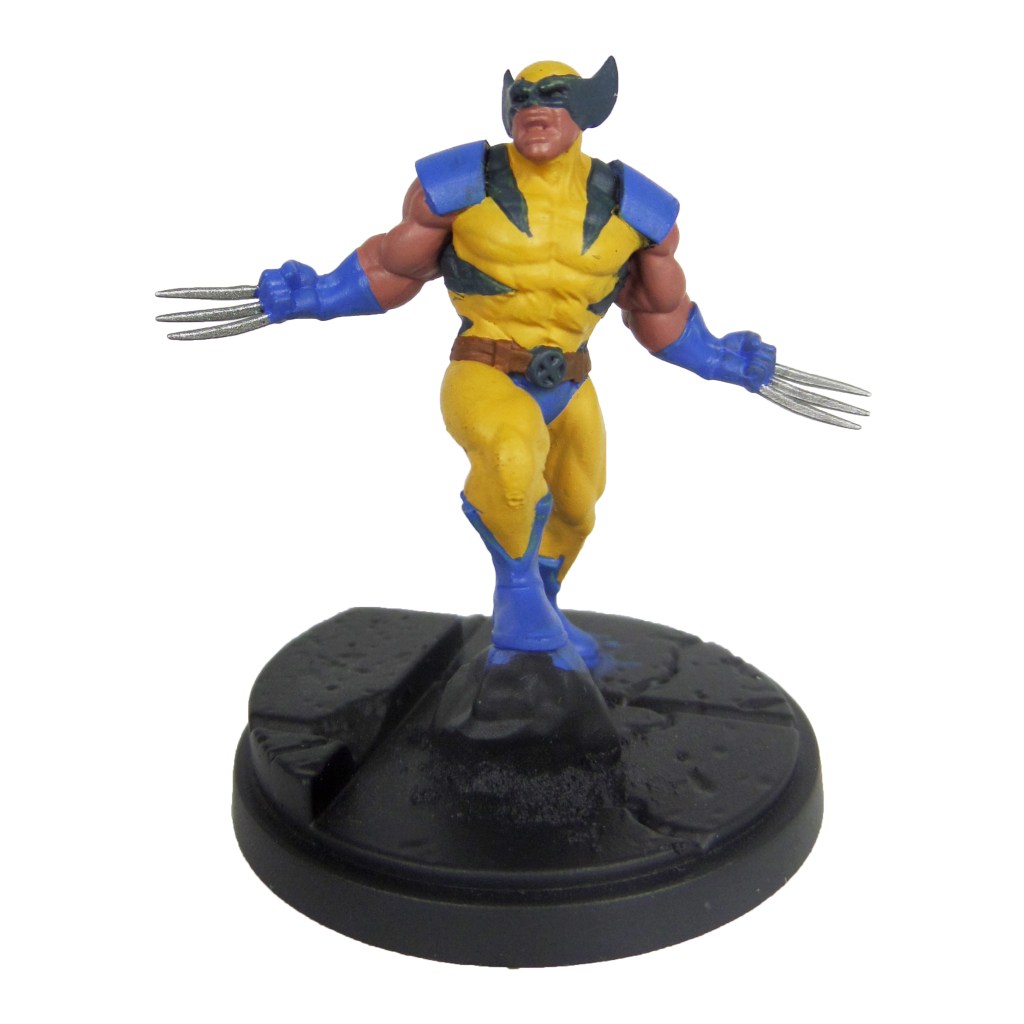
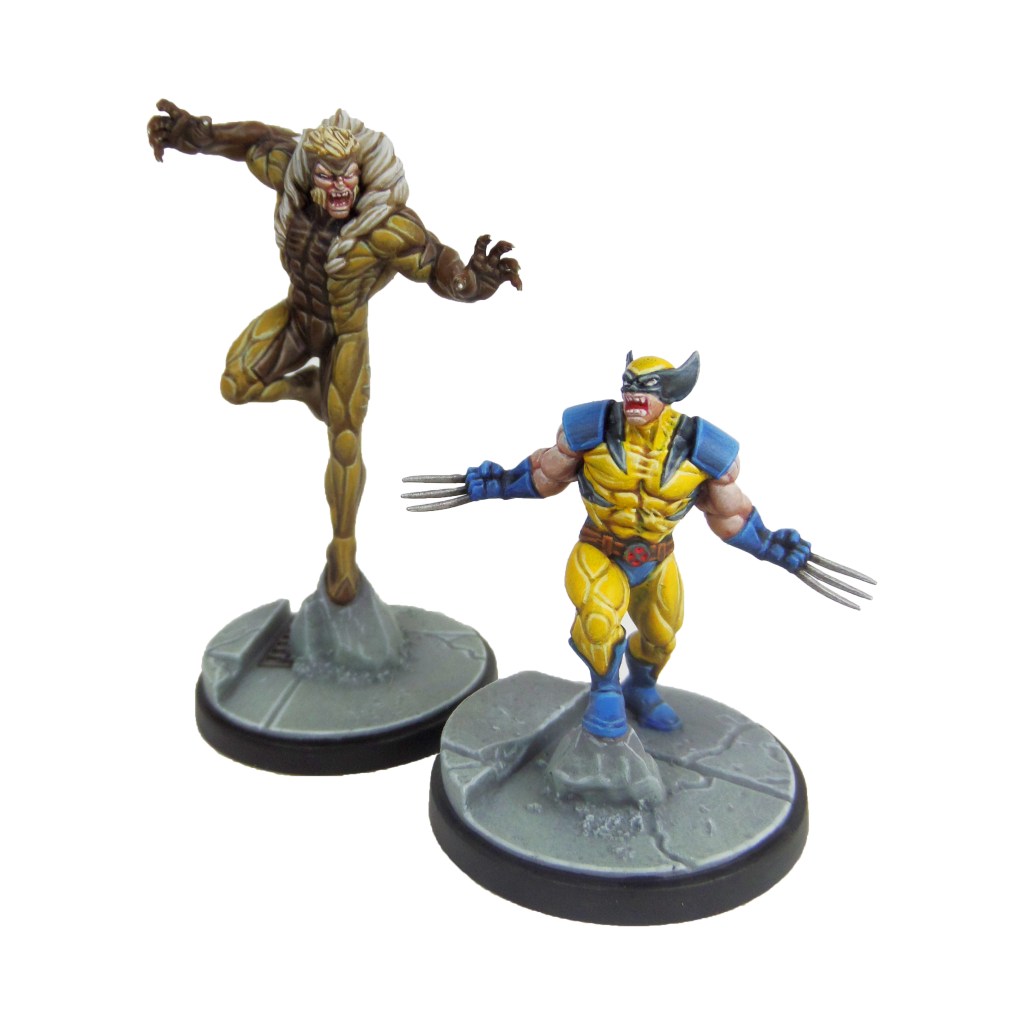
Prep: Fully build both models and undercoat black.
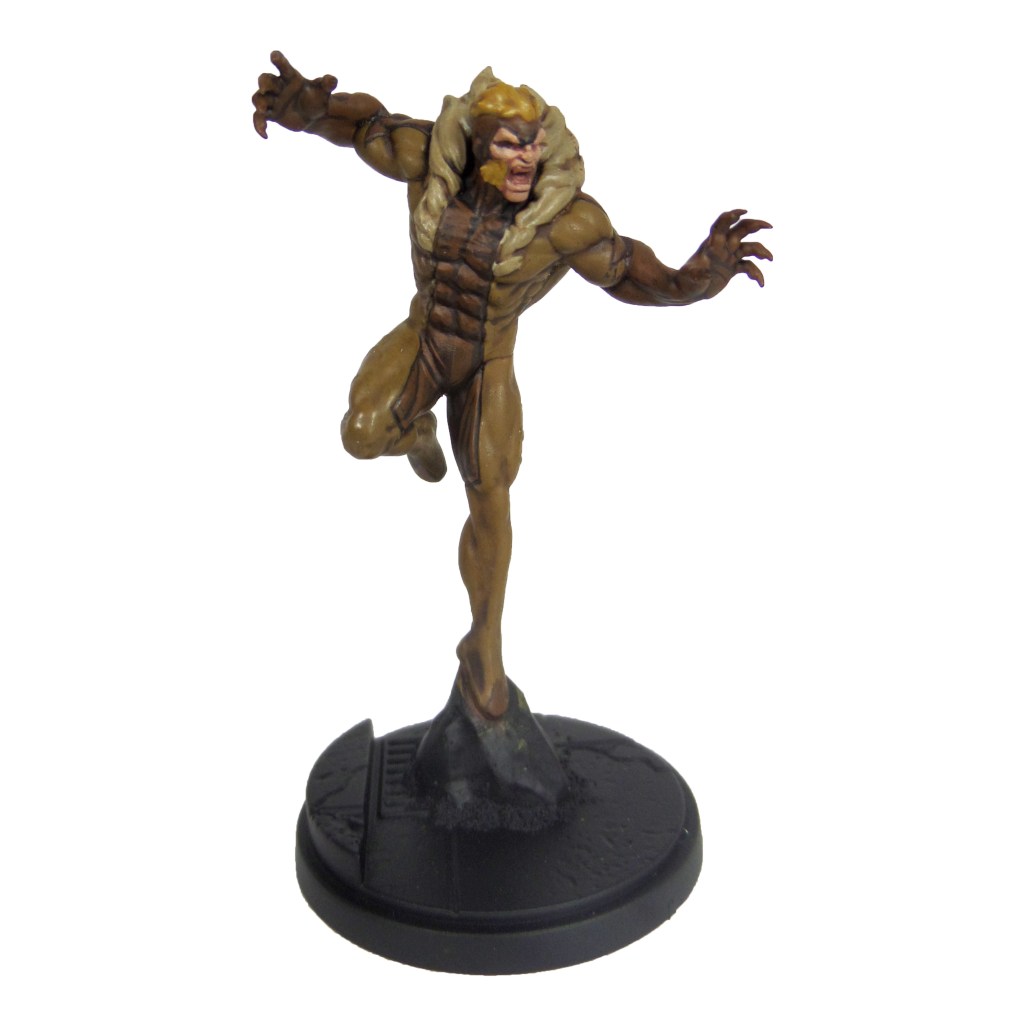
Sabretooth
Stage 1
XV88: Apply a basecoat to the lighter bodysuit areas.
Rhinox Hide: Apply a basecoat to the darker bodysuit areas.
Zamesi Desert: Apply a basecoat to the hair.
Bugman’s Glow: Apply a basecoat to the skin.
Karak Stone: Apply a basecoat to the fur trim.
Stage 2
Agrax Earthshade: Apply a shade to the light bodysuit, hair and fur trim.
Mournfang Brown: Apply a layer to the darker bodysuit areas.
Cadian Fleshtone; Apply a layer to the skin.
Stage 3
Balor Brown: Apply a layer to the lighter bodysuit areas, focussing towards the tops of the muscles and features.
Steel Legion Drab: Apply a line highlight to the darker bodysuit areas.
Blonde Hair 9257(MSP): Apply a layer to the hair.
Basic Skintone 70.815(Vallejo): Apply a layer to the skin.
Karak Stone: Apply a layer to the fur trim.
Bloodletter: Apply a glaze to the mouth.
Stage 4
Krieg Khaki: Apply a highlight to the muscles and features of the lighter bodysuit areas.
Karak Stone: Apply a spot highlight to the darker bodysuit areas.
Blonde Highlight 9258(MSP): Apply a spot highlight to the hair.
Light Flesh 70.928(Vallejo): Apply a spot highlight to the skin.
Pallid Wych Flesh: Apply a highlight to the fur trim and a layer to the teeth.
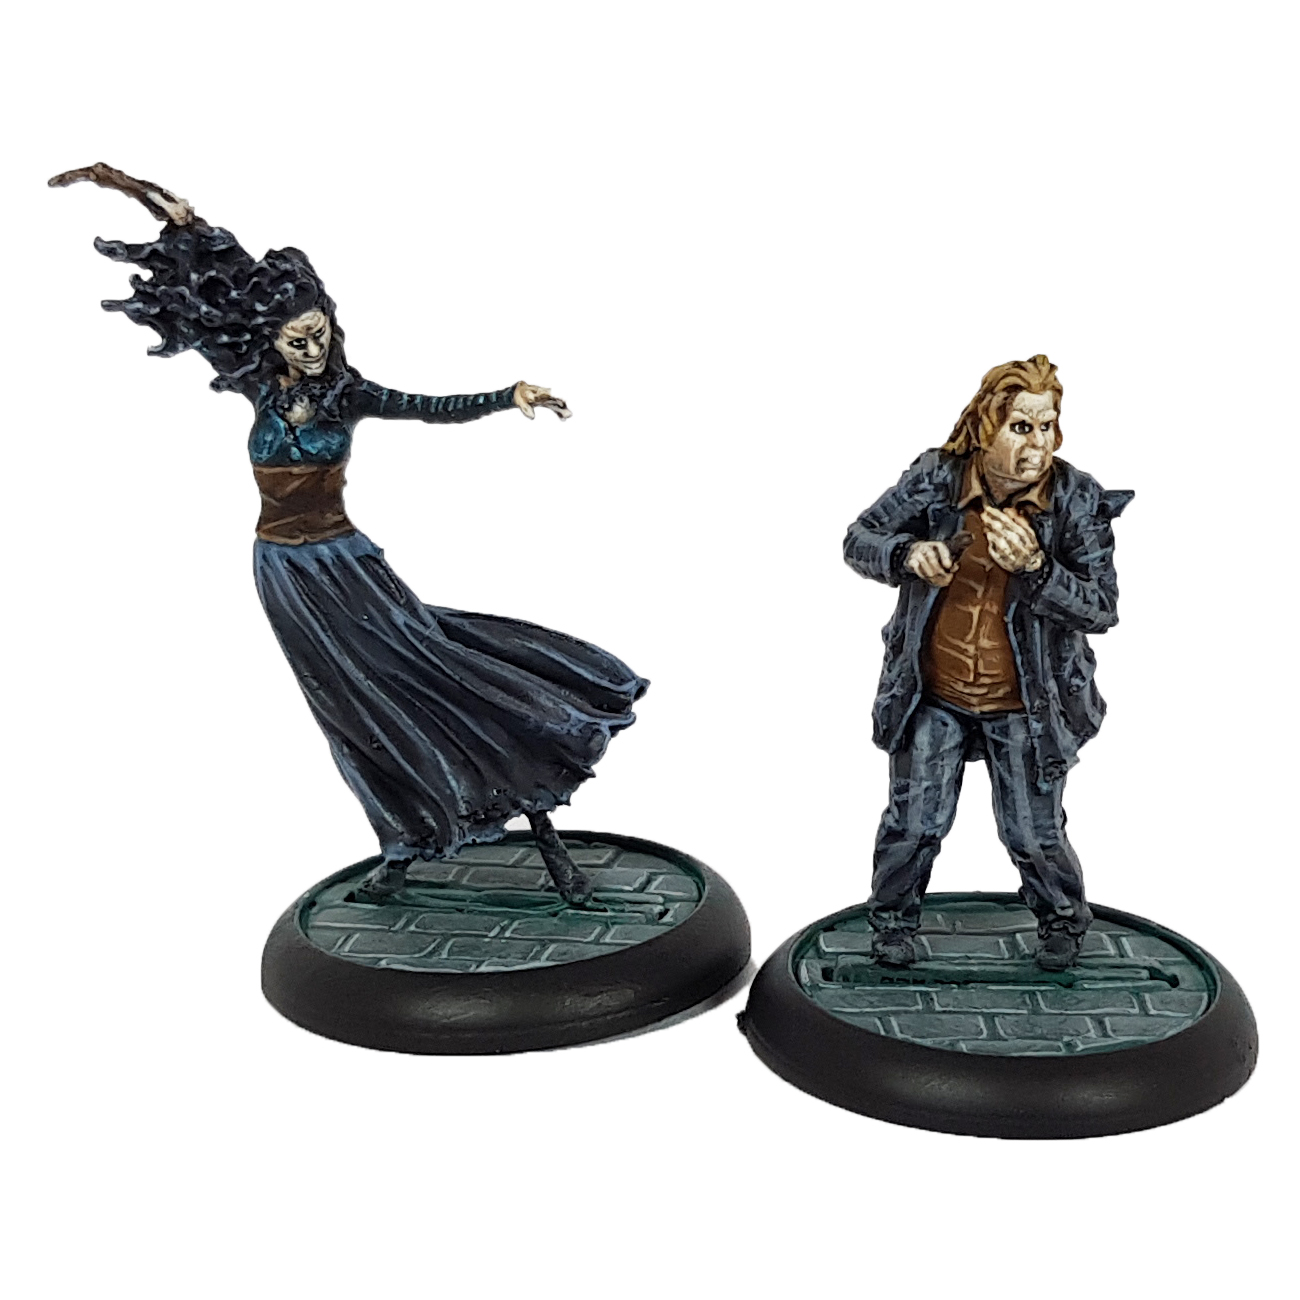
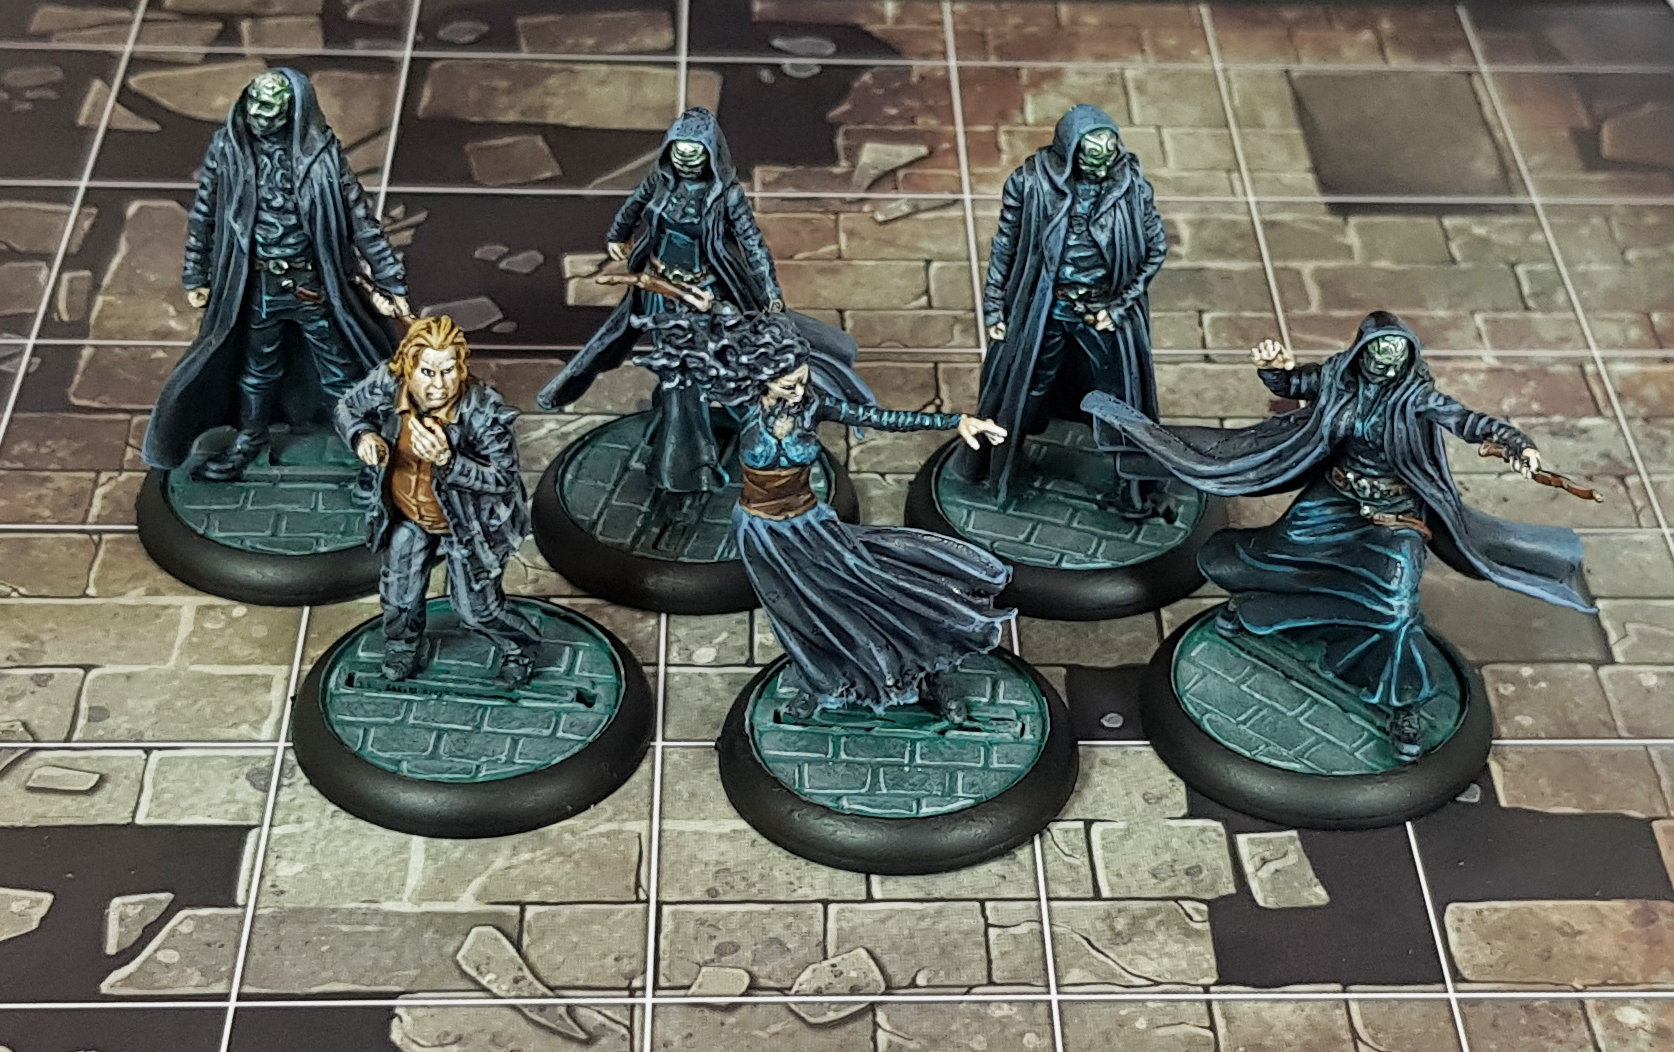
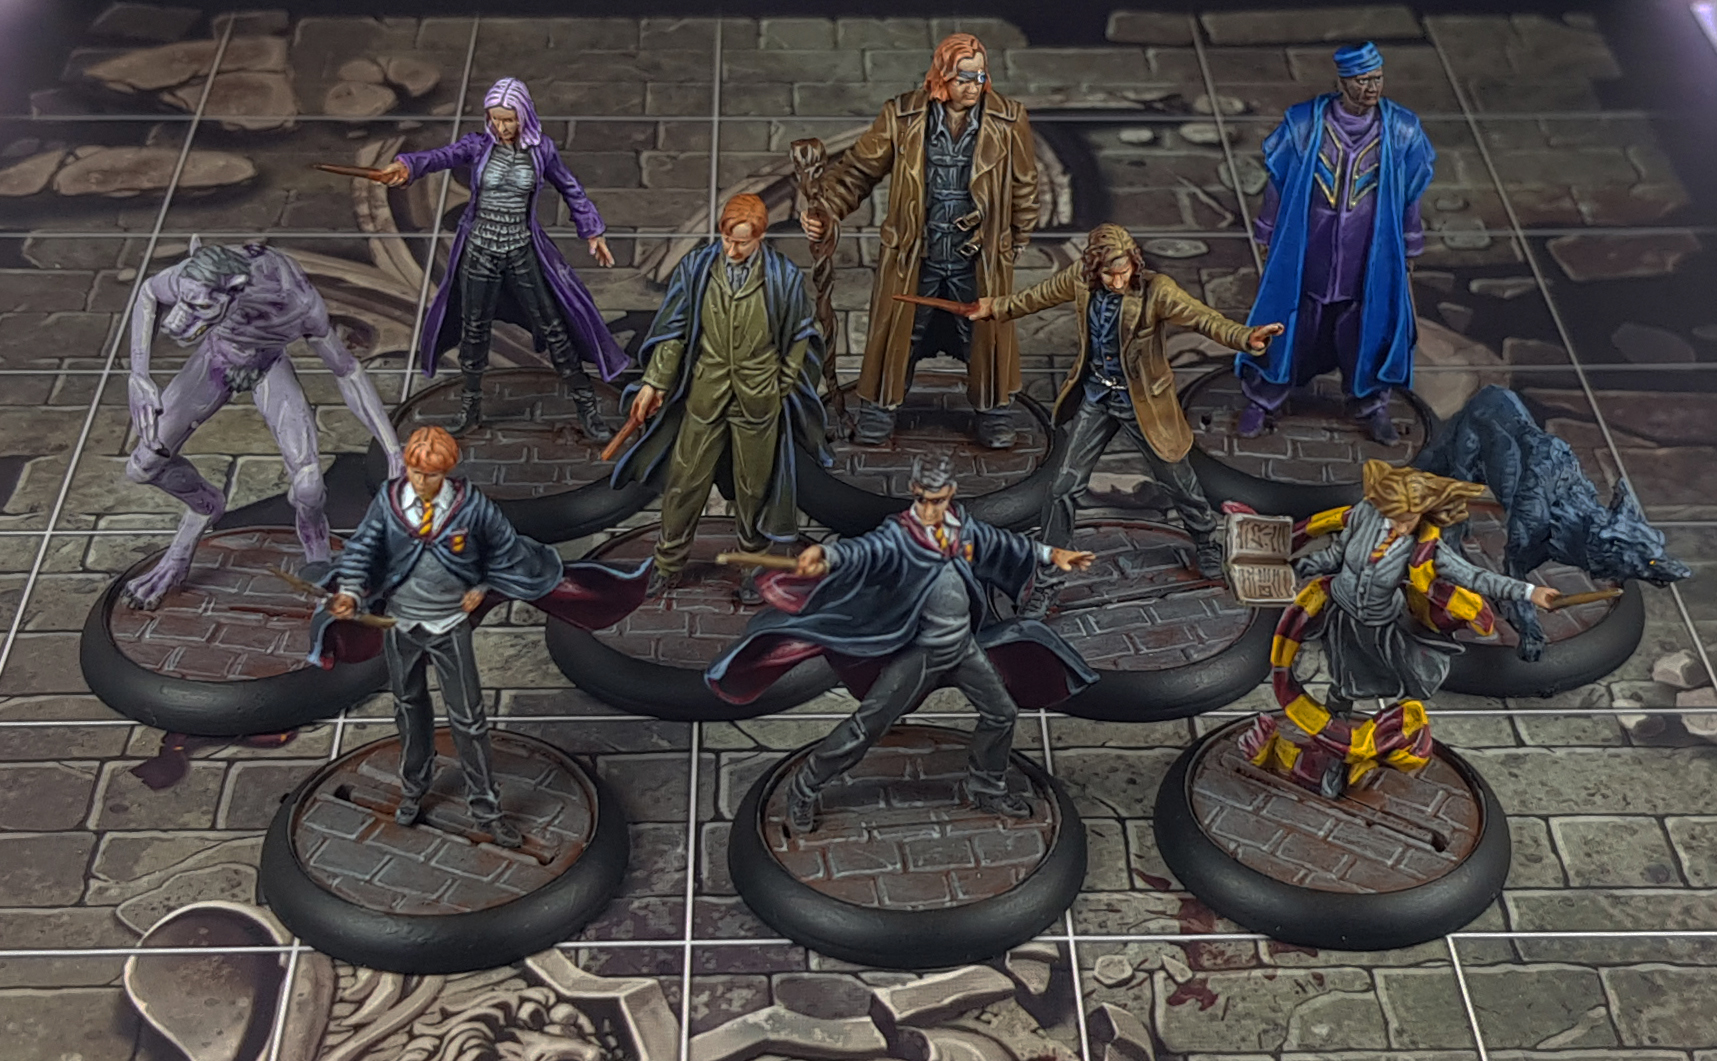
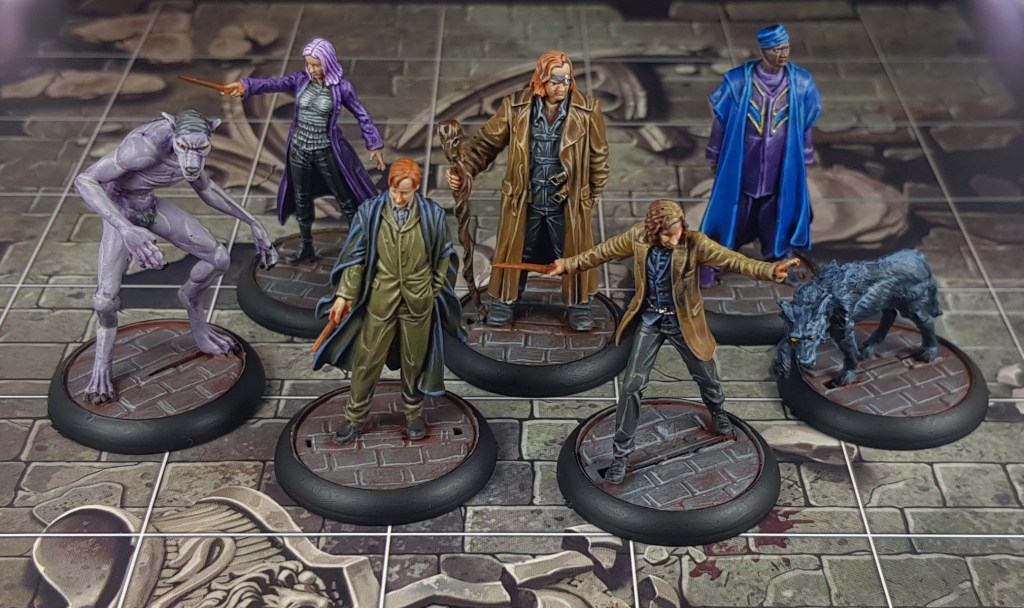
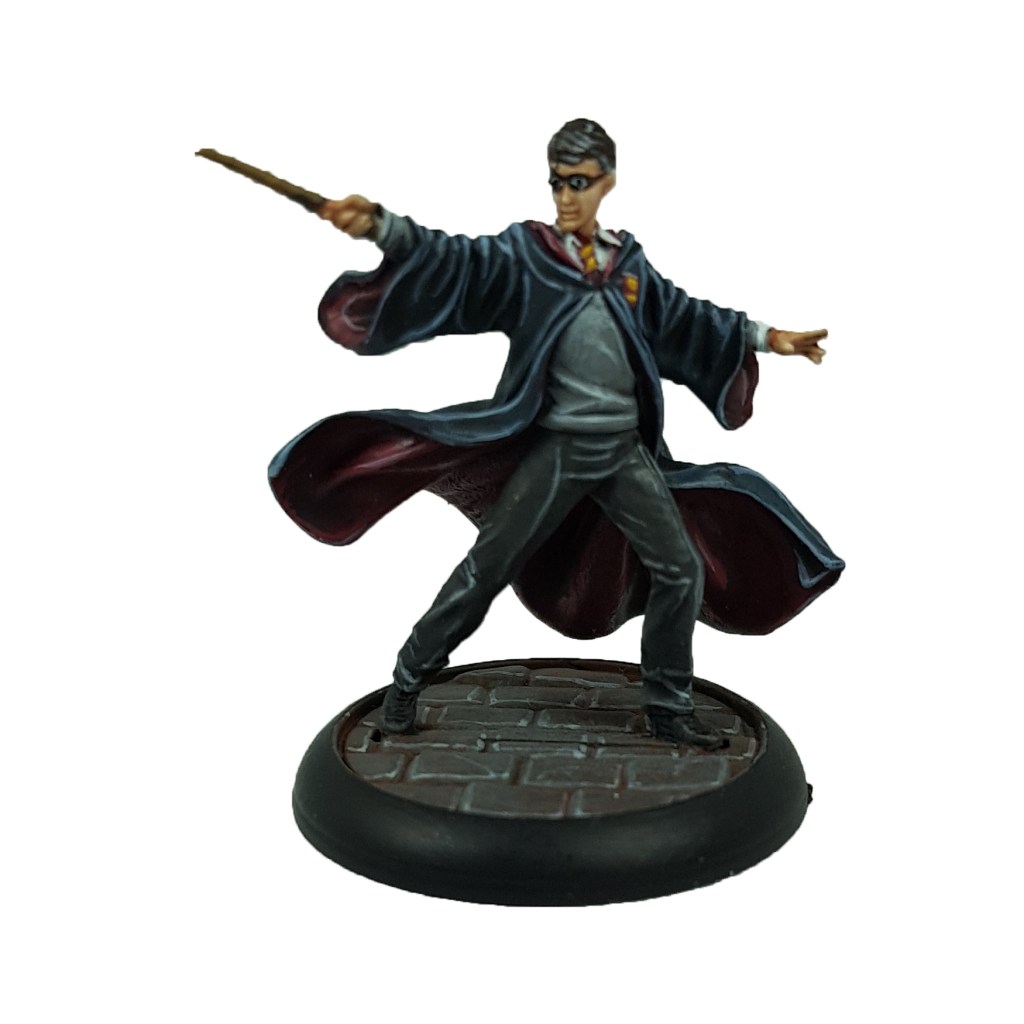
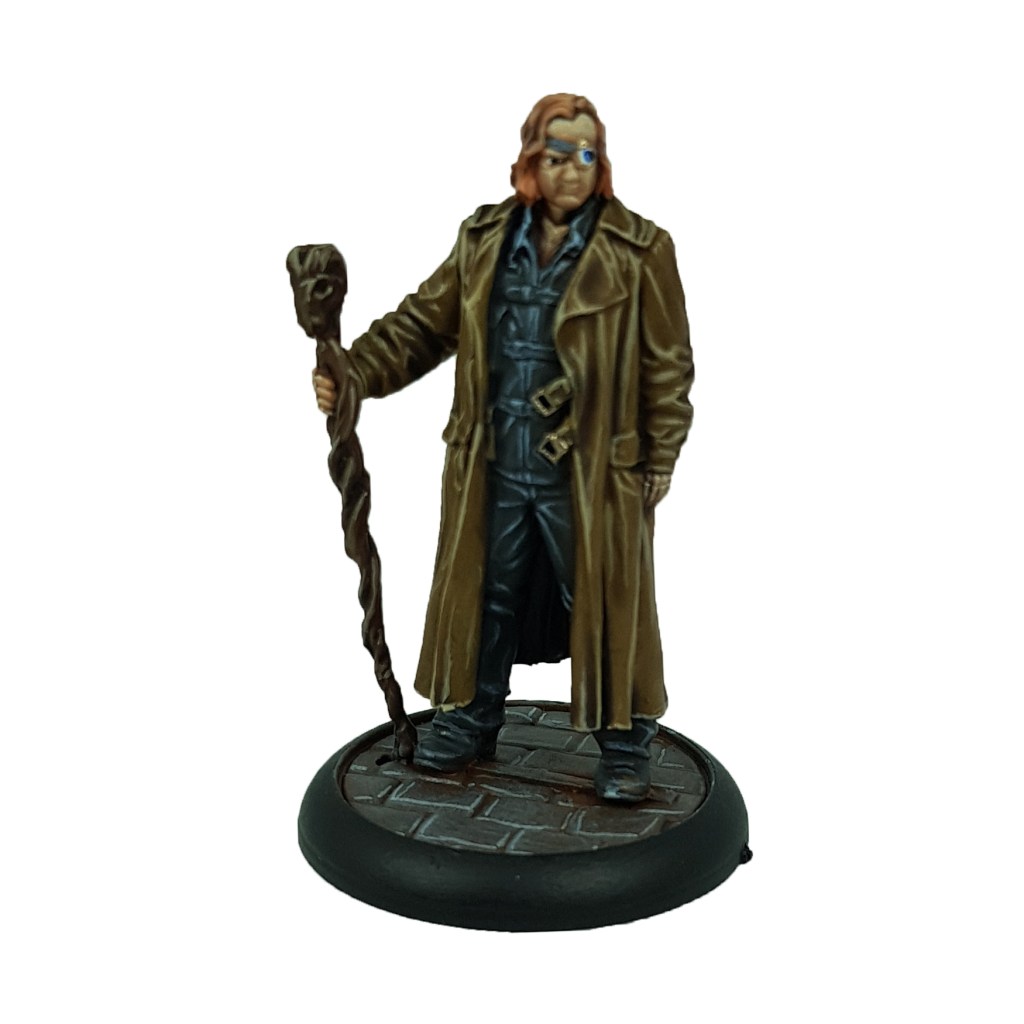
This month’s issue of Tabletop Gaming is in stores now and within you can find my article on how to paint some of the forces of good, Harry, Ron & Hermoine alongside the Order of the Pheonix…
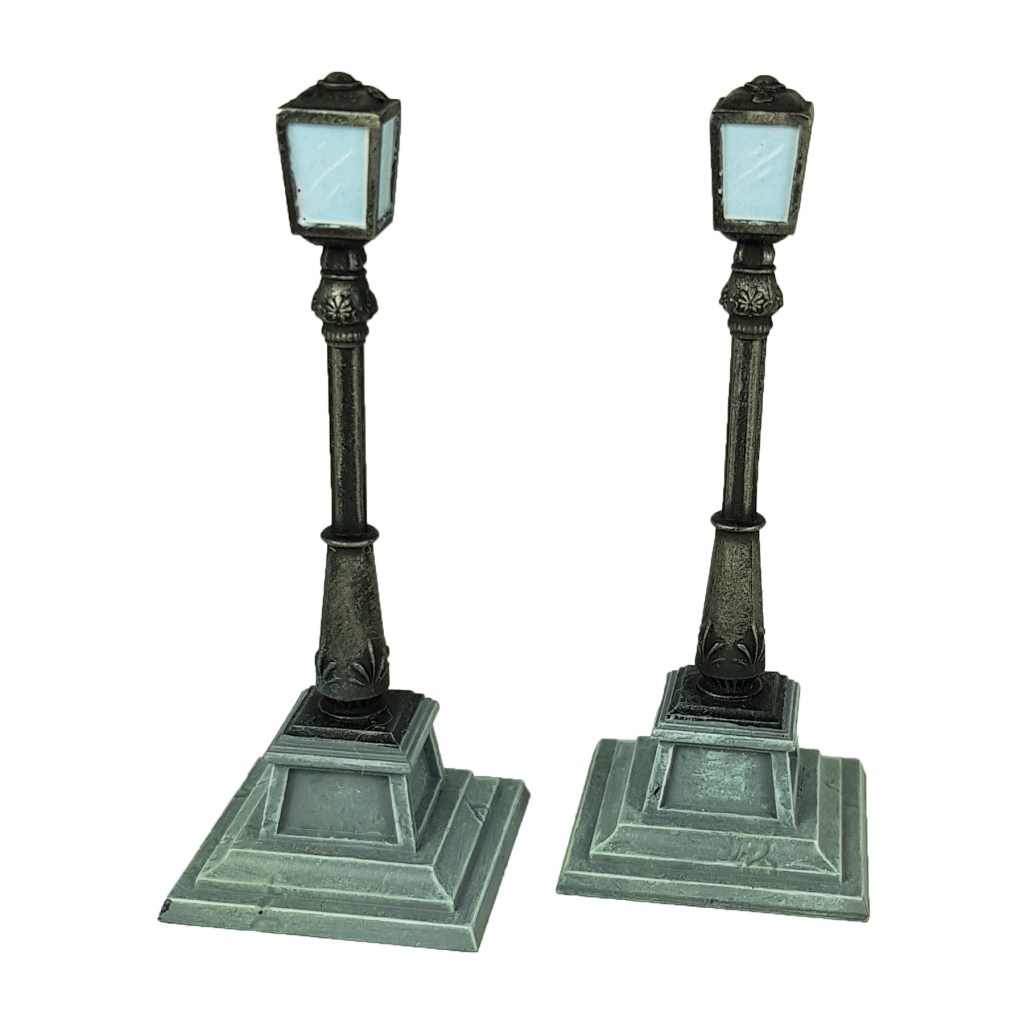
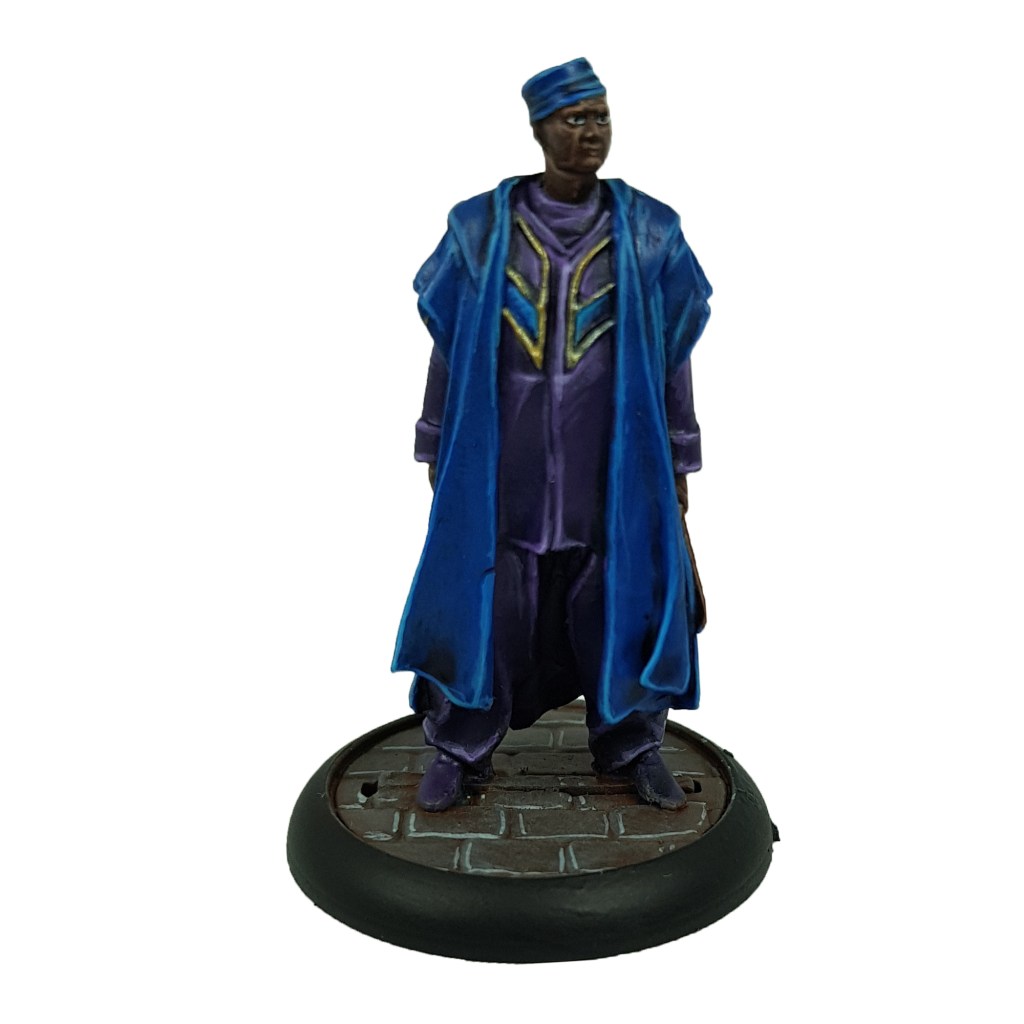
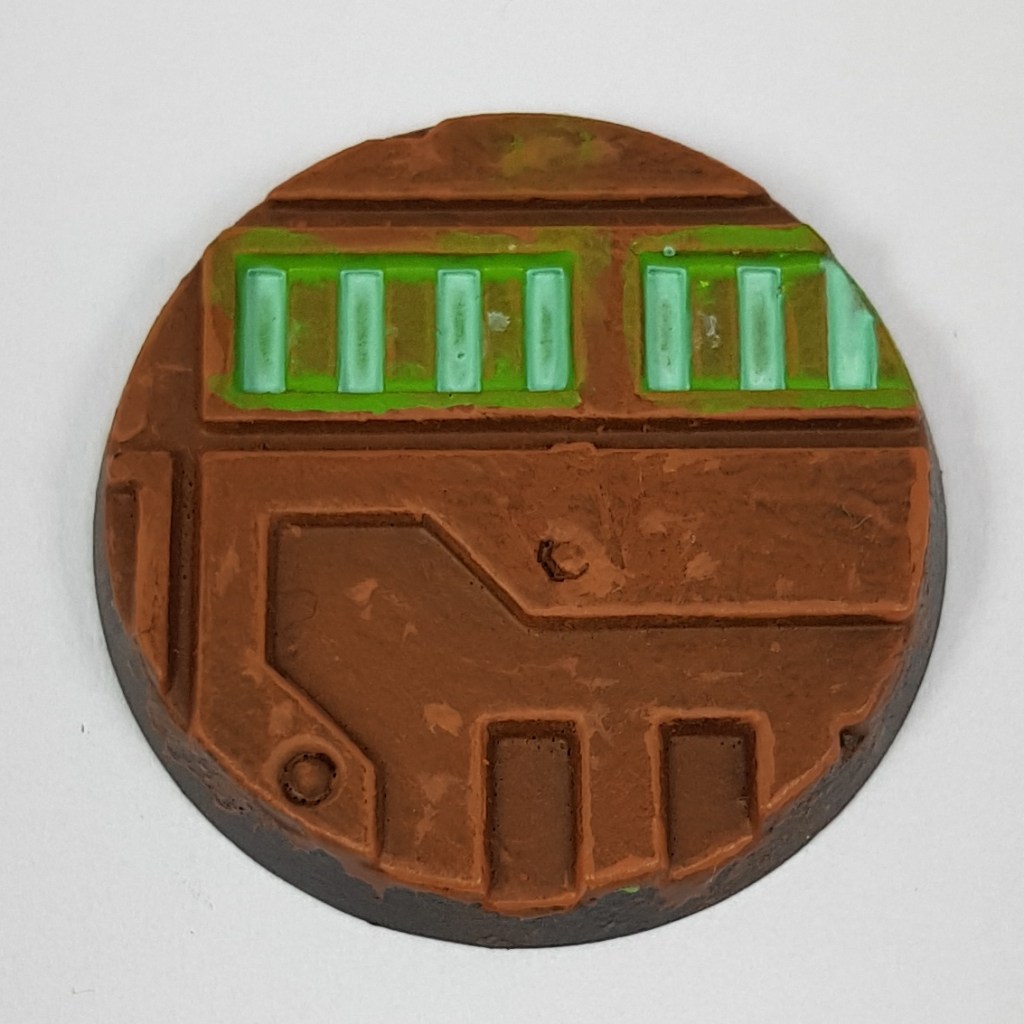
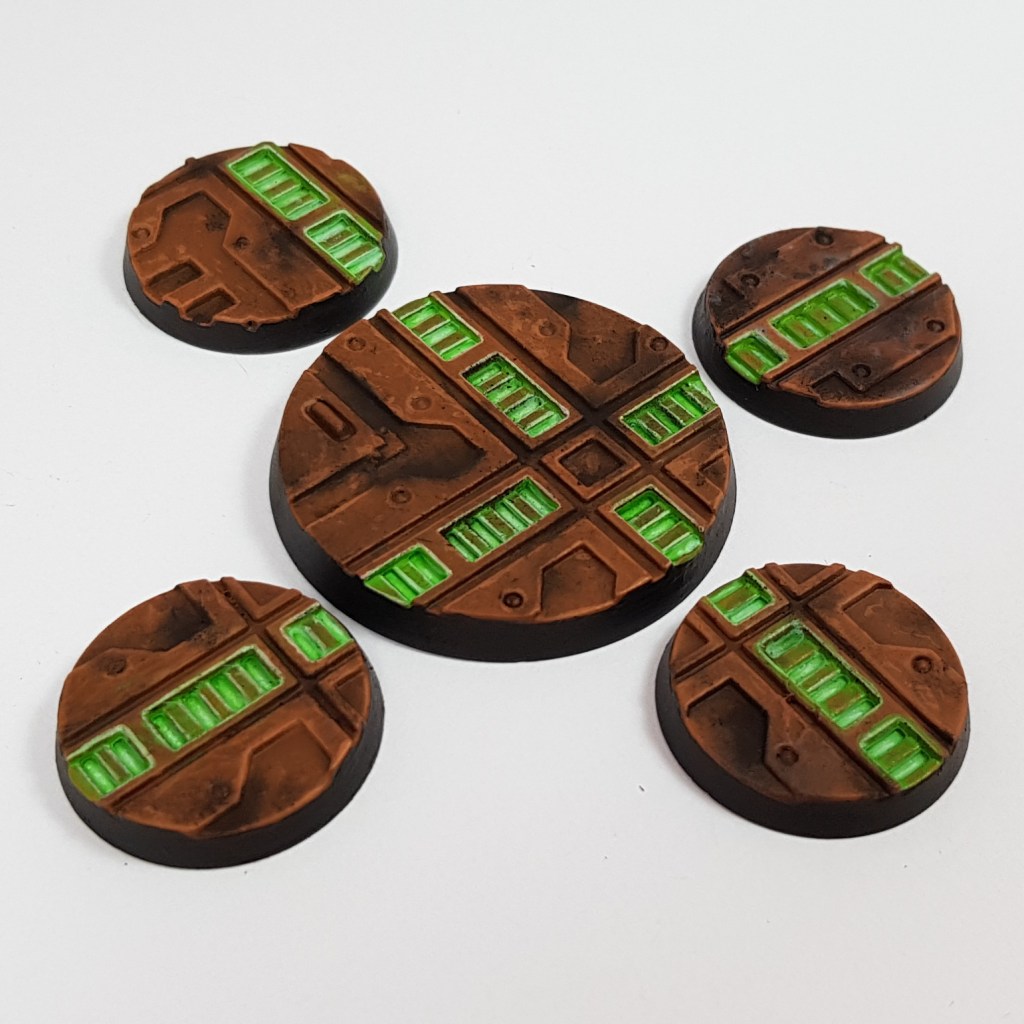
I wanted to share how I achieved the bases for my Necromunda models. I wanted something a little distinct from the usual metal bases and what better way to do that than ancient rusted up bases. I also added a wee touch of spot colour, with the green ooze under the grates.
I started with a black undercoat to get things started, but here’s how I cheived the rest…
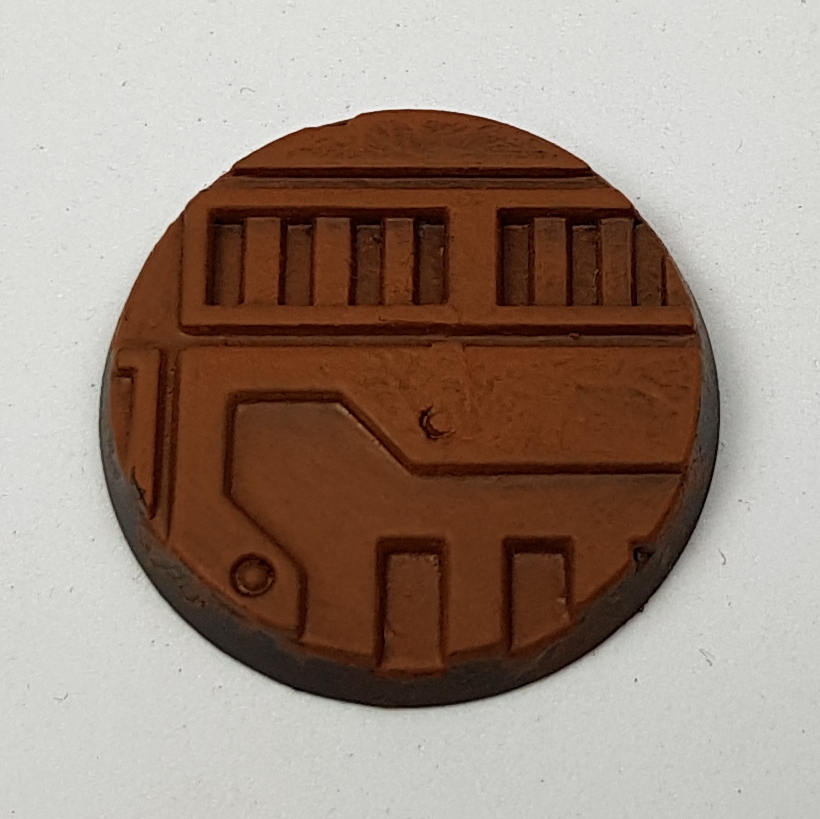
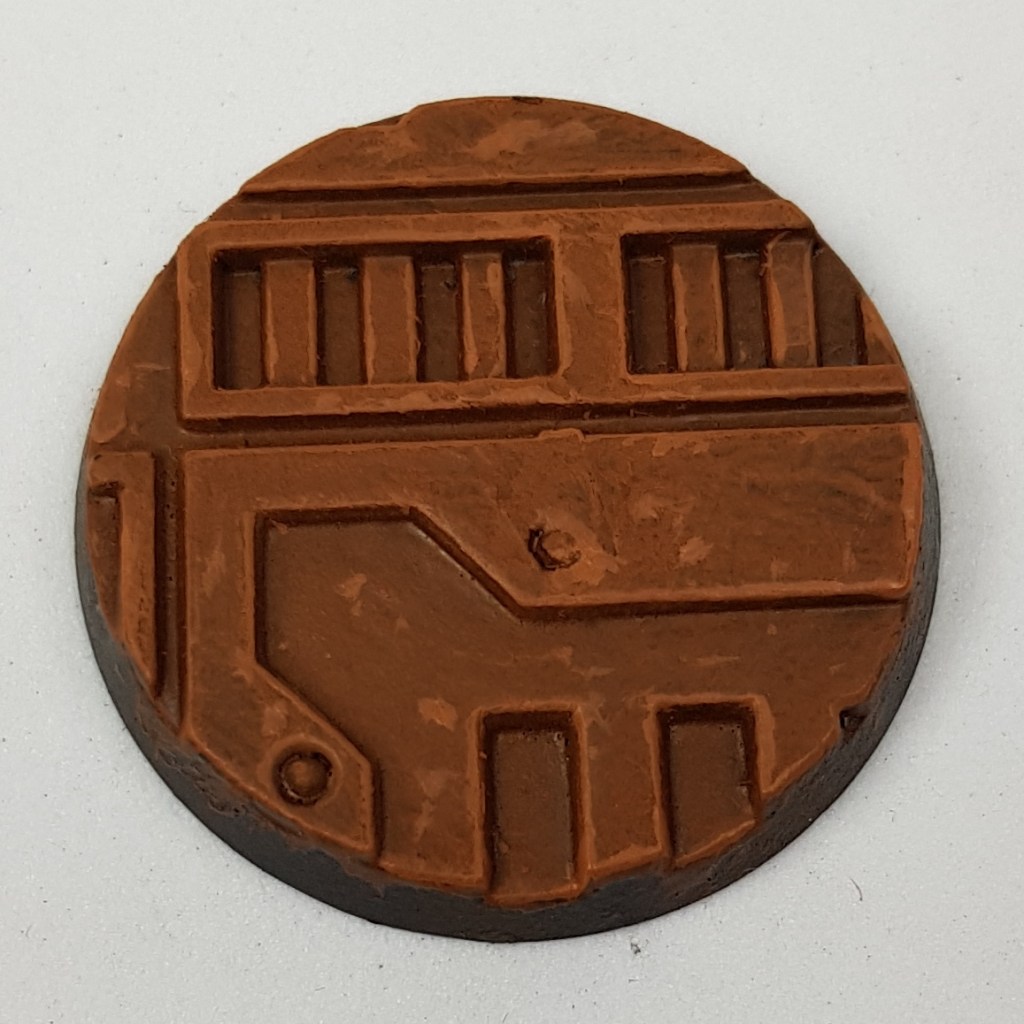
I began with a basecoat of Mournfang Brown.
This was followed by a heavy drybrush of Skrag Brown.
Then apply a lighter drybrush of Deathclaw Brown.
Apply an edge highlight to all the hard edges and stipple small amounts over the flat areas.
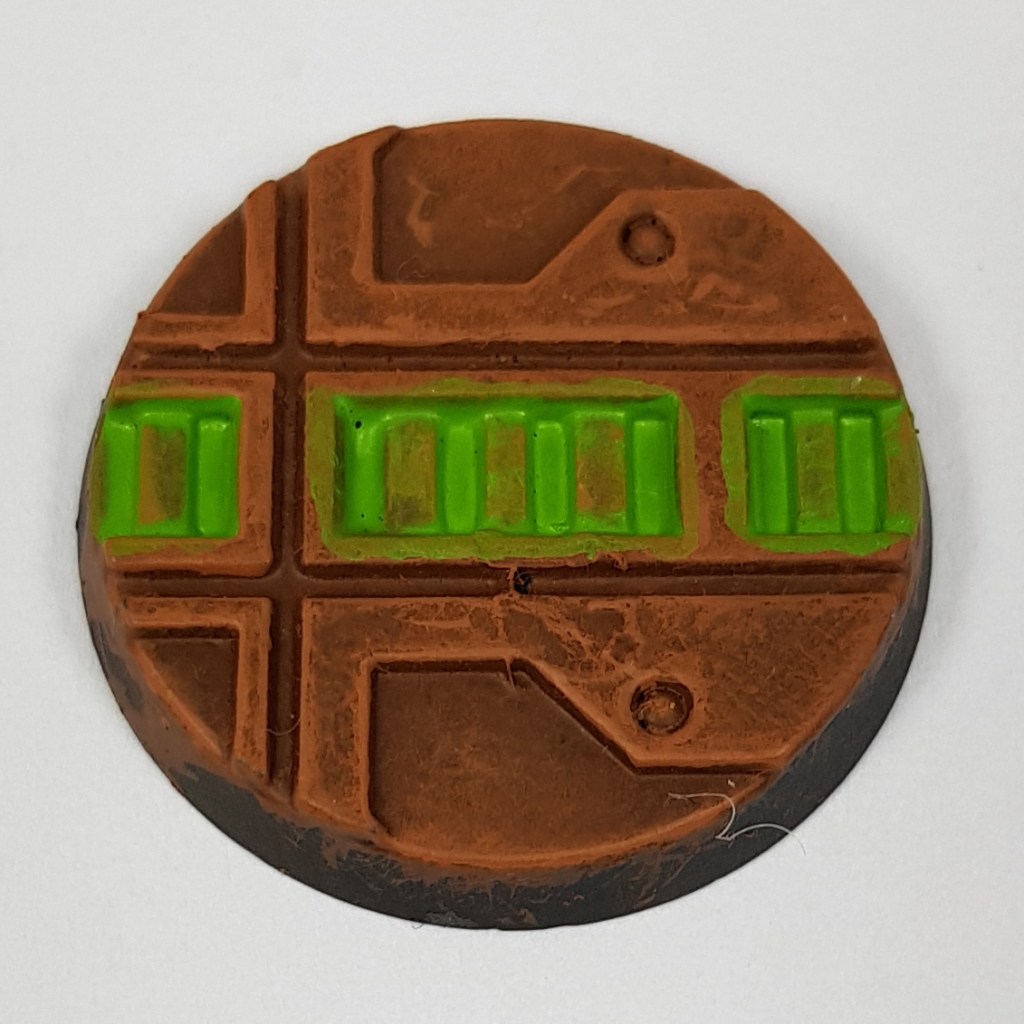
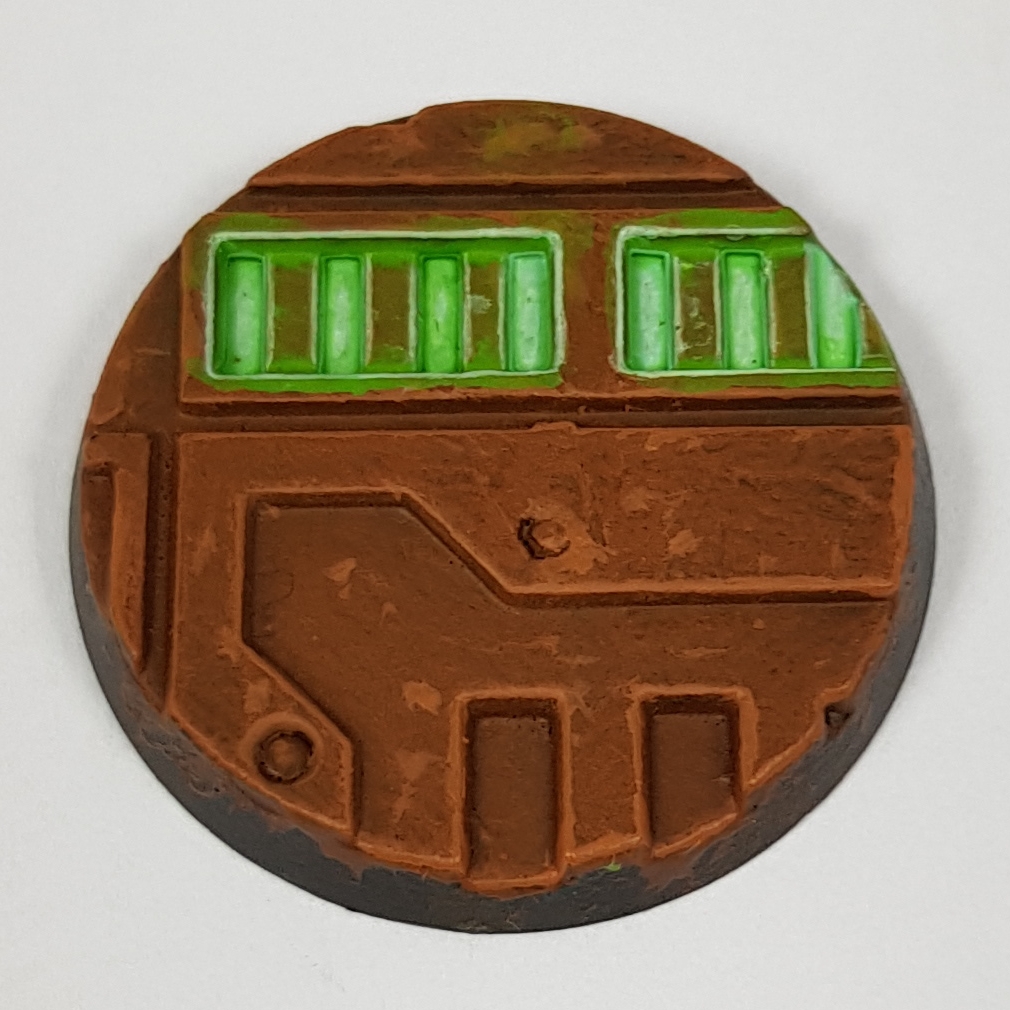
Make a mix of 1 part Moot Green to around 3 parts water and flood the grating up to the level of the higher lip.
Make a mix of 1 part Gauss Blaster Green and 3 parts water. This time use the mix to flood only each individual section.
Make a mix of 1 part Guass Blaster Green and 1 part Ceramite White. Apply carefully down the centre of each rectangle and along the edges.
Apply a light glaze of Waywatcher Green.
Apply a layer of Abaddon Black to the rims.
I used Kromlech’s Soot Black pigment to add a touch of weathering to finish off the bases.
You should now have some funky bases for your gangers. I’ll be back soon with some more ideas on how to base your gangs.