A Month in Pictures – March 2019

55 models this month! Trippling the total so far.

I’ve been in deep with the painting this month working on a lot of commissions but also finding the time for a few of my own wee projects along the way. It’s also a month were I have tackled a variety of ranges, Harry Potter from Knight Models, Guild Ball from Steamforged, a Beholder from Wizkids and Necromunda as well as Lord of the Rings from Games Workshop.

This gives me a stiff target for next month, but I do have a job coming up that will help tremendously.

Models Painted: 55

Model Total: 75

Necromunda – Skrugs and Ratty, the Abhumans Behind the Man

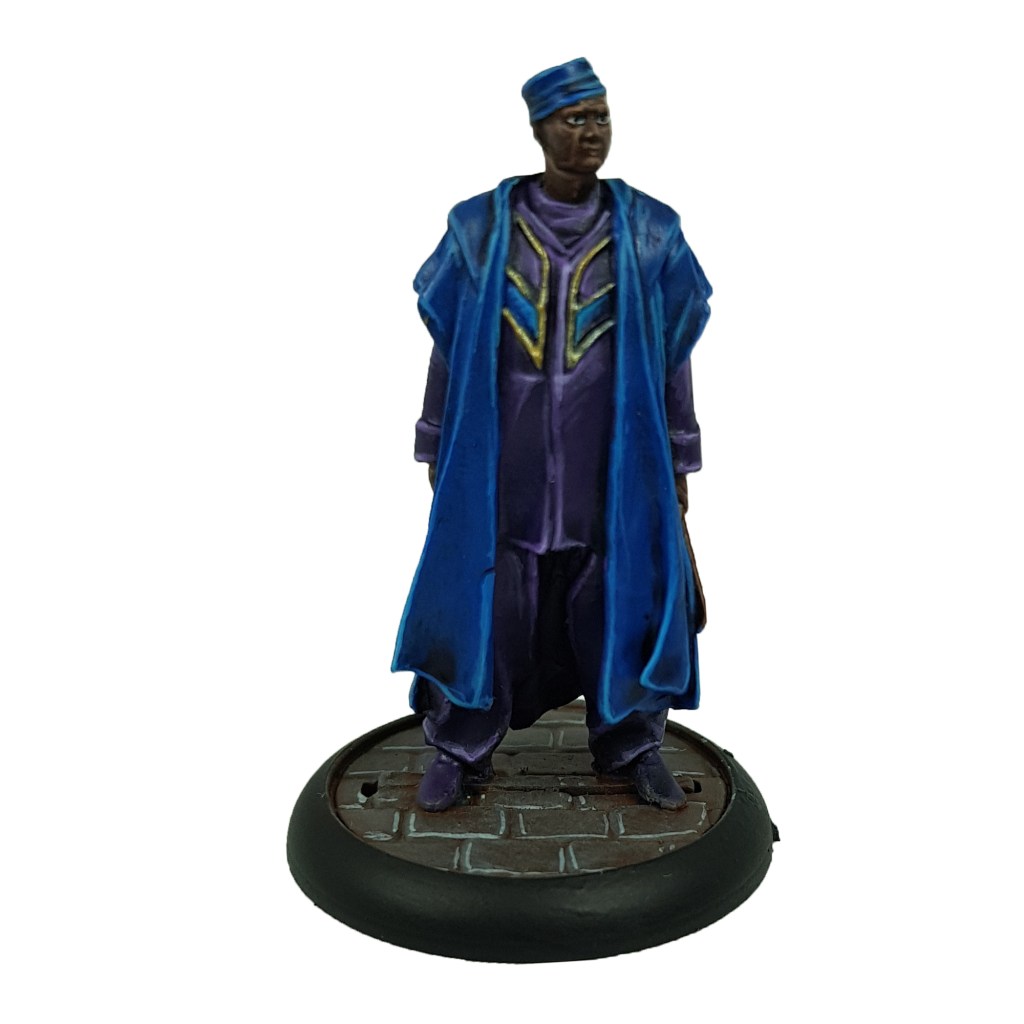
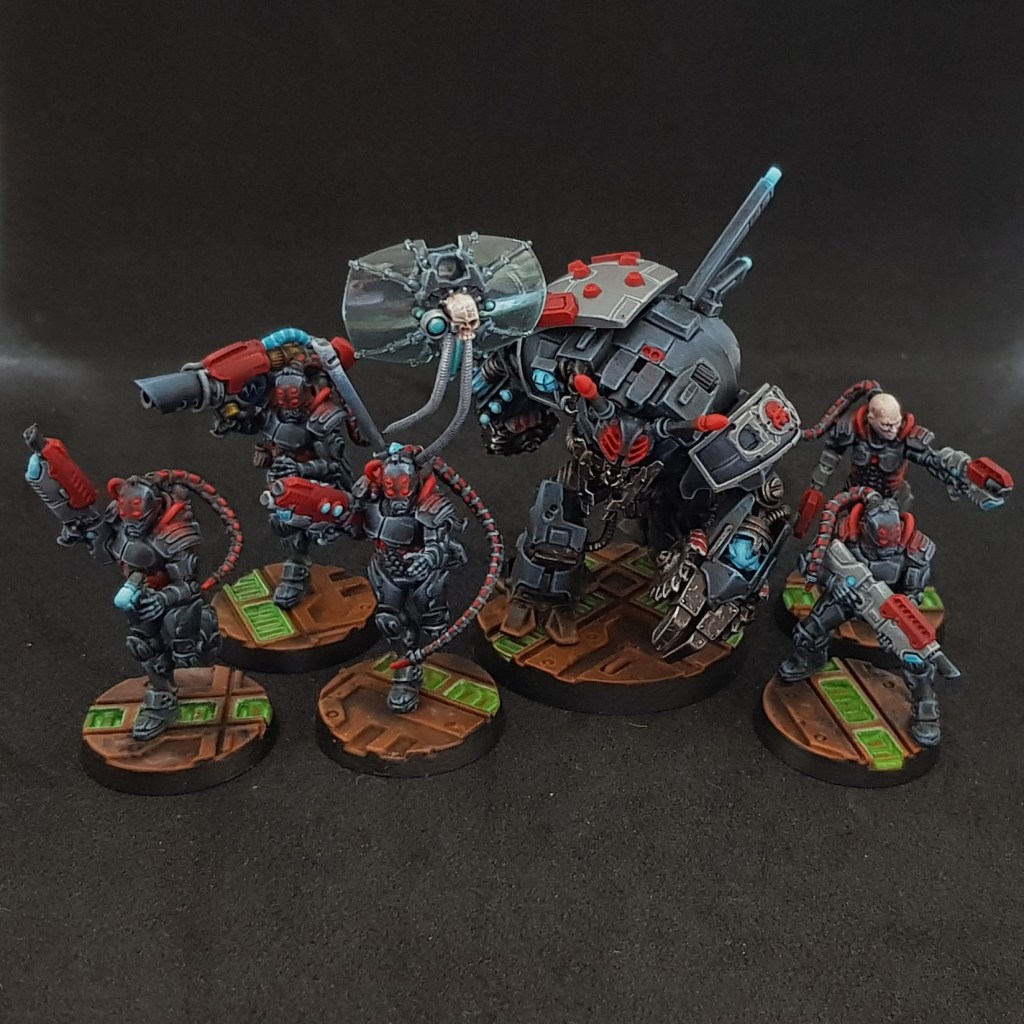
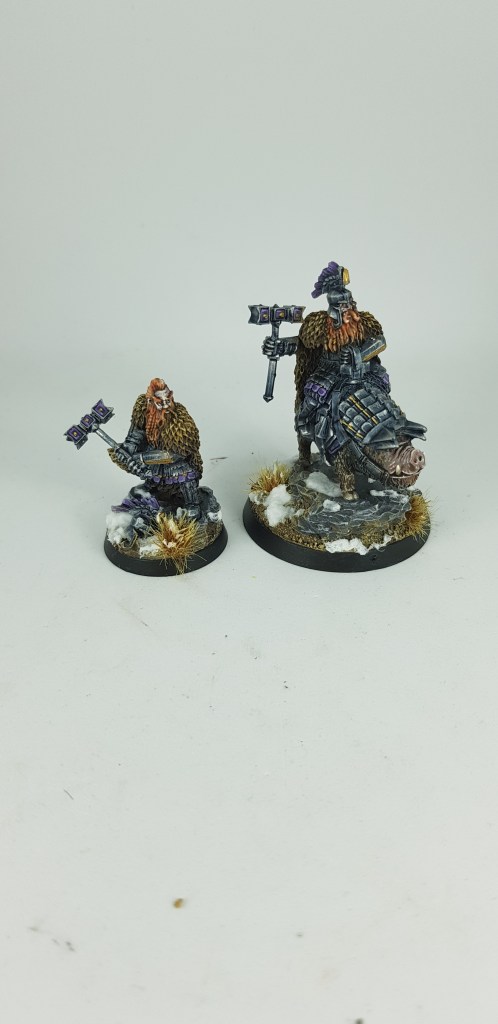
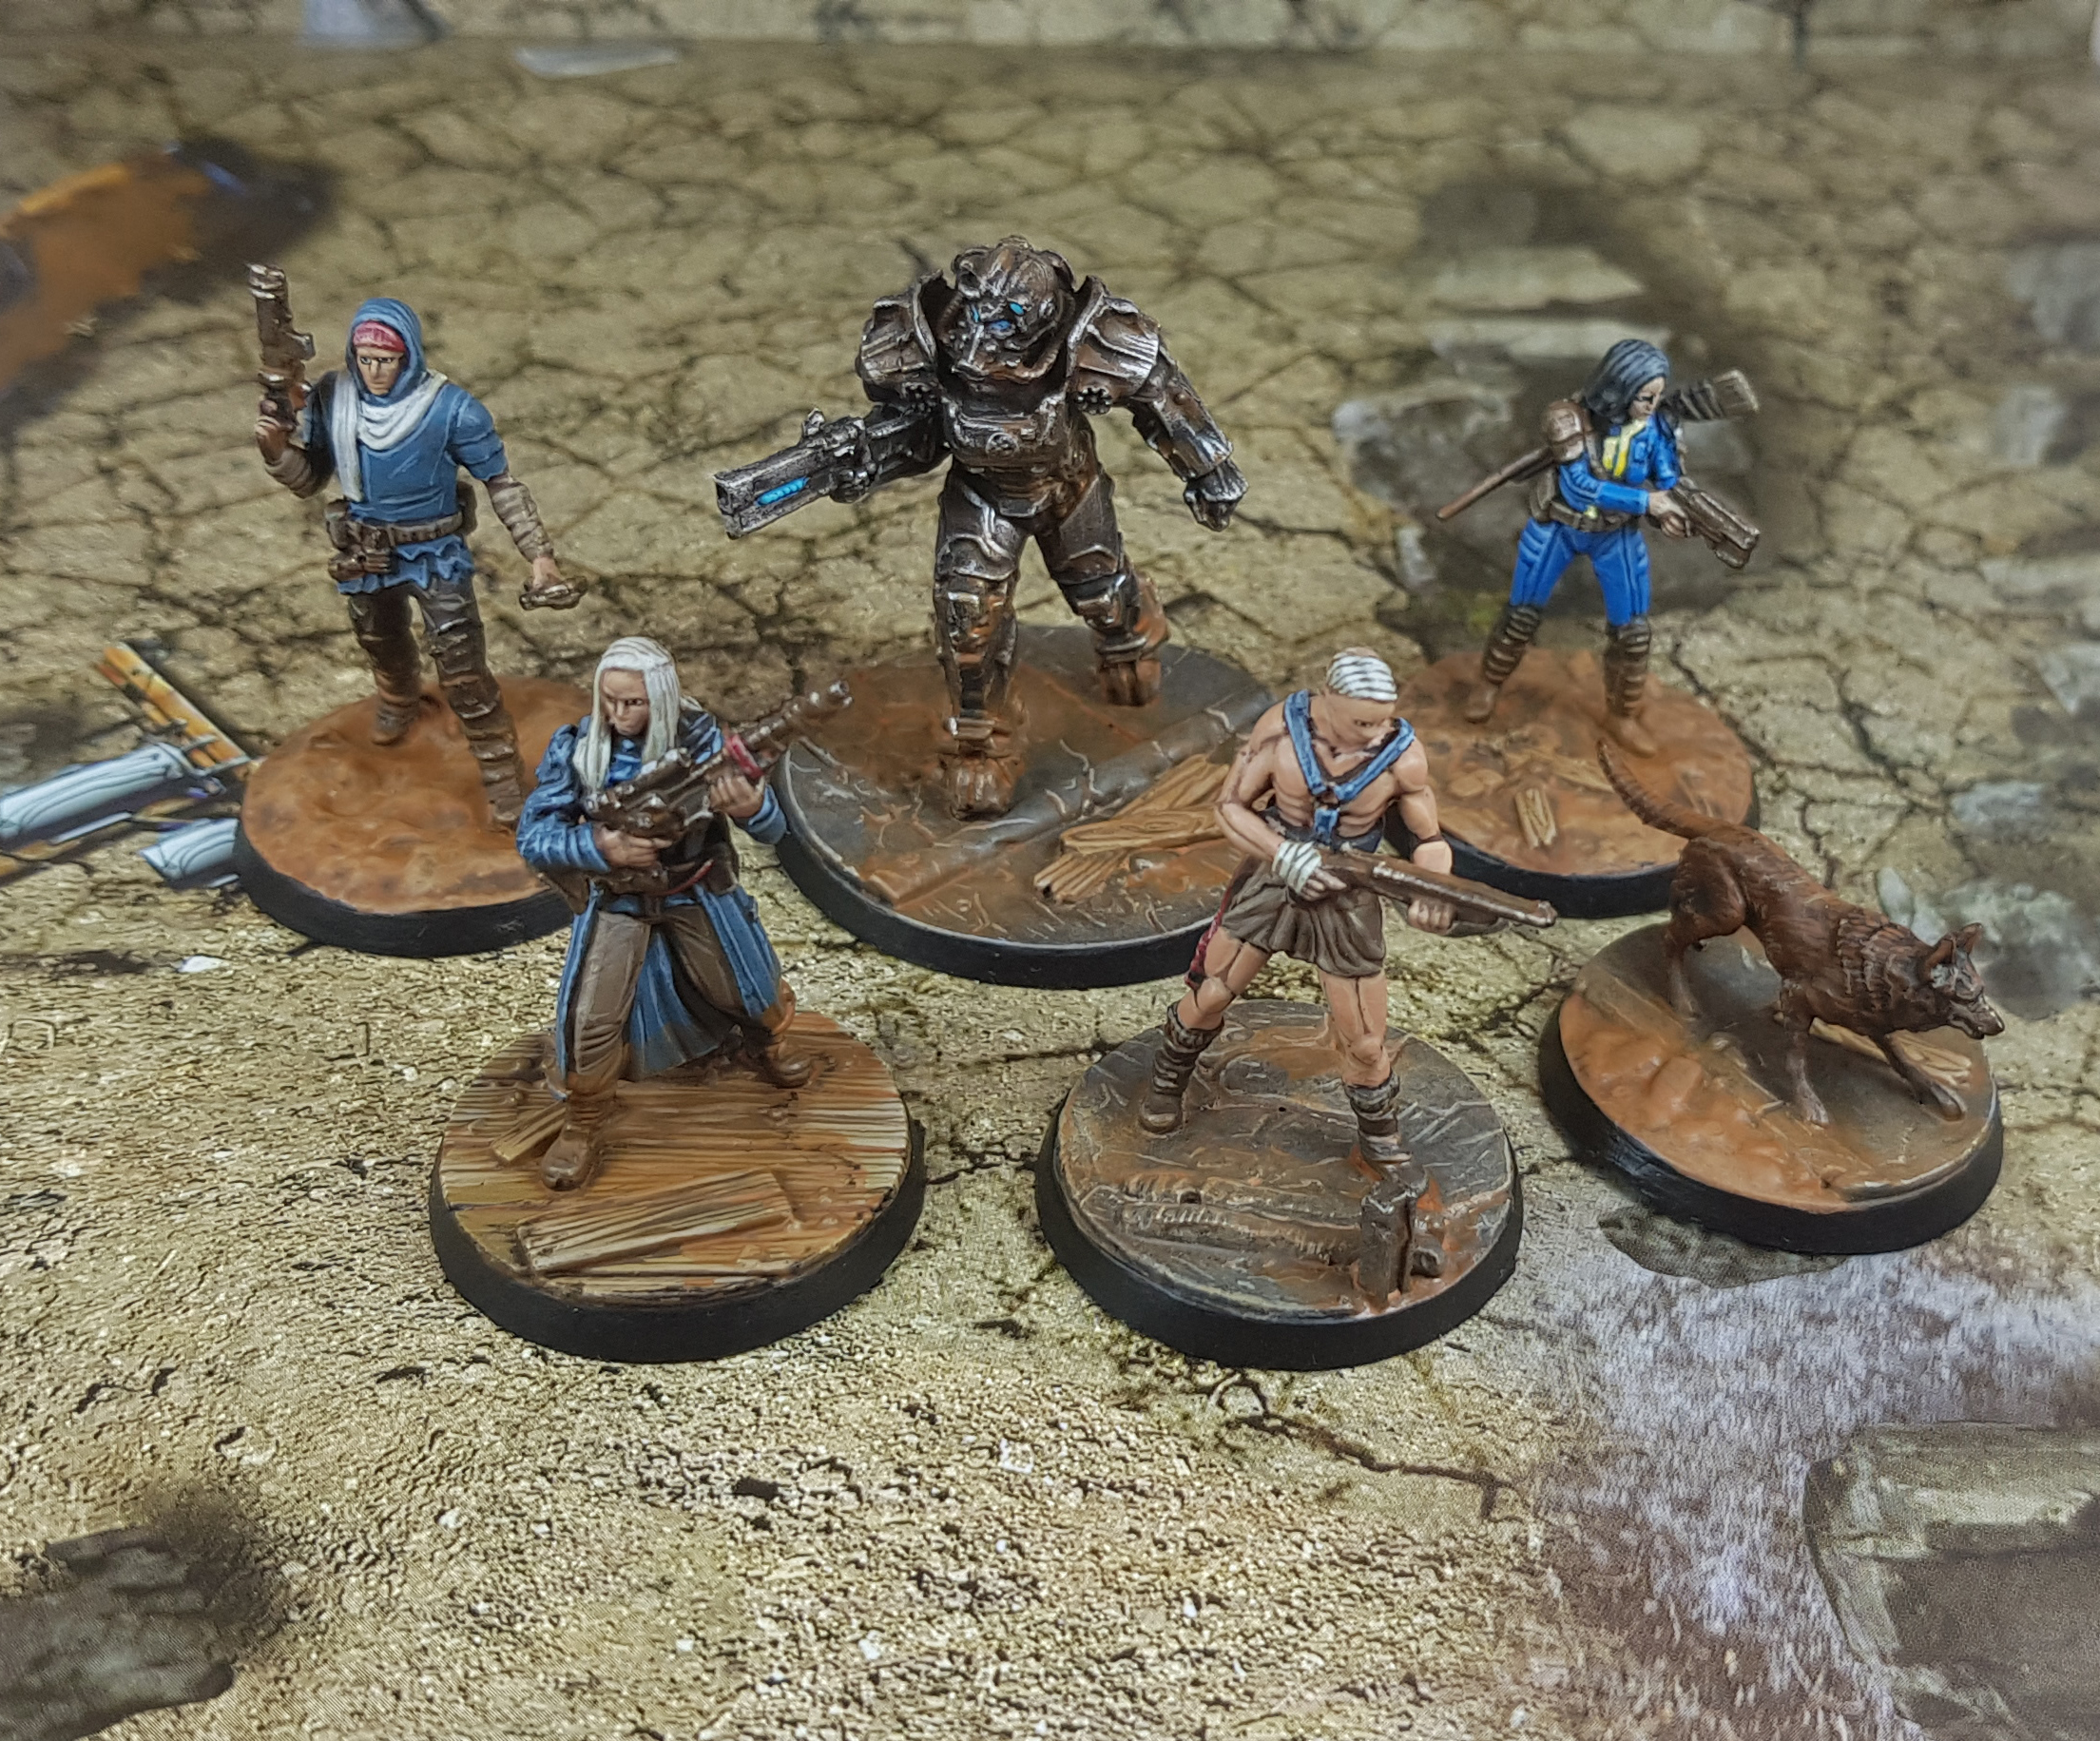
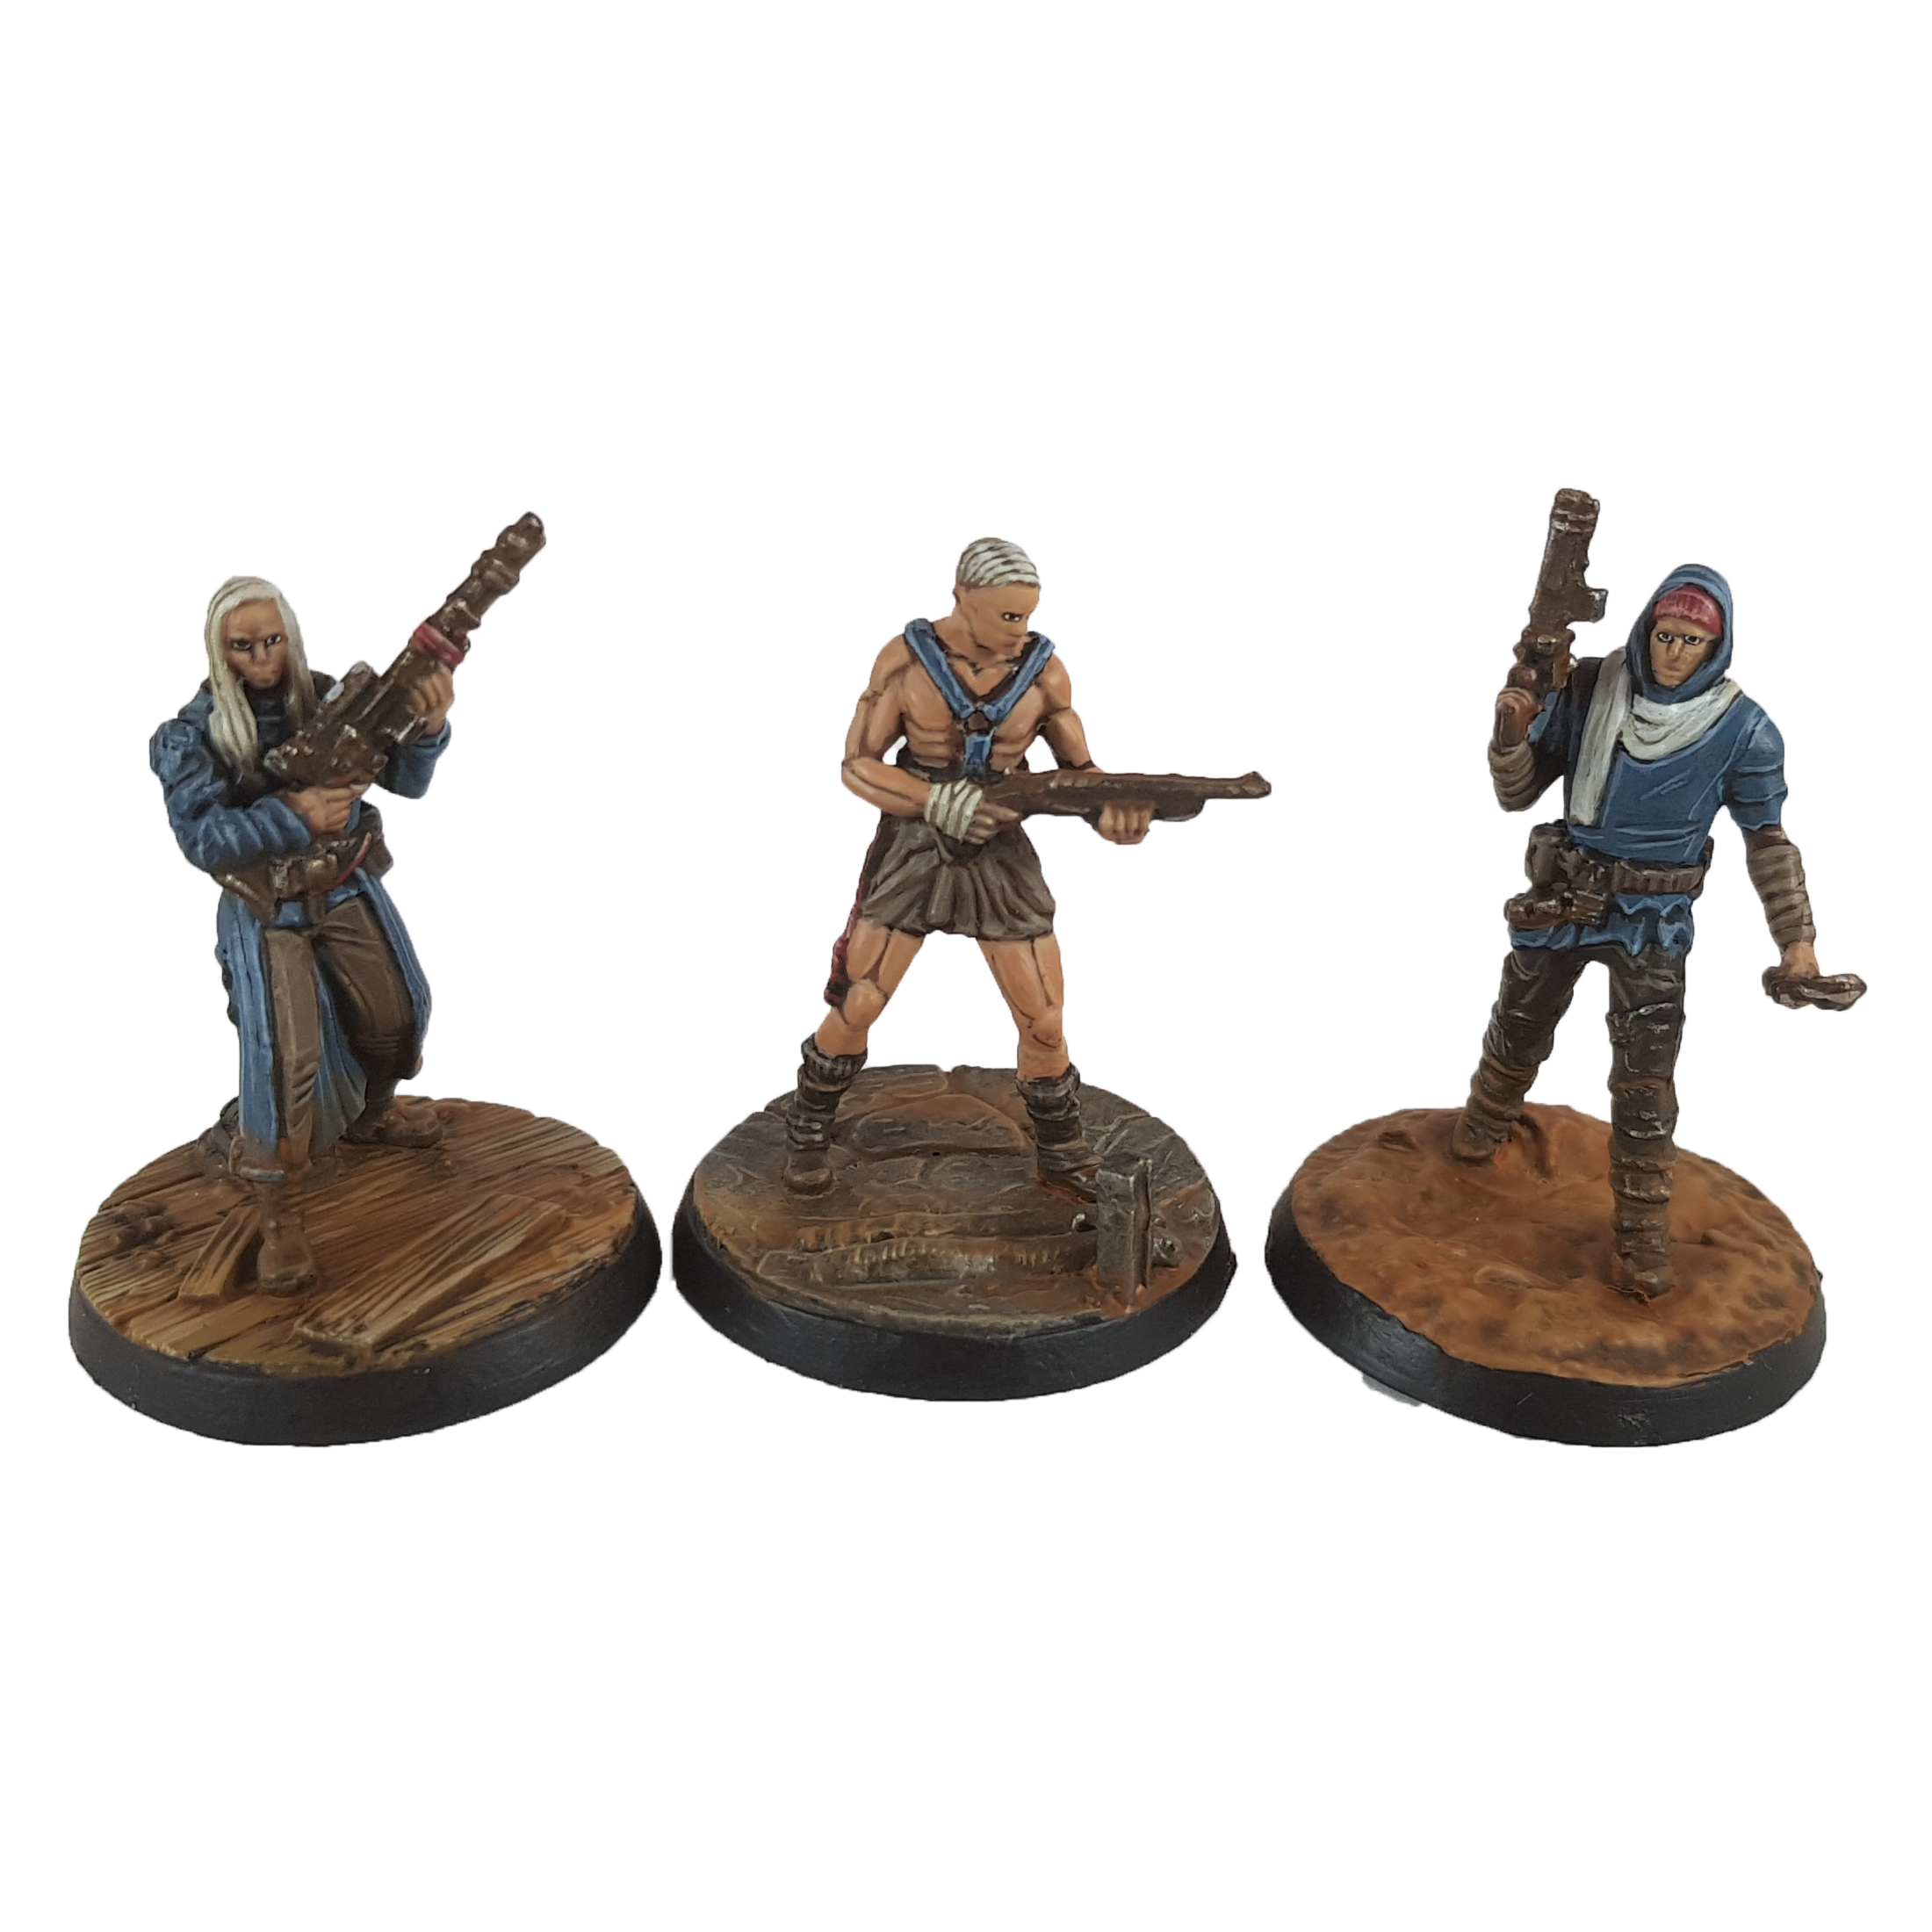
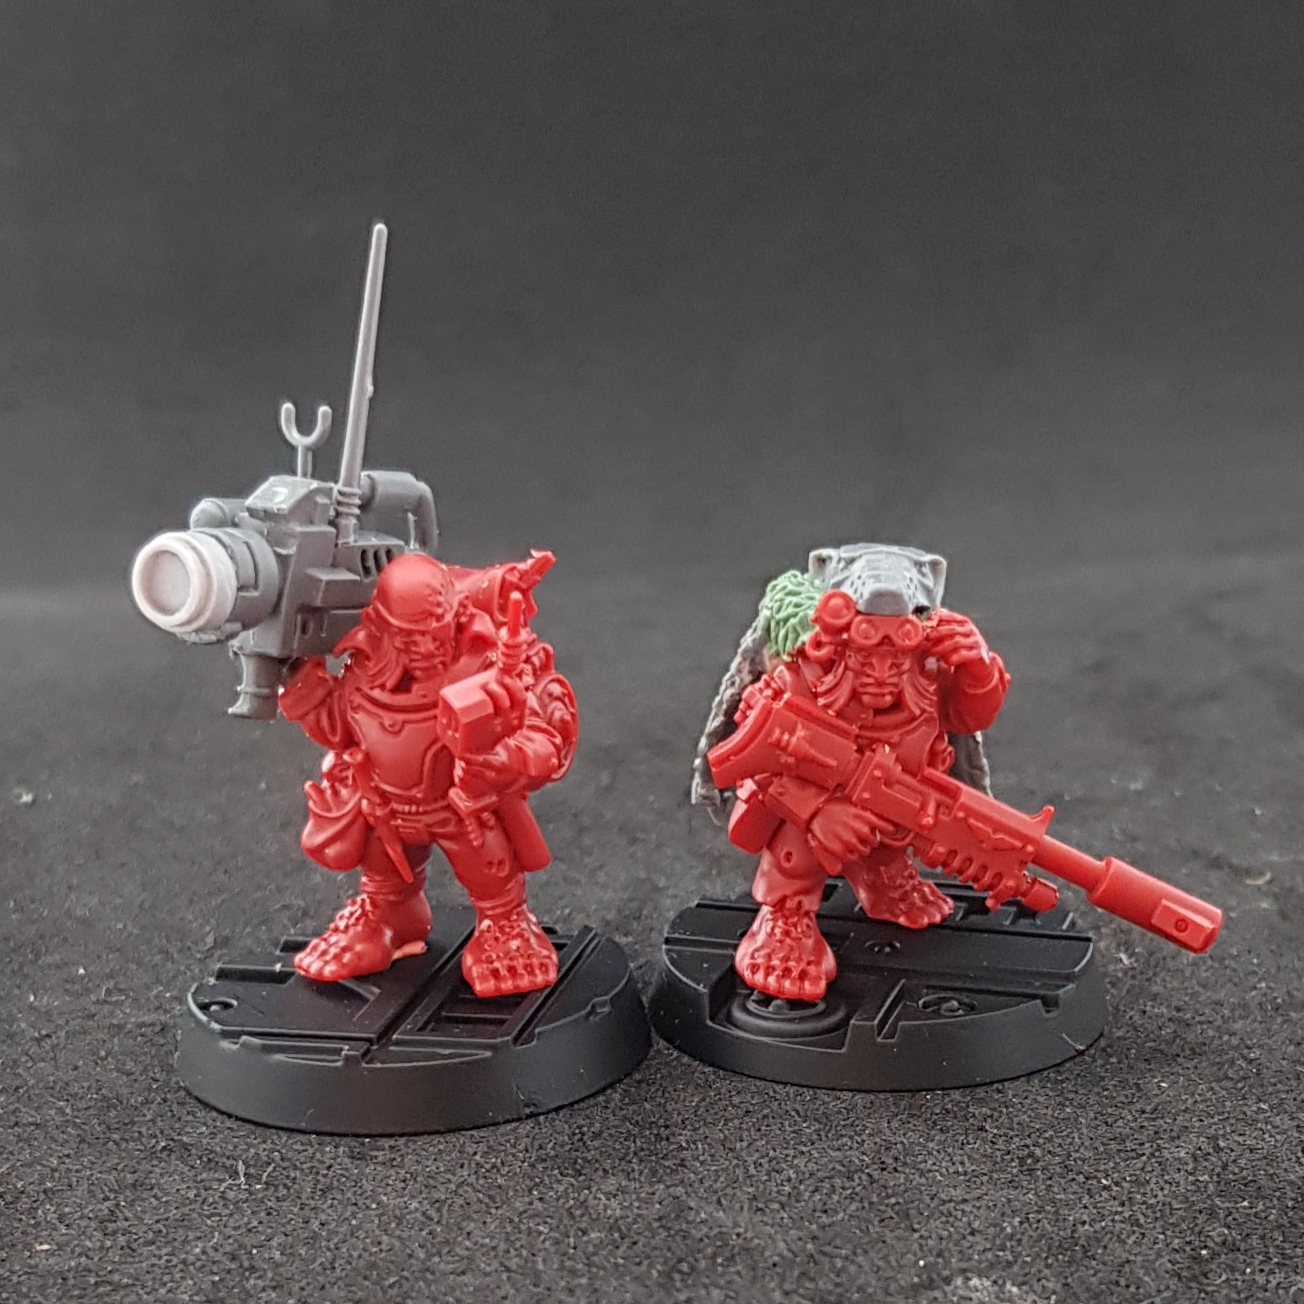
Finishing up the entourage of Lord Aquillius Lionhardt are his two loyal companions, Skrugs and Ratty.

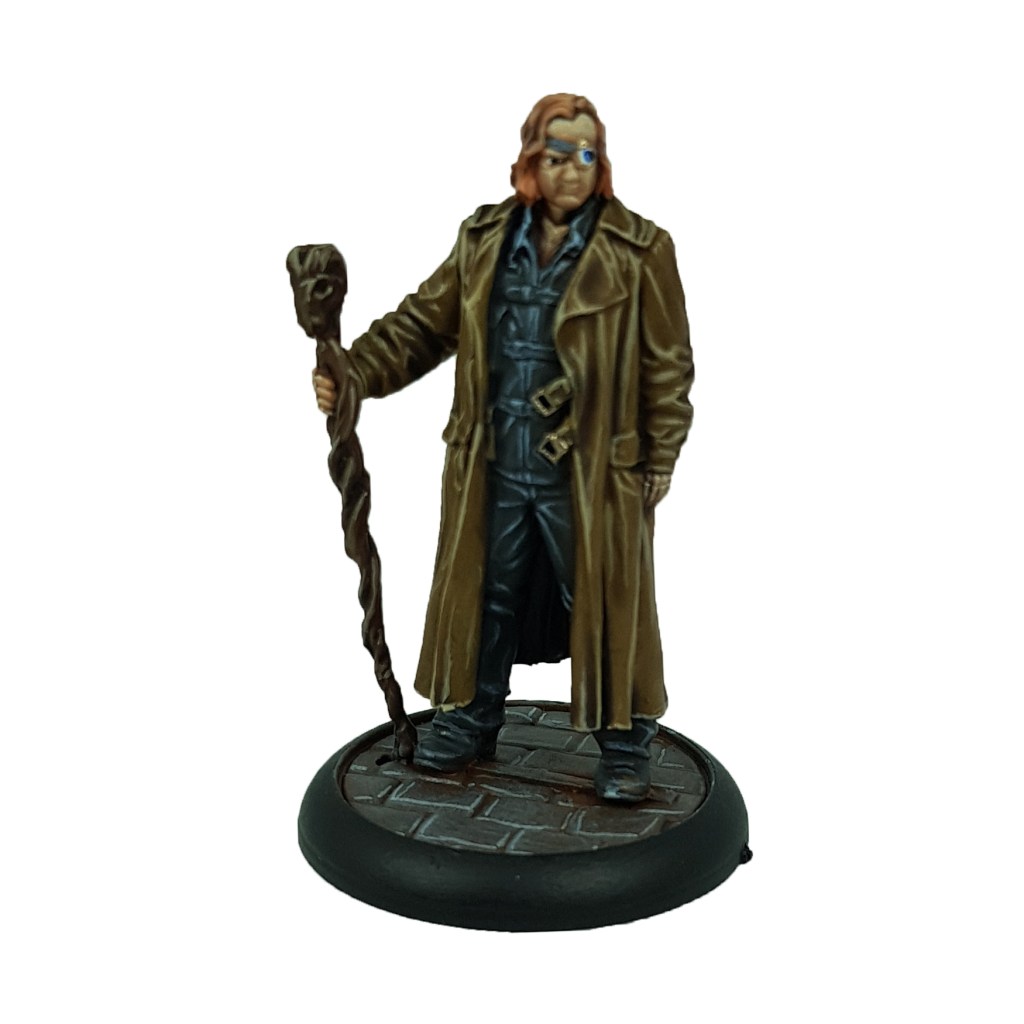
Skrugs is the director and picter but is also the mastermind behind the whole endeavor. A cunning ruse only a Ratling could come up with, and as usual an enterprising way to make a lot of coin. There is no Lionhardt, not a real one anyway. The whole thing is a con, a way to swindle everyone in the underhive at once.

It all started with Nevin Boigs, he grew up in an acting troupe travelling the underhive, putting on a show in each new settlement.  Nevin was the lead actor and a great one at that, but also incredibly unlucky. In an accident involving a latrine, a waterfall, several giant rats and a sudden hivequake, Nevin was seperated from his troupe, and his life, now forced to hustle his way in the underhive until he could find them again.

Down on his luck as always, Nevin was about to be swindled and likely stabbed by a pair of very short men he’d lost a wager to. Whilst it could easily be said that Nevin was helplessly useless at most things, like gambling, acting was not one of them. He used his only skill in an attempt to get out of the pickle he’d found himself in. He ‘put on’ one of his characters, the lead role from the ‘Hunt for the Heart of the Aquilla’, and tried to convince the ratlings that he was a highborn noble, someone they would be best to leave well alone.

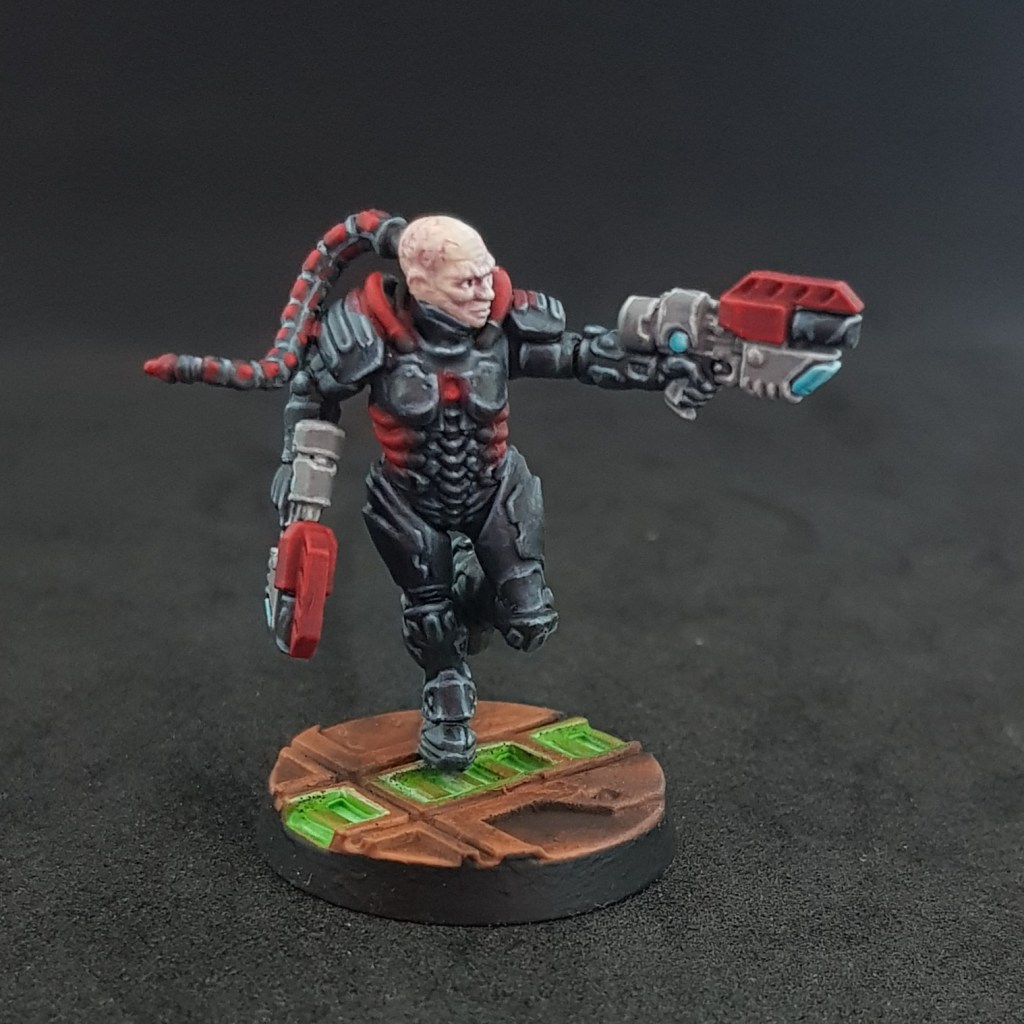
Skrugs is many things but gullible is not one of them. A consummate swindler himself, he saw straight through the act but found himself looking at the spark of one of his greatest cons ever.

He offered Nevin a way to pay off the debt, an offer he could not refuse(there were various firearms pointing his way after all). He just needed to look and act the part, embody that imperial noble once again, Skrugs and his mysterious companion Ratty would do the rest. With his boisterous and ‘educational’ banter alongside his noble persona he was an instant hit, but it was the tremendous kill shots that really sealed the deal.

Shots that seem to fly round corners, to pin point accuracy over vast distances, the gun skill on show almost unbelievable. If it weren’t for careful editing by Skrugs they would be entirely unbelievable. Utterly impossible.

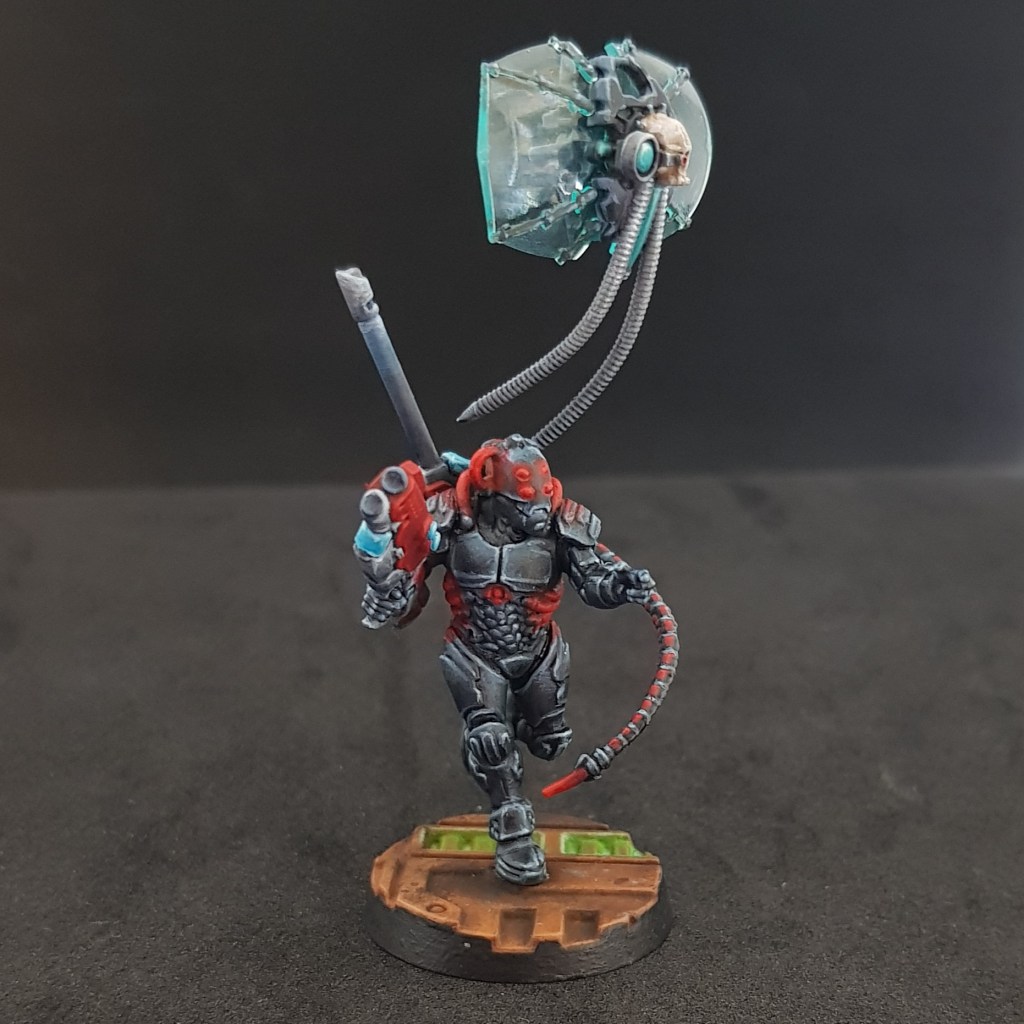
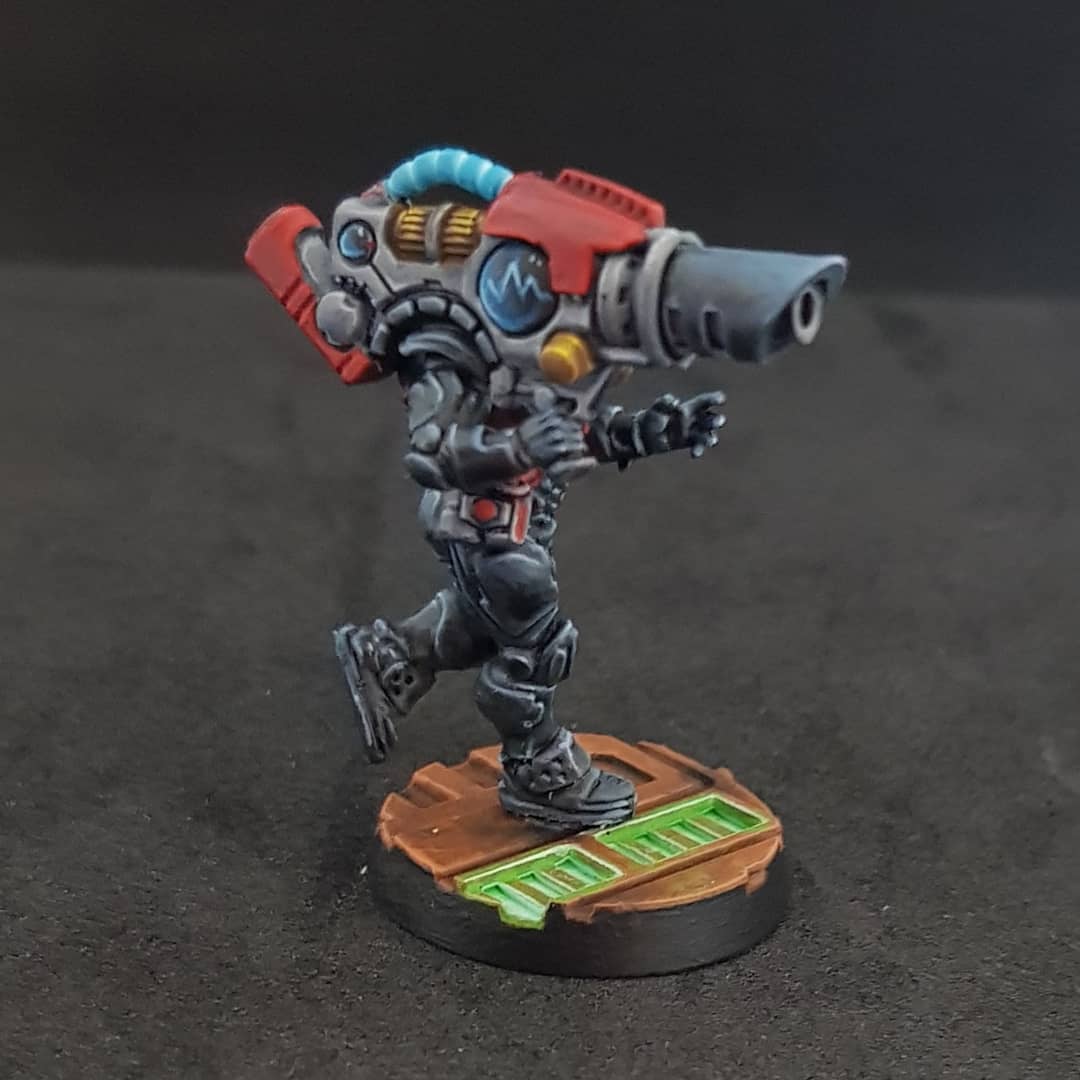
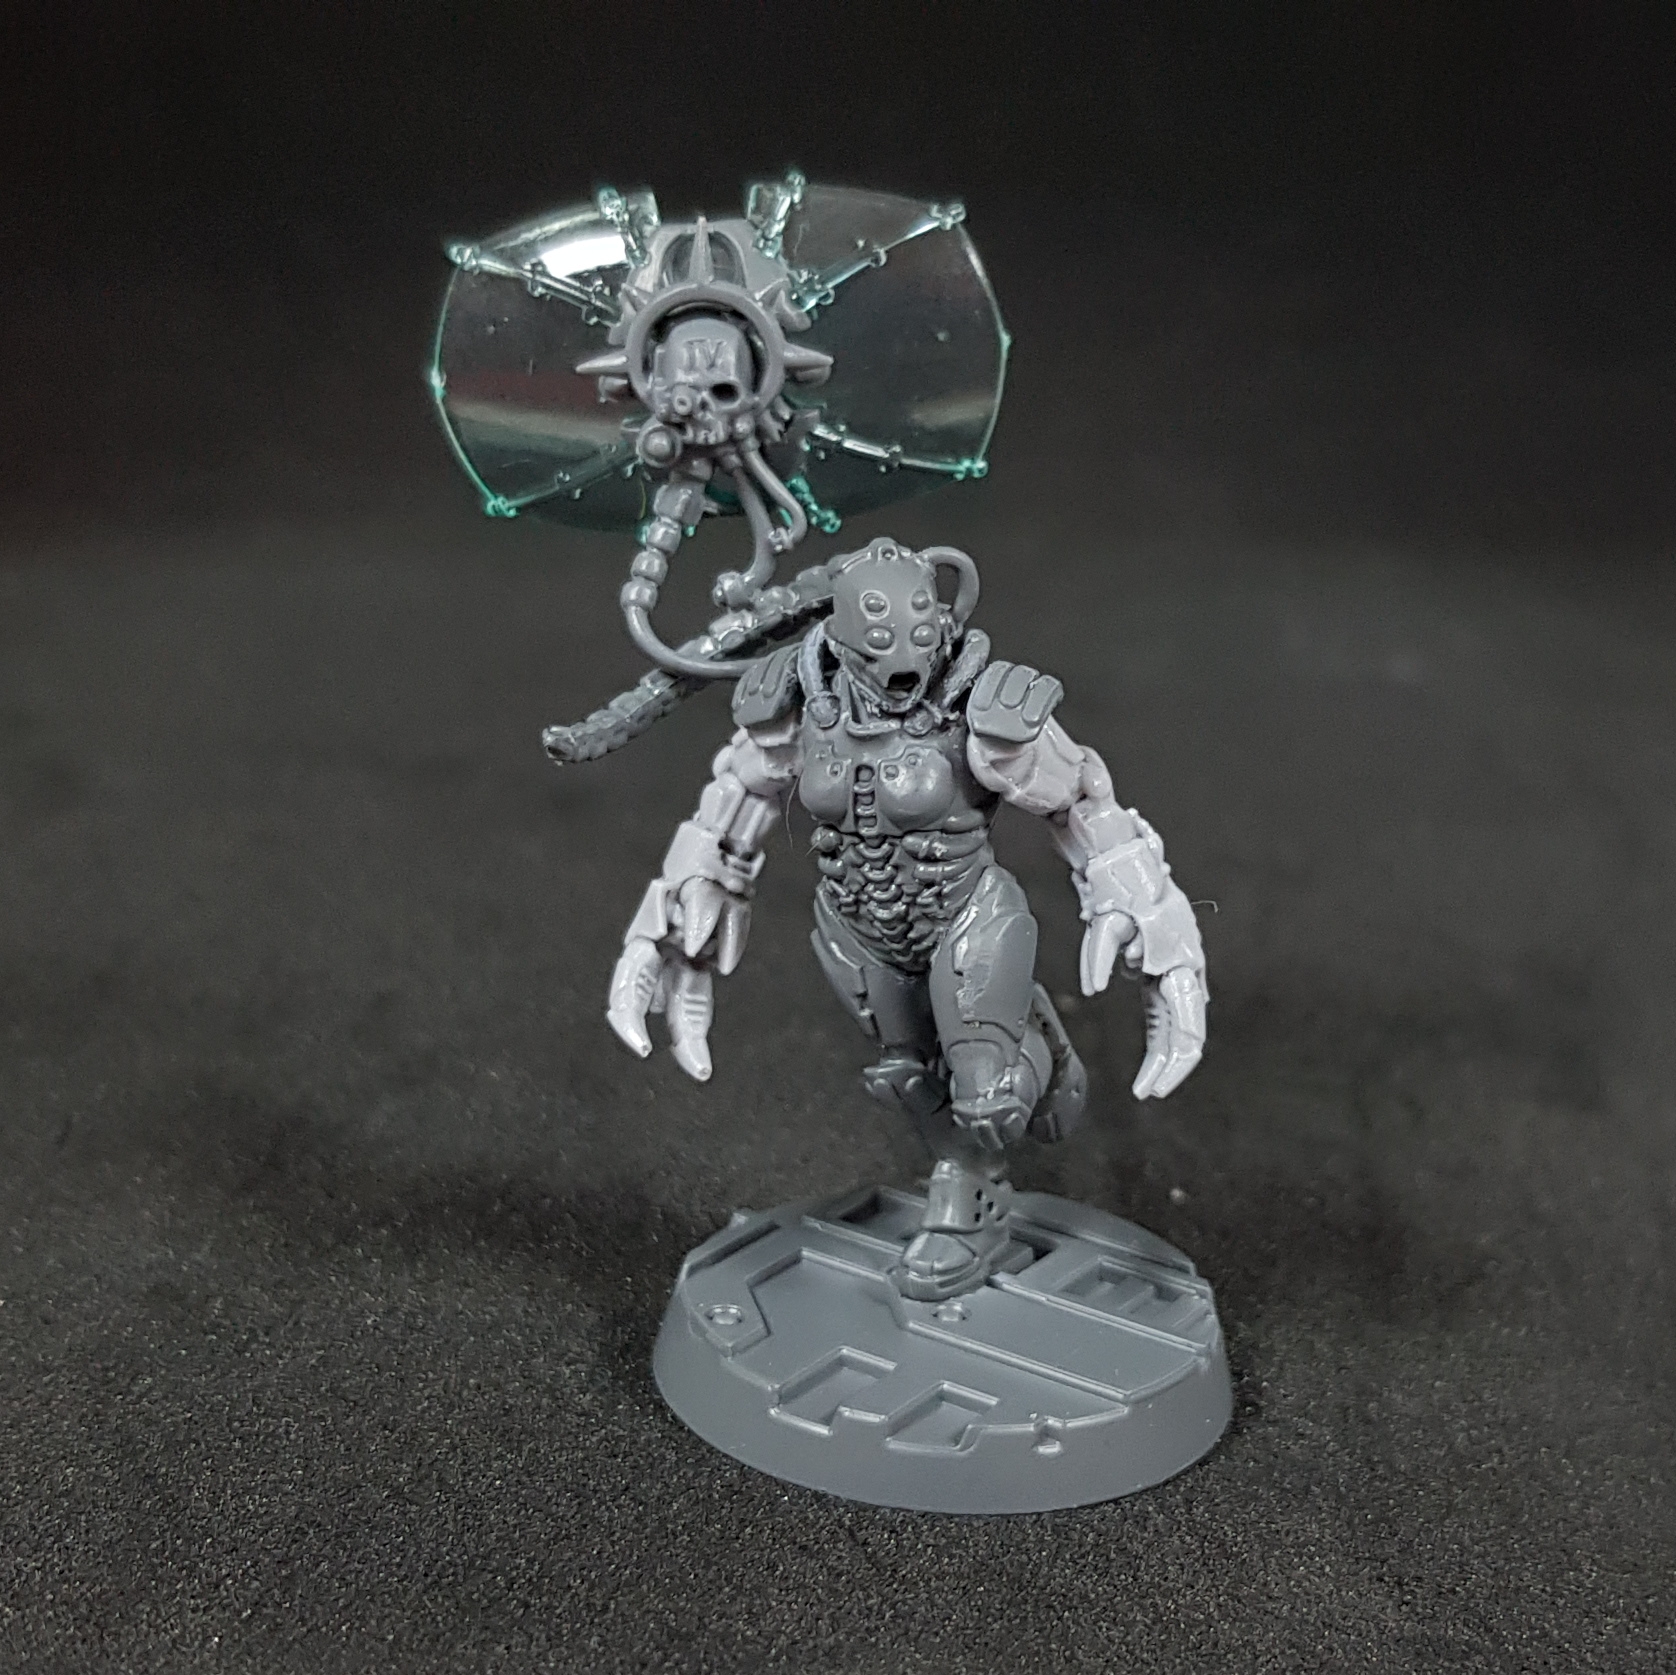
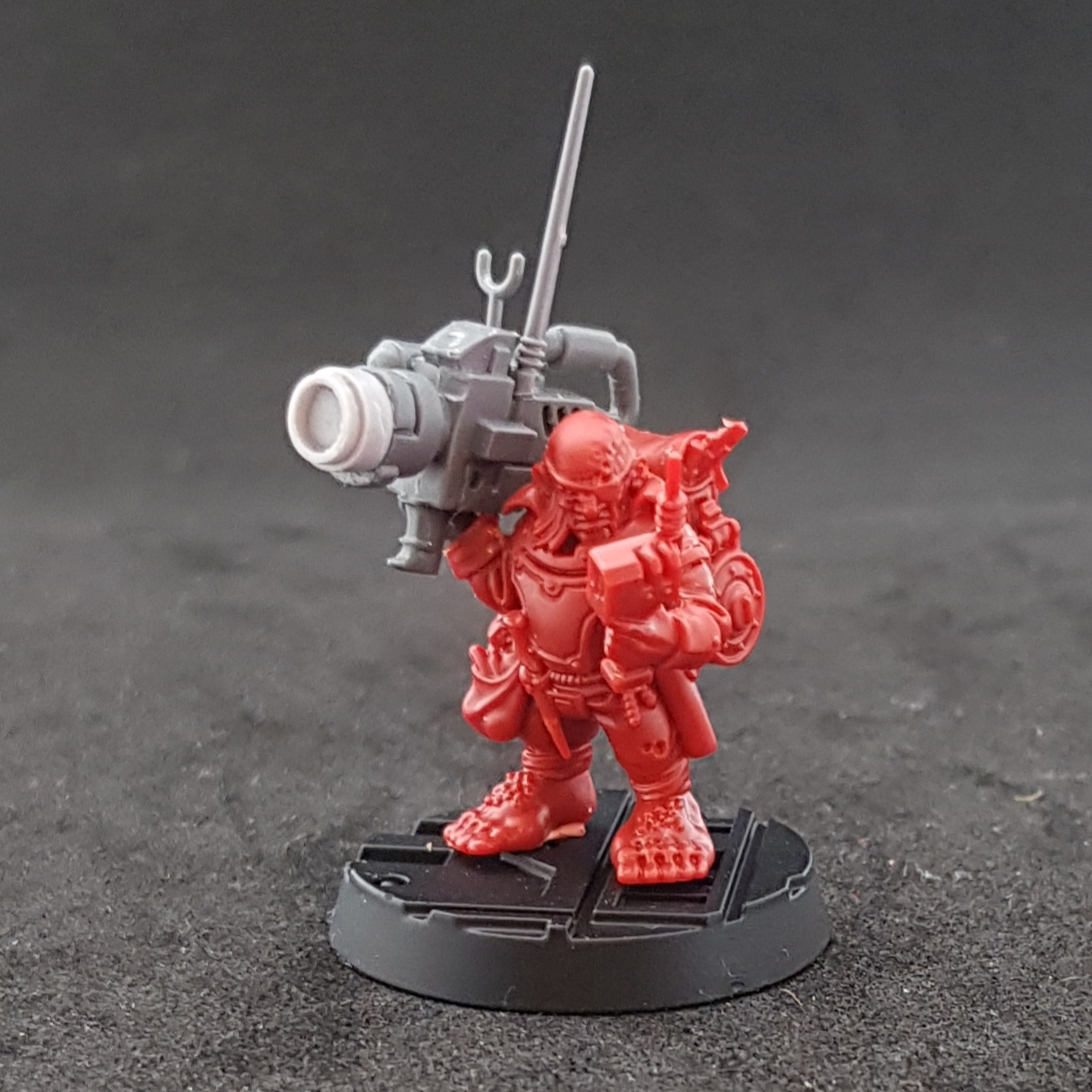
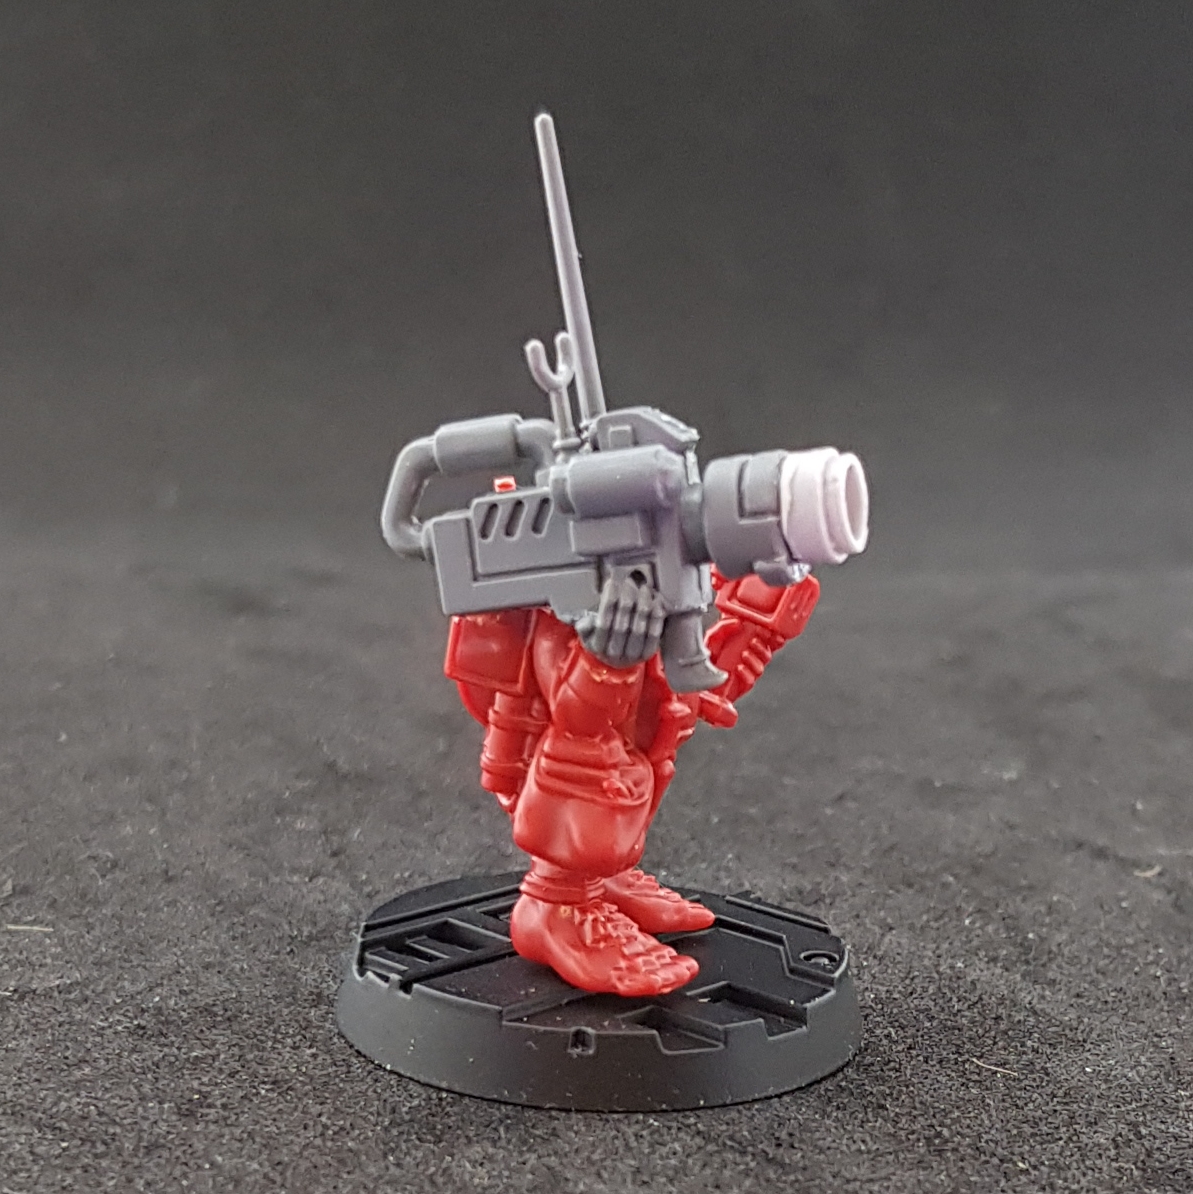
Whilst Skrugs sets up the shots, the pict feeds that will be seen by the fans, Ratty sets up his shot.

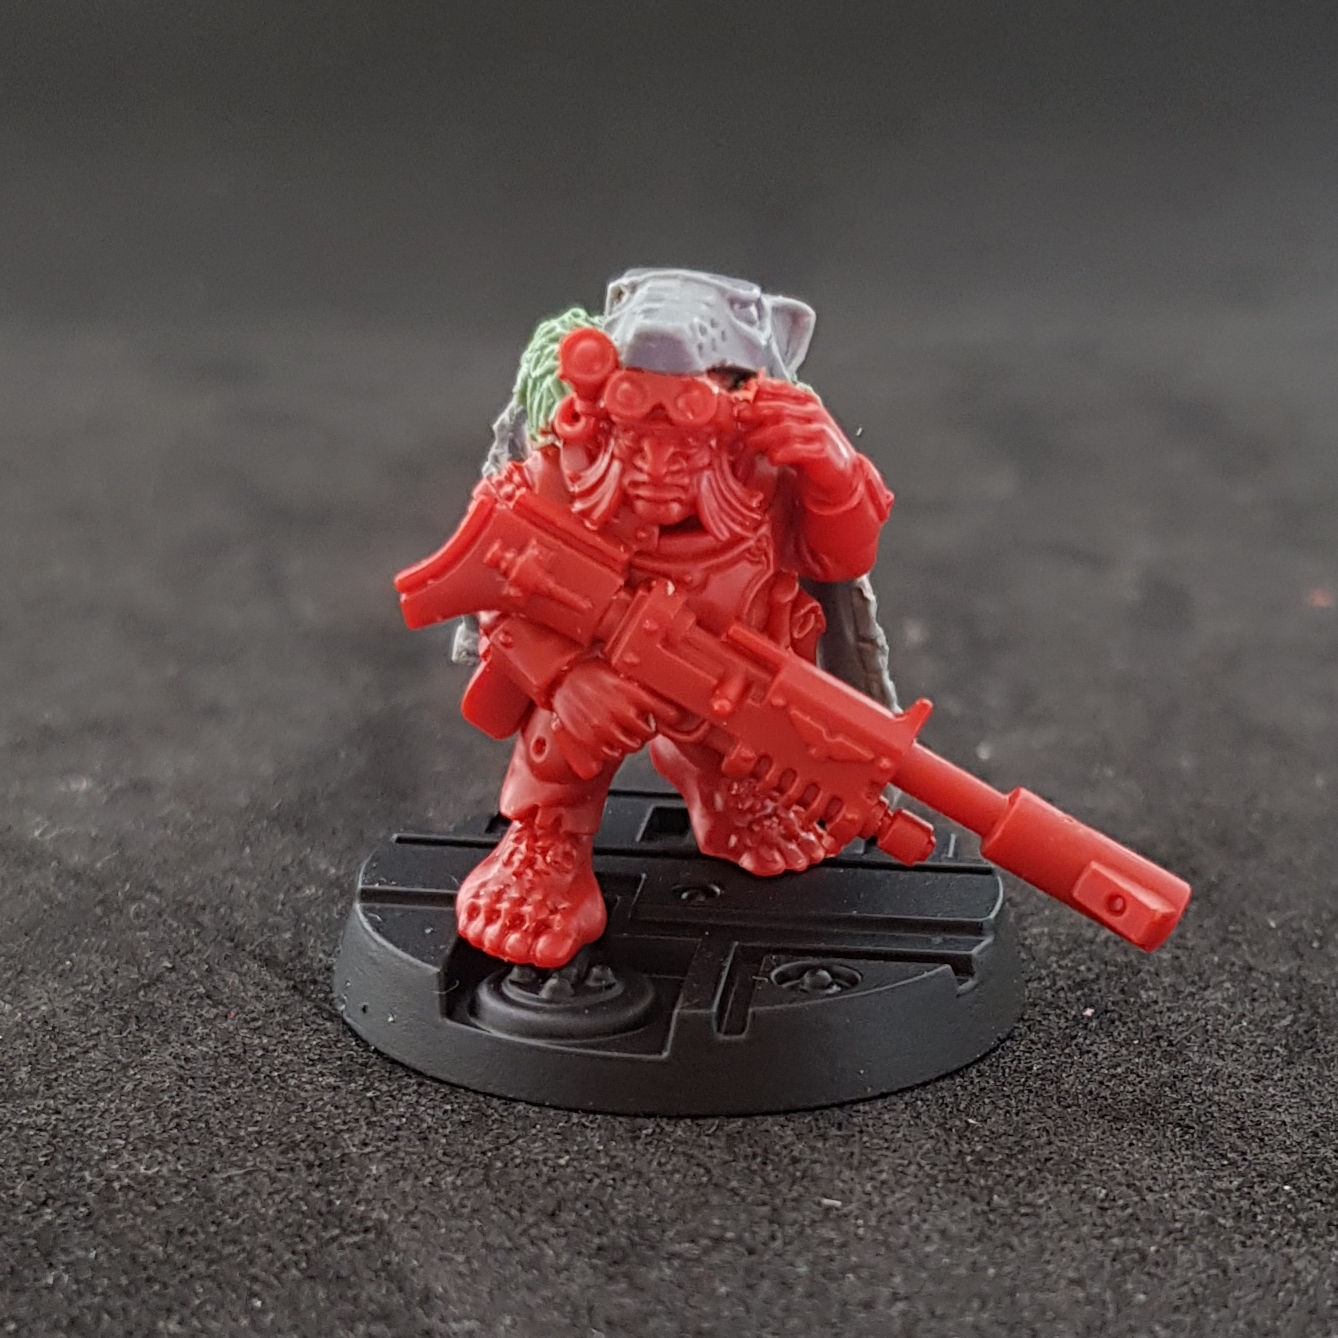
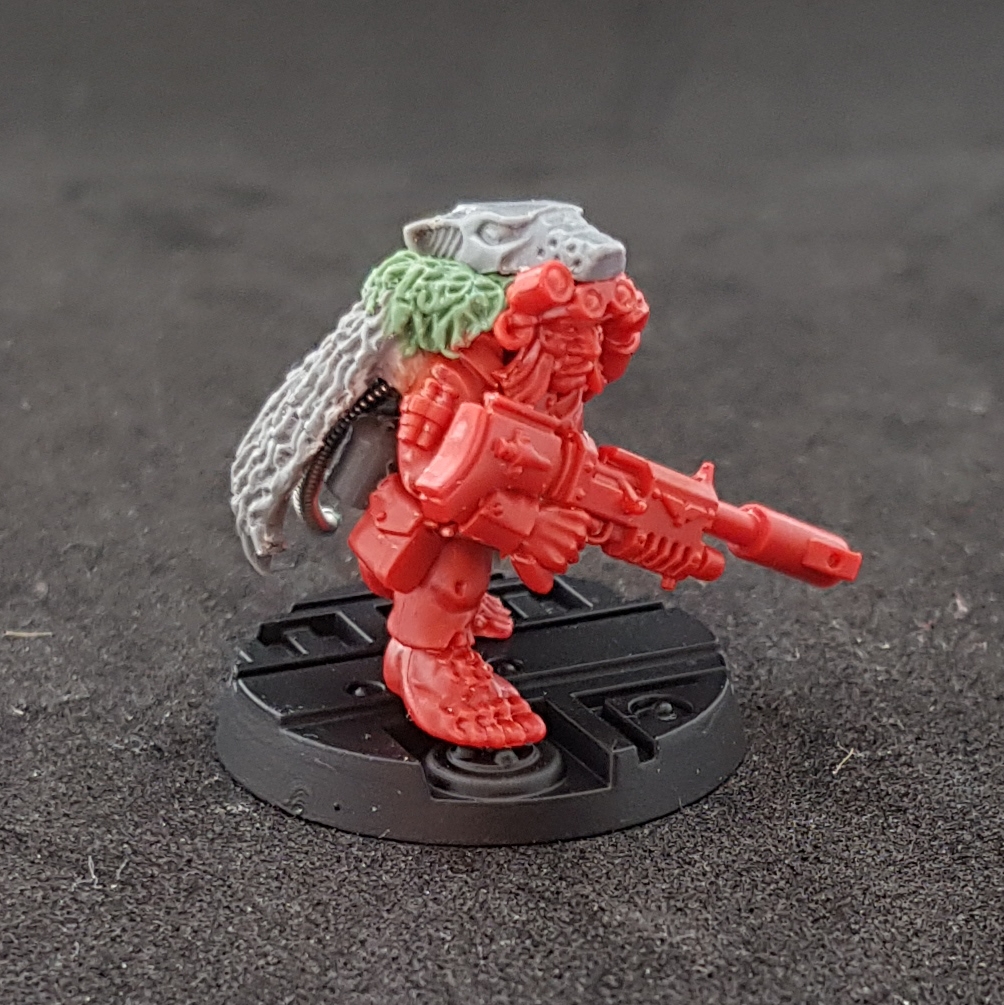
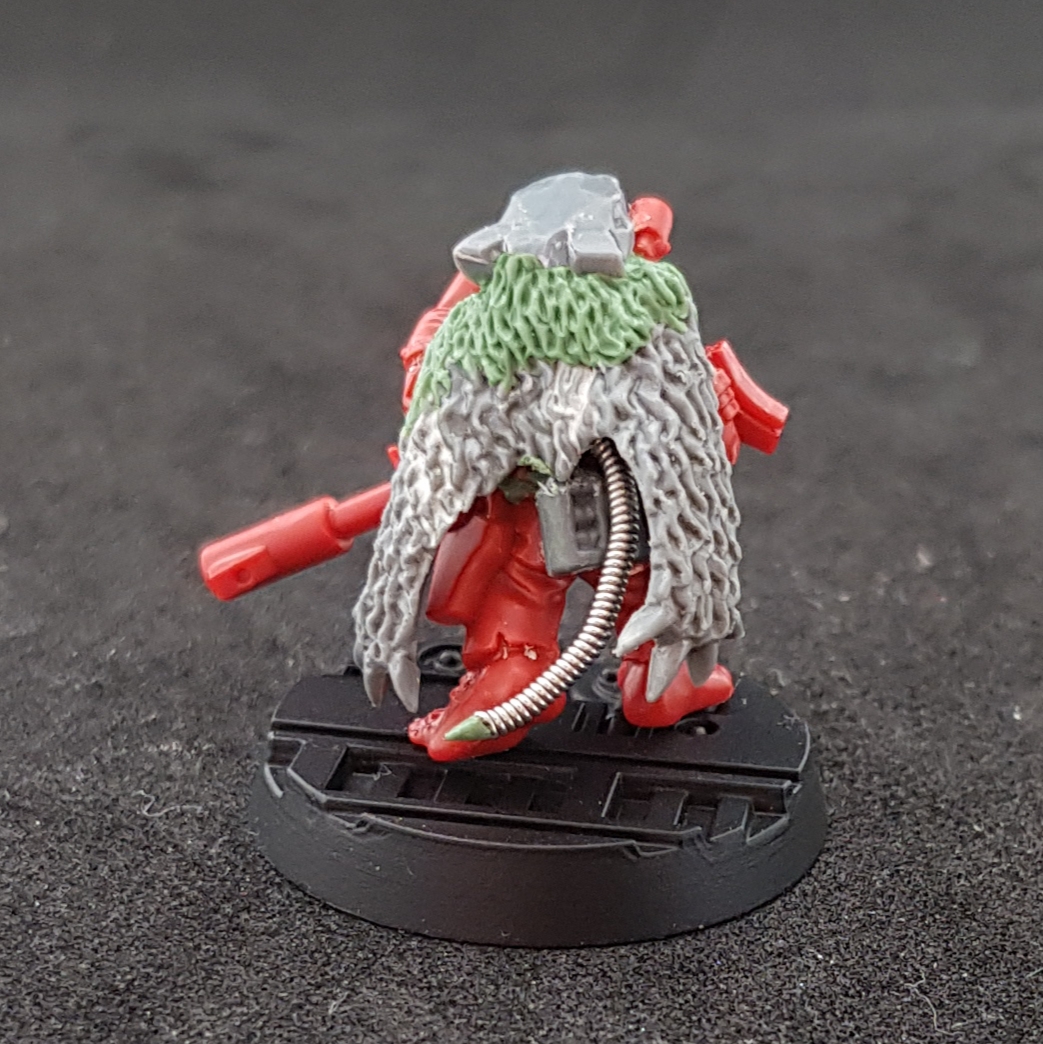
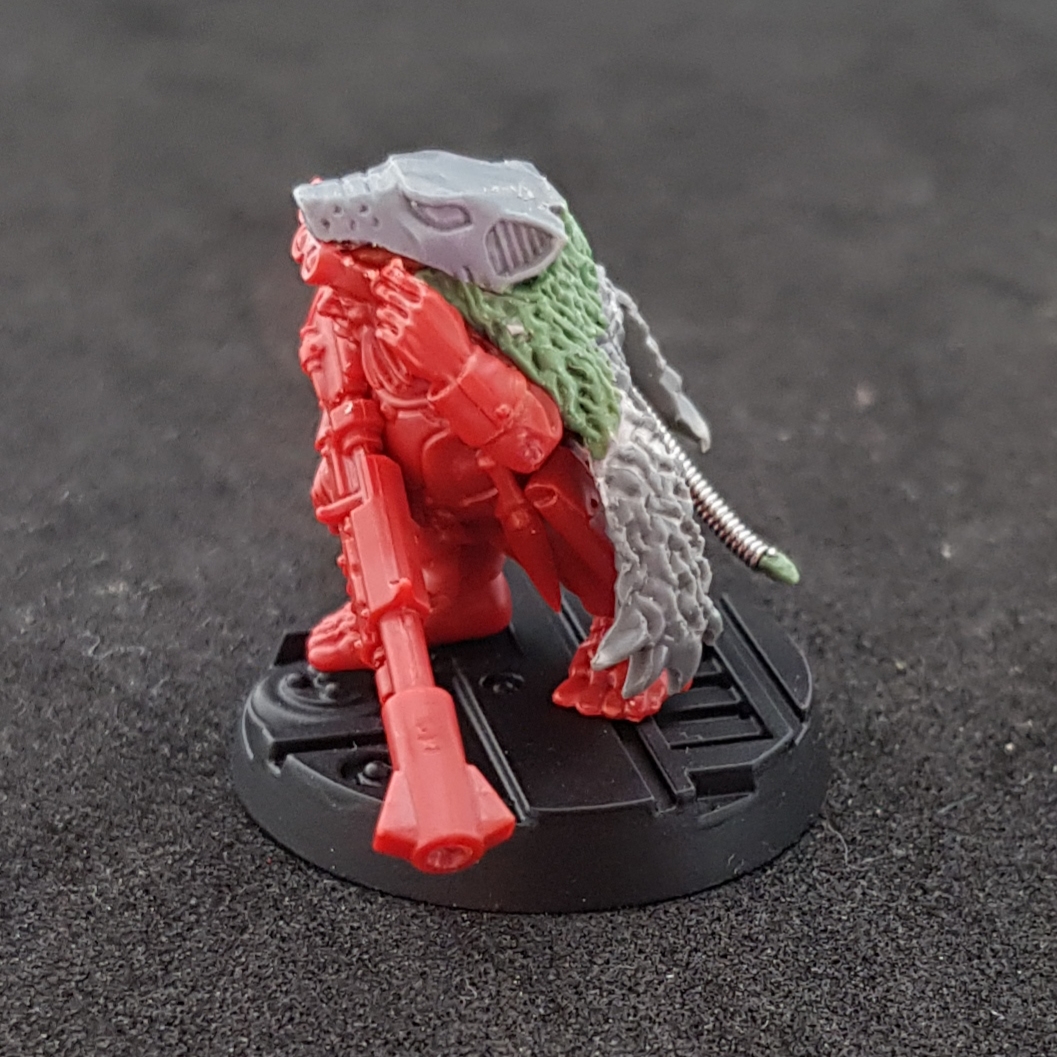
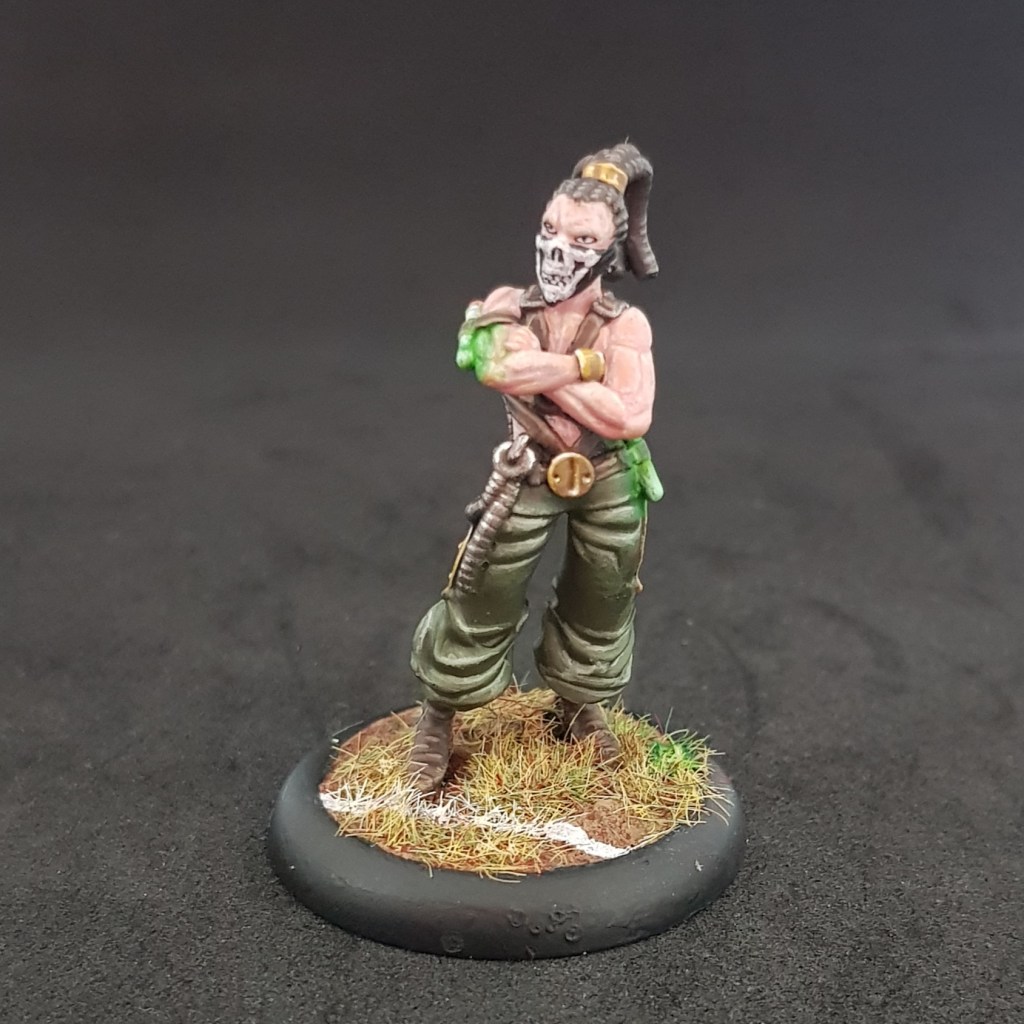
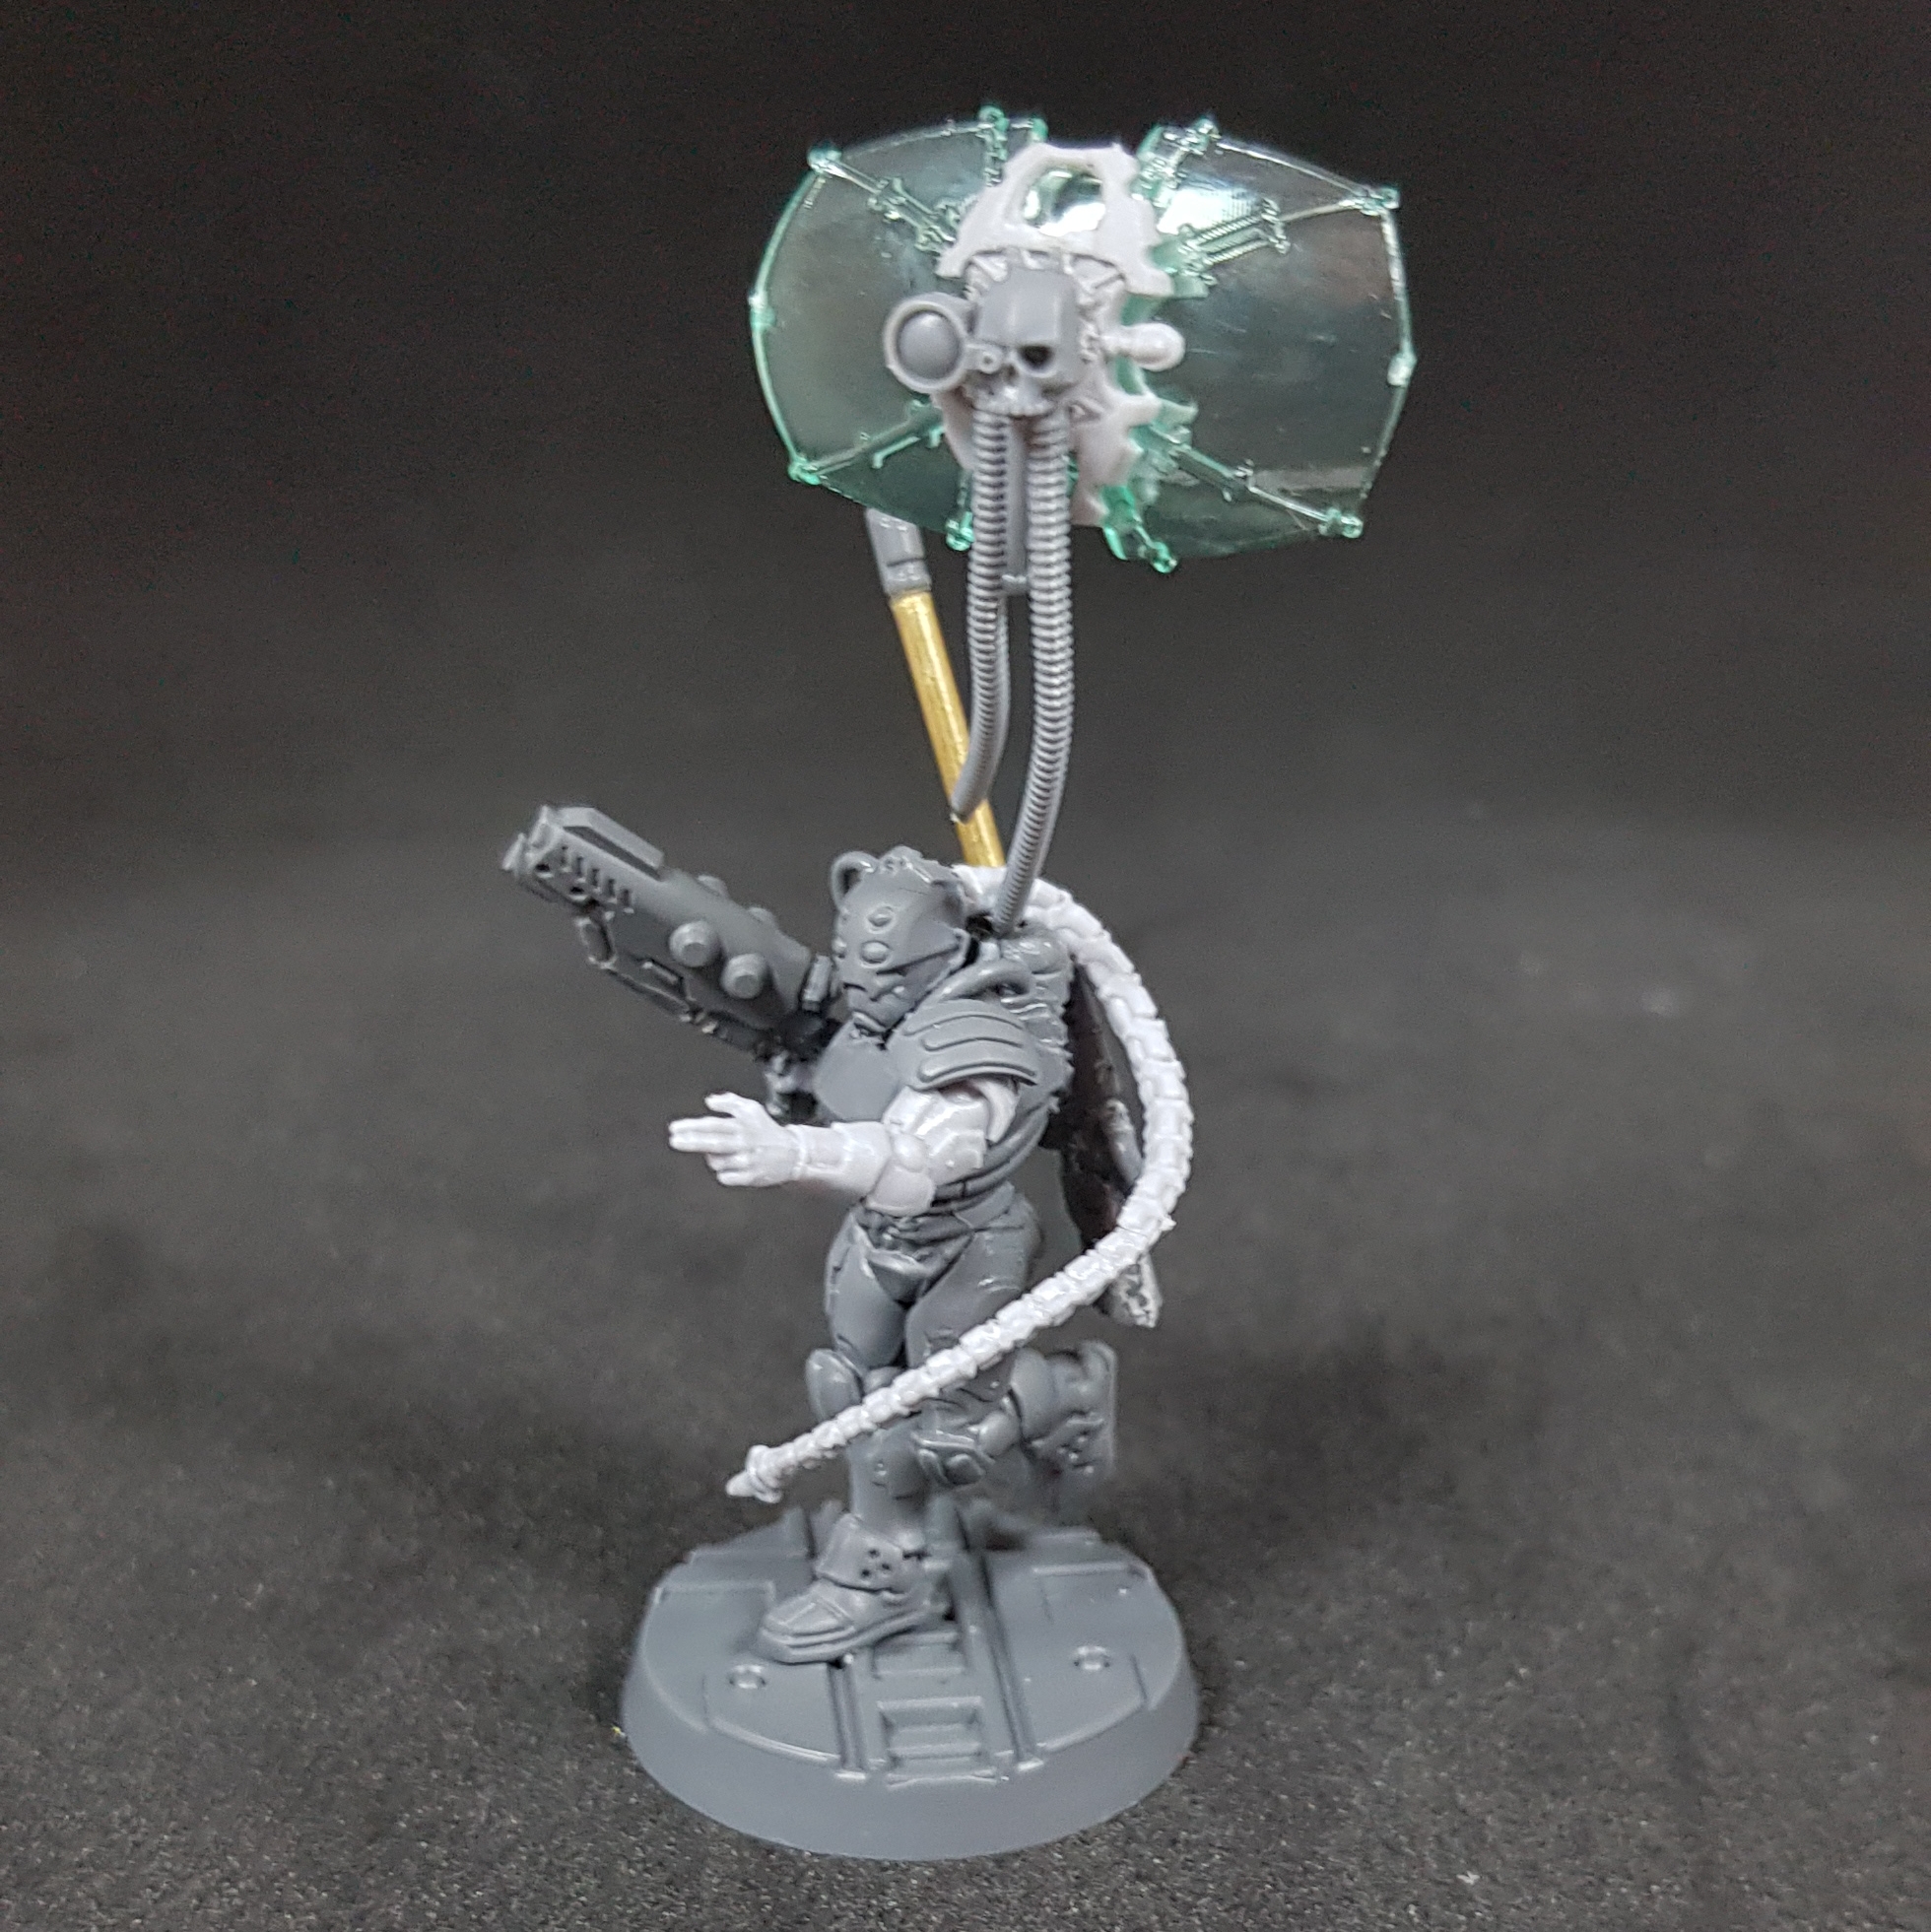
A stealthy and nimble ex guard sniper, he gained his nickname for his innate ability to crawl and scurry anywhere, with silence and speed. It’s what earned him his custom rat headgear and cloak after all.

Ratty speeds ahead of the cameras and sets up to make the kill shot, giving the viewers every impression Wolfhardt himself took down the target. Carrying his trusty rifle, and his specialist rounds, his rat cloak draped in place, he stalks unseen taking out anything or anyone needed with consummate ease.

Even if he is spotted his cloak offers the perfect disguise for the underhive, most will think it nothing more than a sump rat and move on. If they do take more of an interest, Rattys not adverse to slitting the odd throat.

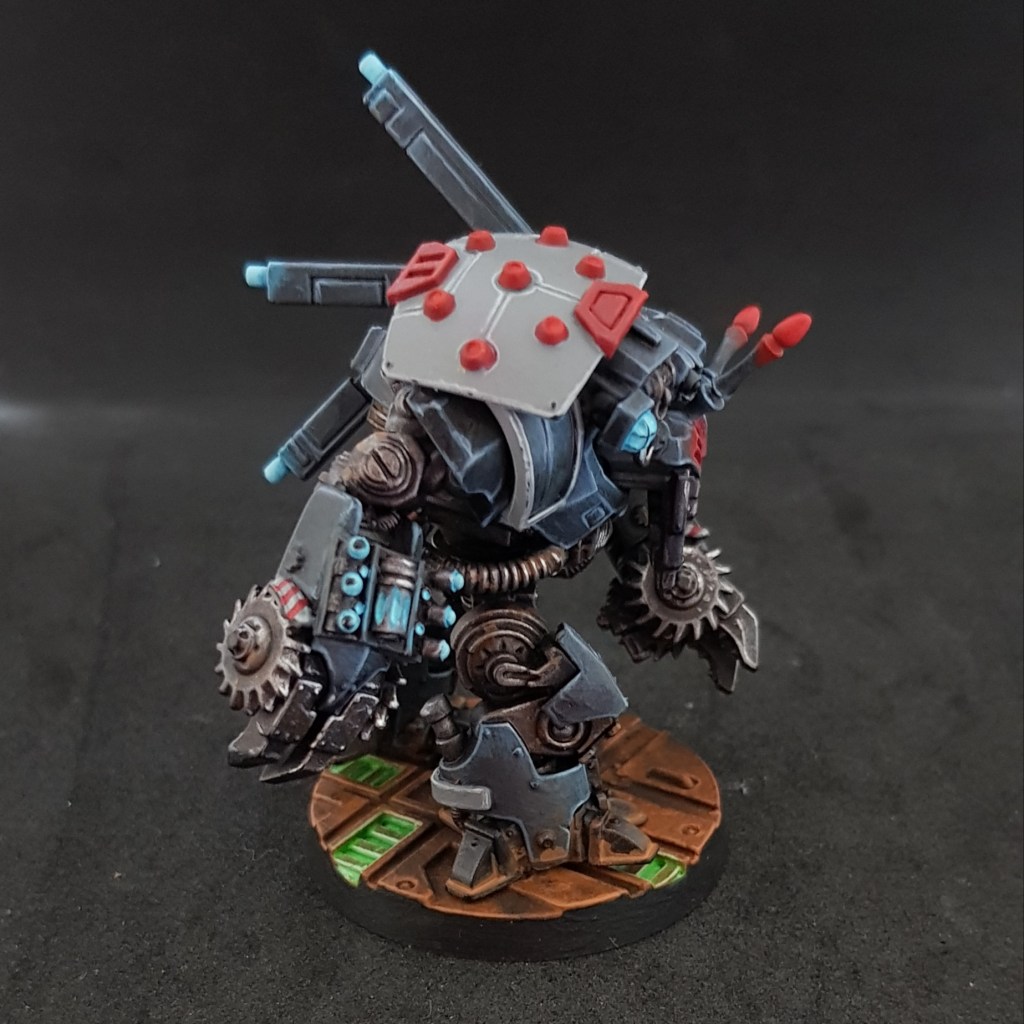
These guys were a lot of fun to make. The base models are from Blackstone Fortress and converted with a variety of bits. The camera was made from a Tau Plasma Rifle, Sicarian antennae, a gun handle and the cap from an unknown kit. Just found that one in the bits box. Ratty was converted up using a Space Wolves helmet and cloak, cut to fit with a touch of green stuff for the seam.

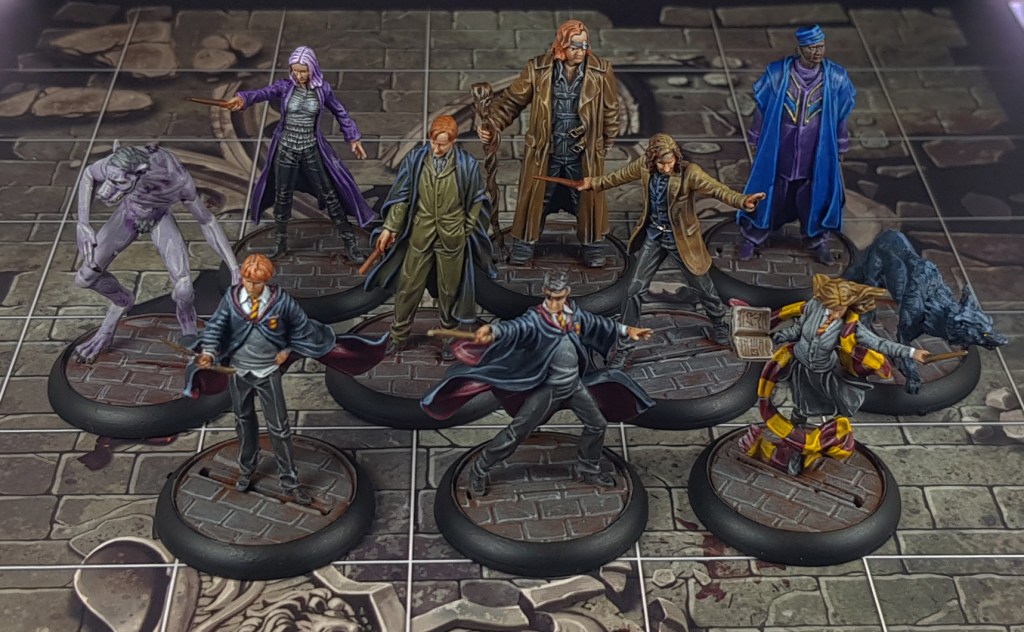
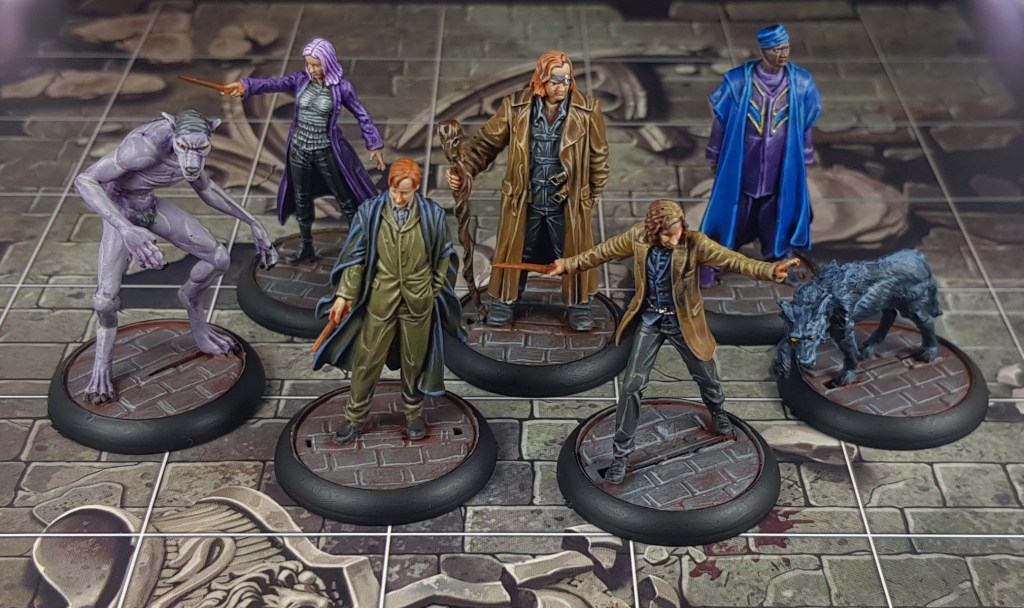
That makes up my first character group, these guys and Aquillus/Nevin, and something I’ll be using in a campaign as the arbitrator. I’m working on some rules for them which I’ll show off soon.

Necromunda – Lord Aquillus Lionhardt, The Noble Hunter

A hunter of renown enters the underhive in search of the most dangerous prey. Broadcasting his exploits to the upper echelons of the hive to the delight of his fans.

Lord Aquillus Wolfhardt, or the ‘Noble Hunter’ is a name spoken of often in the halls of the spire. Each cycle brings a new tale of daring, courage and a high velocity shot through something or someones skull. The lords and ladies of Hive Primus can’t get enough, especially when you take into account the mysteries of his Noble heritage. Everyone tells a different tale, a disgraced son, a Lord not content with the mundanity of the spire, an off world highbrow come to seek the most dangerous the galaxy has to offer. Whatever the tale one thing can be agreed upon, his chiselled features, eloquent voice and stunning attire means he must be of noble blood, a taste of a forbidden life for those of the Spire.

Wolfhardt is always accompanied by a pair of Secundian Gene Hounds, now a rarity since the fate that befell Hive Secundus. A traditional bodyguard bred for thier loyality and hardiness. Each is gene locked to their master, working to protect them at all costs.

Rounding out this merry band are the crew, 2 ratlings, using their short stature to operate unseen.

I’ve been looking for an excuse to use these hounds, from the old Orion kit, for years and as good as any reason to pick up some Blackstone Fortress models. All I changed was the addition of the rifle, from the admech Skitarii kit, and the exotic bird to the base, from the High Elf dragon kit. The dogs I cut away some of the face, one eye, and added half an imperial guard binoculars to each. The antennae are from watch parts, a small bag I picked up on Ebay.

Let me know what you think of the models and the background and anything you might add to them both. I’m still working on the ratlings so I’ll show them off next time.

Necromunda – The Van Saar Gang So Far

Work has progressed quite swiftly with the gang, in all aspects. I’ve got 15 built, 5 painted and the big old brute ready to go. I’ve even got a backstory in mind and a whole host of other conversions planned out, but those are posts all of their own.

Here’s a look at everything painted so far, including their very own Ambot!

I’ve really enjoyed building and painting all of this so much but it’s the converting that’s really sunk its hooks into me. I’d forgotten the joy of sifting through your bits box, lining parts up, creating something unique and special to your force. I started off with a few small additions, like the shields and long Las on my leader or the Lascannon, a simple matter of replacing the barrel and cutting down the back to fit the energy cell…

Even the ambot only featured a few bits and pieces stuck on where they looked cool, simply filing the join point to match up…

But its these wee additions that make all the difference and really helps blend something like the Ambot into your force, something also achieved with a matching paint job. I used some Eldar backpack components for the ‘antennae’ and some Tau bits for the back vanes. I chopped up and smmothed down one of the energy shield peices to add the Van Saar emblem to the shoulder guard.

I’ve got so many more ideas for models I’d like to make, not just for the Van Saar but a whole host of Underhive characters, loners and outcasts for a campaign I have planned, but I’ll tell you more about that soon. For now here’s a few more pictures of the gang…

Necromunda – Underhive Base Painting Guide

I wanted to share how I achieved the bases for my Necromunda models. I wanted something a little distinct from the usual metal bases and what better way to do that than ancient rusted up bases. I also added a wee touch of spot colour, with the green ooze under the grates.

I started with a black undercoat to get things started, but here’s how I cheived the rest…

I began with a basecoat of Mournfang Brown.

This was followed by a heavy drybrush of Skrag Brown.

Then apply a lighter drybrush of Deathclaw Brown.

Apply an edge highlight to all the hard edges and stipple small amounts over the flat areas.

Make a mix of 1 part Moot Green to around 3 parts water and flood the grating up to the level of the higher lip.

Make a mix of 1 part Gauss Blaster Green and 3 parts water. This time use the mix to flood only each individual section.

Make a mix of 1 part Guass Blaster Green and 1 part Ceramite White. Apply carefully down the centre of each rectangle and along the edges.

Apply a light glaze of Waywatcher Green.

Apply a layer of Abaddon Black to the rims.

I used Kromlech’s Soot Black pigment to add a touch of weathering to finish off the bases.

You should now have some funky bases for your gangers. I’ll be back soon with some more ideas on how to base your gangs.

A Month in Pictures – February 2019

On through another month and this time my painting total is looking a little healthier, but has a major difference between any of the months previous. It’s mostly terrain. My main work was the Mantic terrain crate and this one is difficult to stack onto my model count, so I’ll be starting a new scenery count as well.

Models Painted: 14

Scenery Painted: 65

Model total: 20

Scenery Total: 65

Necromunda – Ambots Sighted!

It’s time to introduce to new additions to my Underhive collection, the new hotness on Necromunda, a pair of Luther Pattern Excavation Automata or Ambots…

I chose to make some modifications straight off the bat, to personolise them a little bit. Nothing major, just a bit of a kitbash. The first, to join my Van Saar gang, I added some antennae and some ‘fins’ to the back to enhance the bug-like look and add a technological look to it. Here’s a better look at it…

The other I wanted to create a little story for, a modified bot used by a wandering tech hunter. Used for defense but mainly for excavation, heavy lifting and of course as something of a pack horse. Now I’ll have to work on this wanderer to go with him. Here’sa closer look at this one…

It might be a while before I actually get them on the table, but they’re spurring on loads of ideas for ‘other’ models to make.

Necromunda – ‘Gellion’ Pattern Energy Shield Guide

My Van Saar have a unique bit of kit, which I’m gonna write into thier back story, and I’ve been asked how it was done. So here is a guide on building your own ‘Gellion’ pattern energy shield to put to good use against the enemies of Van Saar!

What you’ll need…

  • ‘Hystrar’ pattern energy shield. The standard one from the Van Saar gang box is perfect.
  • Servo skull. These are quite easy to come by on bits sites and ebay, and there’s quite a few variations out there.
  • ‘Thrusters’ I used a Necron weapon part, but you could use anything that fits the theme

Step 1

Begin by removing the back of the skull and the house emblem from the shield front. Make sure to file these flat so they will sit flush.

Step 2

Glue the skull to the shield front, centered where the house emblem was. I chose to glue them to oriente the shield horizontally, to change things up you could affix it so the shield is vertical.

Step 4

On the back of the shield you’ll need to shave down the plug or it will not fit in place properly.

Step 5

Get your ‘thruster’ ready. I made sure the connection point was flat.

Step 6

Affix your thruster to the back off the energy shield. Before gluing anything dry fit the front and back to make sure everything is the orientation that you want it.

Step 7

Once all the glue is dry you should be able to stick the peices together giving you your energy shield.

I didn’t glue the peices together, as I want to be able to remove the acrylic shield section for painting.

I did however glue the skull part to one of my champions, and if you have not seen them already, take a look at a gallery of the other energy shields below…

A Month in Pictures – January 2019!

Into another year and onto painting even more cool models. I have to admit that I took a bit of a rest during January to recharge the old batteries a bit. But I still managed to get paint to brush to model and finished painting some cool models.

The main job I was working on was a painting guide for Modiphius’s Fallout: Wasteland Warfare game, which can be found in Tabletop Gaming Magazine. Take a look at the survivors I painted below…

Models Painted: 6

2019 Total: 6