Work continues on the Skittersneak Stealers with the flesh and hair now finished…


 Next up will be working on the black sections, the various straps and wrappings and also basecoating some of the metal areas, both silver and bronze 🙂
Work continues on the Skittersneak Stealers with the flesh and hair now finished… Next up will be working on the black sections, the various straps and wrappings and also basecoating some of the metal areas, both silver and bronze 🙂
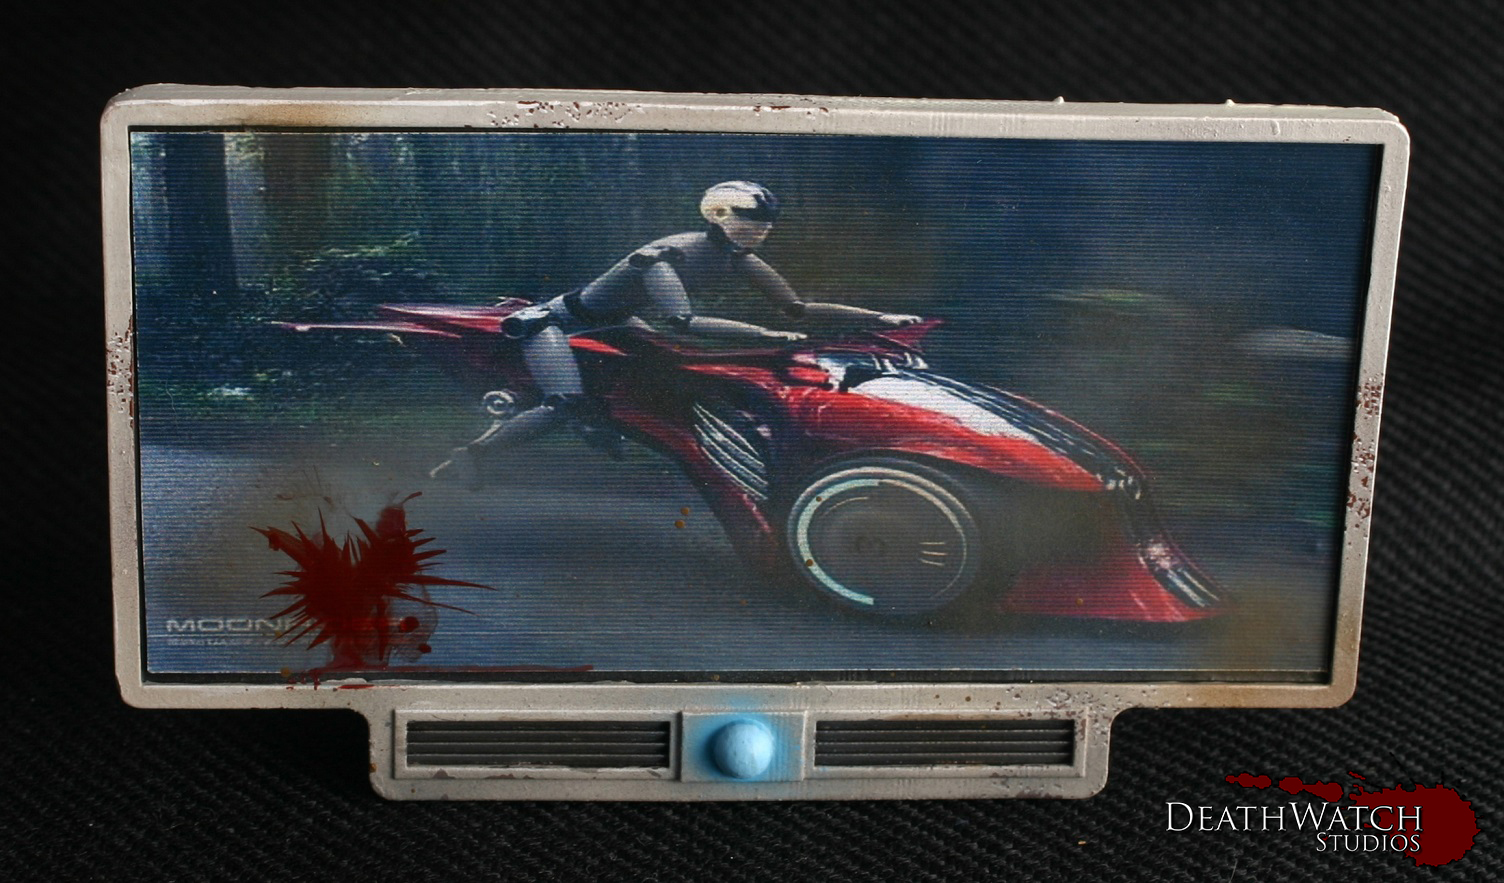
Above and beyond the posters I’d added previously I wanted to add something that looked a little more official, which is where Antenocitis Workshops Medium Advertising Boards came in…
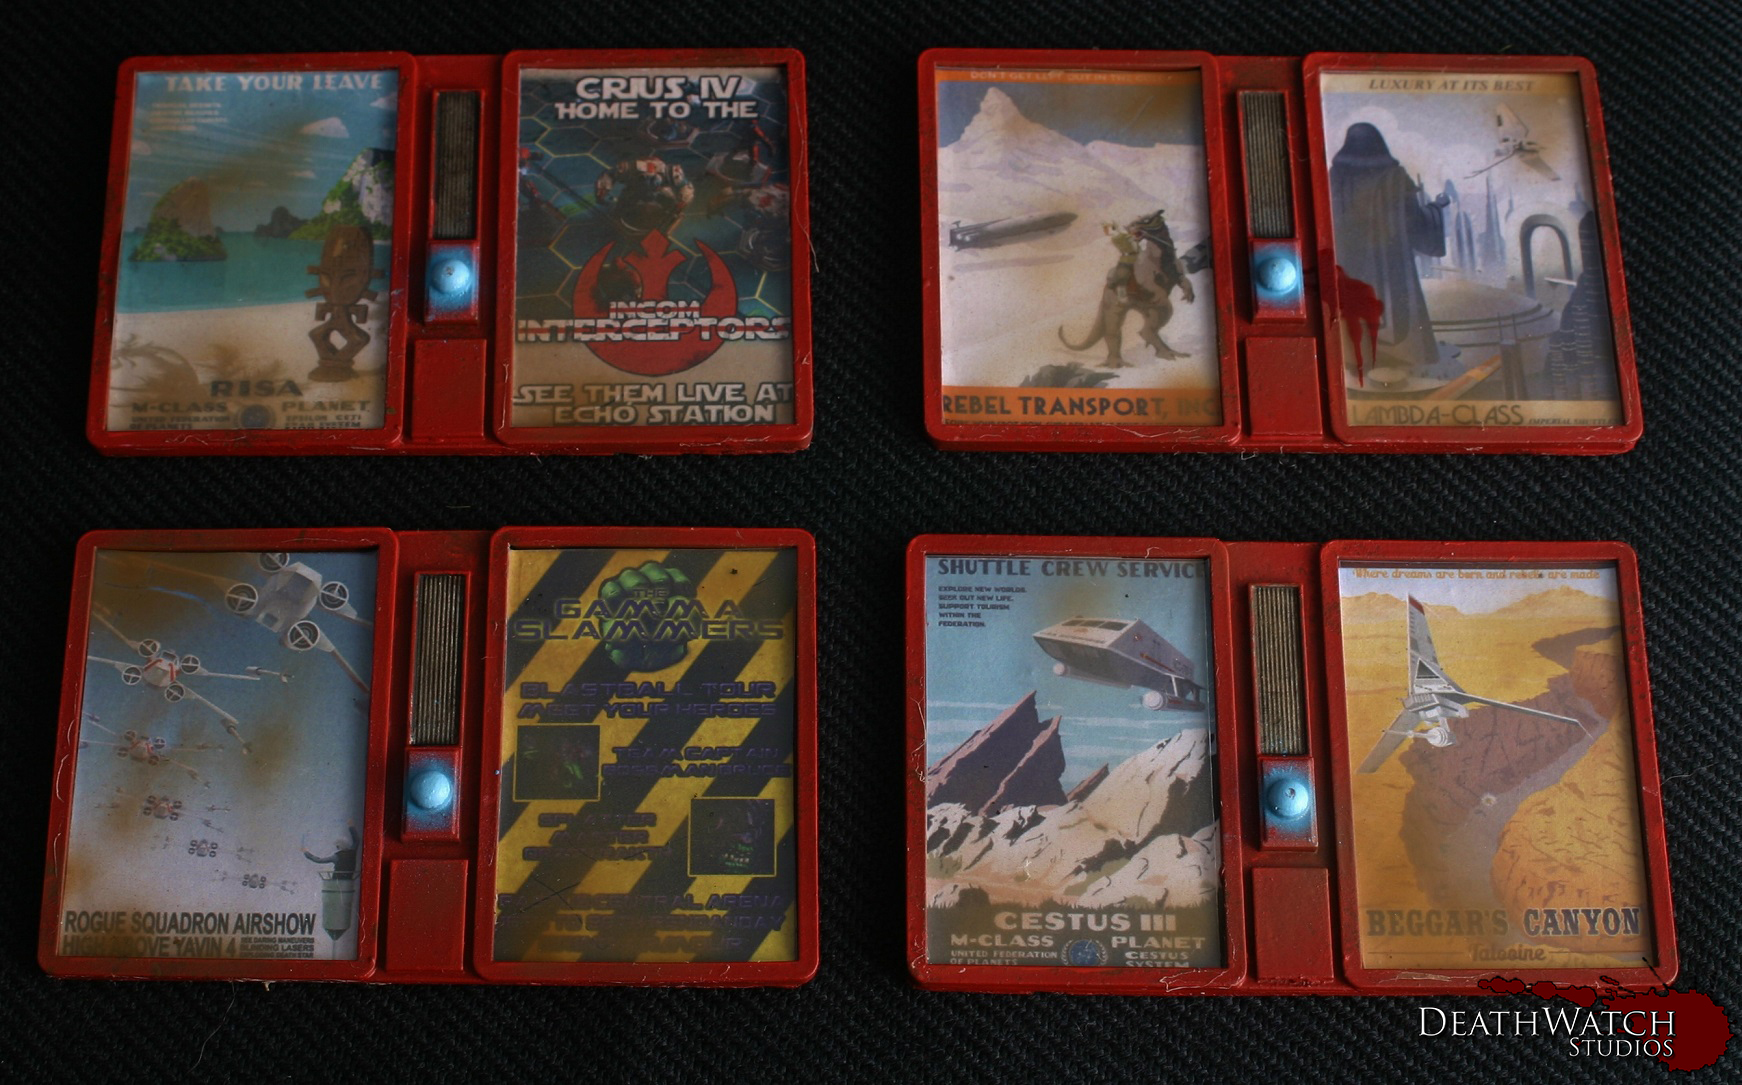 I made up a couple of posters for my Dreadball teams and used some of the posters I’d found previously to paste into the spaces, and also covered them with a thin sheet of plastic to add to the official feel. I chose to do these in red to make them stand out a bit more, but it also provides a link to my Rebs and their colour choices.
The next batch of Antenocitis Workshop scenery is done and another layer of character added to the Deadzone Board 🙂

The barricades I wanted to stand out a bit and after having a search on google thought they would look great with hazard stripes. I did these primarily with masking with tape as well as some salt masking to get the worn old effect on them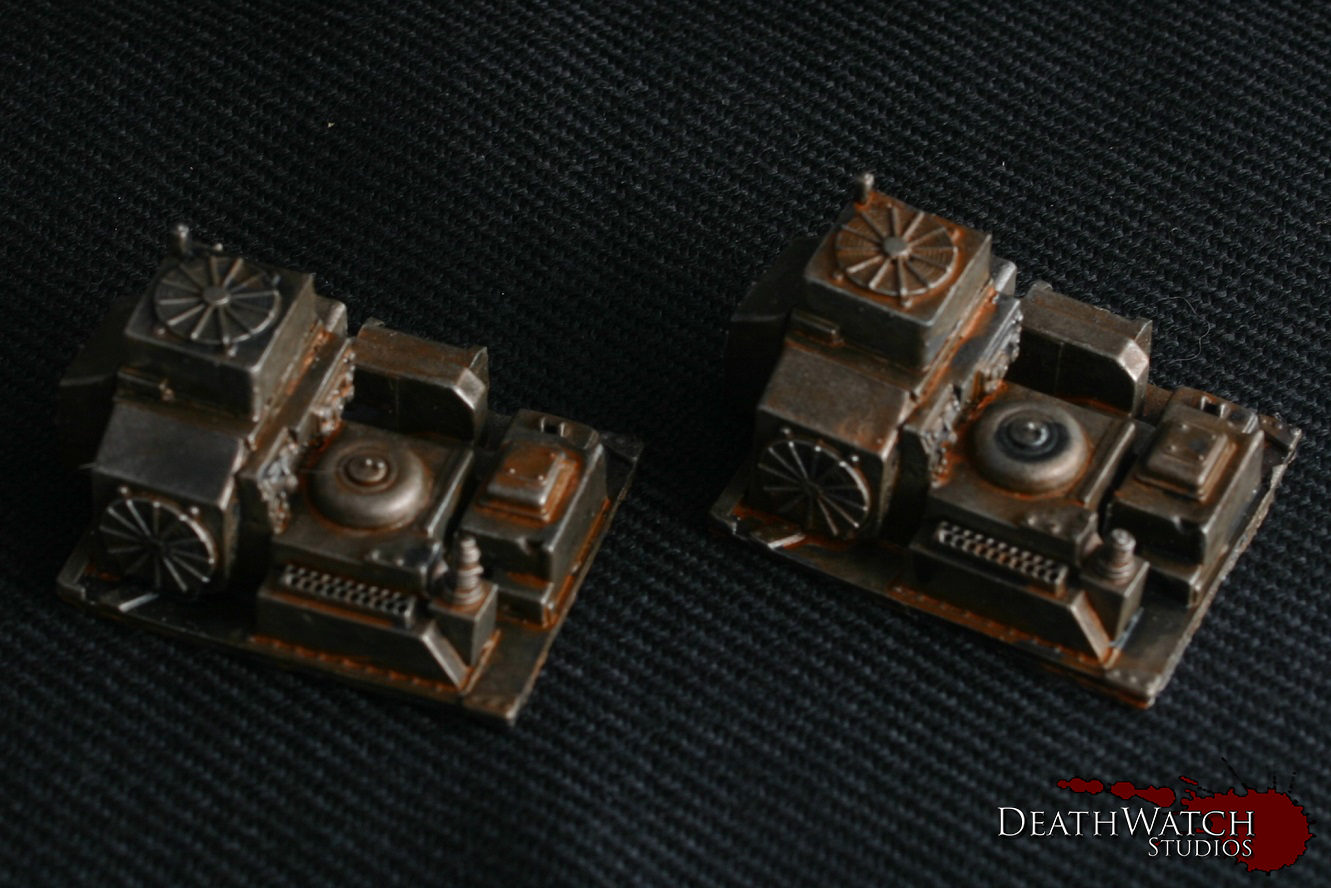
 Like the rest of the terrain I wanted these to look fairly old and well used so added some rusty looking areas with some watered down orange and a few layers of washes, mainly Agrax Earthshade and Nuln oil over the metal basecoat.
I’ve added a couple of extra basecoats to the rats, getting them a little further along…

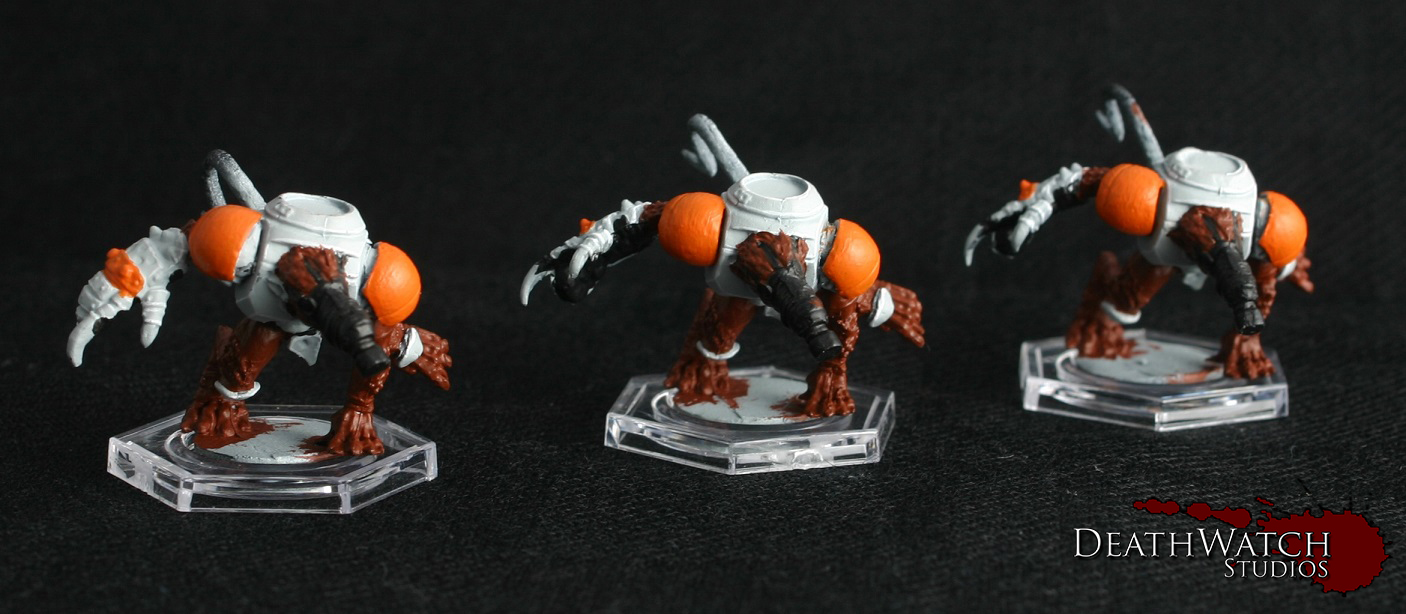

Next up will be basecoating and getting the flesh done, then it’s on to highlighting up the rest 🙂
Painting has begun on my latest commission, a team of Veer-myn. So far I’ve got them undercoated and started wok on the armour. Here’s how they look so far…

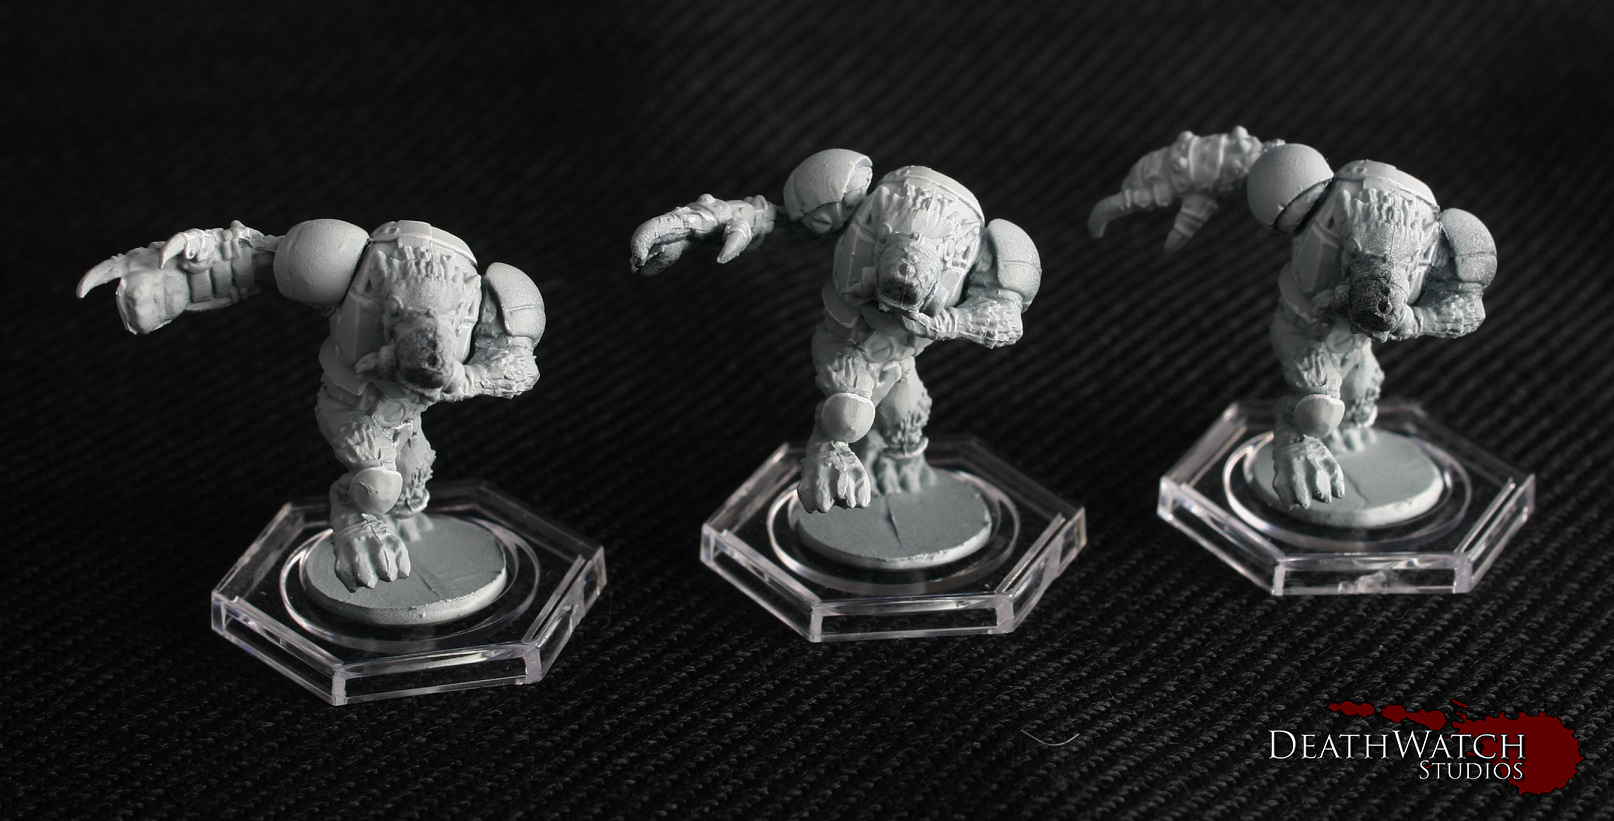

I have noticed a fair amount of mold lines, especially with the hep of these pictures, so the next stage is to go back and get them cleaned off(Restik can be such a pain :/). Luckily the vast majority are on areas that have yet to have any paint applied, which makes things much simpler. Following that I’ll be looking to get some basecoats down on all of the other colours after adding a bit of shading to the armour 🙂

The first of my Antenocitis Workshop scenery for Deadzone is finished and think it will definitely add even more flavour to the table…

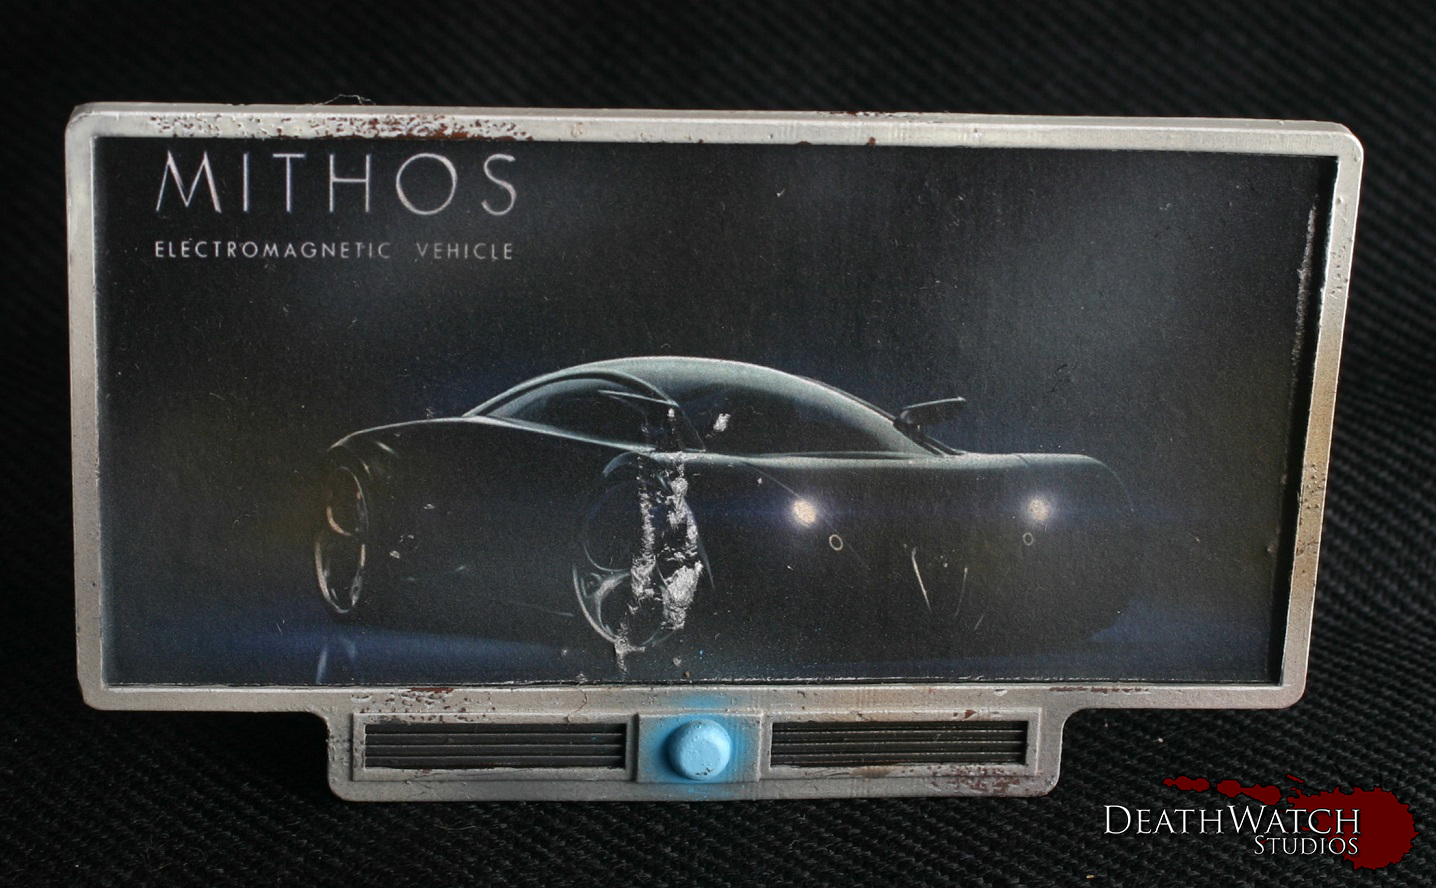
 I’ve chosen to paint this stuff up to match the rest of the terrain and added the actual ads using the same method as the posters. I even made up a Dreadball poster for one to link it all into the universe as a whole. I was going to do it with my own team logos, but felt something more universally recognisable would suit better.
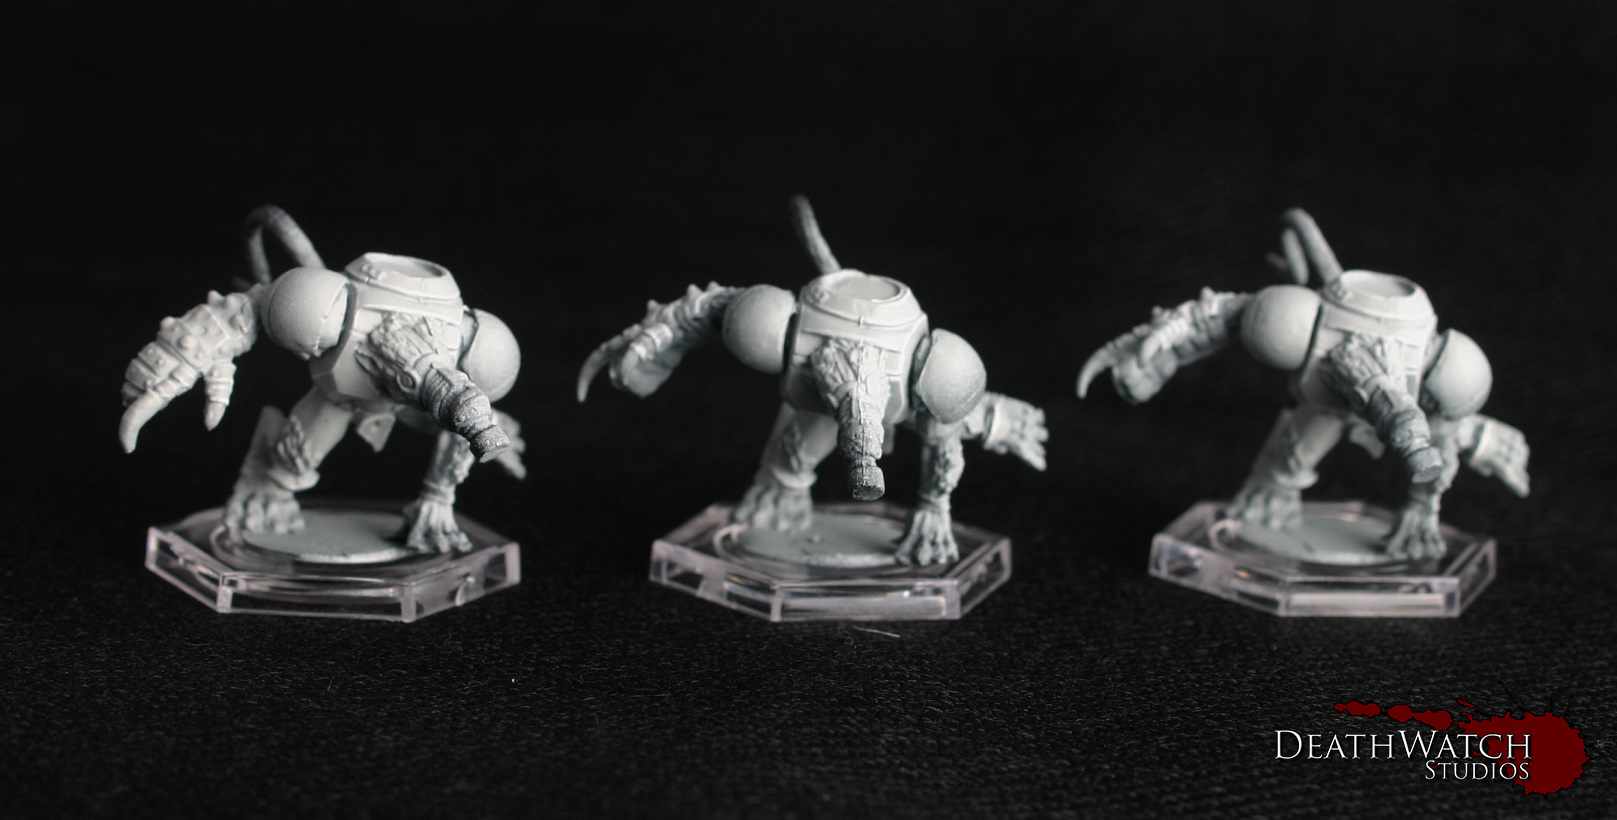
I’ve got a new commission kicking off this week, a Veer-myn team for Dreadball…

In addition to the standard team box the client is also after a Reek Rolat, who is one beast of a rat…
 These guys will be getting done up in the Skittersneak Stealers colours, which will be interesting for me as it’s been a while since I’ve done an ‘official’ colour scheme. Looking forward to it though 🙂
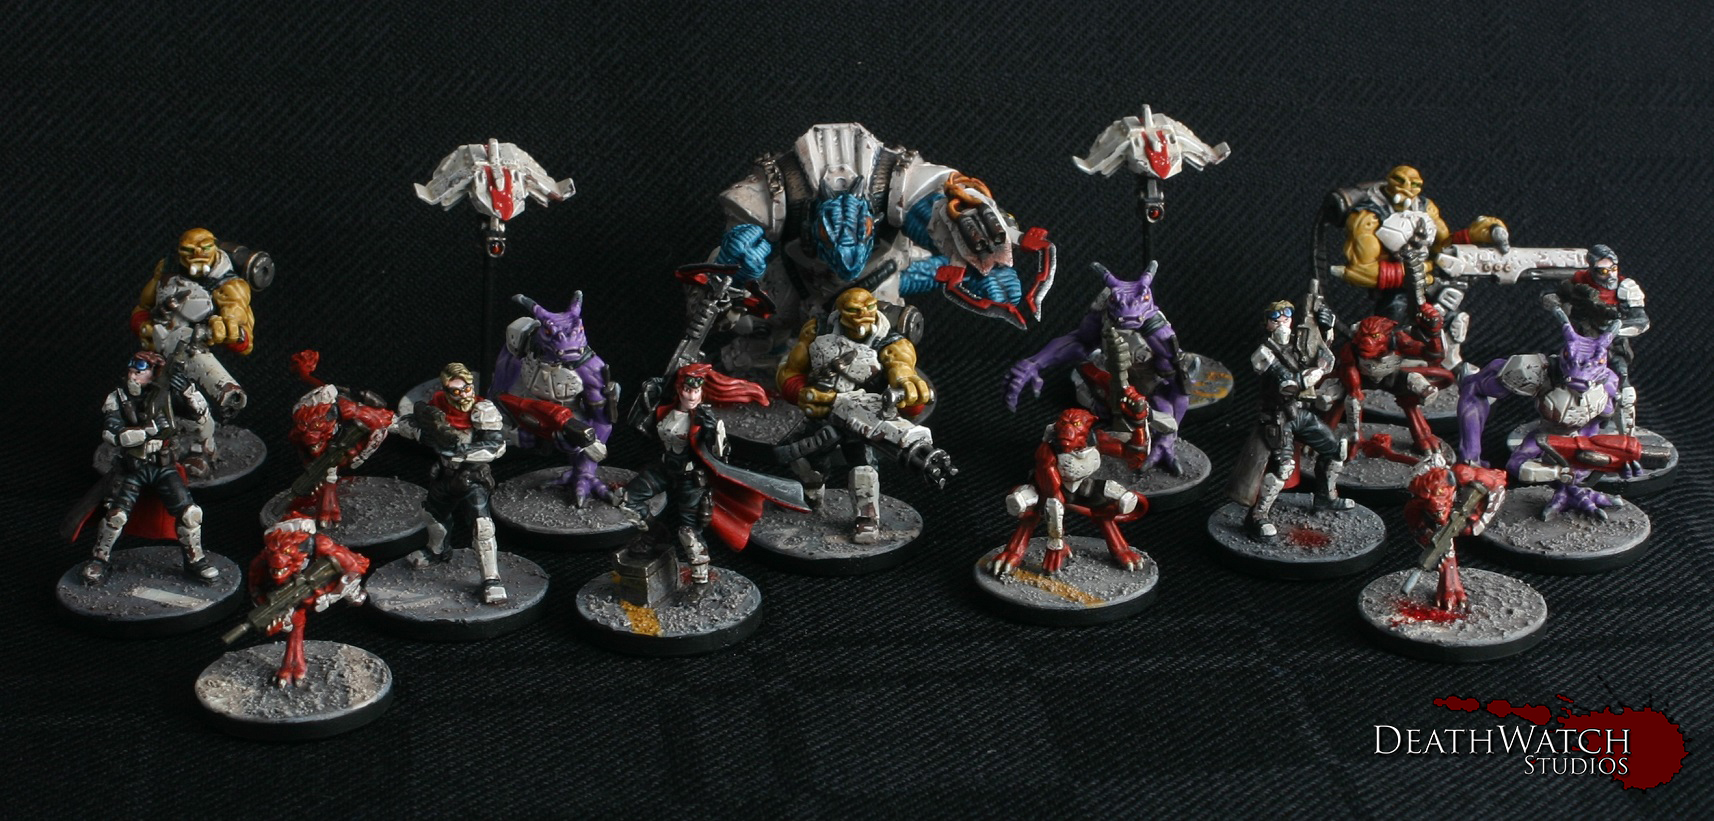
Here’s a guide as to how I panted up my Rebs Force.
The first thing to say is there were a few basic colours that stayed the same throughout the force; the armour, blacks, reds, metals and leather. So here’s a rundown of how those colours were achieved:

Armour: The armour was painted in the same fashion as my Deadzone terrain. Take a look HERE to see how that was acheived.
Blacks: Basecoat with Abaddon Black
Highlight of Mechanicus Standard Grey with a touch of Hawk Turquoise focussing on the top edge of the folds and raised areas
Highlight of Codex Grey with a touch of Hawk Turquoise
Fine Highlight of Fortress Grey with a touch of Hawk Turquoise
Was of Nuln oil mixed with a bit of Lahmian Medium

Reds: Over the Khorne Red base:
Layer of Mephiston Red leaving the recesses the original colour
Highlight of Evil Sun Scarlet
Highlight of 1:1 Evil Sun Scarlet and Tau Light Ochre
and finally a glaze of Bloodletter

Metals: Basecoat of Leadbelcher
Wash of Agrax Earthshade
Wash of 4:1 water and Tallarn Sand
Leather: Over a Dryad Bark base I added two highlights
The first is 2:1 Dryad bark and Ushabti Bone
The second 1:1 Dryad bark and Ushabti Bone
The rest is mainly the flesh of the different species and other small details which I’ll go into here:
Grogan Flesh: Basecoat of Zamesi Desert followed by a Seraphim Sepia wash
Once dry apply a coat of Zamesi Desert leaving the recesses the basecoat colour
Highlight of 2:1 Zamasi Desert and Menoth White Highlight
Fine Highlight of 1:1 Zamasi Desert and Menoth White Highlight

Yndij Flesh: Doombull Brown basecoat followed by an Agrax Earthshade wash
Once dry apply a light coat of Mephiston Red, leaving the recesses and a little bit of the underside sections the original colour
Evil Sun Scarlet highlight
Thinned Tau Light Ochre fine highlight
Bloodletter glaze

Sorak Flesh: Basecoat of Genestealer Purple followed by a Druchii Violet Wash
Once dry apply a coat of Genestealer Purple leaving the bascoat colour in the recesses
Highlight with a 2:1 mix of Genestealer Purple and Menoth White Highlight
Fine Highlight of 1:1 mix of Genestealer Purple and Menoth White Highlight

Human Flesh: Basecoat of 2:1 mix of Rakkarth Flesh and Pink Horror followed by a light Agrax Earthshade wash
Add a coat of 1:1:1 Rakkarth Flesh, Pink horror and Menoth White Highlight but leave the recesses the basecoat colour
Add a small amount of Menoth White Highlight to this mix and add a Highlight

Black Human Flesh: Basecoat of Doombull Brown followed by a light wash of Agrax Earthshade
Coat of 2:1 Doombull Brown and Ushabti Bone leaving the recesses the base colour
Highlight of 1:1 Doombull Brown and Ushabti Bone
Fine Highlight of 1:2 Doombull Brown and Ushabti Bone

Judwan Flesh: 2:1 mix of Mechanicus Standard Grey and Rakkarth Flesh followed by a light wash of Seraphim Sepia
Coat of 3:2 Mechanicus Standard Grey and Rakkarth Flesh leaving the recesses the base colour
Highlight of 2:1 Codex Grey and Rakkarth Flesh
Fine Highlight of 1:1 Fortress Grey and Rakkarth Flesh
Kraaw Flesh: Basecoat of Zamesi Desert followed by a wash of Seraphim Sepia
Layer of Zamesi Desert leaving the recesses the basecoat colour
Highlight of 2:1 Zamesi Desert and Menoth White Highlight
Fine highlight of 1:1 Zamesi Desert and Menoth White Highlight

Sphyr Flesh: Basecoat all over of Lothern Blue followed by a wash of Drakenhof Nightshade
Add a coat of Lothern Blue but leave the recesses the basecoat colour
Highlight of 2:1 Lothern Blue and Menoth White Highlight
Highlight 1:1 Lothern Blue and Menoth White Highlight

Zee Flesh: Basecoat of 2:1 mix of Mechanicus Standard Grey and Rakarth Flesh, followed by a light wash of Seraphim Sepia
Highlight of 3:2 mix of Mechanicus Standard Grey and Rakarth Flesh
Highlight of 1:1 Mechanicus Standard Grey and Rakarth Flesh

Teraton Flesh: Basecoat of Sotek Green followed by a Drakenhof Nightshade wash
Once dry apply a coat of Sotek Green in fine lines whilst leaving the recesses the basecoat colour
Highlight the fine lines with a 2:1 mix of Sotek Green and Menoth White Highlight
Highlight the lines with a 1:1 mix of Sotek Green and Menoth White Highlight

Blue Glowy Bits: Wash of 3:1 water and Lothern Blue about 1-2mm out from and over the ‘source’
Coat of Lothern Blue over the ‘source’
Coat of 2:1 Lothern Blue and Ceramite White leaving the edges the original colur
Final coat of 1:1 Lothern Blue and Ceramite White in the centre of the ‘source’

Lenses/Screens: I use the same method for these no matter the colour using a Dark, Medium and Light version of whatever colour I would like them to be…
Basecoat of Dark
Highlight of Medium but keeping to the bottom and right
Fine Highlight of Light again to the bottom and right
Final dot of 1:1 Light and Ceramite White on the bottom right corner
A tiny dot of white in the top left corner and a coat of gloss varnish can be used to further enhance this
And there you have it, thats pretty much how I painted my Rebs force. I hope this helps anyone else looking to get the same or a similar effect 🙂
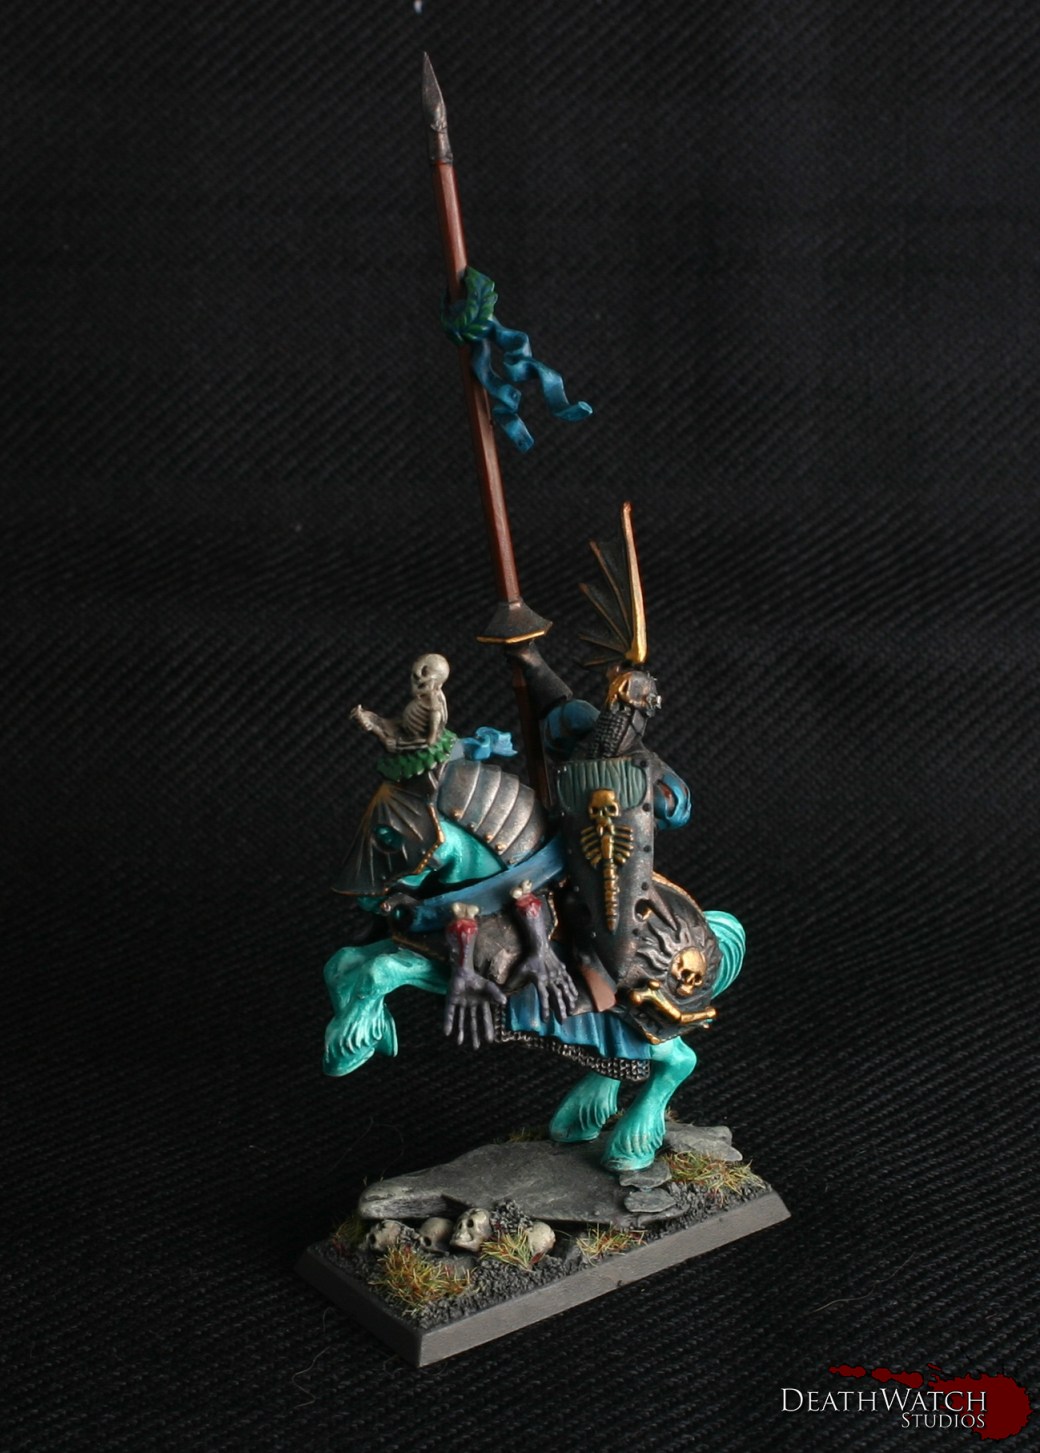
Just added an old Vampire Counts army of mine to Ebay. Click on the images to go directly to the listing 🙂
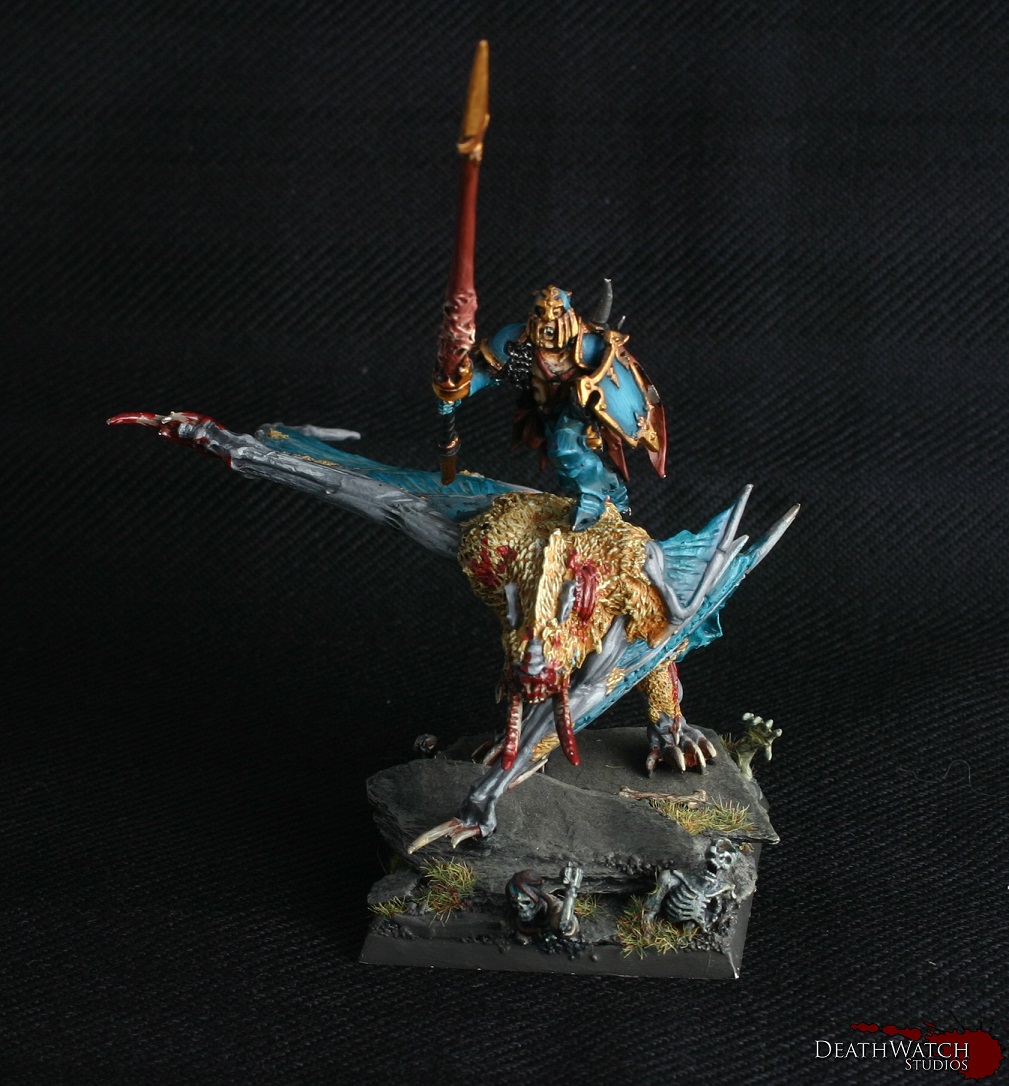
Vampire Lord on Abyssal Terror

Black Coach
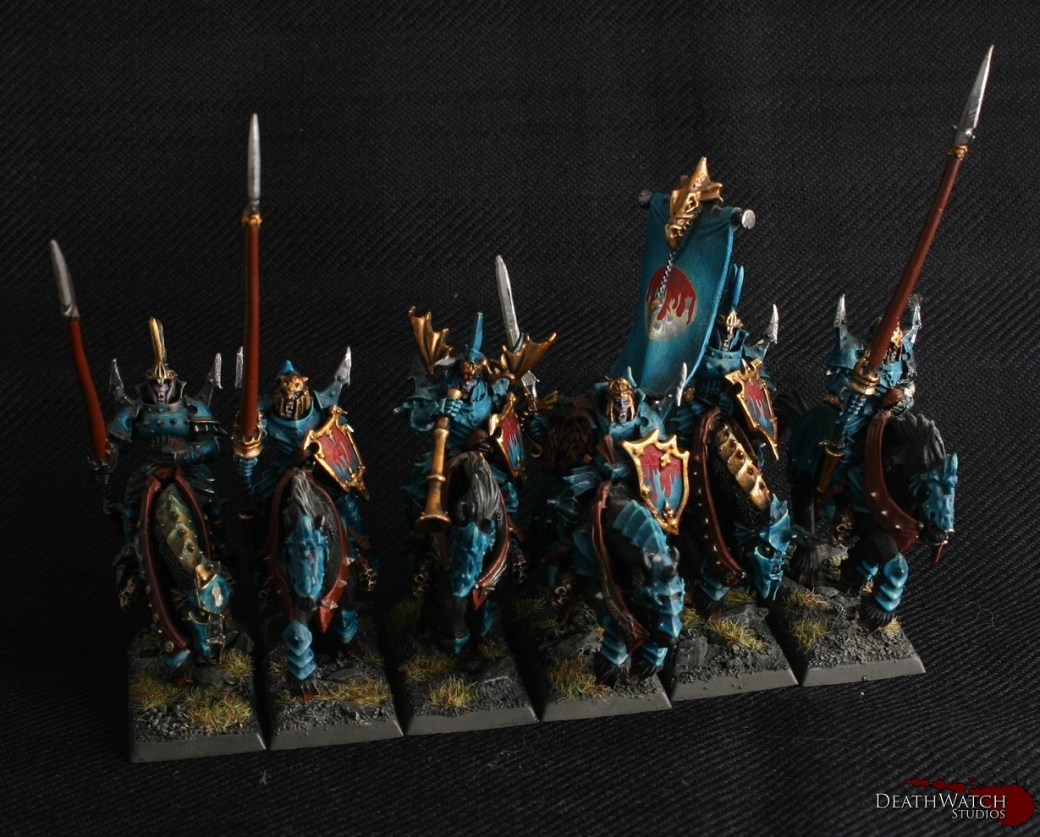
Blood Knights

Corpse Cart
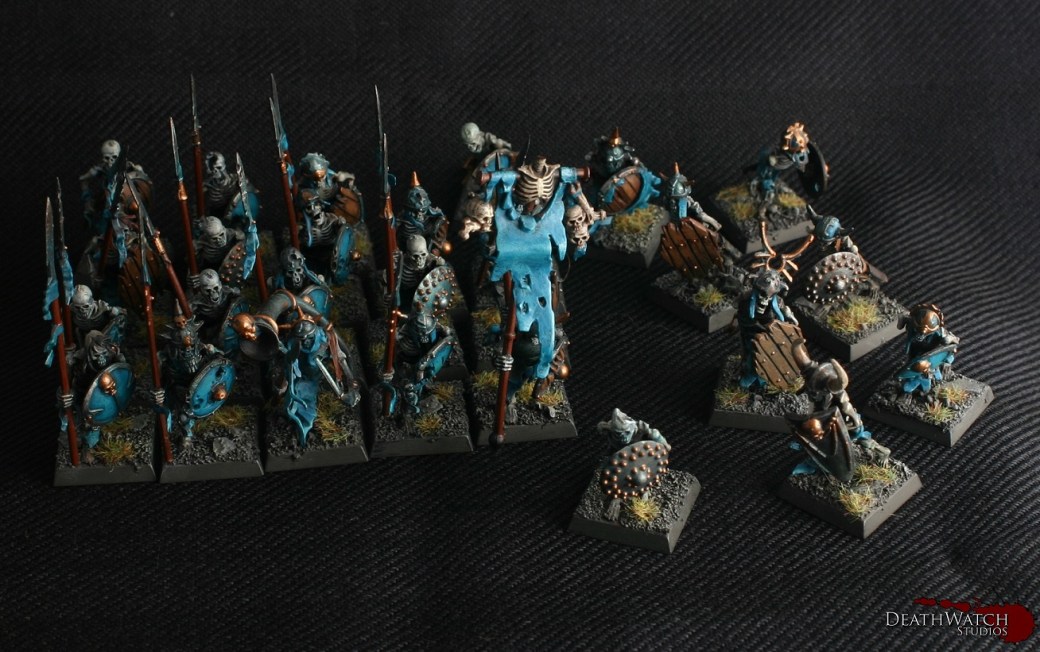
Skeleton Unit

Skeleton Unit

Female Vampire

Mounted Vampire

Ethereal Vampire
Vampire
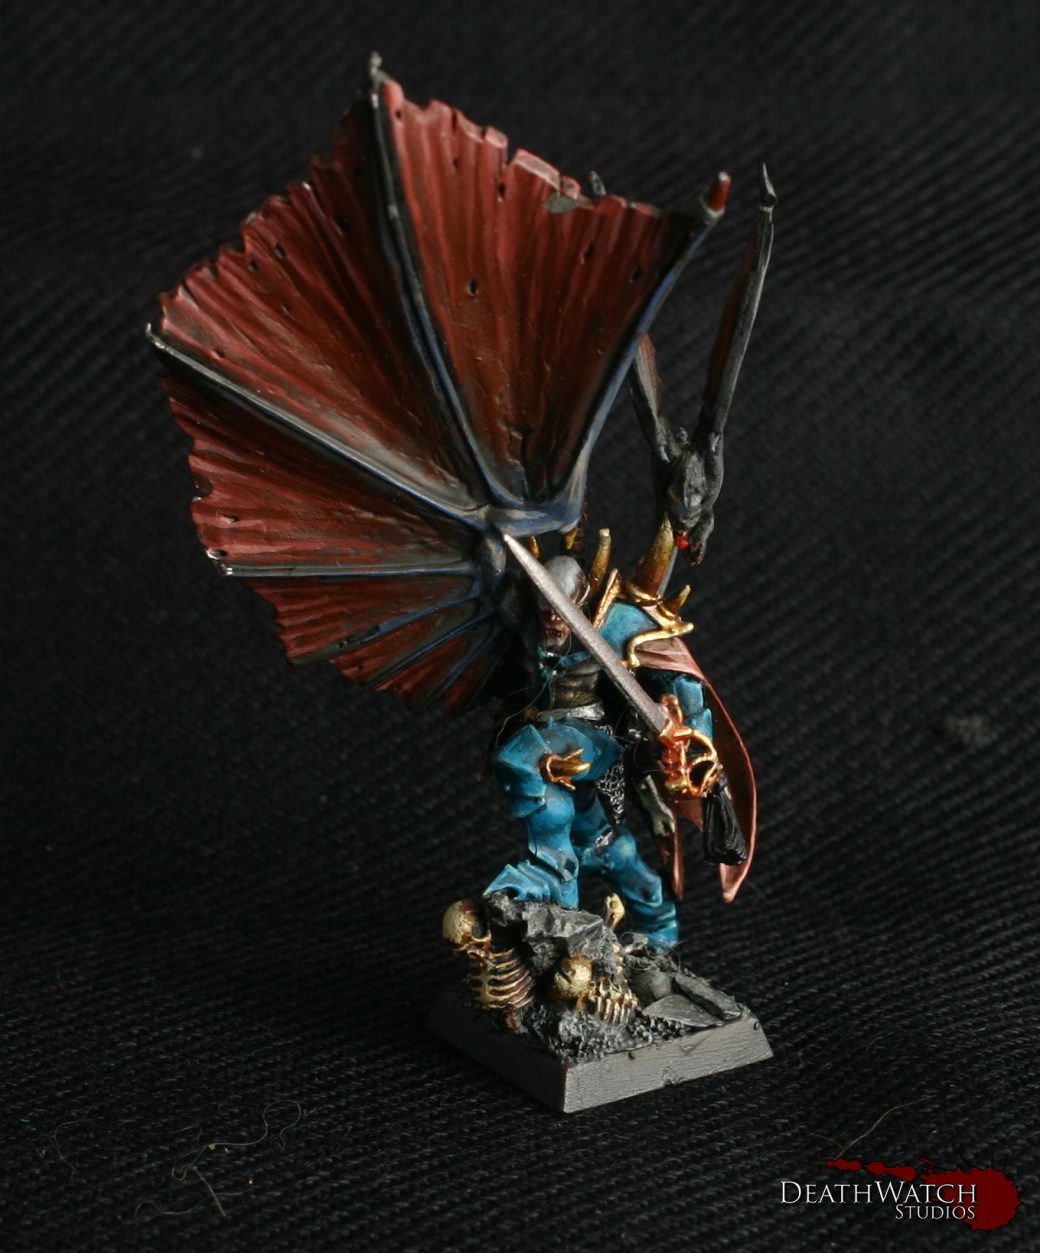
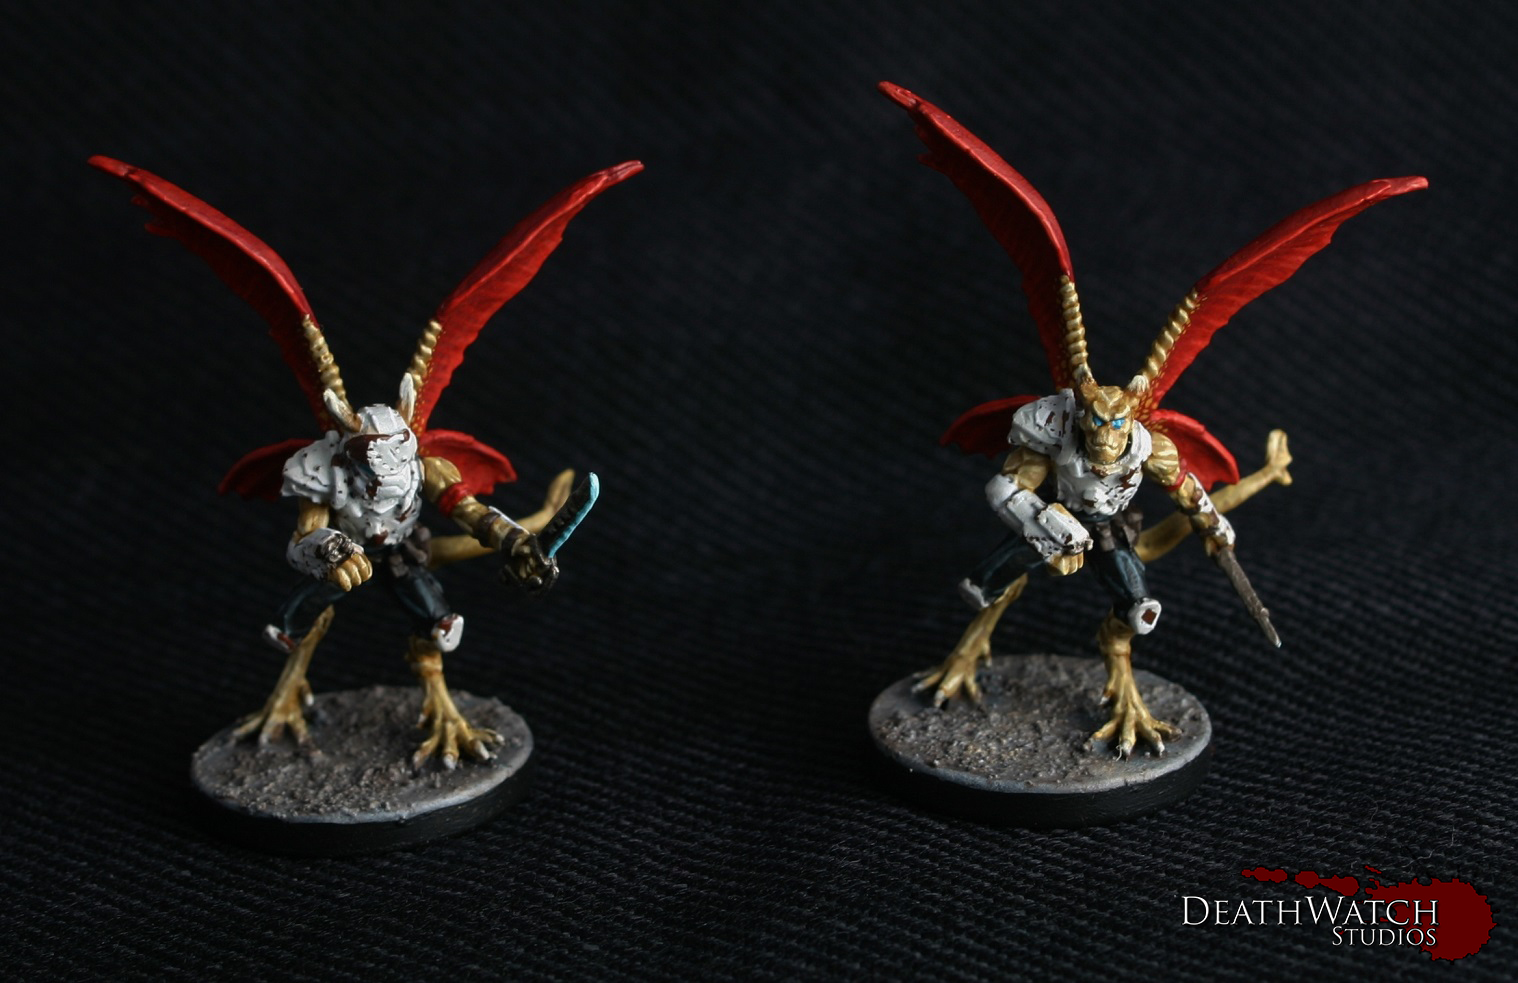
Winged Vampire

Varghulf

Konrad Von Carstein

Wight King BSB
Mounted Wight King

Wraiths & Banshee

Zombies

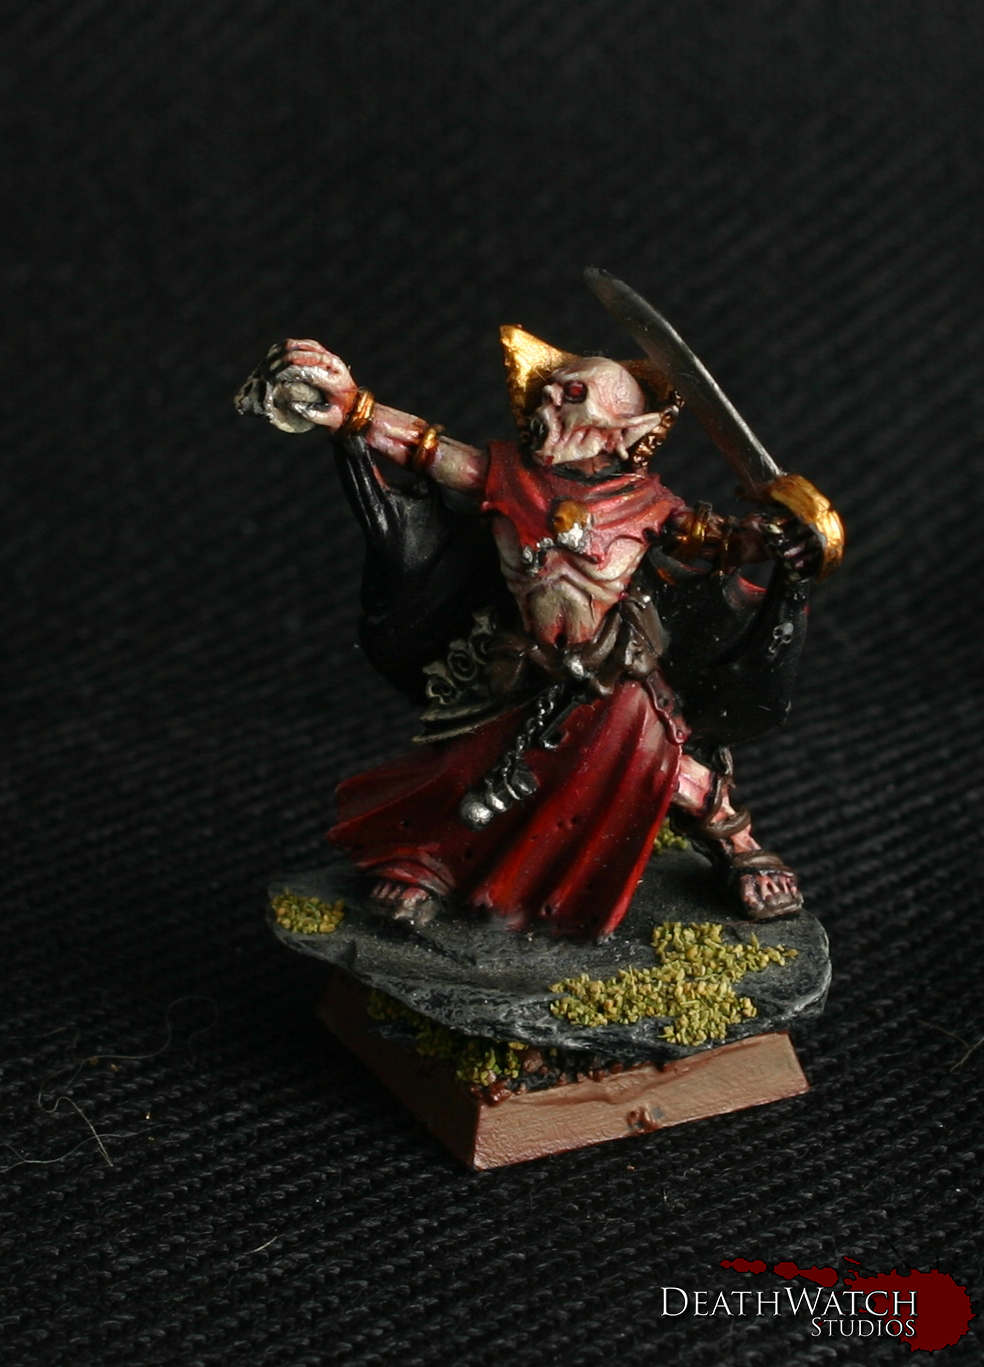
Sartosan Vampire
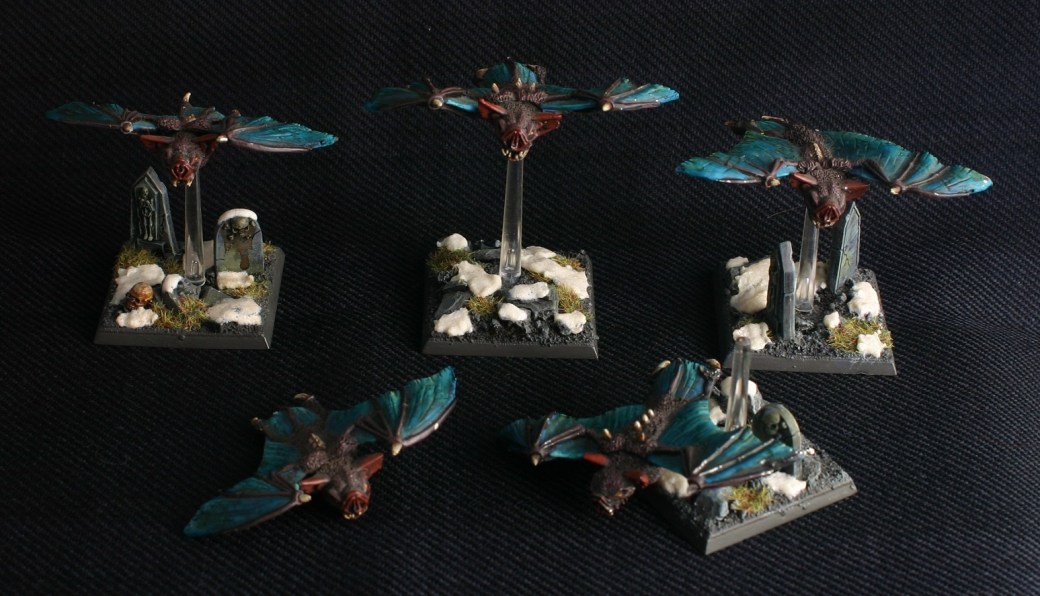
Fell Bats
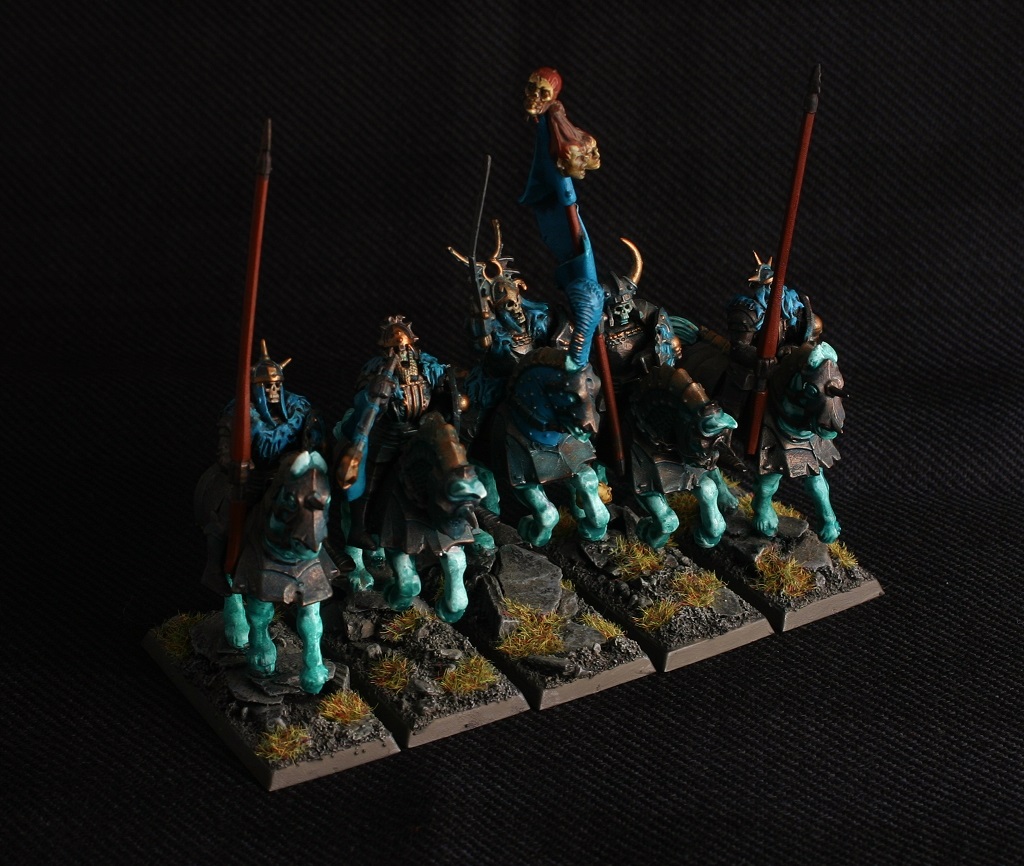
Black Knights

Bat Swarms
With these 2 models done, that’s my Rebs strike force fully painted :), until the second survey gets sent out that is 😉
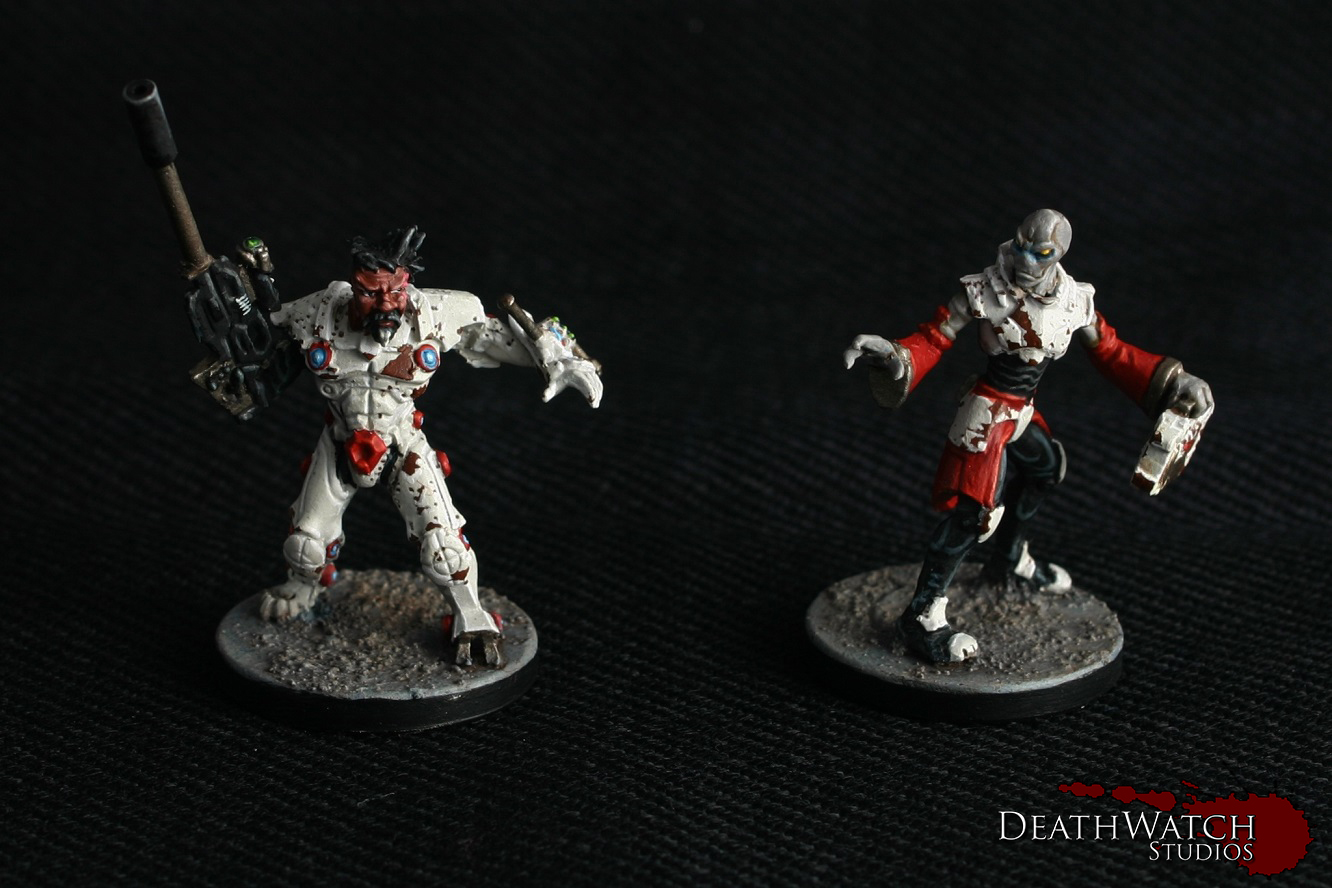
 There was only a couple of extra bits to add to these and I’ll go into a bit of detail as to how they were done:
Black Human Flesh: Basecoat of Doombull Brown followed by a light wash of Agrax Earthshade
Coat of 2:1 Doombull Brown and Ushabti Bone leaving the recesses the base colour
Highlight of 1:1 Doombull Brown and Ushabti Bone
Fine Highlight of 1:2 Doombull Brown and Ushabti Bone
Judwan Flesh: 2:1 mix of Mechanicus Standard Grey and Rakkarth Flesh followed by a light wash of Seraphim Sepia
Coat of 3:2 Mechanicus Standard Grey and Rakkarth Flesh leaving the recesses the base colour
Highlight of 2:1 Codex Grey and Rakkarth Flesh
Fine Highlight of 1:1 Fortress Grey and Rakkarth Flesh
Blue Sections (Supposed to represent the Energy Shields): Wash of 3:1 water and Lothern Blue about 1-2mm out from and over the ‘source’
Coat of Lothern Blue over the ‘source’
Coat of 2:1 Lothern Blue and Ceramite White leaving the edges the original colur
Final coat of 1:1 Lothern Blue and Ceramite White in the centre of the ‘source’
Scope lens and scanner screen: Basecoat of Caliban Green
Highlight of Snot green but keeping to the bottom and right
Fine Highlight of Moot Green again to the bottom and right
Final dot of 1:1 Moot Green and Ceramite White on the bottom right corner
In addition I also made up some extra cards for the ones I missed with the last batch…
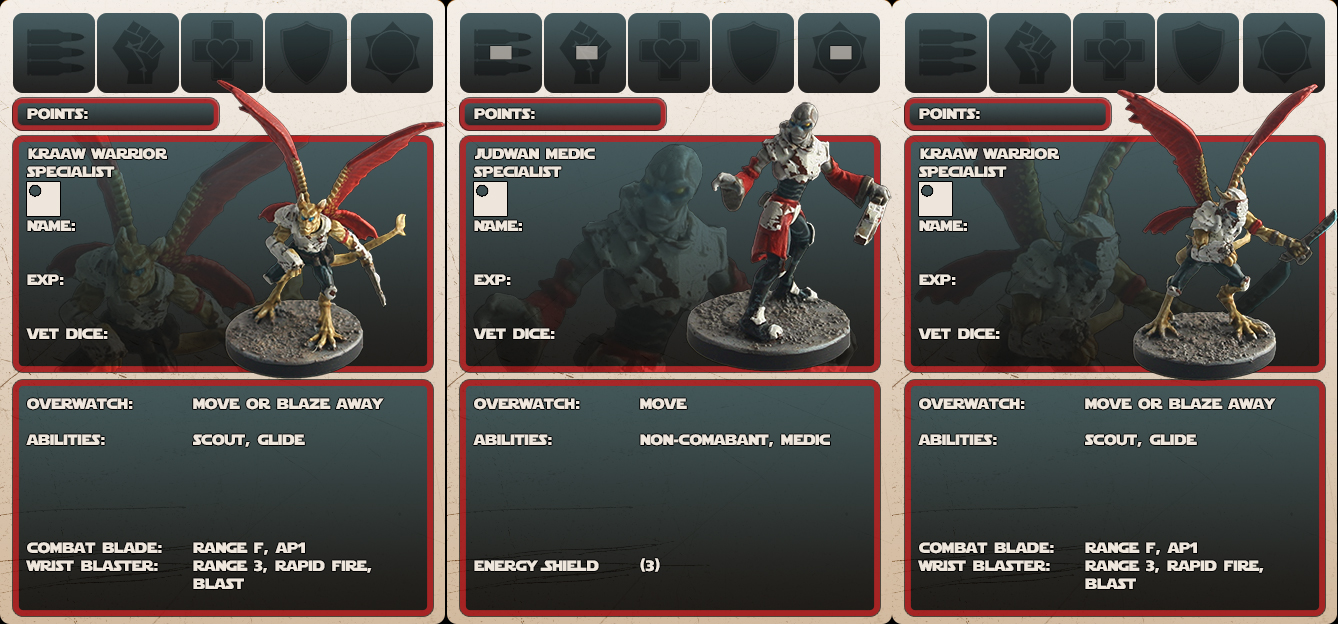

As you may have noticed I also changed the colour of the text, after receiving some feedback, to a creamy colour so it should be easier to read.
As I’ve said that’s the Rebs done until the next survey is sent out at which point I’ll be getting 2 Striders, 3 Swordspawn as well as Eddak P’mera to bolster their numbers 😀
