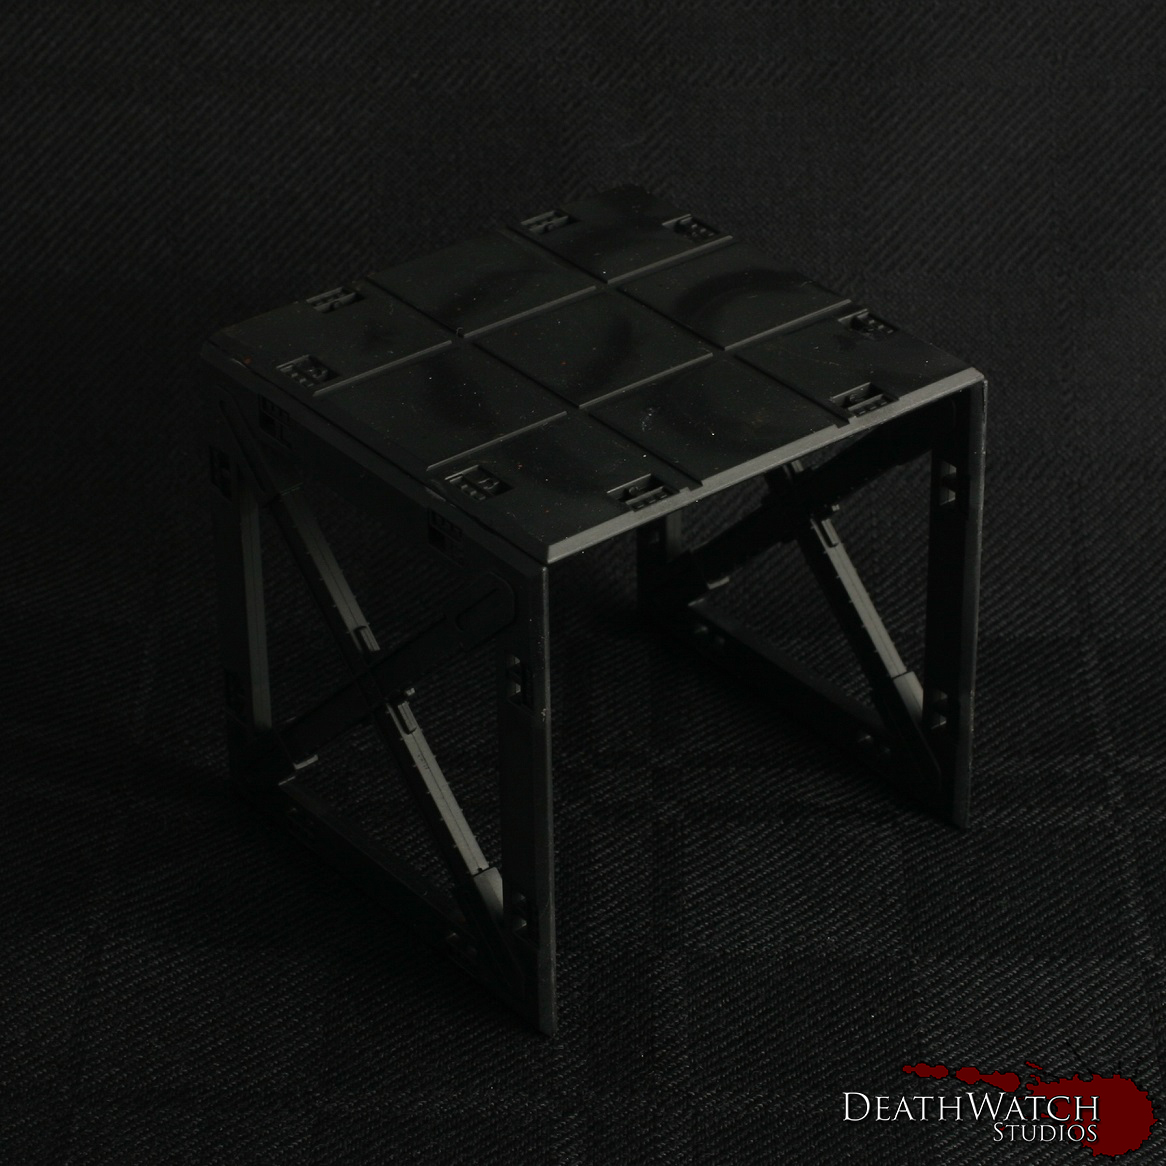
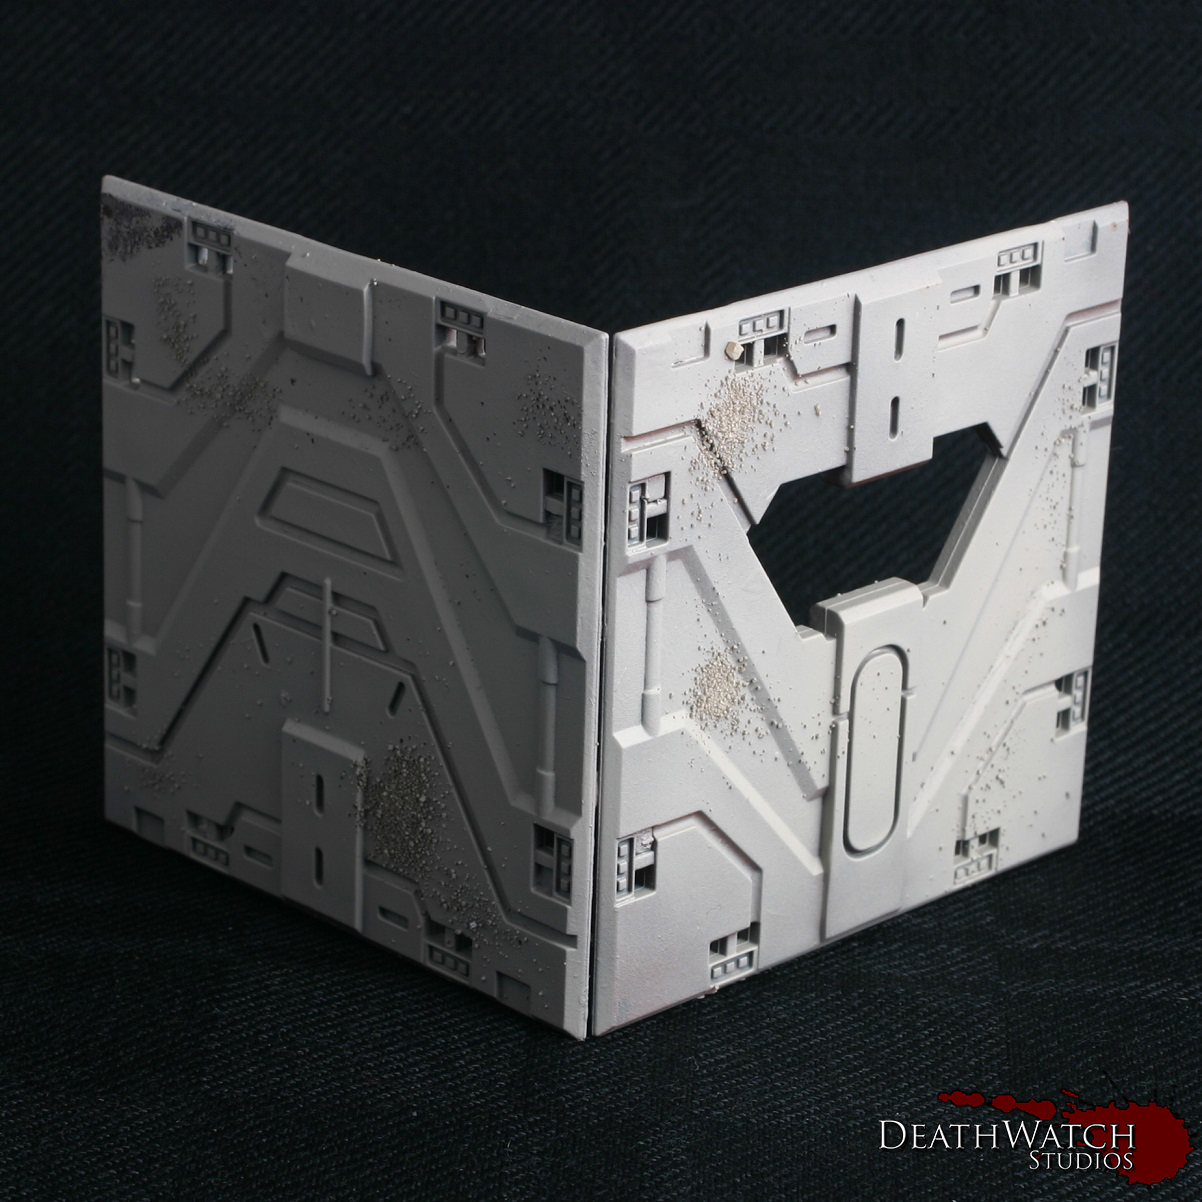
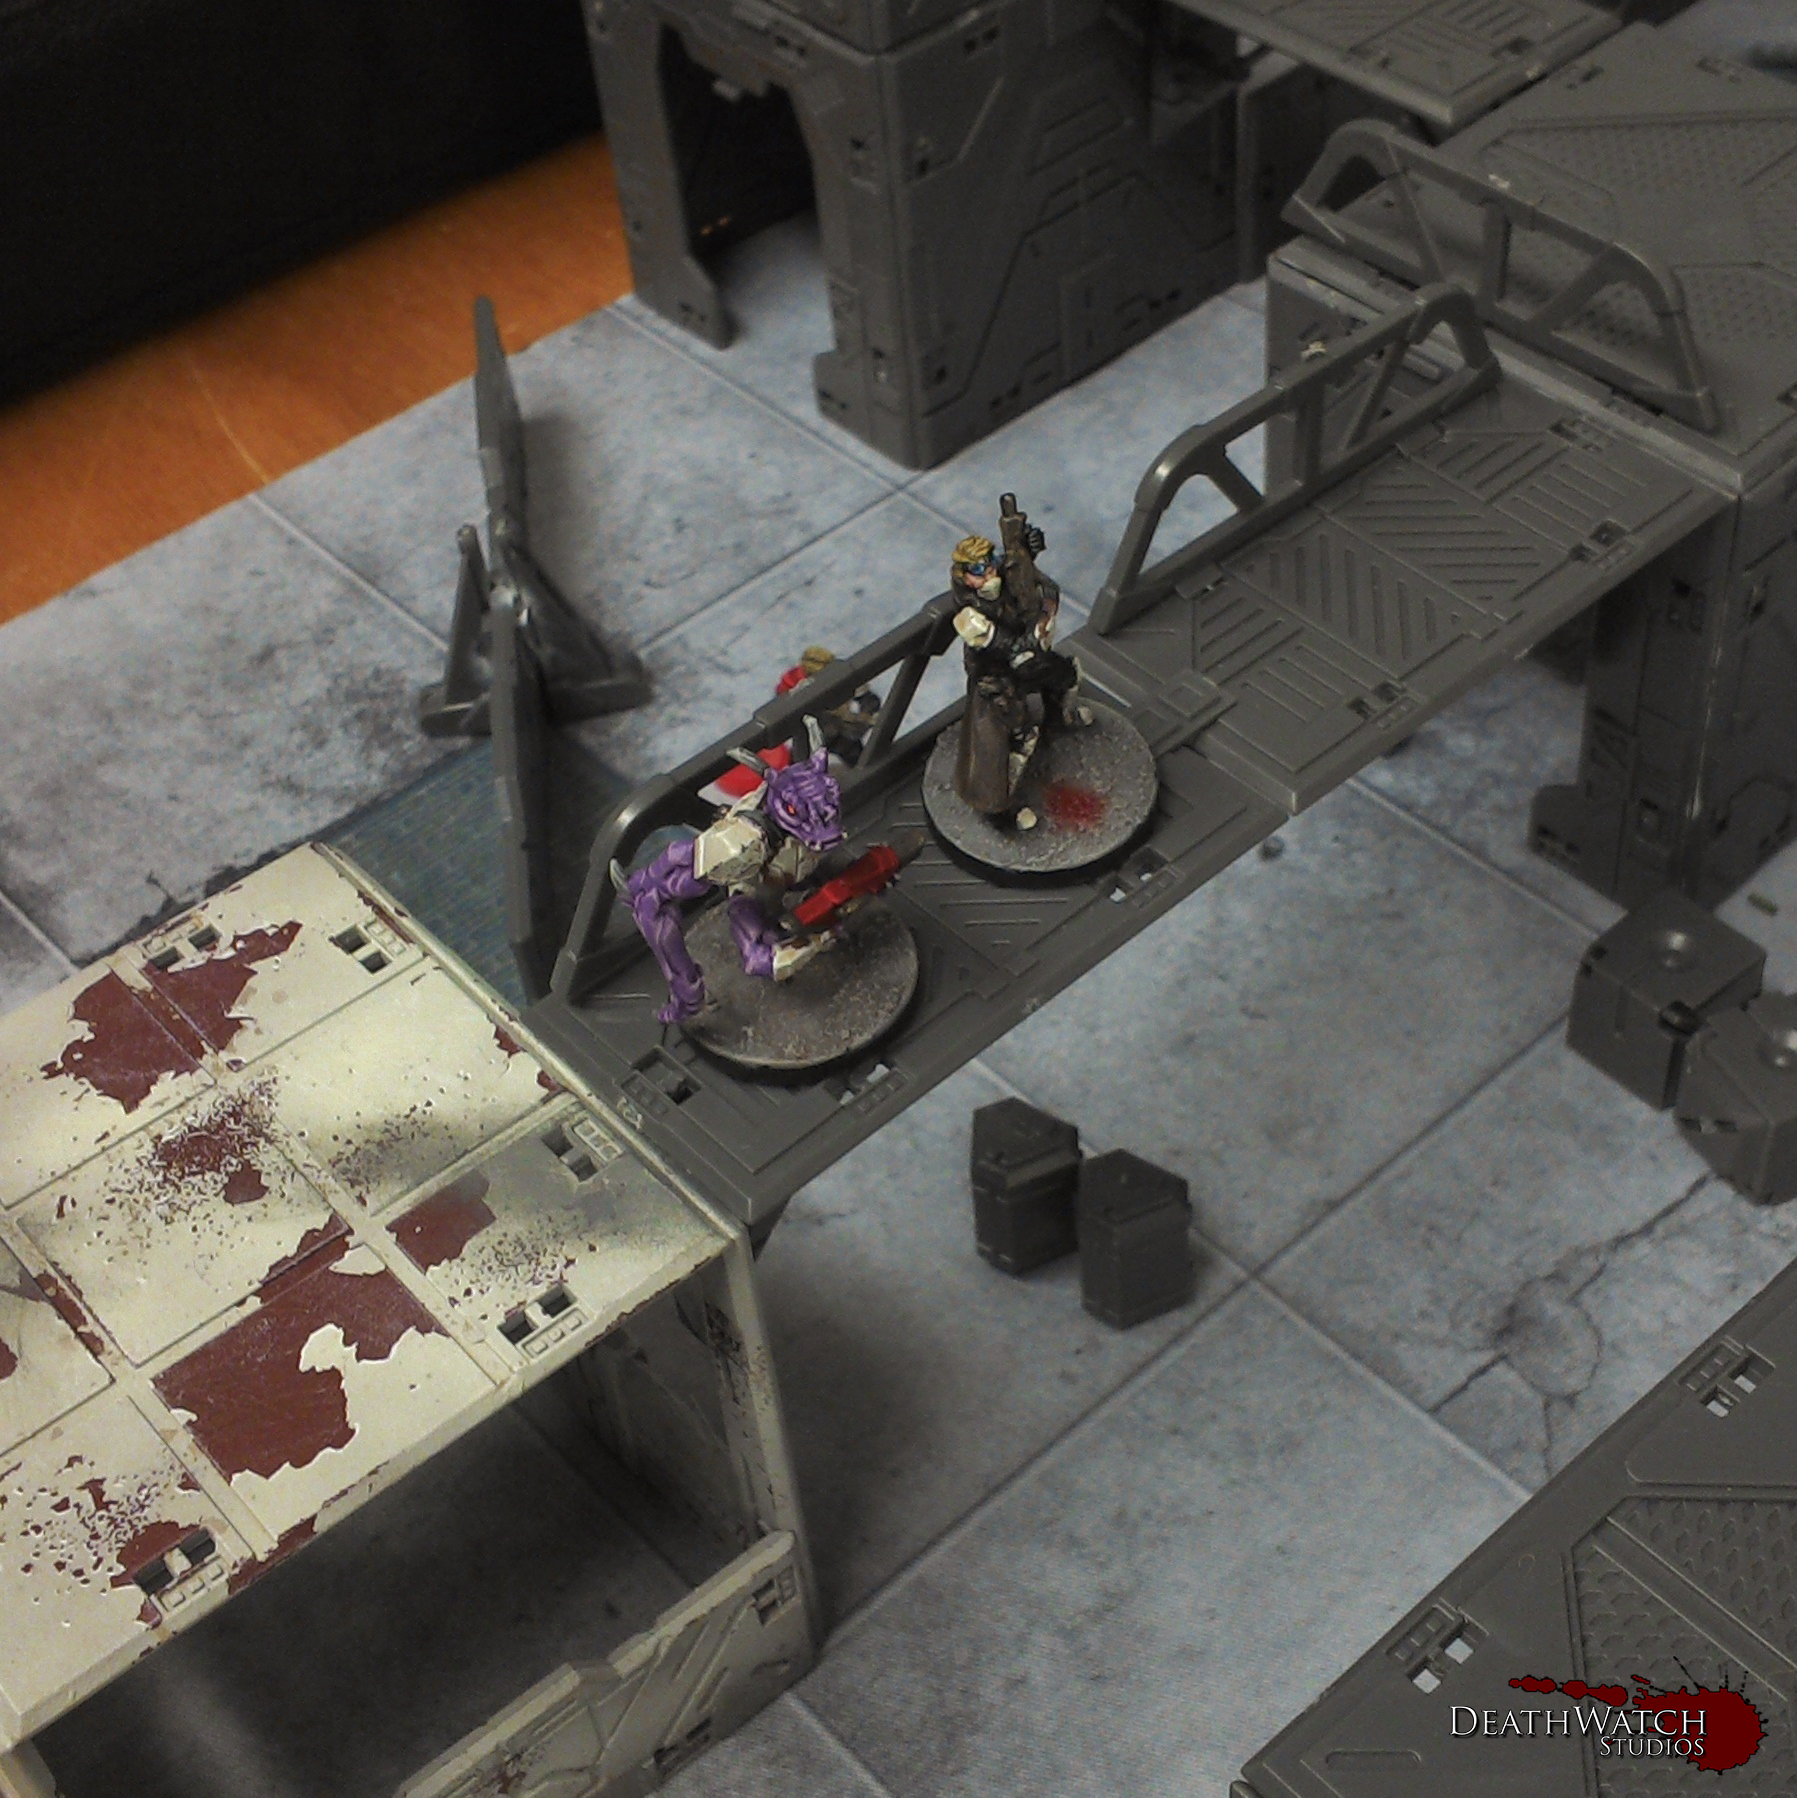
I’ve now got 2 sets of Deadzone terrain fully painted and ready to go and wanted to show you all how it looks, individually and on the board :)…


Terrain


I’ve now got 2 sets of Deadzone terrain fully painted and ready to go and wanted to show you all how it looks, individually and on the board :)…
Managed to get a hold of some reinforcements for the Rebs earlier this week in the form of these folks…
 This gives me a good amount of extra guys to be getting on with, and I can’t wait to try them out on the battlefield.
The first new addition was a converted commander…

 I made this guy out of the Dreadball Veteran MVP, to link in with the coach I made up for my Teraton team. It was a simple job just replacing both arms. One with a Forgefather hand I had kicking around, the other with a corporation trooper gun arm. The gun arm was further altered, so he would have his trusty sniper rifle, with some plastic tubing and one half of a pair of Forgefather goggles for the scope.
I’ll also have these guys to paint up 😀 …

Kraaw

Judwan Medic

TK-Zero Weapons Team

Zee Scavengers
Continuing on from the other days post on the Deadzone terrain; Part 1, I’m going to continue to show you how I painted up my set of terrain.
We left off with the salt still on the model, but the main colours laid down. Removing the salt is a fairly easy process, all you need is a mug of hot water and a light brush. The first step is to paint a coat of water over the whole of the model very gently and leave to soak in for a few minutes. Following this it’s a case of wetting the brush and lightly going over the areas where you can see salt. It should start to lift off fairly easily. For some more pronounced areas of chipping you can use a harder brush, such as a drybrush, to brush away the paint rather than just relying on the salt to give the effect. Most of the larger areas you’ll see on my terrain were created by doing this.
Once you have the desired areas taken away it’s worth leaving the model to cool and then give it a quick rinse under the tap. This helps clear away any residue left over by the process.
Once all that was done I ended up with something that looks like this:
 The next stage is to make it look a little nicer with some highlights. Using Ceramite white I gave it a fine edge highlight along the top of all the hard edges. Also to give a 3d effect to the paint chips I added a highlight to the bottom edge of each wee bit. This can take a wee while, but the effect you get from it is definitely worthwhile, and if your doing salt masking I would say essential. This is how it turned out:
 As you can see it really enhances the whole look 🙂
The next stage was all of the metals. To start them off I gave them a good basecoat of Warplock Bronze:
 Which was followed by a drybrush of Leadbelcher:
 To finish this off and tone it back a little it was then given a wash of Agrax Earthshade.
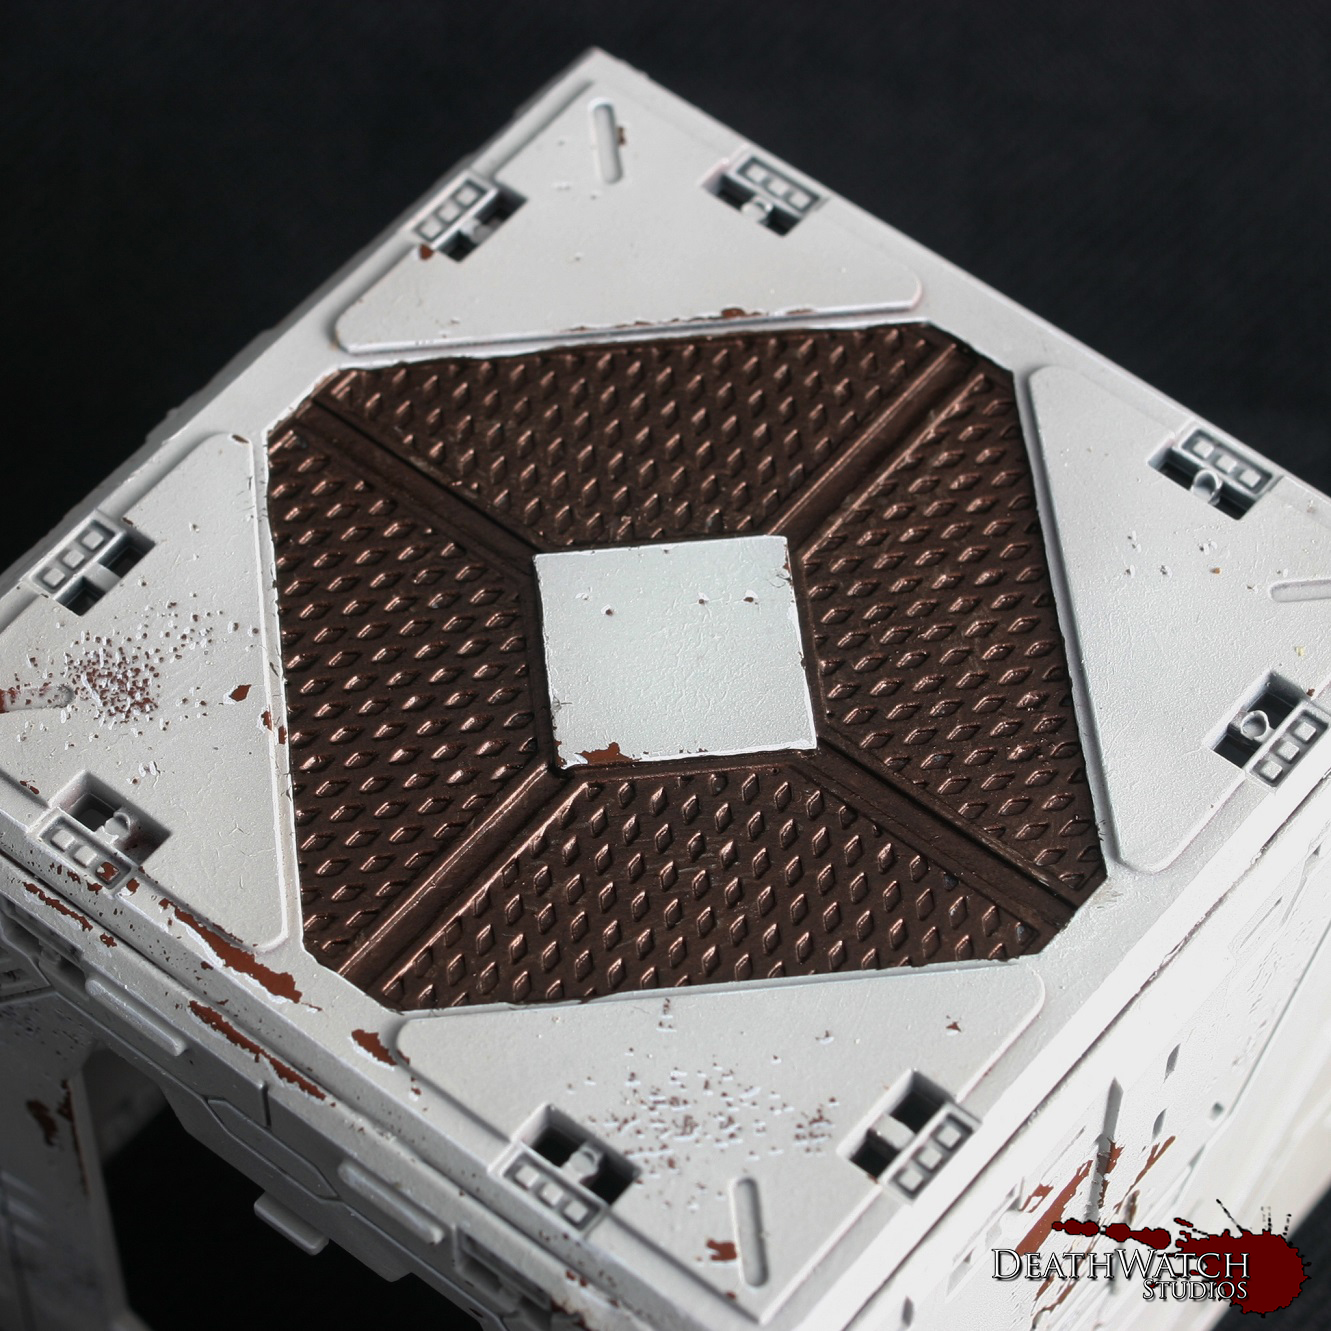
At this stage the bulk of the work is done and the terrain looks pretty good, but to really make it pop there was a few bits of detailing still to add. The first of these was a little bit more airbrushing, although drybrushing would certainly work just as well for them. I started by giving them a light dusting of Mechanicus Standard Grey along any section that would be touching the ground, this was to represent general dust and dirt kicked up around the buildings. The second was a dusting of XV-88 mixed with a little Dryad Bark sporadically over the terrain to add to the grimy, used nature of the buildings:
 A also used the same colours and effect on the tops of some of the terrain and the walkways to try and show the areas in which troops would have been moving about and the dirt and grime from there boots has dirtied the ground:
 Another touch I wanted to add was some weapon fire effects/burning. I used the same brown as previously to set down a base, adding small dots for laser fire markings and a larger area on some of the vents:

 I then added some black to the mix and added a smaller amount in the centre to finish off the effect.
Next up was blood splatter. Gotta have some blood splatter 🙂
I used the GW technical paint BLood for the Blood God for this, and have to say it is fantastic. Straight out the pot it looks great. The main difficult thing about it is just getting the shape and consistency of the splatter looking like it actually would. I would recommend taking it slow and steady, but also looking at some resources to see how real blood splatters. It sounds grim, but it helps. You also want to remember gravity, the blood will inevitably drip downwards if there’s any great amount so keep that in mind. Here’s a few examples of the effect I got:


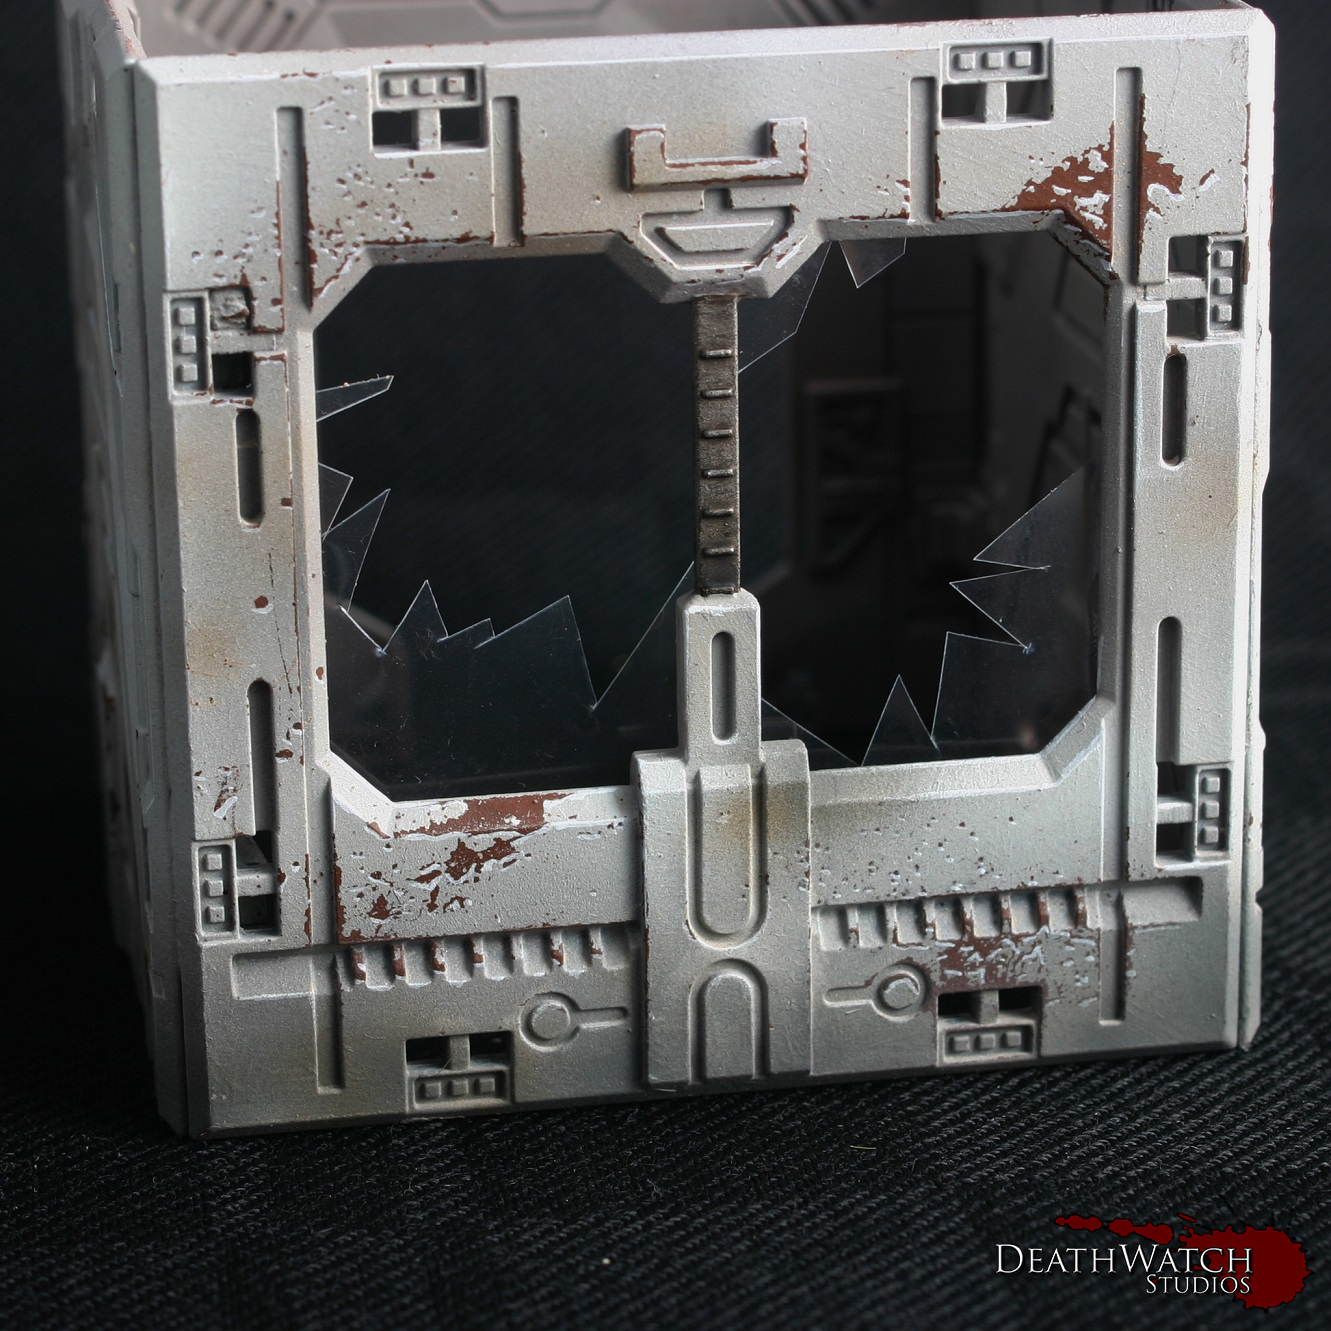
 The final thing I wanted to add was broken windows. I can’t remember where I first saw this being used with the Deadzone terrain, but the idea just grabbed me and wouldn’t let go.
I used some clear plastic packaging I had lying about cut up with a pair of scissors. It’s fairly simple to do, just cutting at angles and making sure it all is fairly straight and jagged. Before gluing always check to make sure you have a good fit, and it looks good in place. Once checked I just used a small dab of super glue to fix them in place. Honestly it can look a little haphazard from the back, which is why I’ve stuck with adding it to terrain pieces you can’t really see inside. Here’s an example of one of the set’s I put together:
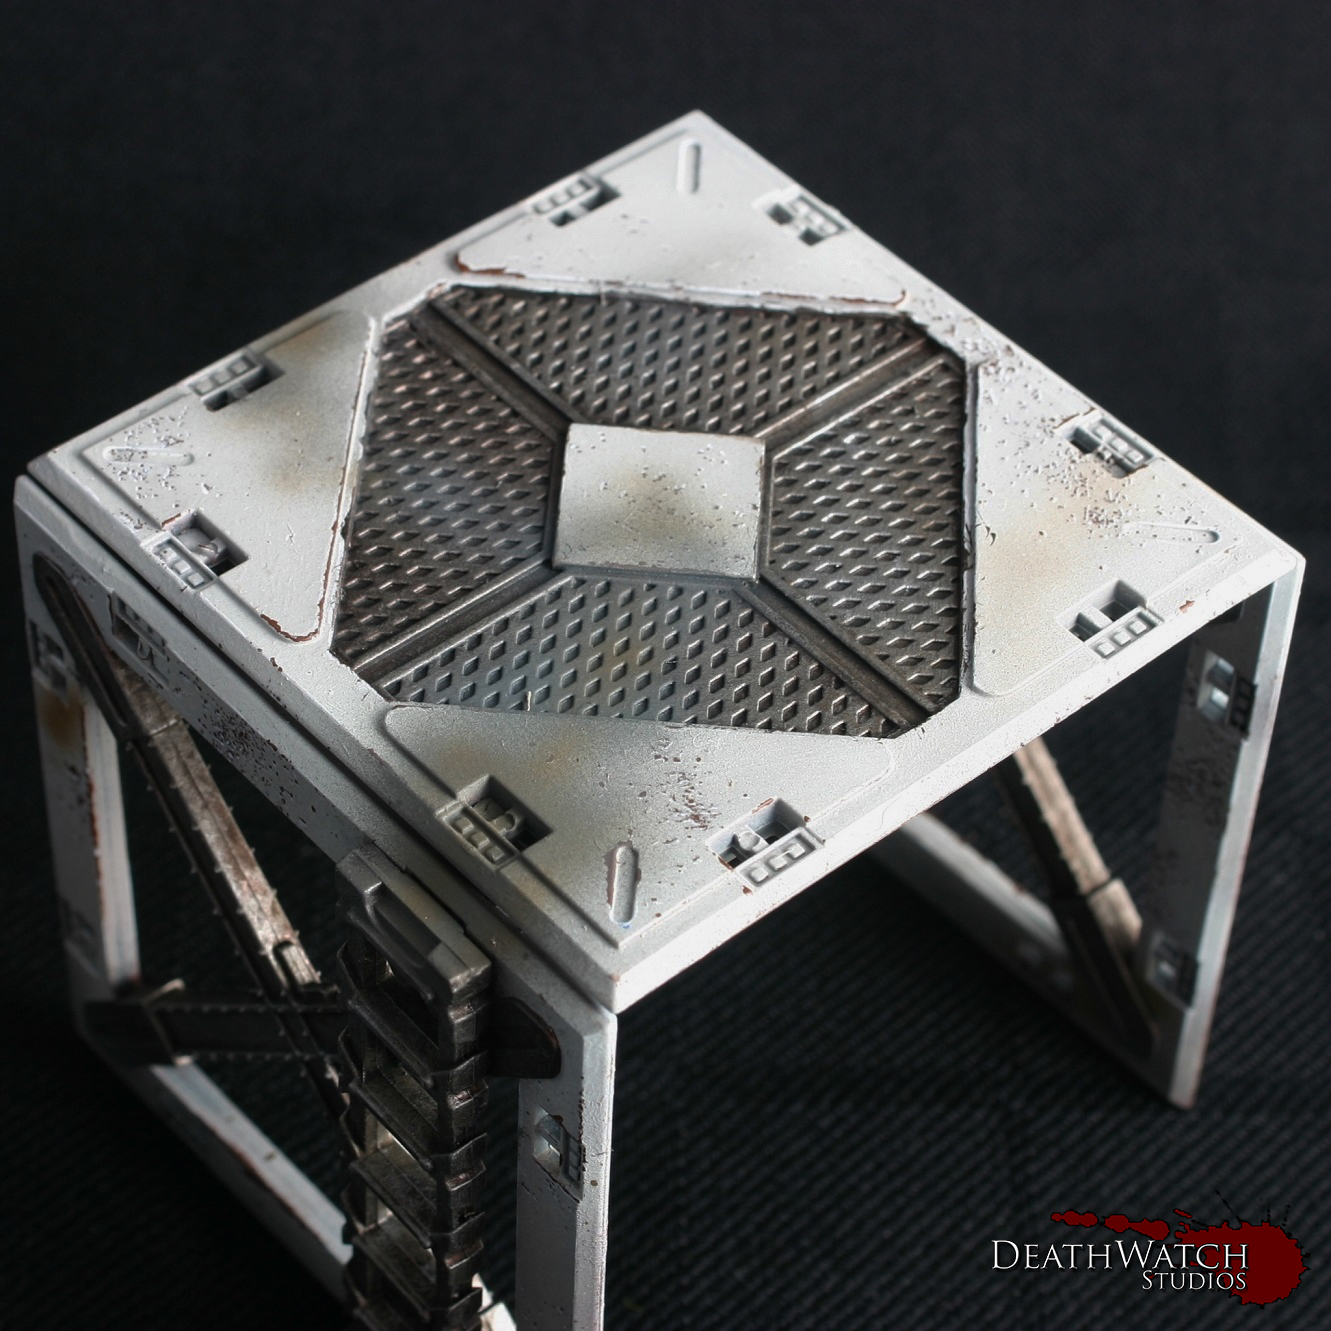
 And that, my friends, is how I did my Deadzone terrain. If there is anything you think I may have missed or if you would like me to expand on anything just let me know in the comments.
Look out later in the week for some pictures of the whole lot together 🙂
I’ve been working through getting all the terrain painted up for my set of Deadzone and wanted to give everybody a run through as to how I have been doing it from start to finish. This first part will be focusing on the main colour whilst I will be doing another couple of parts later on this week on the rest of the main colours as well as some of the detailing.
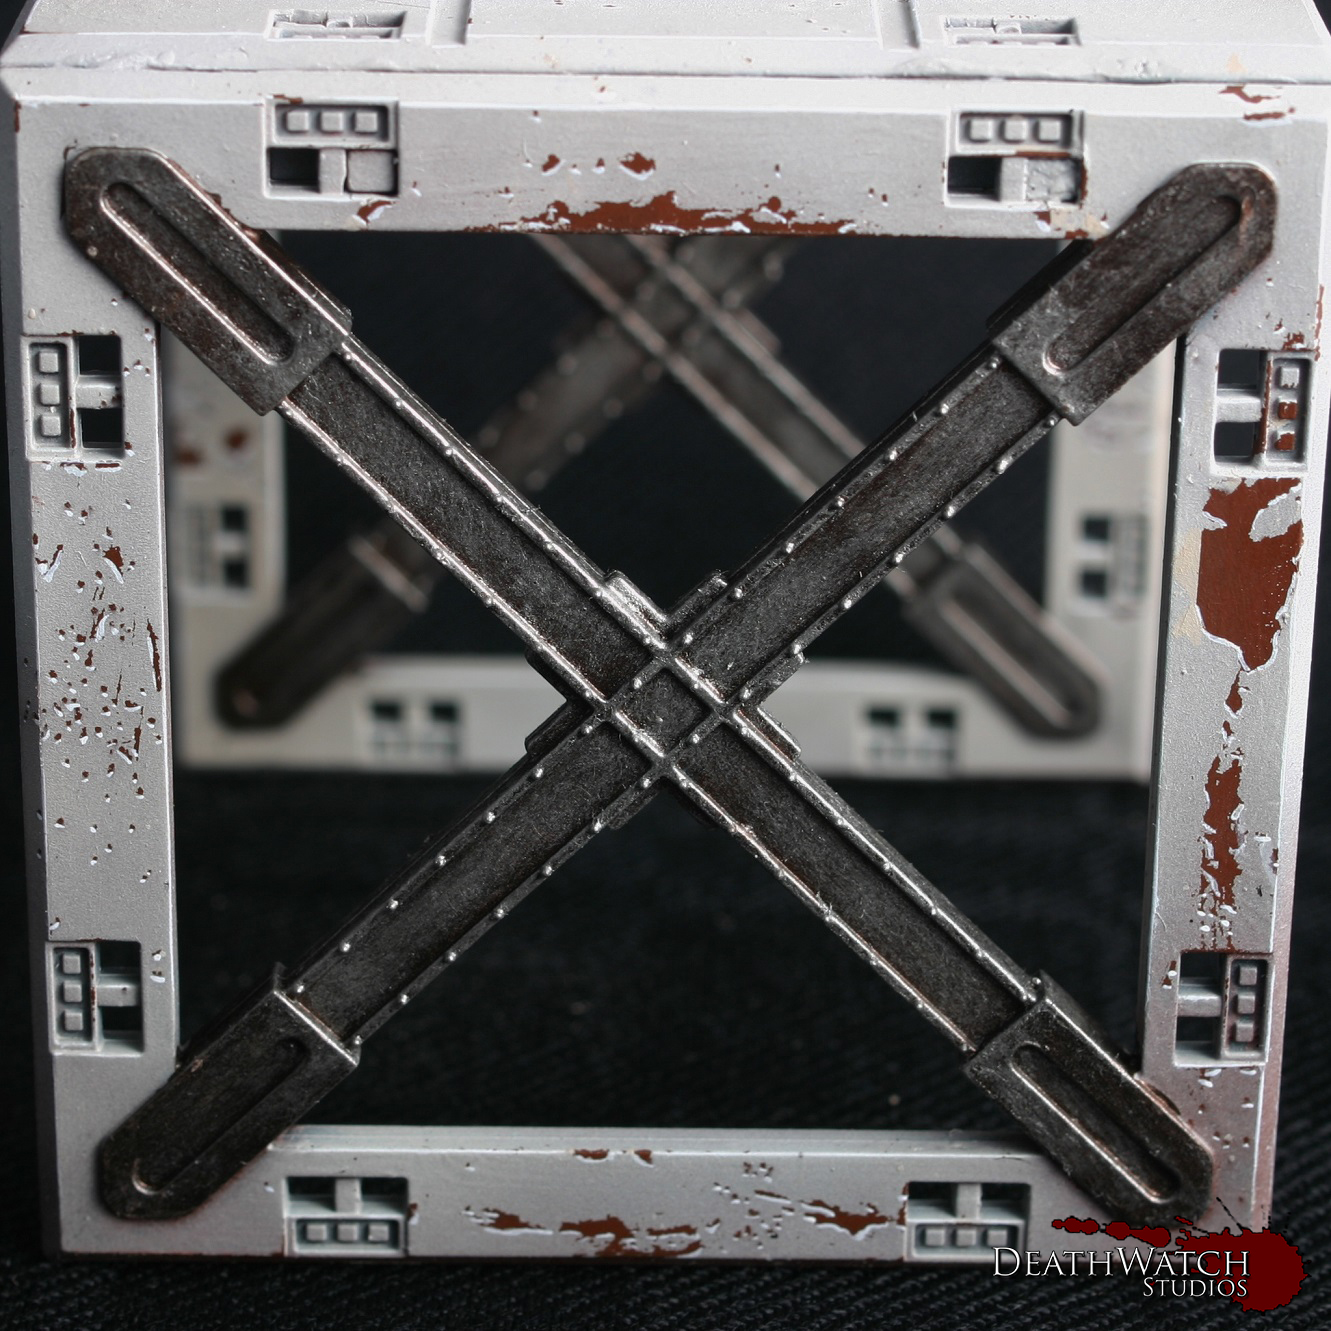
Construction: Before starting the painting I chose to glue all of the buildings, barricades and structures together. Whilst the clips are a useful idea ie being able to dismantle terrain after each battle/build them in different configurations, I felt this would be far too time consuming as well as leading to damaged clips needing replaced on a regular basis. Whilst I still used the clips in most instances to add some strength in areas, some sections where just glued on where there was enough support already (ceilings primarily). The only sections I didn’t glue together were each story of multi story structures. This allowed a bit more flexability when playing games, if for instance someone wanted to place a model inside, they didnt have to squeeze them through a window or door.
Painting: The first stage in getting the buildings painted up was an undercoat. I went with black:
 Once this had dried I applied a couple of coats of Doombull Brown until I had a nice flat colour all over:
 This is were I began the saltmasking, a technique I’ve used on all of my Rebs and a fair bit over the last few months. The first tutorial I used to get some help with this was found on Youtube, and you can see this here. I also found Whitewolves blog entry for this fairly useful, especially since it was the same kit.
The way I’ve done it was to give the terrain piece a healthy coat of hairspray (just a bog standard, cheap can from the supermarket), and sprinkle some salt over the areas I was looking for the weathering:
 I usually left this to dry for at least a couple of hours, just to be sure, but once dry its onto the top coat. This is were an airbrush comes in very handy and I would maybe even go so far as to say it is essential. You need very thin coats on top of the salt in order for you still to be able to remove it easily. So with airbrush in hand I gave the whole thing a coat of Rakkarth Flesh:
 This gives the main base colour, but to add a little more definition I then added a highlight coat of Menoth White Highlight but just over the top half of the terrain piece and at a 45 degree angle:
 The terrain is now ready to have the salt removed and then onto some proper painting :), which I’ll be going into in the next part.
![]()
Dreadball Xtreme is the brand new game, currently active on Kickstarter, from Mantic Games. If you’ve been living under a rock for the last couple of weeks you may not have heard anything about it, and I suggest you head over to the Kickstarter page immediately! For the rest of us there has been a plethora of new information, images, videos and hearsay covering the internet on this new underground sport as each stretch goal is smashed out of the park. One of the most recent of these updates was the introduction of the beta rules, as well as a way to create a simple pitch and some nasty surprise cards to go with it(Which you can find here). I was Xtremely excited (sorry couldn’t resist) about these as it gave me an opportunity to see what this was like and if it meant my blind pledge at the very start of the campaign would pay off. Yes, is the simple answer, oh god yes. If I could afford to pledge more, I most certainly would be. This is everything I love about Dreadball with some more death and mayhem thrown in :D, which I’ll tell you about now…
 The first thing you’ll notice is the pitch is surprisingly cluttered with various objects (those are not Bolt Action dice, they are pillars. Use your imagination folks :P). The tall ones are solid objects, probably holding up the roof and don’t get moved, destroyed or blown up throughout the game. The little ones however are packed full of explosives. Move adjacent to them and you’re likely to have your limbs taken home by the crowd as souvenirs. Unfortunately, as you can see in the image, there is no way to get to the opponent or your their strike zones without risking a little dismemberment! For the beta rules finding out what happens with each crate is no more than a dice roll, but it seems in the full game the crates will have a removable lid to let you know if you need a body bag or not. It’s a nice little touch :).
 The mechanics of the game work much the same as regular DB but with a few subtle and not so subtle changes to make things more interesting (By interesting I mean violent. Horribly, horribly violent). As usual Guards can slam but can’t handle the ball, Jacks can do both and Strikers handle the ball but are unable to slam. Dice mechanics tend to work the same, with all tests starting on 3 dice with + or – depending on situation. The rushes work much the same with 14 total, alternating between players with the same rules for turnovers and the like, and a score track seesawing between each player. The main notable differences me and my opponent found are:
It’s a lot to take on board at first but it really did make for an entertaining game. There did seem to be more of an emphasis on killing than anything else, as evidenced by the dead pile halfway through the game…
 There were even a couple of players bleeding out on the pitch…
 The ones with the D8s (a good way to keep track of injuries for now) are injured.
We only played with the Convict Scum for this game, as we felt it was better to use the same to get used to that set of rules, rather than add in another set of new stuff :). They have a nice mix of players, with a good mix of abilities. And explosive collars!
These can be set off once per rush but at the cost of 3mc. My opponent gave it a go, trying to bomb two of my players. Luckily for me they dodged the shrapnel and bodyparts, but I can see these being really useful. An injured player surrounded by enemies for instance, he can take one for the team :).
The Guards are great with a 3+ strength and threatening. Jacks are average to be honest, with the strikers being about the same, just with some bonus dice to help ’em out in most situations. And the final player is the Yndij reaver, who with duck & weave and 360 vision makes a pretty damn good striker. All in all a very well rounded team.
Overall I found it to be a damn entertaining game and I might even go so far as to say I enjoyed it more than normal DB. I like the gritty fight to the death feel it has, and the violence, oh the violence. With 7 deaths total in the game and a couple of injured players still lying on the pitch, you an look forward to some really bloody matches. With it not even being the full rules yet I can see even more being added and some things tweaked to make it even better. Only have to wait until November to get the full product 😦 and that’s with pledging on the Kickstarter, it may be even longer for the retail release. So if your keen I would recommend pledging now(this also helps unlock more toys for me :D) or if your not sure get your own printout of the board and cards and give it a go 🙂
And finally if you want to read some more on Xtreme, here’s some links to some great articles from Jake Thornton’s blog:
What’s The Difference Between DreadBall And DreadBall Xtreme?
DBX Details: Why 4 Actions, Not 5?
DBX Details: Why Strikers Can’t Slam
Stomp Rules In DreadBall Xtreme
My Rebs have finally been successful in winning a game!!! Only took 10+ attempts 🙂 and now I shall babble incoherently about it all…
So far I’ve only played against Plague, and found them a tricky one to combat, so looked forward to my first chance at tackling the Enforcers. It was only my opponents second game and first with the Enforcers, so I don’t think the win was down to my tactical genius, but overall I found them a lot easier to handle than an enemy that runs straight towards you then eats your face :(.
The game plays really well, and is very easy to pick up. I find myself comparing it to Dreadball in this regard, fairly often. It may be easy to get into, but it’s the intricacies and combos that really bring excellence to the game. Getting used to where you need to be and who is around you to get that great shot off, how important placement in a cube can be, is cover in your cube a good or a bad thing against your current opponent, whether you go for a shoot or a blaze away? I love how it all adds to the tactical depth that is so very present in Deadzone.
Now onto what came up during our game…

Game Deployment
The game still felt like a struggle, but several things went in my favour. The first of these was deployment. With the tallest building right in my deployment zone, I was able to set up what I affectionately call the ‘Tower of Death’…

‘Tower of Death’
With this and getting first turn I was able to obliterate the Enforcer Sniper with my first shot from the desolater, as well as pin nearly every other enforcer. This allowed me to effectively keep the enforcers boxed up as the short actions they had left after getting back up were used to return fire to try to get my head down. This game I also tended towards using blaze away more than I had in any previously, the Enforcers armour of 2 and great survive of 4+ means anything but a clear shot or a high AP weapon are likely not to do anything but give em a scratch. At least it meant they spent most of the game lying down….
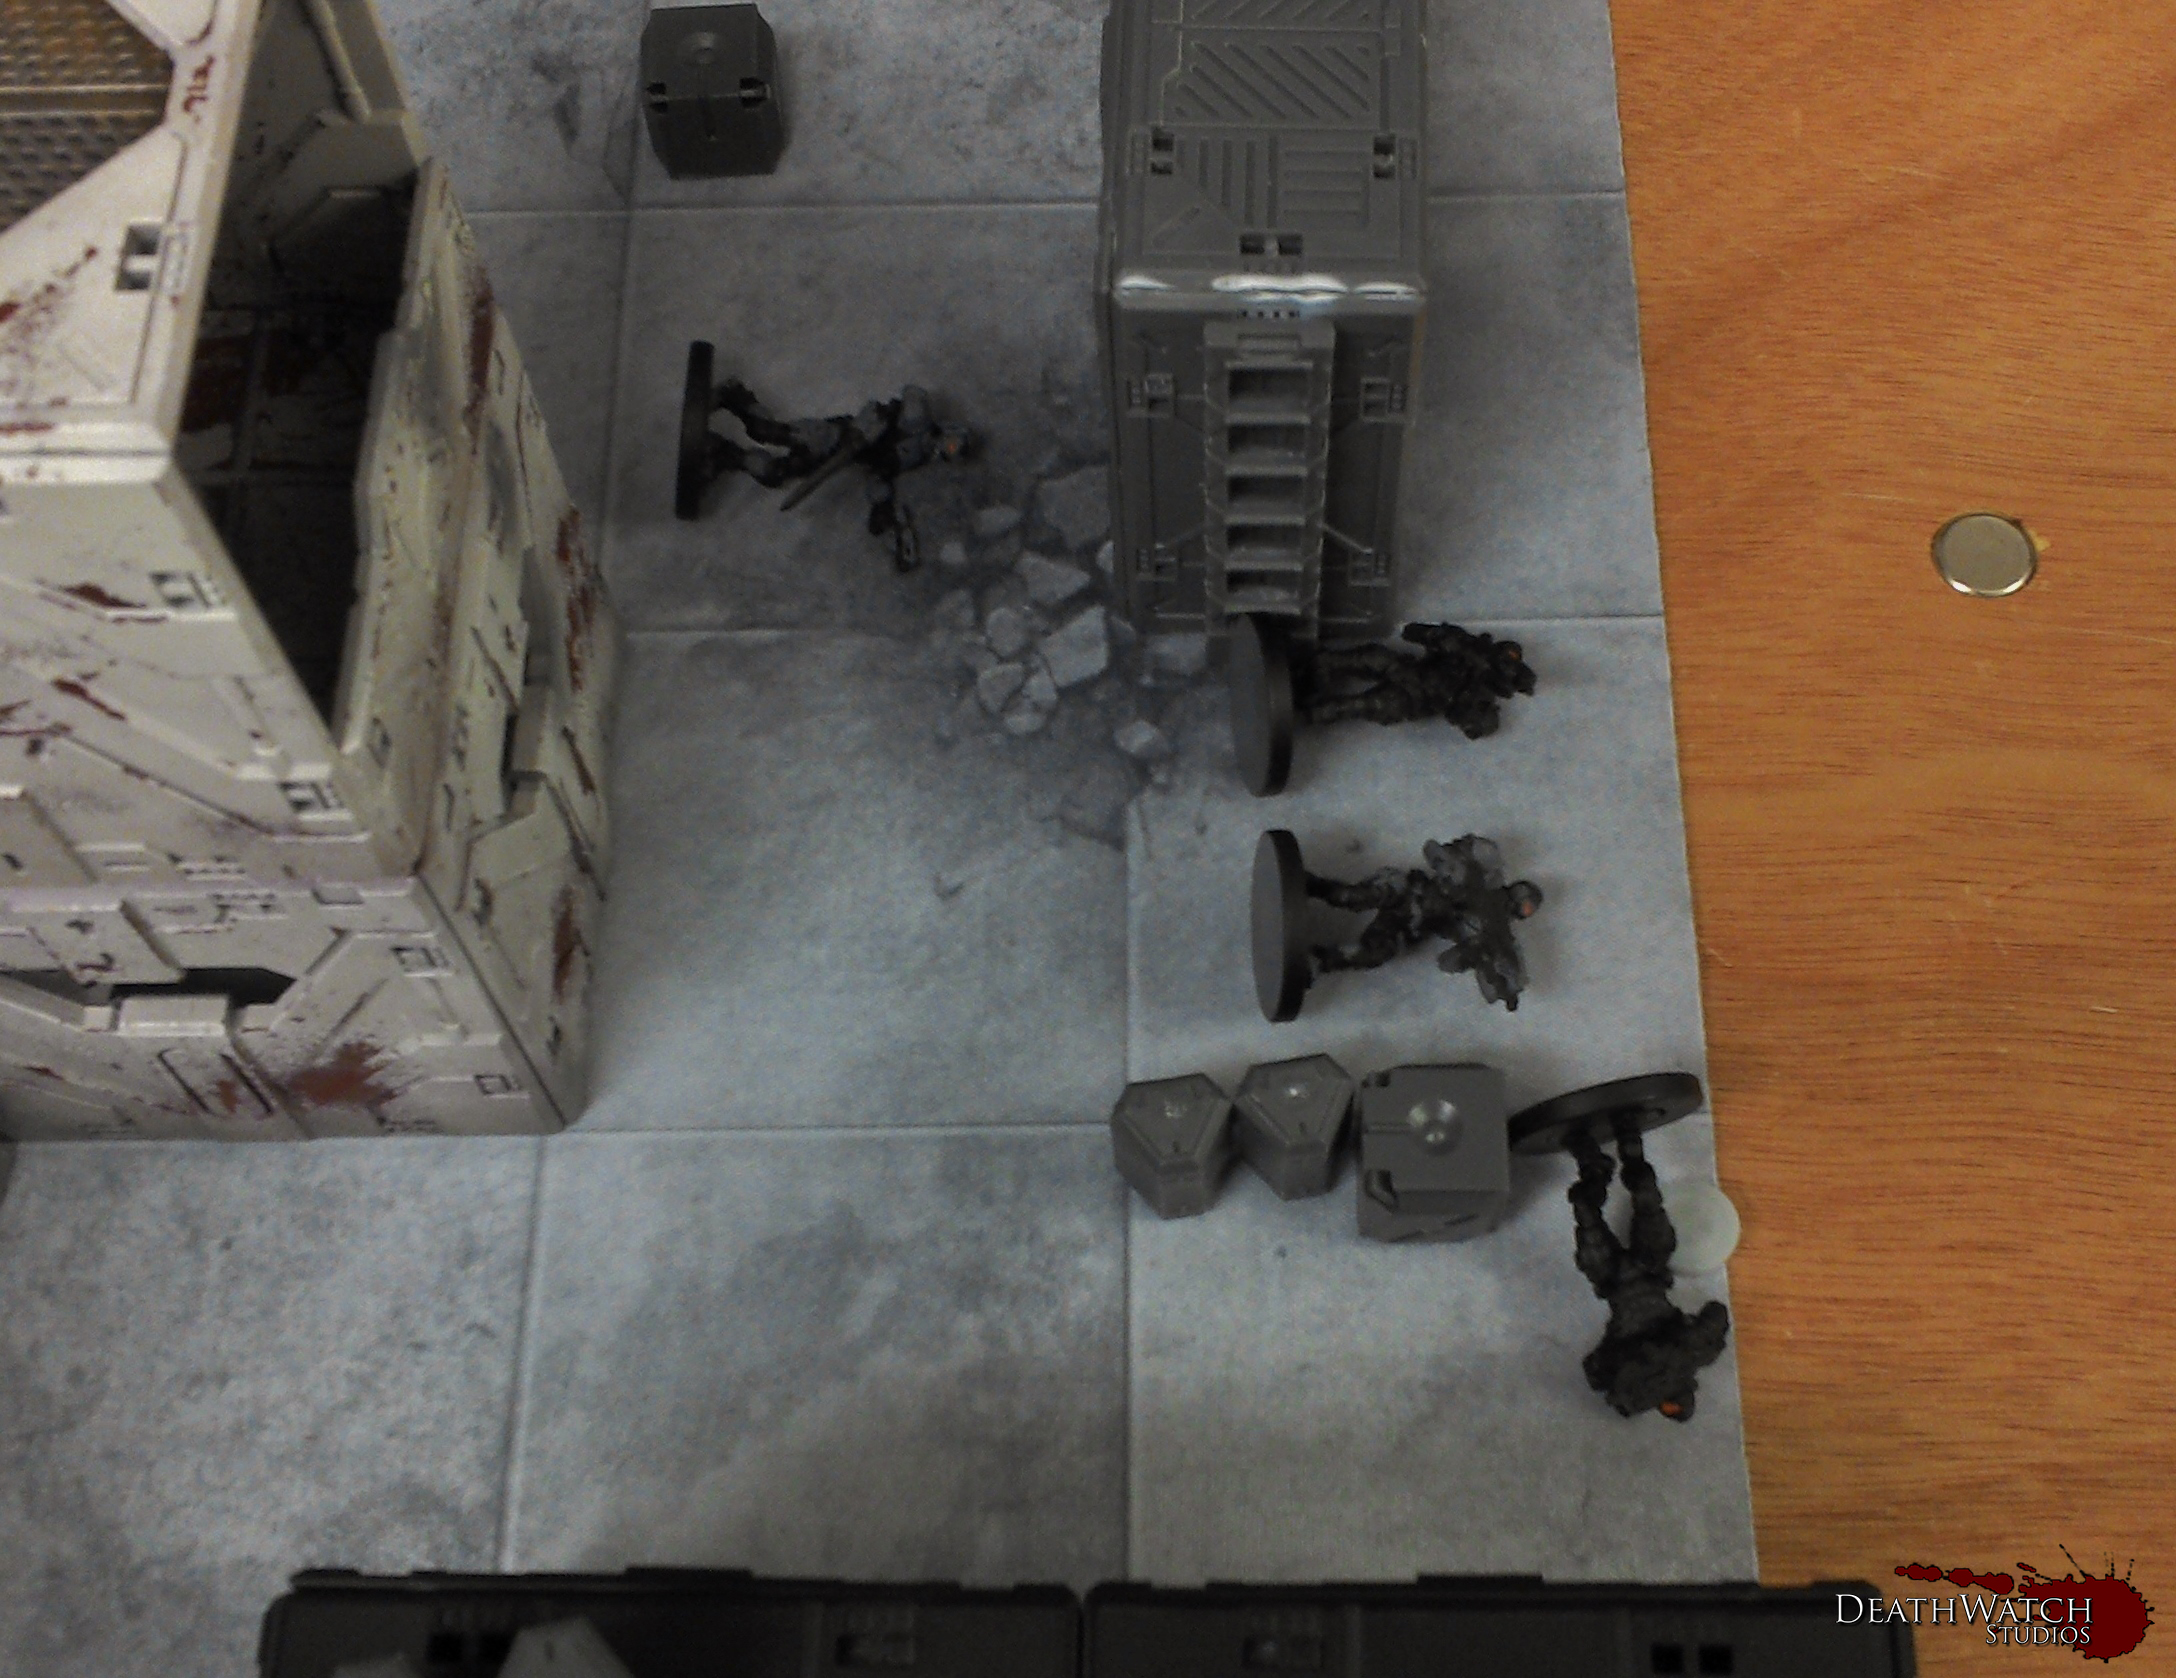
Enforcers having a slumber party 🙂
Another aspect that came up during the game was support, something I had not taken advantage of before, but certainly will be in the future. If you have a teammate in the same cube when blazing away (and they could blaze away at the same target) they can add +1 dice to the roll, at the expense of being activated but not adding to your total of allowed activation’s in the turn. This gives my humans a much better use. I think I’ll now have 3 constantly following the Onslaught cannon about, and give the grogan some ammo. This gives the possibility of a huge amount of dice for one shot, the grogan gets 3 basic, +2 for Firestorm, add in another 2 for the ammo, and 3 for the supporting models, and for arguments sake lets say he’s on a higher level (cos, why not?) and he gets an absolutely ludicrous 11 dice!

I was also tempted to get into fights more often, with basic Enforcers having a low fight of 6+, I’d be a lot more confident of the Yndij or the Kraaw(once I can get my hands on some) taking them down. It also means the Teraton will definitely be making an appearance in my next game against them :), this giant should be able to take on any enforcer in single combat, even the Assault Enforcers.
Overall it was a great game and a good learning experience for the both of us, and I can’t wait to play some more against the Enforcers, especially once my opponent gets round to knowing his force a little better, which knowing him won’t take very long and the Rebs will return to taking a beating like they are supposed to 🙂
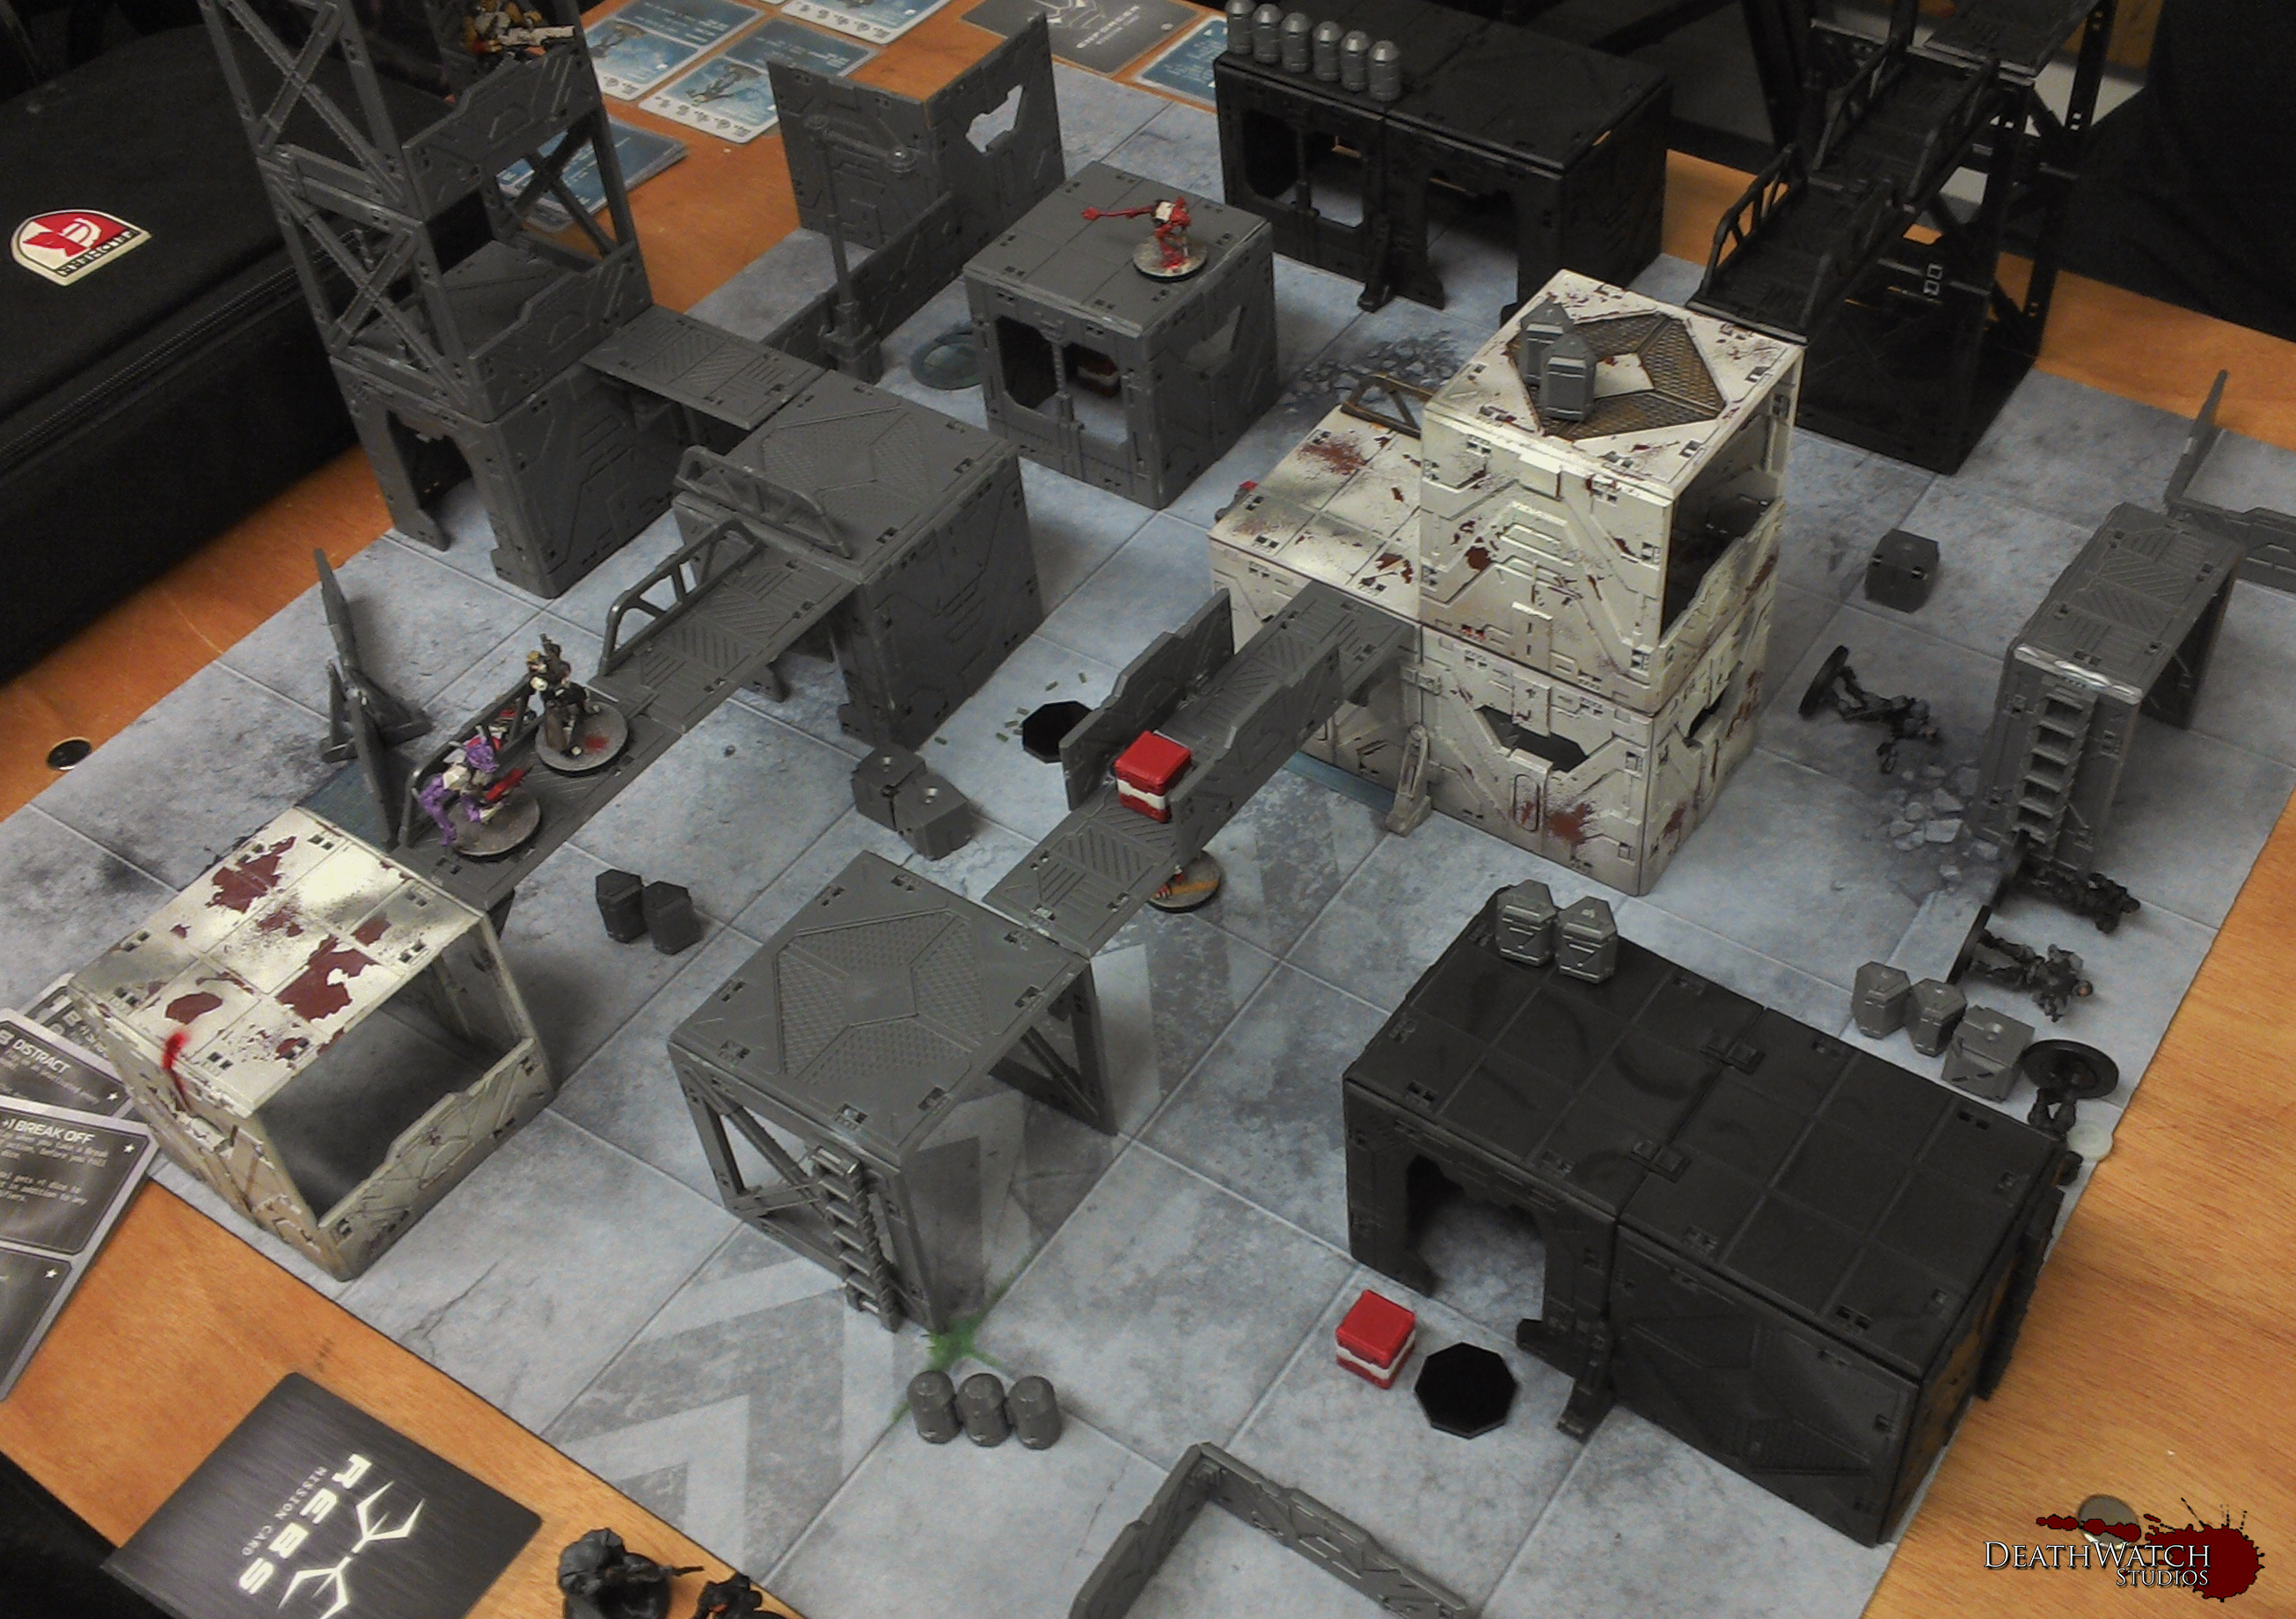
I’ve begun painting up a couple of the terrain sections I have built in order to get an idea of how I want to paint the rest and find out what works and what doesn’t before doing the rest. So far I’ve done them much the same way as the Rebs armour, using the salt masking technique (which I’ll go into further later :)), and here’s how they look…


I’m pleased with how they look although so far I’ve realised the salt may be a little too fine for such large areas, so going to look into getting something a bit coarser. I also think they may need a little more shading/highlighting before moving onto the next stage. I’m going to continue on with these ones until they are complete, again just to do a wee bit of troubleshooting before going onto the rest :). Once I’m onto them I’ll go into much more detail as to how I’ve done it all 🙂
Added the last few licks of paint to the equipment crates, and now have some funky additions to my games of Deadzone…..

Resin Equipment Crates
I think these are a great addition to the game, as they help to make it that little more immersive. There’s also something about opening something up to find out what you have rather than just flipping a token that adds that extra element of fun.
I’m very pleased with how they’ve turned out, especially the boldness of the symbols :D. Makes it really easy to know what your getting.
With the Strike Force complete it’s onto some of the extras and terrain in an effort to get my Deadzone stuff finished. I’ve now started on the equipment crates, and here’s how thay look so far…

Resin Equipment Crates
I wanted them fairly bold to stand out in a game, but also wanted to give them a wee nod to my Rebs, which is why I went for the colours I did. The plan is to paint the symbols and area around them like the tokens that come in the box, and give them a wee highlight. I would like to add symbols and stuff to the tops, but I am restricted as they need to be identical 😦


