I’ve been working through getting all the terrain painted up for my set of Deadzone and wanted to give everybody a run through as to how I have been doing it from start to finish. This first part will be focusing on the main colour whilst I will be doing another couple of parts later on this week on the rest of the main colours as well as some of the detailing.
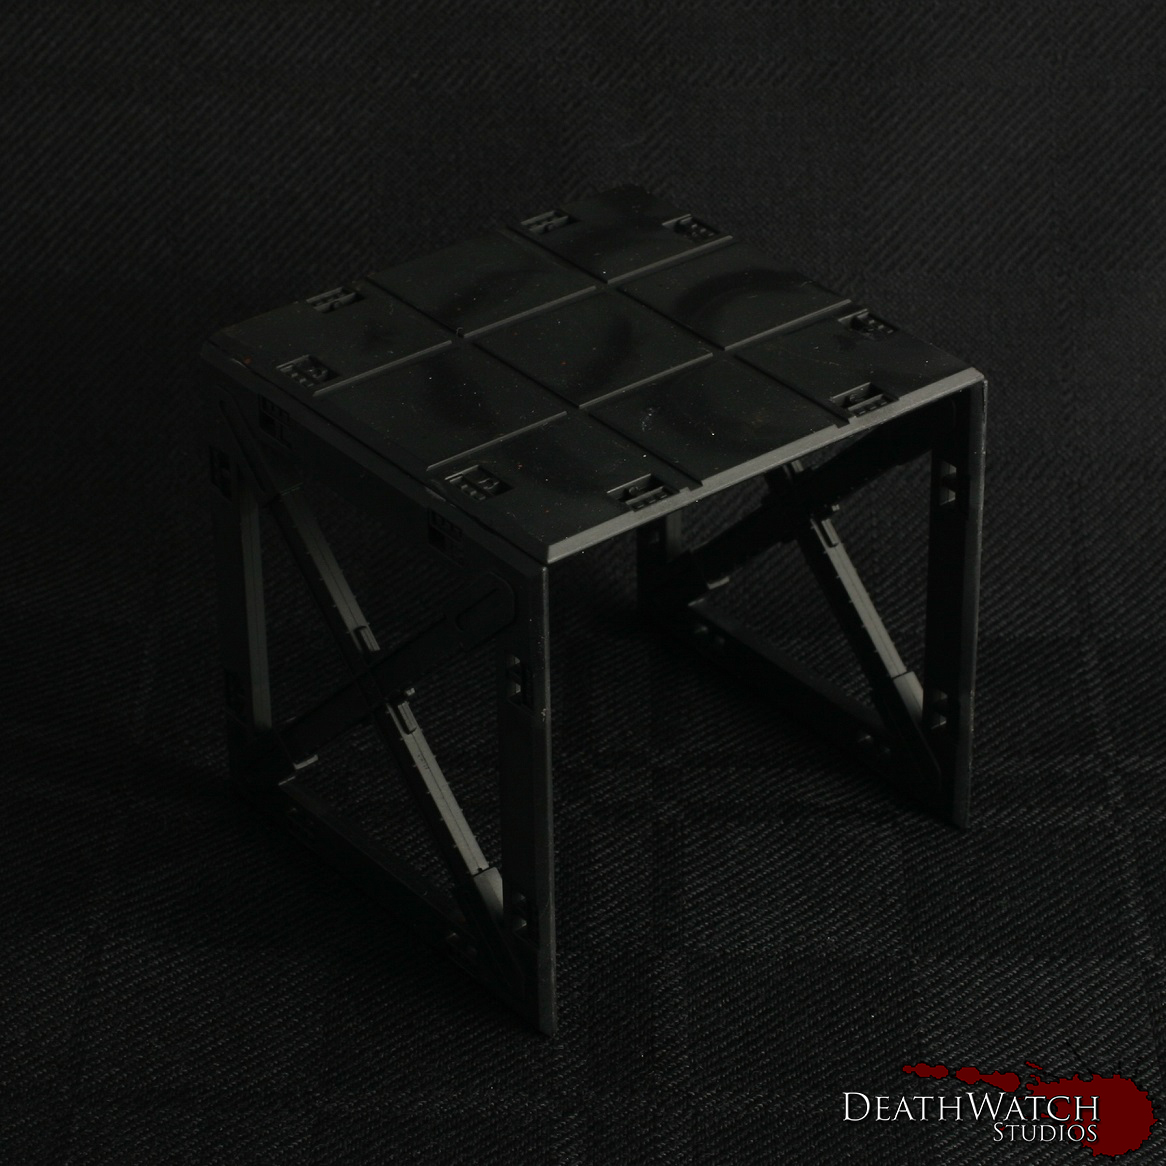
Construction: Before starting the painting I chose to glue all of the buildings, barricades and structures together. Whilst the clips are a useful idea ie being able to dismantle terrain after each battle/build them in different configurations, I felt this would be far too time consuming as well as leading to damaged clips needing replaced on a regular basis. Whilst I still used the clips in most instances to add some strength in areas, some sections where just glued on where there was enough support already (ceilings primarily). The only sections I didn’t glue together were each story of multi story structures. This allowed a bit more flexability when playing games, if for instance someone wanted to place a model inside, they didnt have to squeeze them through a window or door.
Painting: The first stage in getting the buildings painted up was an undercoat. I went with black:
 Once this had dried I applied a couple of coats of Doombull Brown until I had a nice flat colour all over:
 This is were I began the saltmasking, a technique I’ve used on all of my Rebs and a fair bit over the last few months. The first tutorial I used to get some help with this was found on Youtube, and you can see this here. I also found Whitewolves blog entry for this fairly useful, especially since it was the same kit.
The way I’ve done it was to give the terrain piece a healthy coat of hairspray (just a bog standard, cheap can from the supermarket), and sprinkle some salt over the areas I was looking for the weathering:
 I usually left this to dry for at least a couple of hours, just to be sure, but once dry its onto the top coat. This is were an airbrush comes in very handy and I would maybe even go so far as to say it is essential. You need very thin coats on top of the salt in order for you still to be able to remove it easily. So with airbrush in hand I gave the whole thing a coat of Rakkarth Flesh:
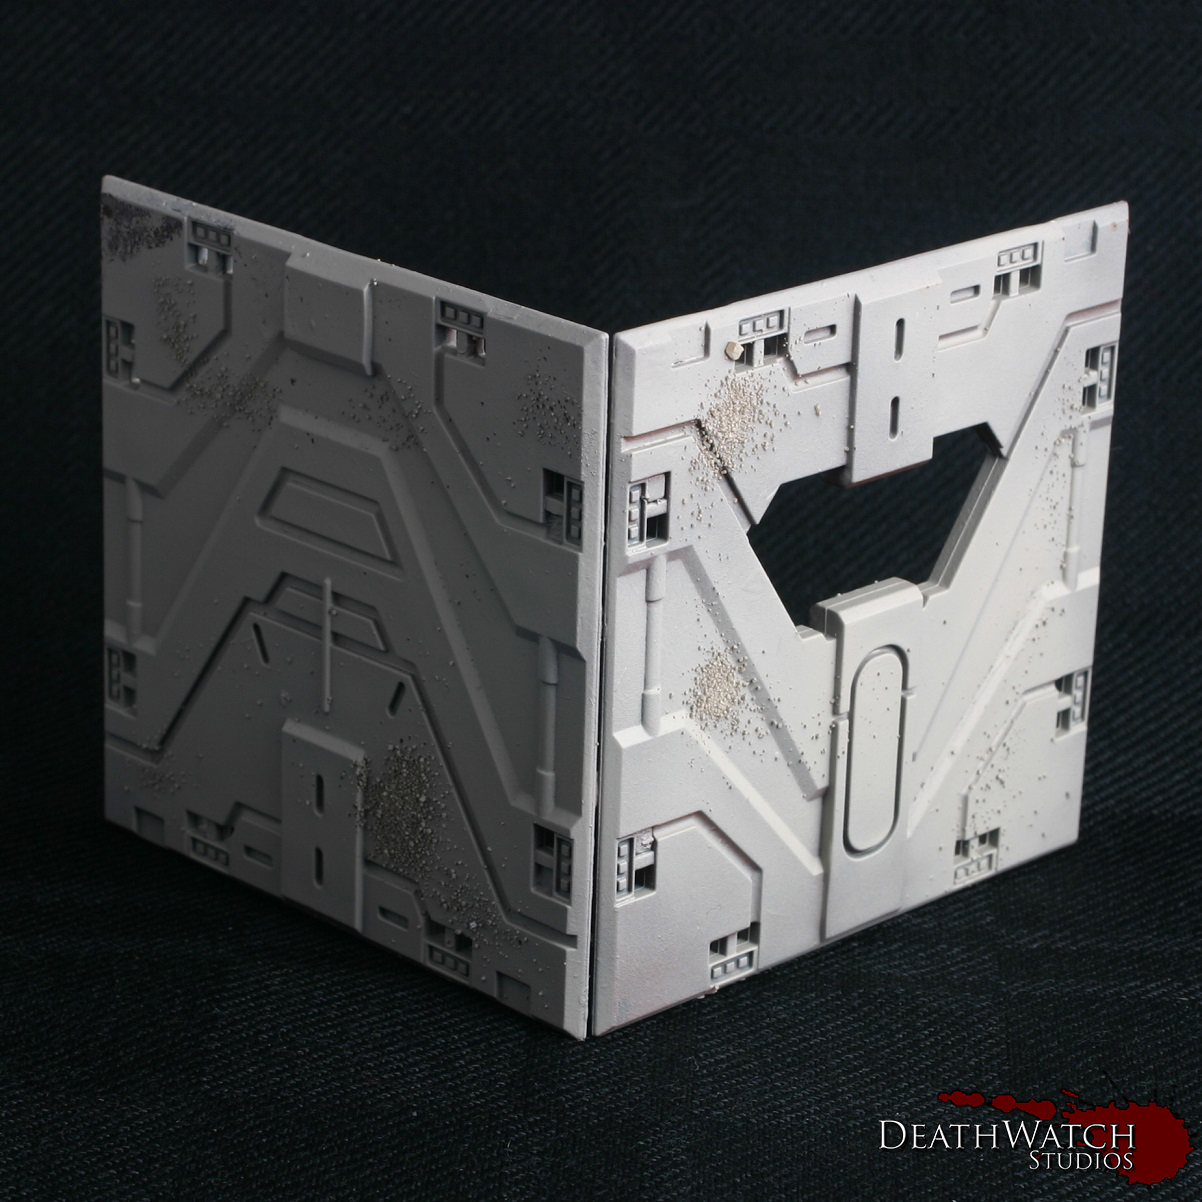 This gives the main base colour, but to add a little more definition I then added a highlight coat of Menoth White Highlight but just over the top half of the terrain piece and at a 45 degree angle:
 The terrain is now ready to have the salt removed and then onto some proper painting :), which I’ll be going into in the next part.

Definitely watching this… looking forward to part two.
Pingback: Tutorial – Deadzone Terrain Part 2 | DeathWatch Studios
It’s curious because my Rakarth Flesh give me a brownish grey, far from your light grey…
That is odd, maybe the undercoat colour makes a difference to the hue of it?
I don’t think so, because as I really like your color choice, I followed exactly what you told in your tutorial. Wasn’t Pallid Wych Flesh, that you used?
I used P3 Menoth White Highlight but it’s pretty much the same as Pallid Wych Flesh. Might be to do with how it was applied, since I airbrushed it on it might give a different finish than traditional brushwork?
Fortunately, I only painted 2 walls, so I’ll let you know when I airbrushed the rest….
This is interesting! I’ve included a link to your work in our article: https://alkony.enerla.net/english/the-nexus/miniatures-nexus/miniature/miniature-scenery/futuristic-scenery-system-in-1-56-scale-battlezones-for-deadzone-from-mantic-games-miniature-scenery-review