I absolutely love going to town on the basing of my miniatures. It’s just another excuse to add some character, variety and unification to your armies. It’s all about adding that story that really brings your miniatures to life.
The most recent basing I have been doing is for my Azog’s Legion force and today I’m going to show you what you need and how to go about making them.
I’ll be doing a series of tutorials on basing, both the modelling and the painting, so look out for future articles.
What you will need:
- Cork Roll. I use a 2.5mm thickness, like this. This is readily available from most hobby stores, so if you do have a model train store nearby pop in and take a look. Just one of these rolls will easily last you the whole army.
- Plasticard. I have so far been using a fairly thin, 1mm, variety. This does make it a bit easier to cut and model, but doesn’t look quite as good as a thocker variety.
- Sand. I used Fine Sand from Basecrafts.
- Mixed cork. Used for detailing. Can be found here, or like the cork roll can be found in hhobby stores.
- PVA
- Super Glue
- Clippers
- Modelling Knife
Building the Bases

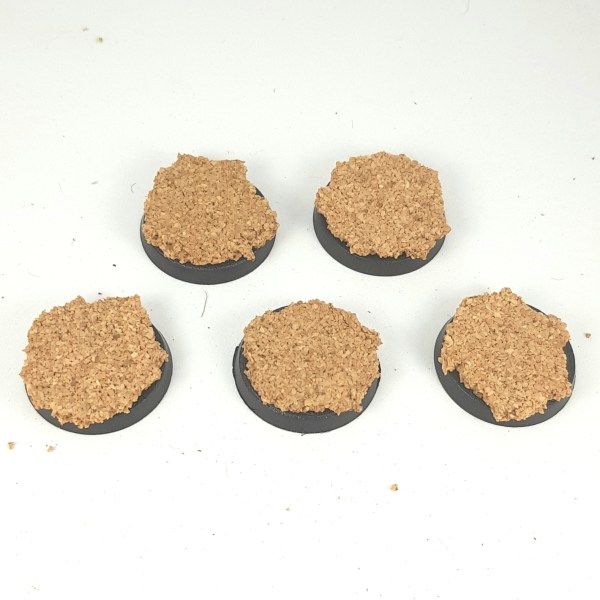
Begin by breaking the cork roll down into smaller, circular sections. I used the base as a template and broke the cork off around the edge. Always make more than required as these can be used for extra levels and details.

Glue one of the circles to the top of the base with superglue.

Once dry this will give you your first layer.
Due to some of the drying times involved I’ll always build a few bases at a time, usually enough for a warband.
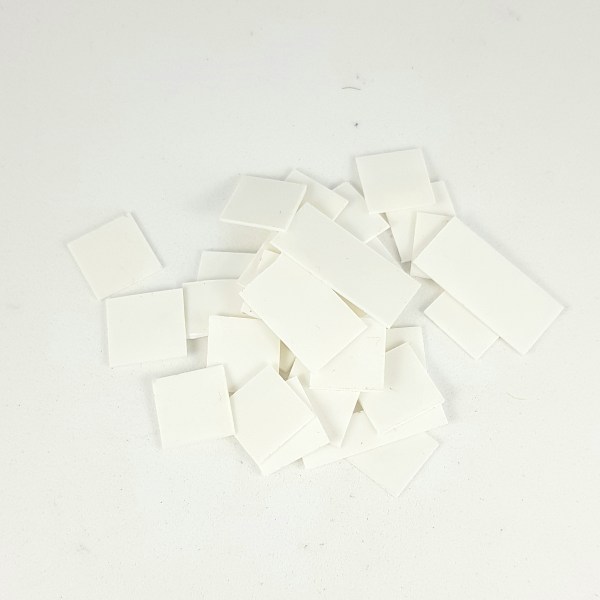
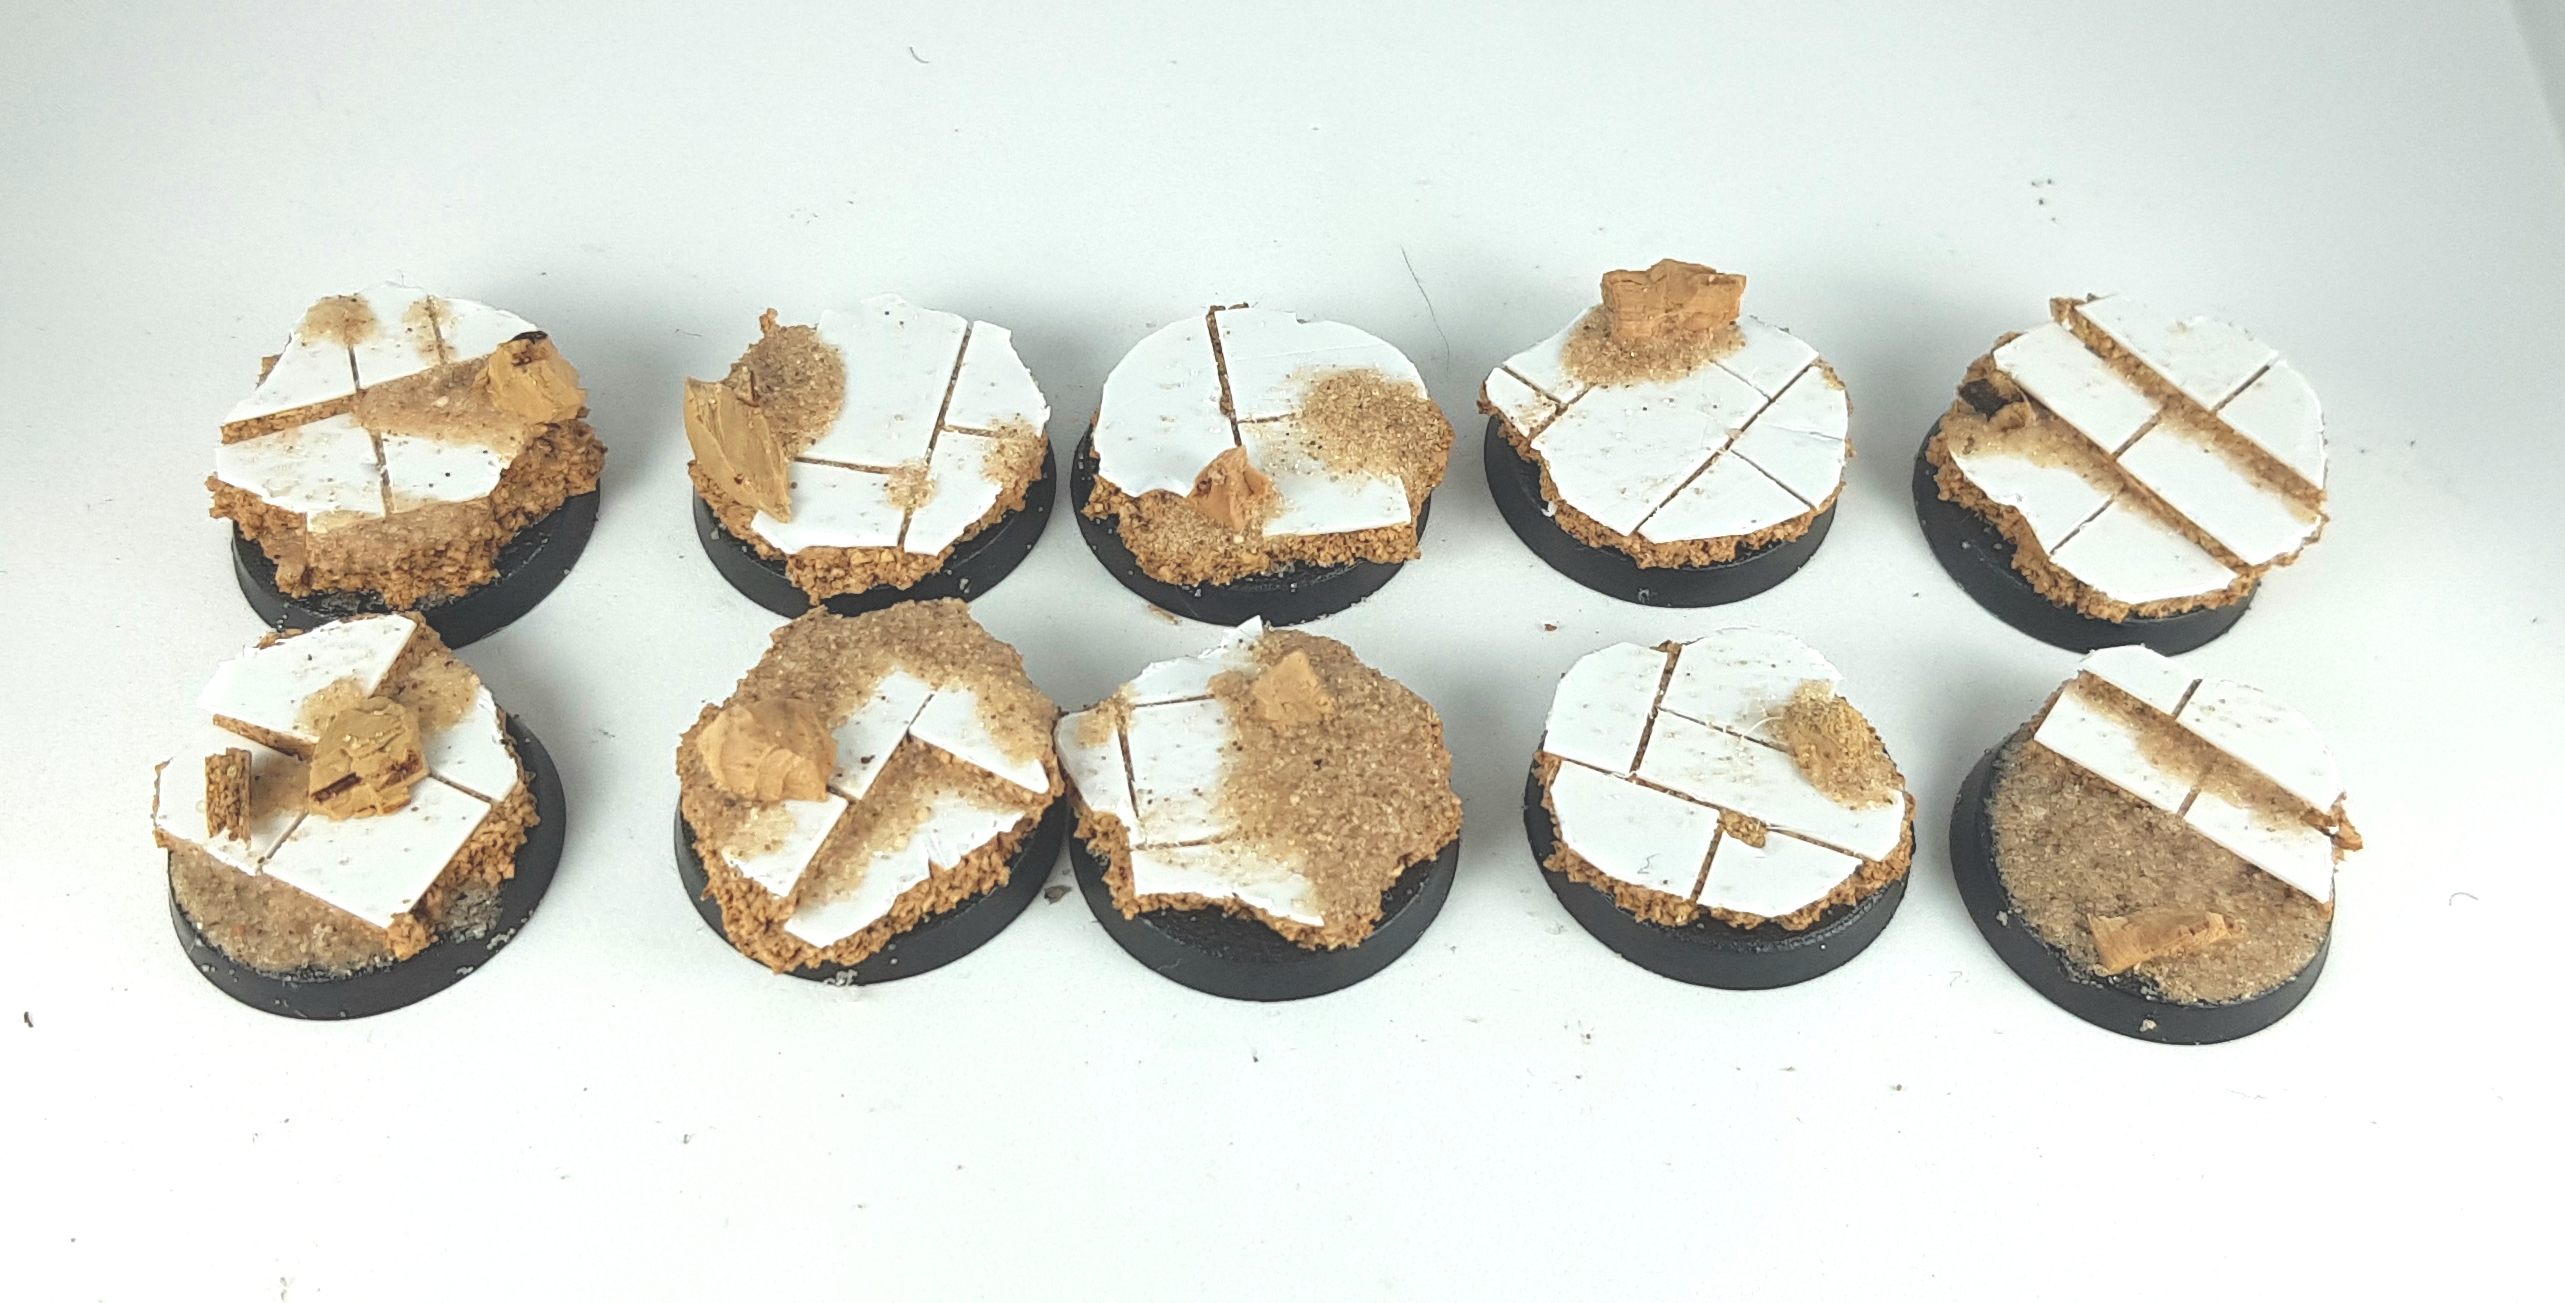
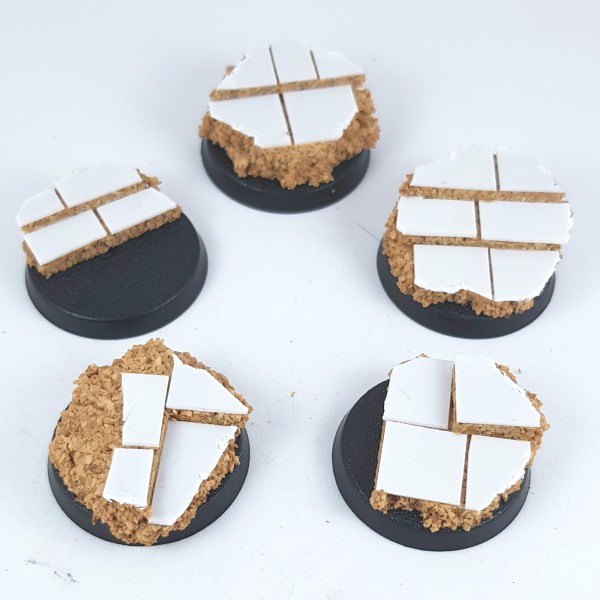
Cut the plasticard down into small rectangular and square shapes. They don’t need to be uniform as the ruins are quite, well…ruined.

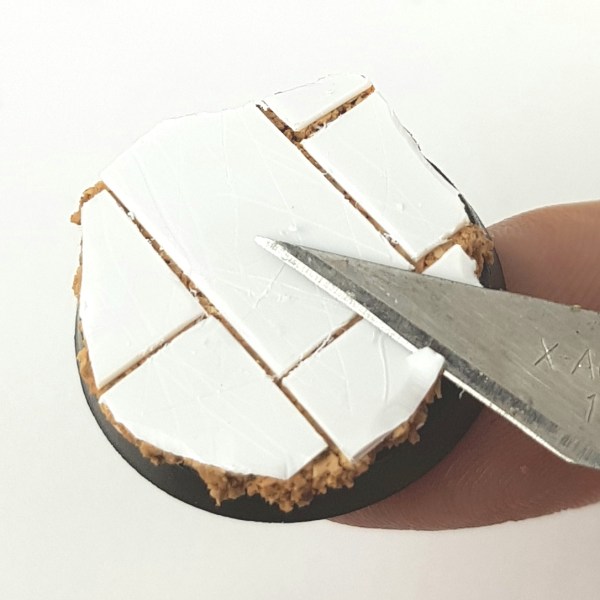
Using super glue attach each segment at a time to build up the paving on top of the cork.

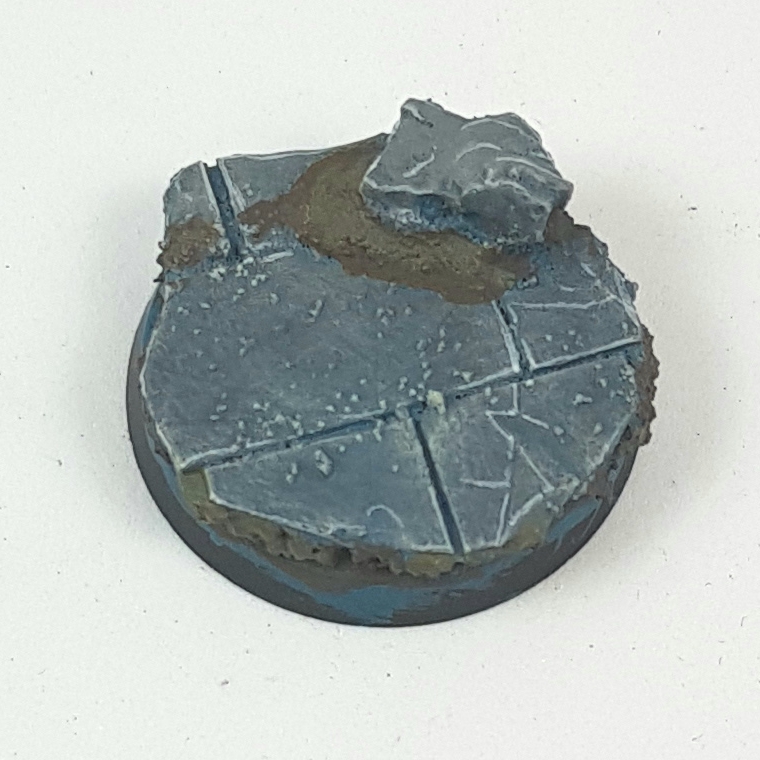
Clip off the excess plasticard around the edge of the base. The aim is to keep to the circle but still retain an angular look.

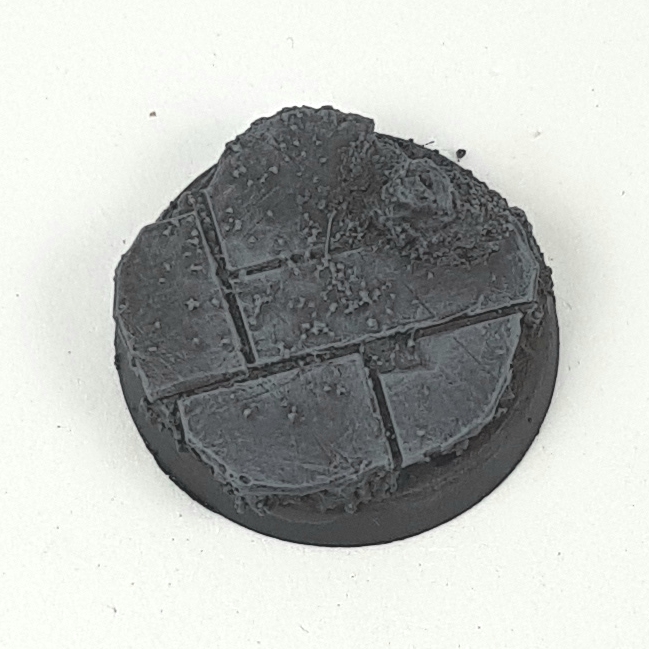
That’s the second layer done. Normally I would attach figures at this point. It can limit your ability to paint the base but does ensure the mini will be a good fit.

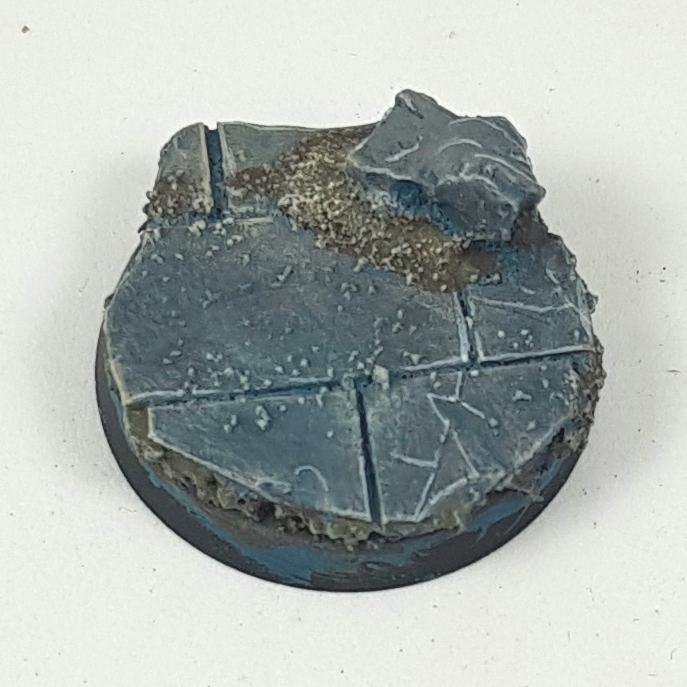
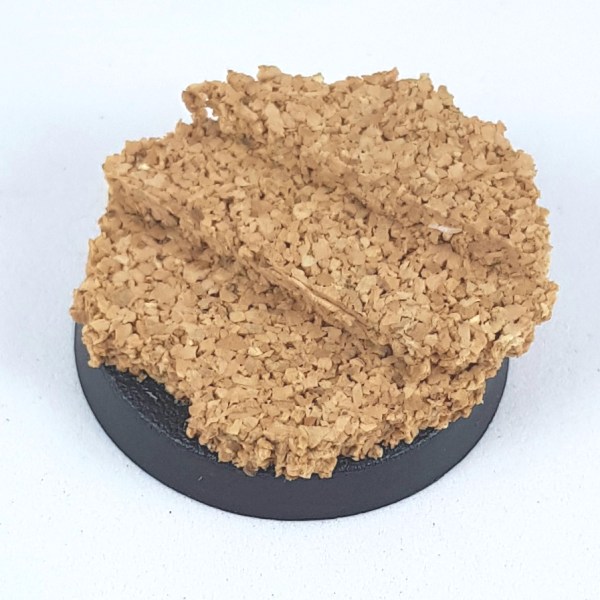
Next up is weathering the plasticard. Using the modelling knife make scratches across the surface. The more you add the more beaten up the ruins will look.
Also use the knife to shave down the edges and add some bigger cuts.

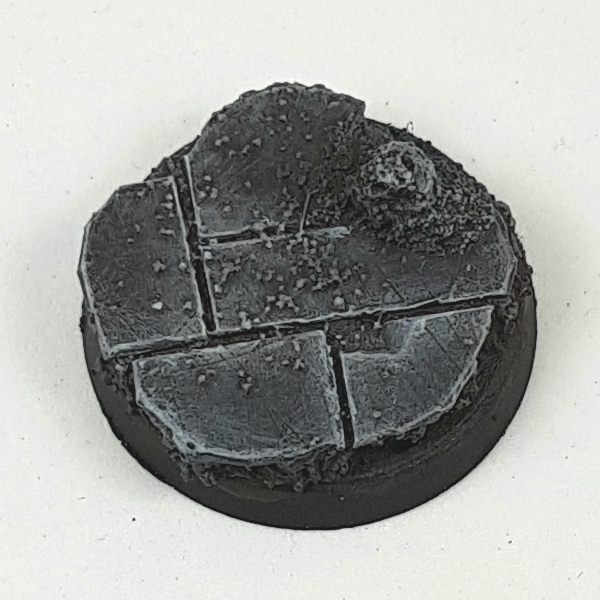
Use super glue to add a few peices of the mixed cork across the bases.

Use PVA to add some of the fine sand onto small areas of the bases. I focussed on any cork visible on the top, around the mixed corks and in the cracks.

Once the pva was dry I added a layer to seal in the sand. This was acheived with a mix of 1 part PVA to 6 parts water. I add this to all my bases that include sand as it really secures everything and cuts down on wear and tear.

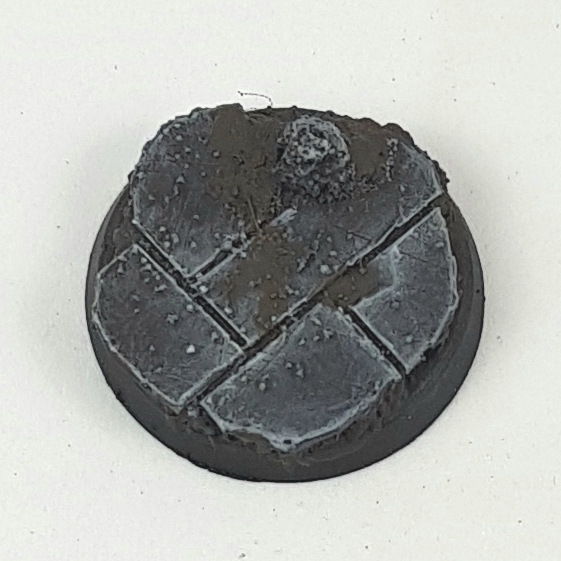
The beauty of the cork is it’s quite an easy material to cut and craft into unique features.

A simple slice like this and both parts can be used to make a staircase.
Glued one on top of the other they add that extra dimension and retain the circle shape.

You can utilise this to make some pretty funky and diverse ruins. Just remember to test fit your miniatures so you know they will fit and loook good.

you will need to cut the plasticard to fit the middle step, but the bottom and top can overhang to be cut down.
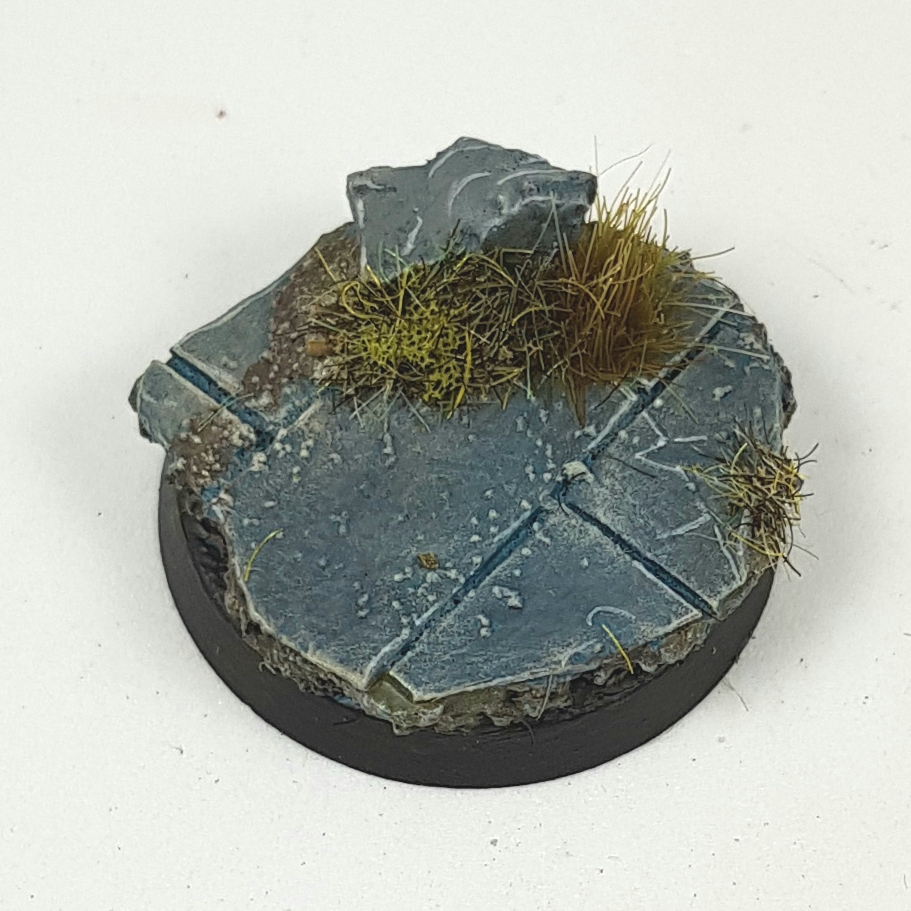
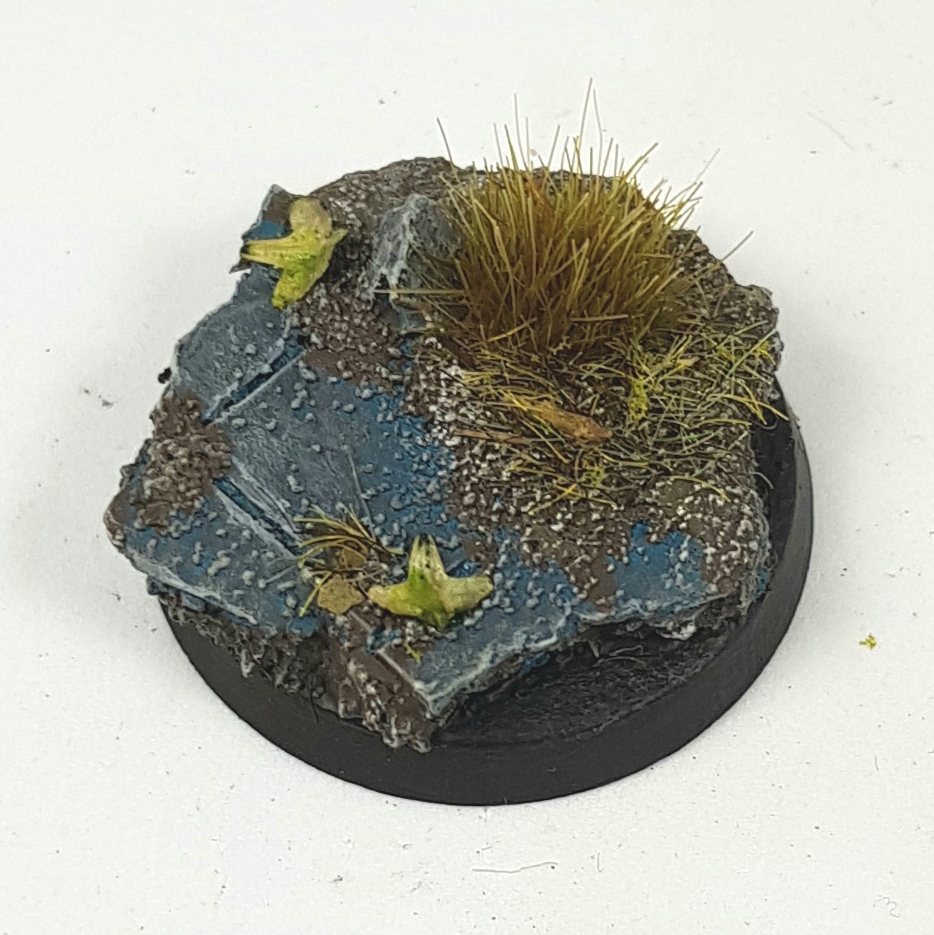
From there it’s just finishing them up just like the others by adding mixed cork, sand and a seal.
And there you have it. This is how I built and will continue to build all the bases for my Azog’s Legion force. I hope you all find it usual and I would love to see some of the bases you make using it, pop me an email at deathwatchstudios@gmail.com, find me on Facebook or Instagram.
Join me soon to find out just how I painted them as well.
All of my guides will continue to be free and open for use by anyone, but if you did find this guide helpful please support me with a donation, so I can continue to make great tutorials like this one!