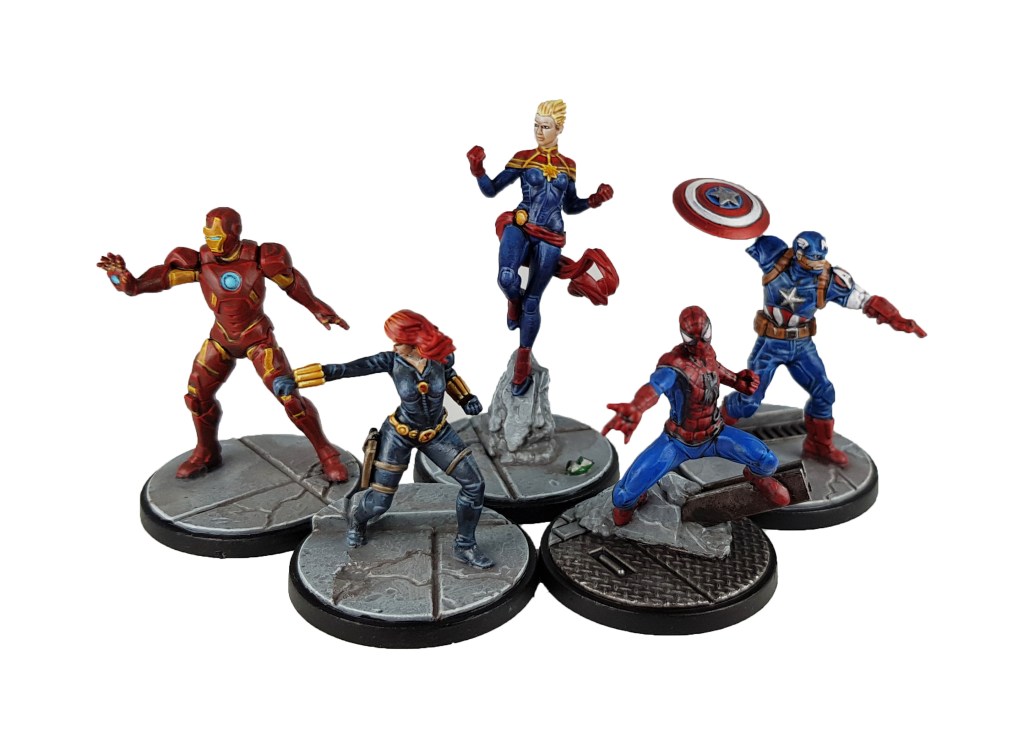
Welcome to my latest painting guide! Today I’m tackling the the amazing Captain America & War Machine set.
This obviously has a few similarities with the Steve Rogers Captain America, so check out that guide for some close ups of how to paint the shield.
I need your support. Because my guides takes time and supplies to do, any support you can offer would mean the world to me. A supportive message in the comments is enough, but if you have the means why not send me a gift on Ko-Fi or PayPal. Thank you!
Prep: Fully build both models and undercoat black.
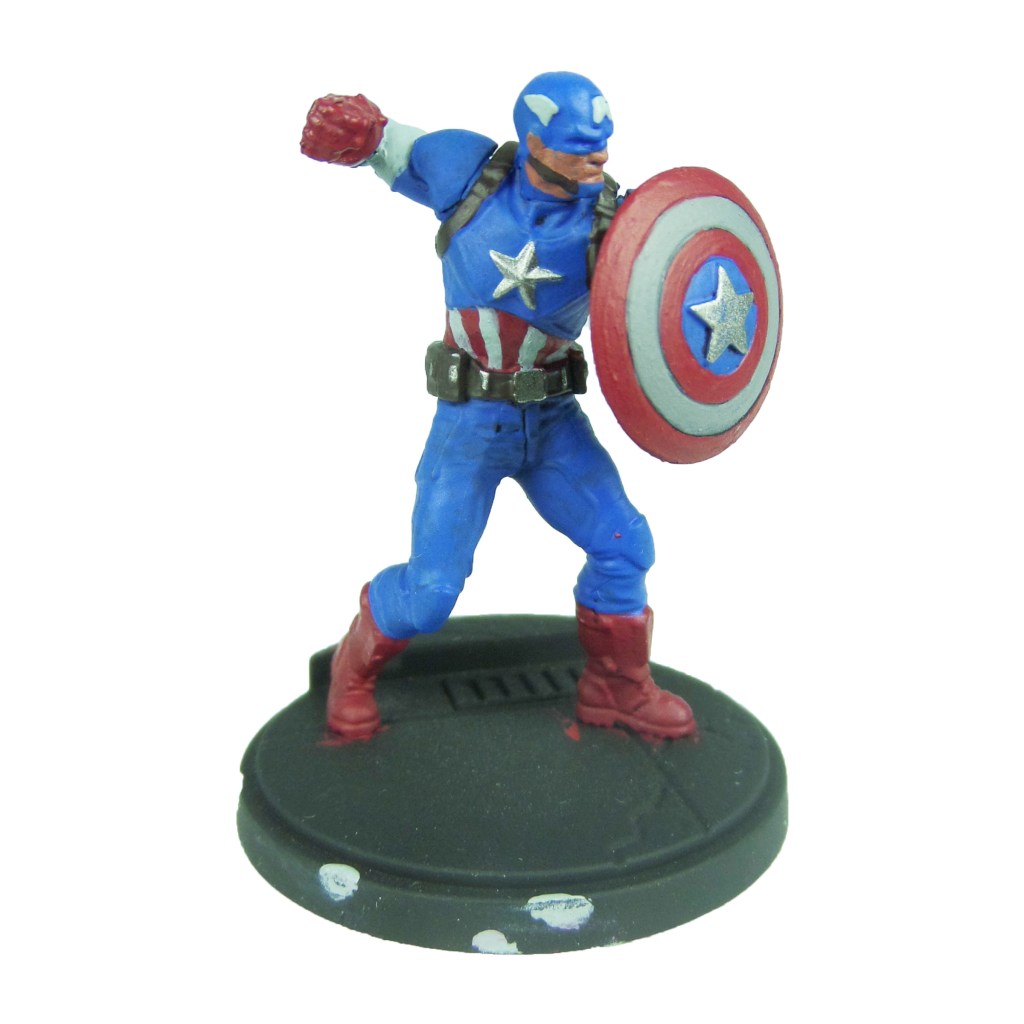
Captain America

Stage 1
Celestra Grey: Apply a basecoat to the cowl, detailing, sleeves and wing panels.
Khorne Red: Apply a basecoat to the boots, gloves, wings and lenses.
Kantor Blue: Apply a basecoat to the bodysuit.
Rhinox Hide: Apply a basecoat to the skin and hair.
Leadbelcher: Apply a basecoat to the belt, shield back, backpack and glasses frames.

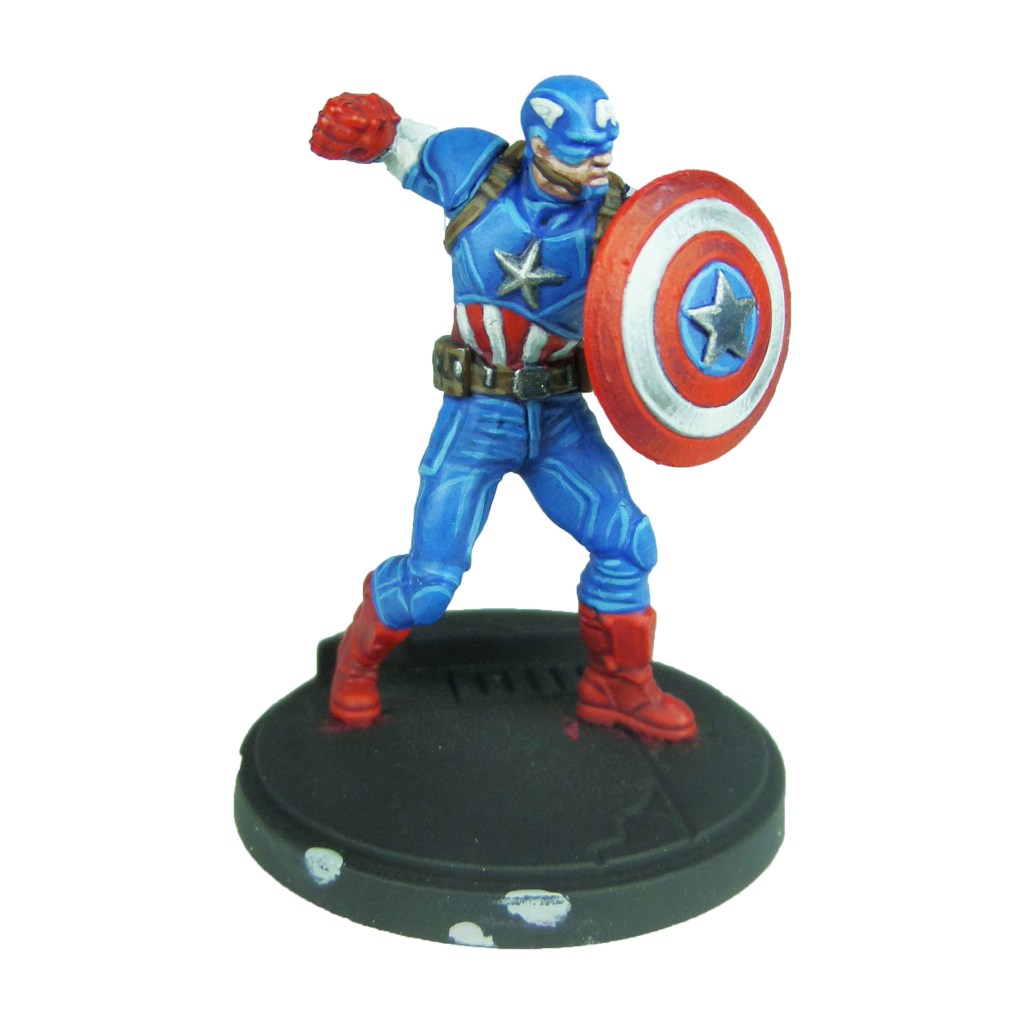
Stage 2
Ulthuan Grey: Apply a layer to the whites.
Mephiston Red: Apply a layer to the reds.
Caledor Sky: Apply a layer to the blues.
Mournfang Brown: Apply a layer to the skin and a stippling to the hair.
Nuln Oil: Apply a shade to the metals.

Stage 3
White Scar: Apply a layer to the whites.
Evil Sunz Scarlet: Apply a thinned layer to the reds.
Teclis Blue: Apply a thinned layer to the blues.
Knight-Questor Flesh: Apply a line highlight to the skin.
Steel Legion Drab: Apply a spot highlight to the hair.
Drakenhof Nightshade: Apply a shade to the metals.

Stage 4
Wild Rider Red: Apply a line highlight to the reds.
Lothern Blue: Apply a line highlight to the blues.
Cadian Fleshtone: Apply a spot highlight to the skin.
Stormhost Silver: Apply a line highlight to the metals.
nish by painting the base with the Base Painting guide and Explosion Painting Guide.
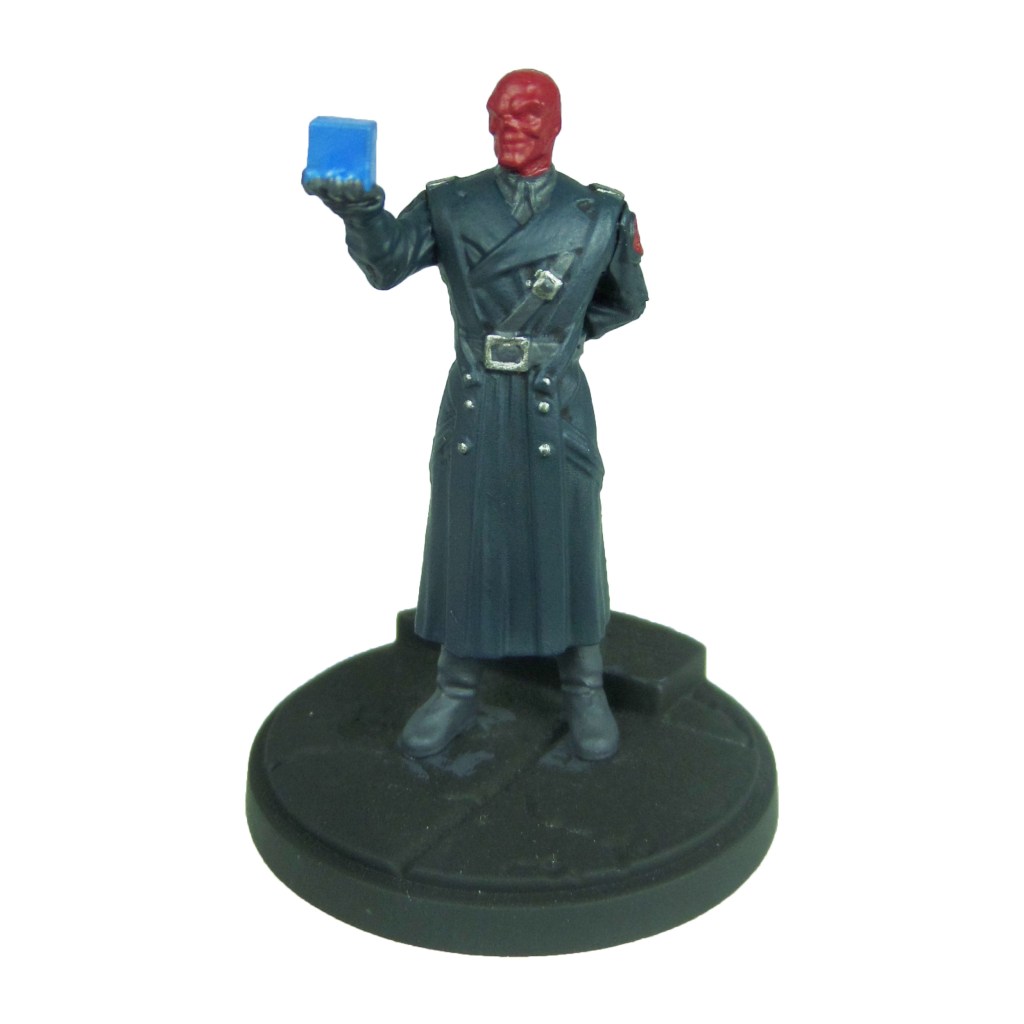
War Machine
Metals

Stage 1
Iron Warriors: Apply a basecoat to the whole mini.
Ironbreaker: Apply a basecoat to the face and details.

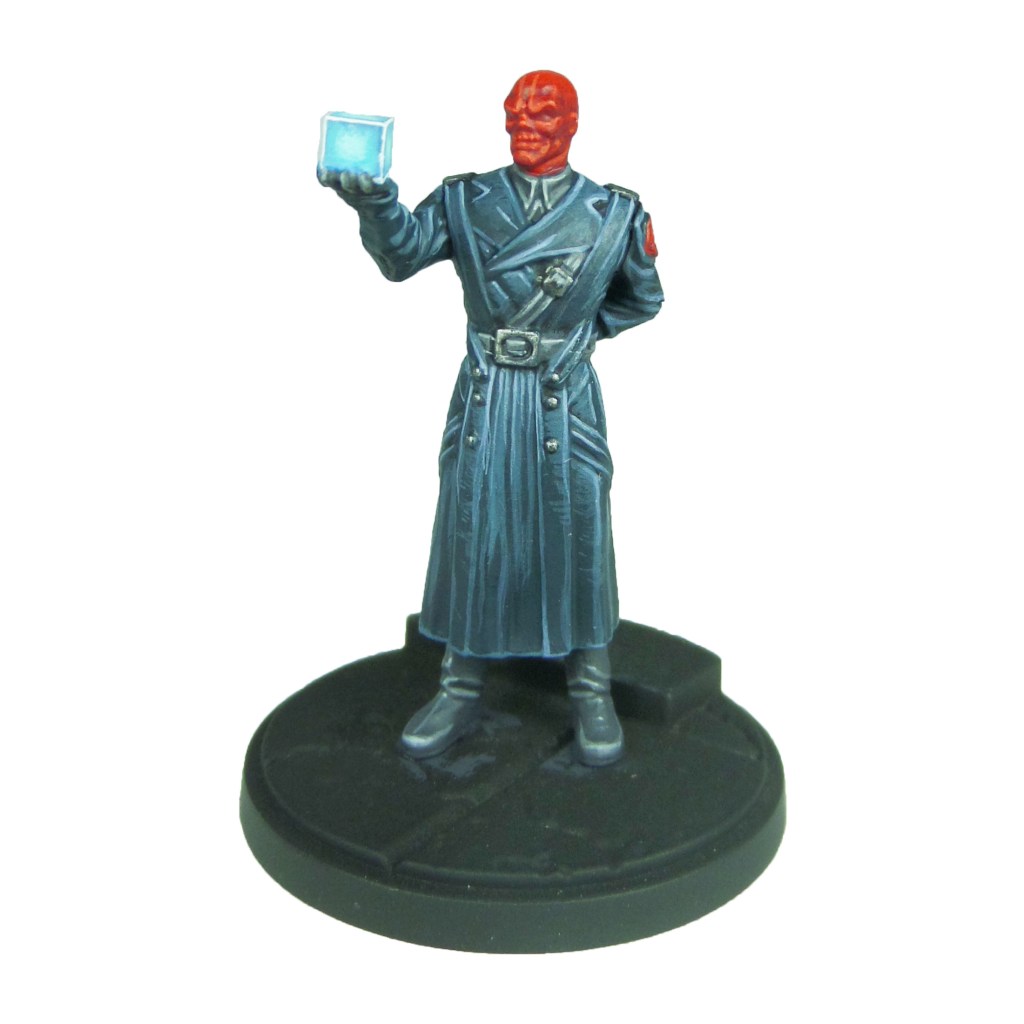
Stage 2
Nuln Oil: Apply a shade to the whole mini and wait to dry.
Drakenhof Nightshade: Apply a shade to the whole model.

Stage 3
Leadbelcher: Apply a very light drybrush across the mini.
Ironbreaker: Apply a layer to the face and details.

Stage 4
Ironbreaker: Apply a line highlight to the armour.
Stormhost Silver: Apply a line highlight to the face and details.
Lights

Stage 1
Mephiston Red: Apply a basecoat to the detail.

Stage 2
Evil Sunz Scarlet: Apply a thinned layer to the details.

Stage 3
Wild Rider Red: Apply a spot highlight to the details.

Stage 4
Lugganath Orange: Apply a spot highlight to the chest light.
Finish by painting the base with the Base Painting guide and Explosion Painting Guide.