
Here we take a look at how to paint explosions for Marvel Crisis Protocol.
I need your support. Because my guides takes time and supplies to do, any support you can offer would mean the world to me. A supportive message in the comments is enough, but if you have the means why not send me a gift on Ko-Fi or PayPal. Thank you!
Explosions
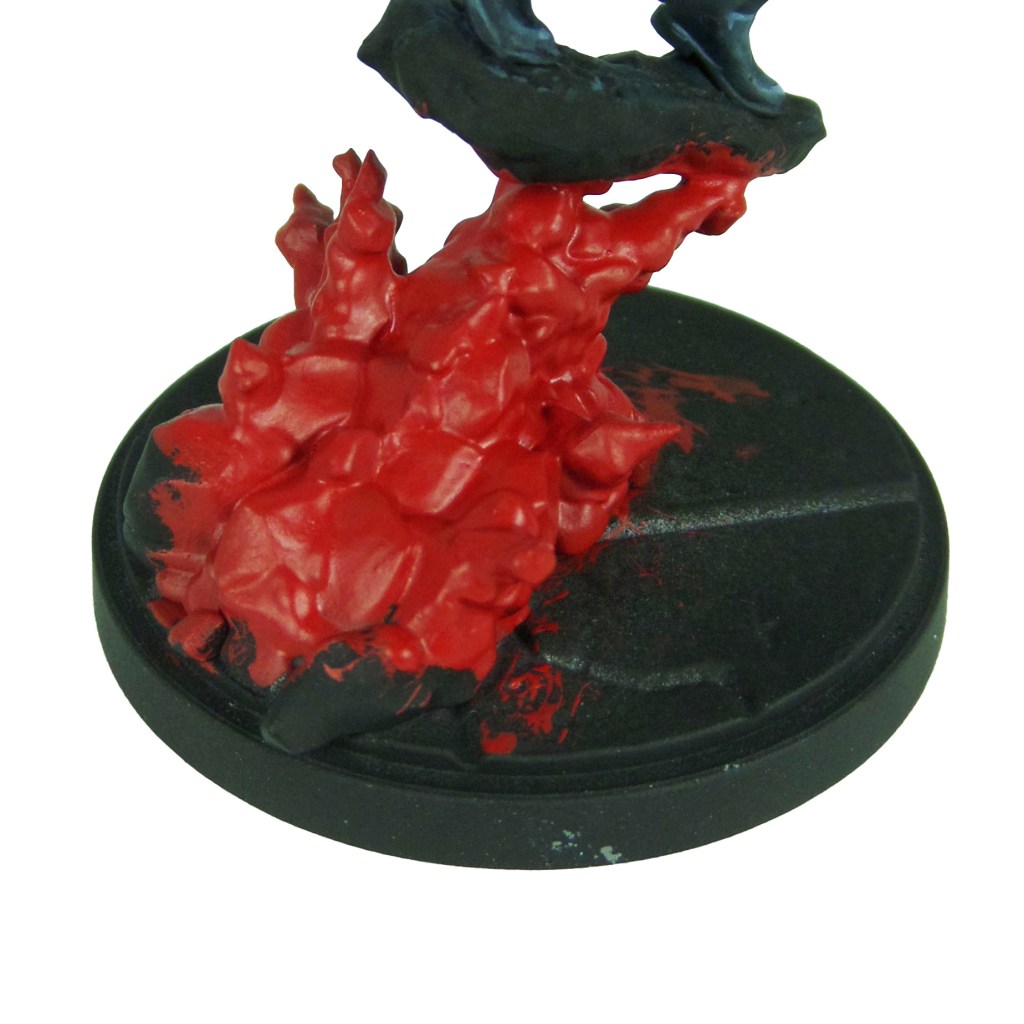
Stage 1
Mephiston Red: Apply a basecoat to the explosion.

Stage 2
Trollslayer Orange: Apply a very thinned over the explosion. Build this up over a few coats, waiting for each to dry before moving onto the next.
Stage 3
Skavenblight Dinge: Apply a thinned layer to the outer most areas of the explosion.

Stage 4
Yriel Yellow: Apply a thinned layer to the crevices of the explosion moving closer to the centre than the last stage.
Dorn Yellow: Apply a spot highlight to the centre of the explosion.

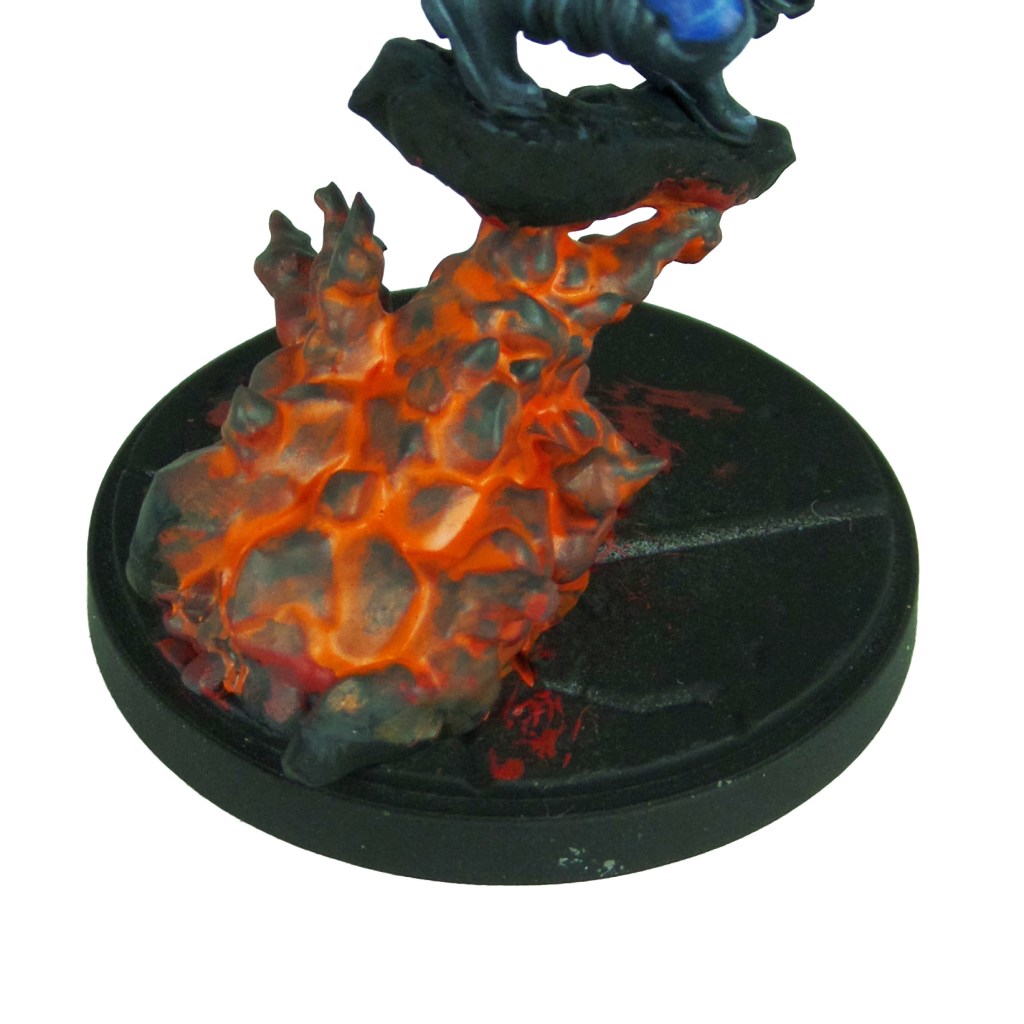
Stage 5
Abaddon Black: Apply a thinned layer to the very tips of the explosion.
Paint the remainder of the base using the Base Painting guide.
Light

Stage 1
Mephiston Red: Thin with Lahmian Medium, around 2 parts to 1 part paint. Apply around the explosion, pulling your brush towards the explosion base. Build this up over several coats.

Stage 2
Trollslayer Orange: Apply a coat the same as the last stage, this time leaving a layer of the previous coat showing.

Stage 3
Yriel Yellow: Repeat the process again, this time working only around the base of the explosion.

Pingback: MCP – Cable & Domino Painting Guide | DeathWatch Studios
Pingback: MCP – Captain America & War Machine Painting Guide | DeathWatch Studios
Pingback: MCP – The Amazing Spider-man and Black Cat Painting Guide | DeathWatch Studios
Pingback: MCP – Gambit & Rogue Painting Guide | DeathWatch Studios