Welcome to my latest painting guide! The Rasputin’s hit the painting table and bolster my X-Men. Like the previous guide I’ve tried an NMM approach for these two, particularly Colossus. Whilst I would have liked him to end up a bit lighter, I’m still pleased with the result.
I need your support. Because my guides takes time and supplies to do, any support you can offer would mean the world to me. A supportive message in the comments is enough, but if you have the means why not send me a gift on Ko-Fi or PayPal. Thank you!
Prep: Fully build both models. Undercoat black.
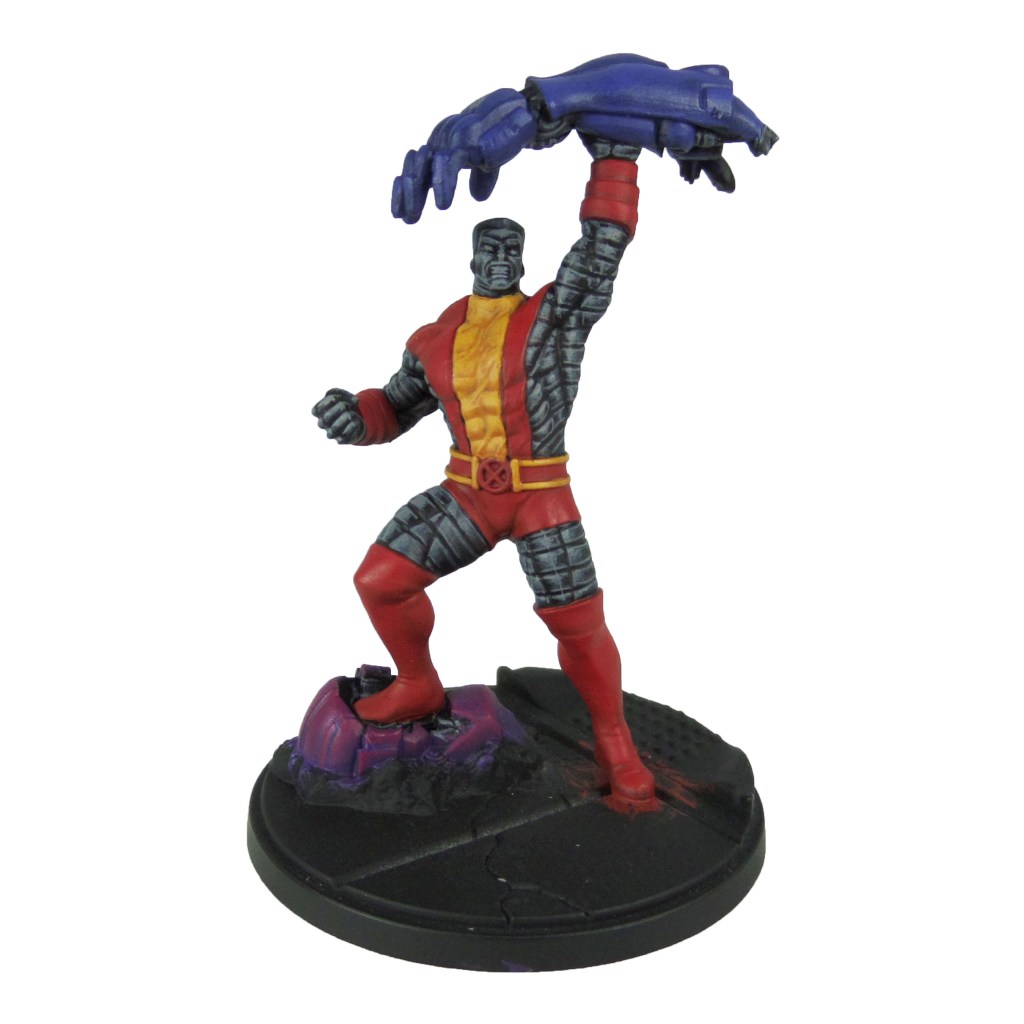
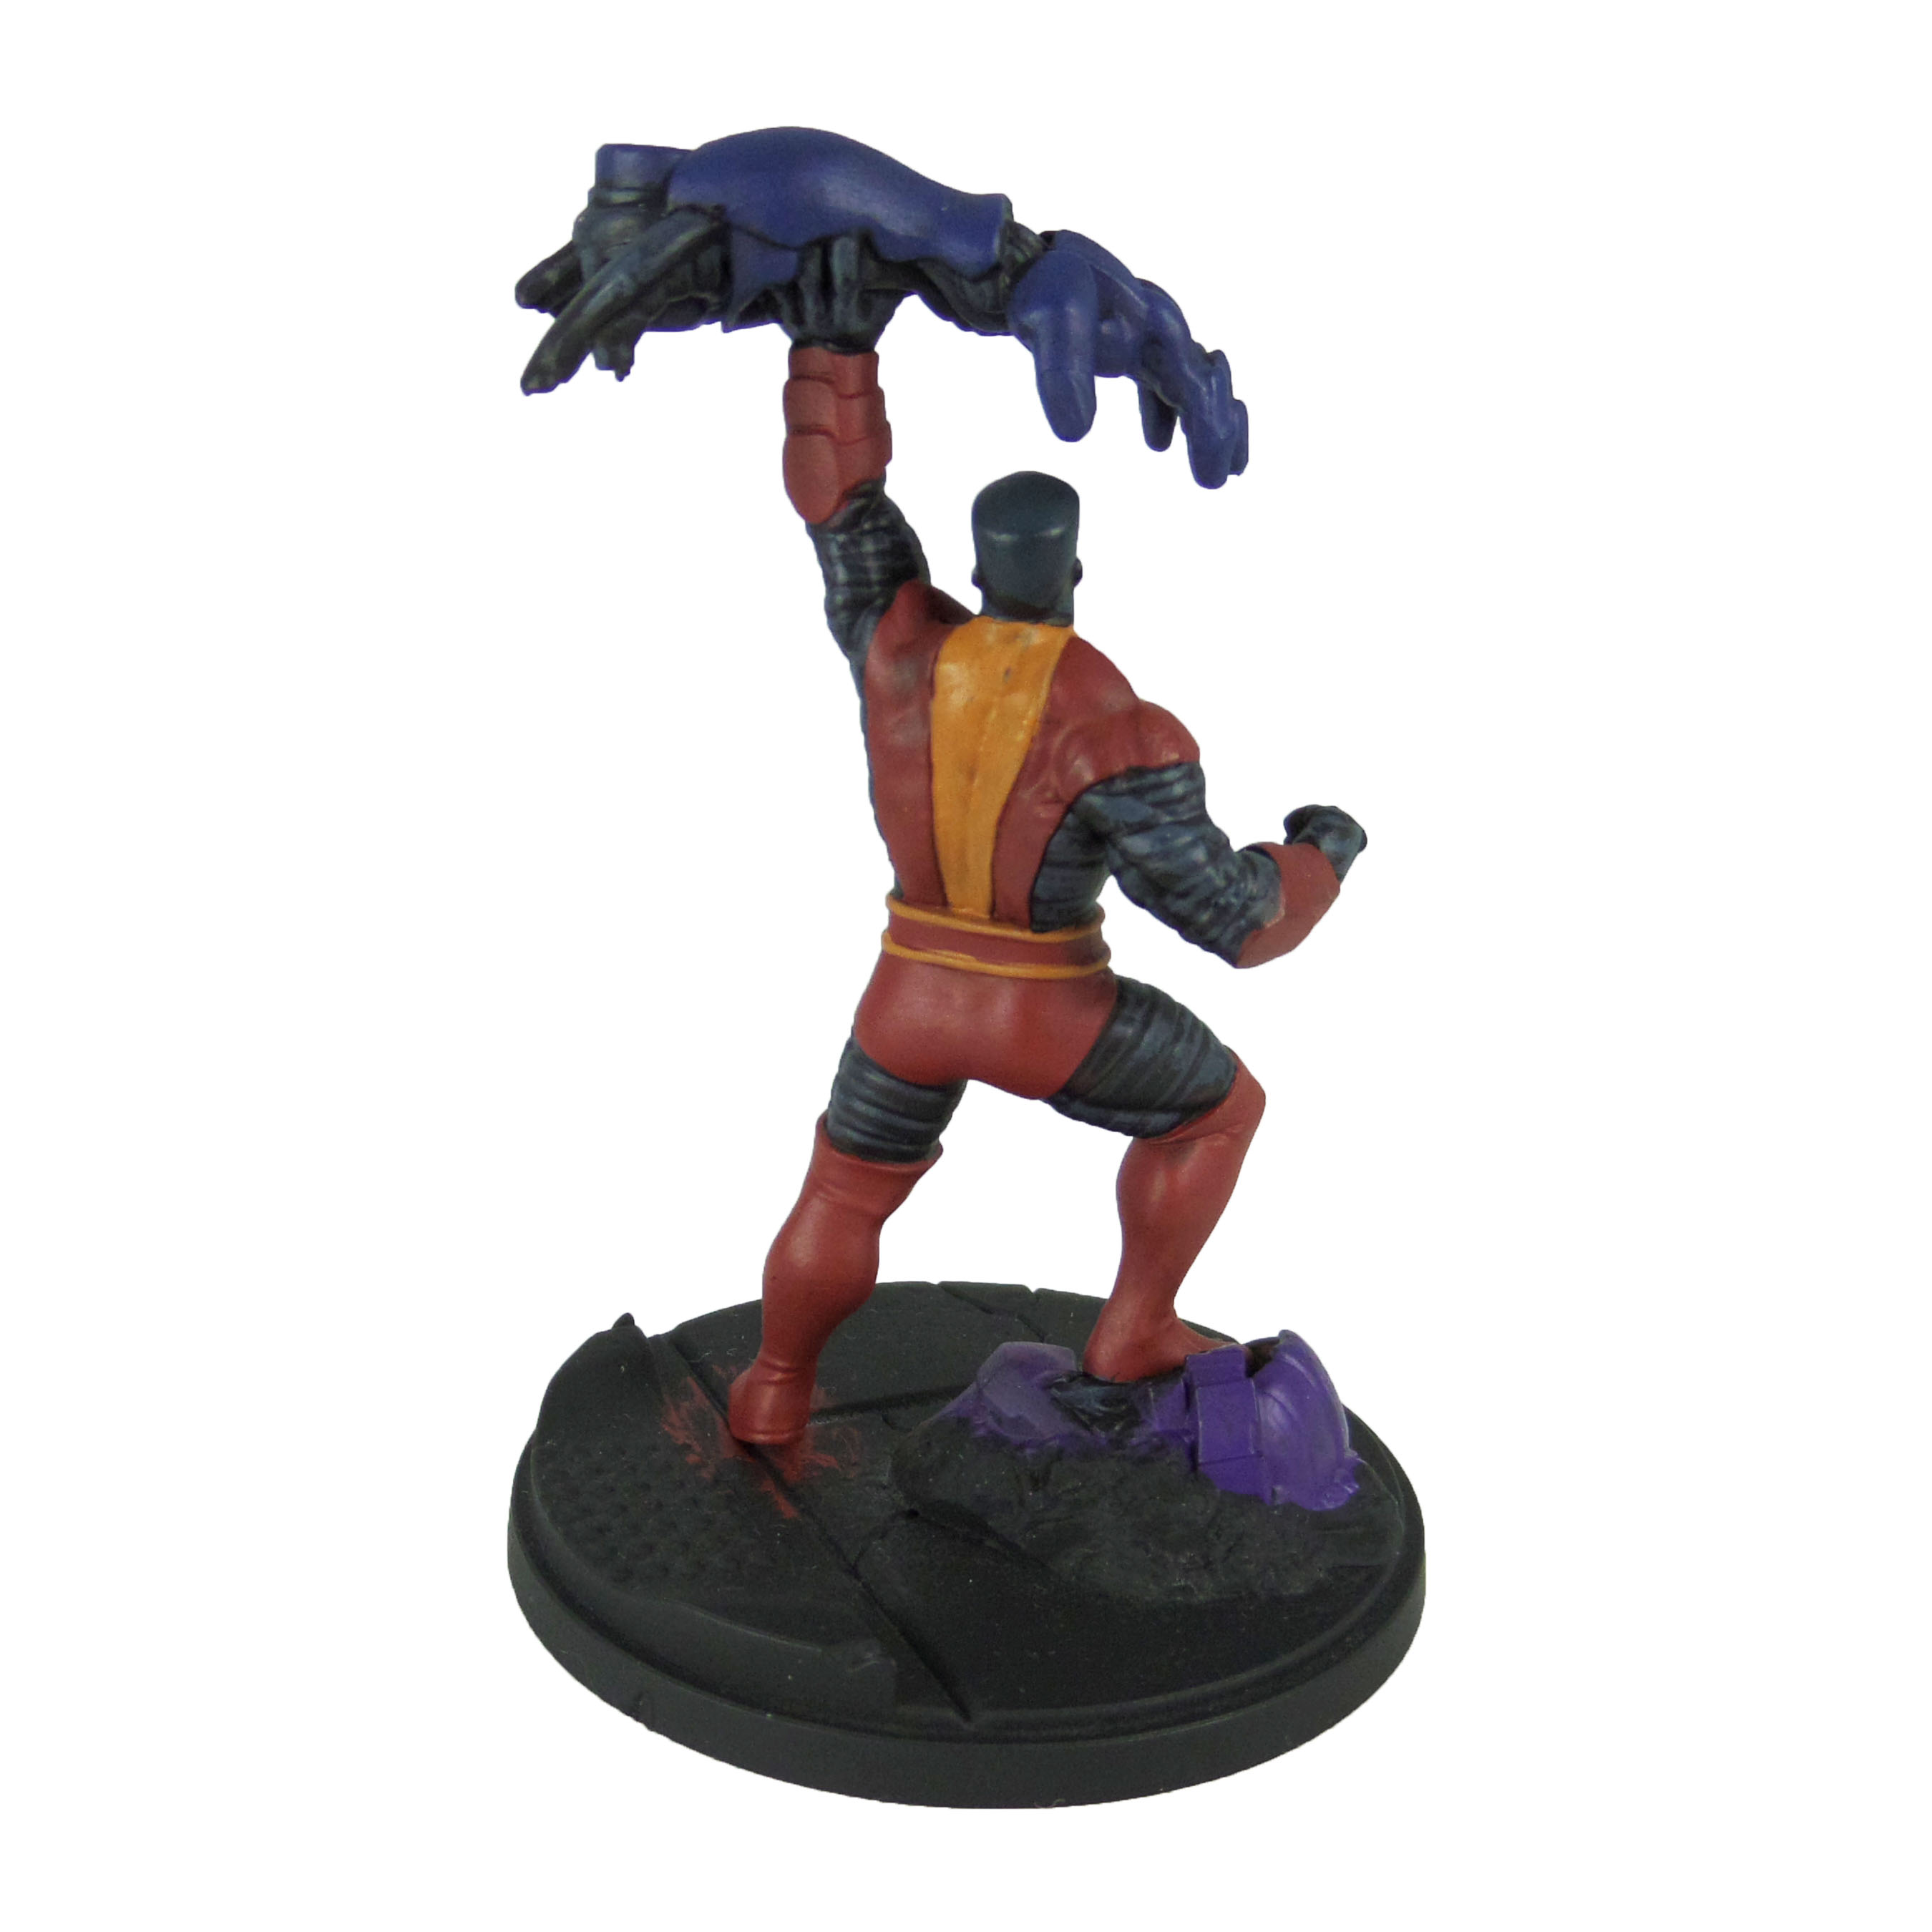
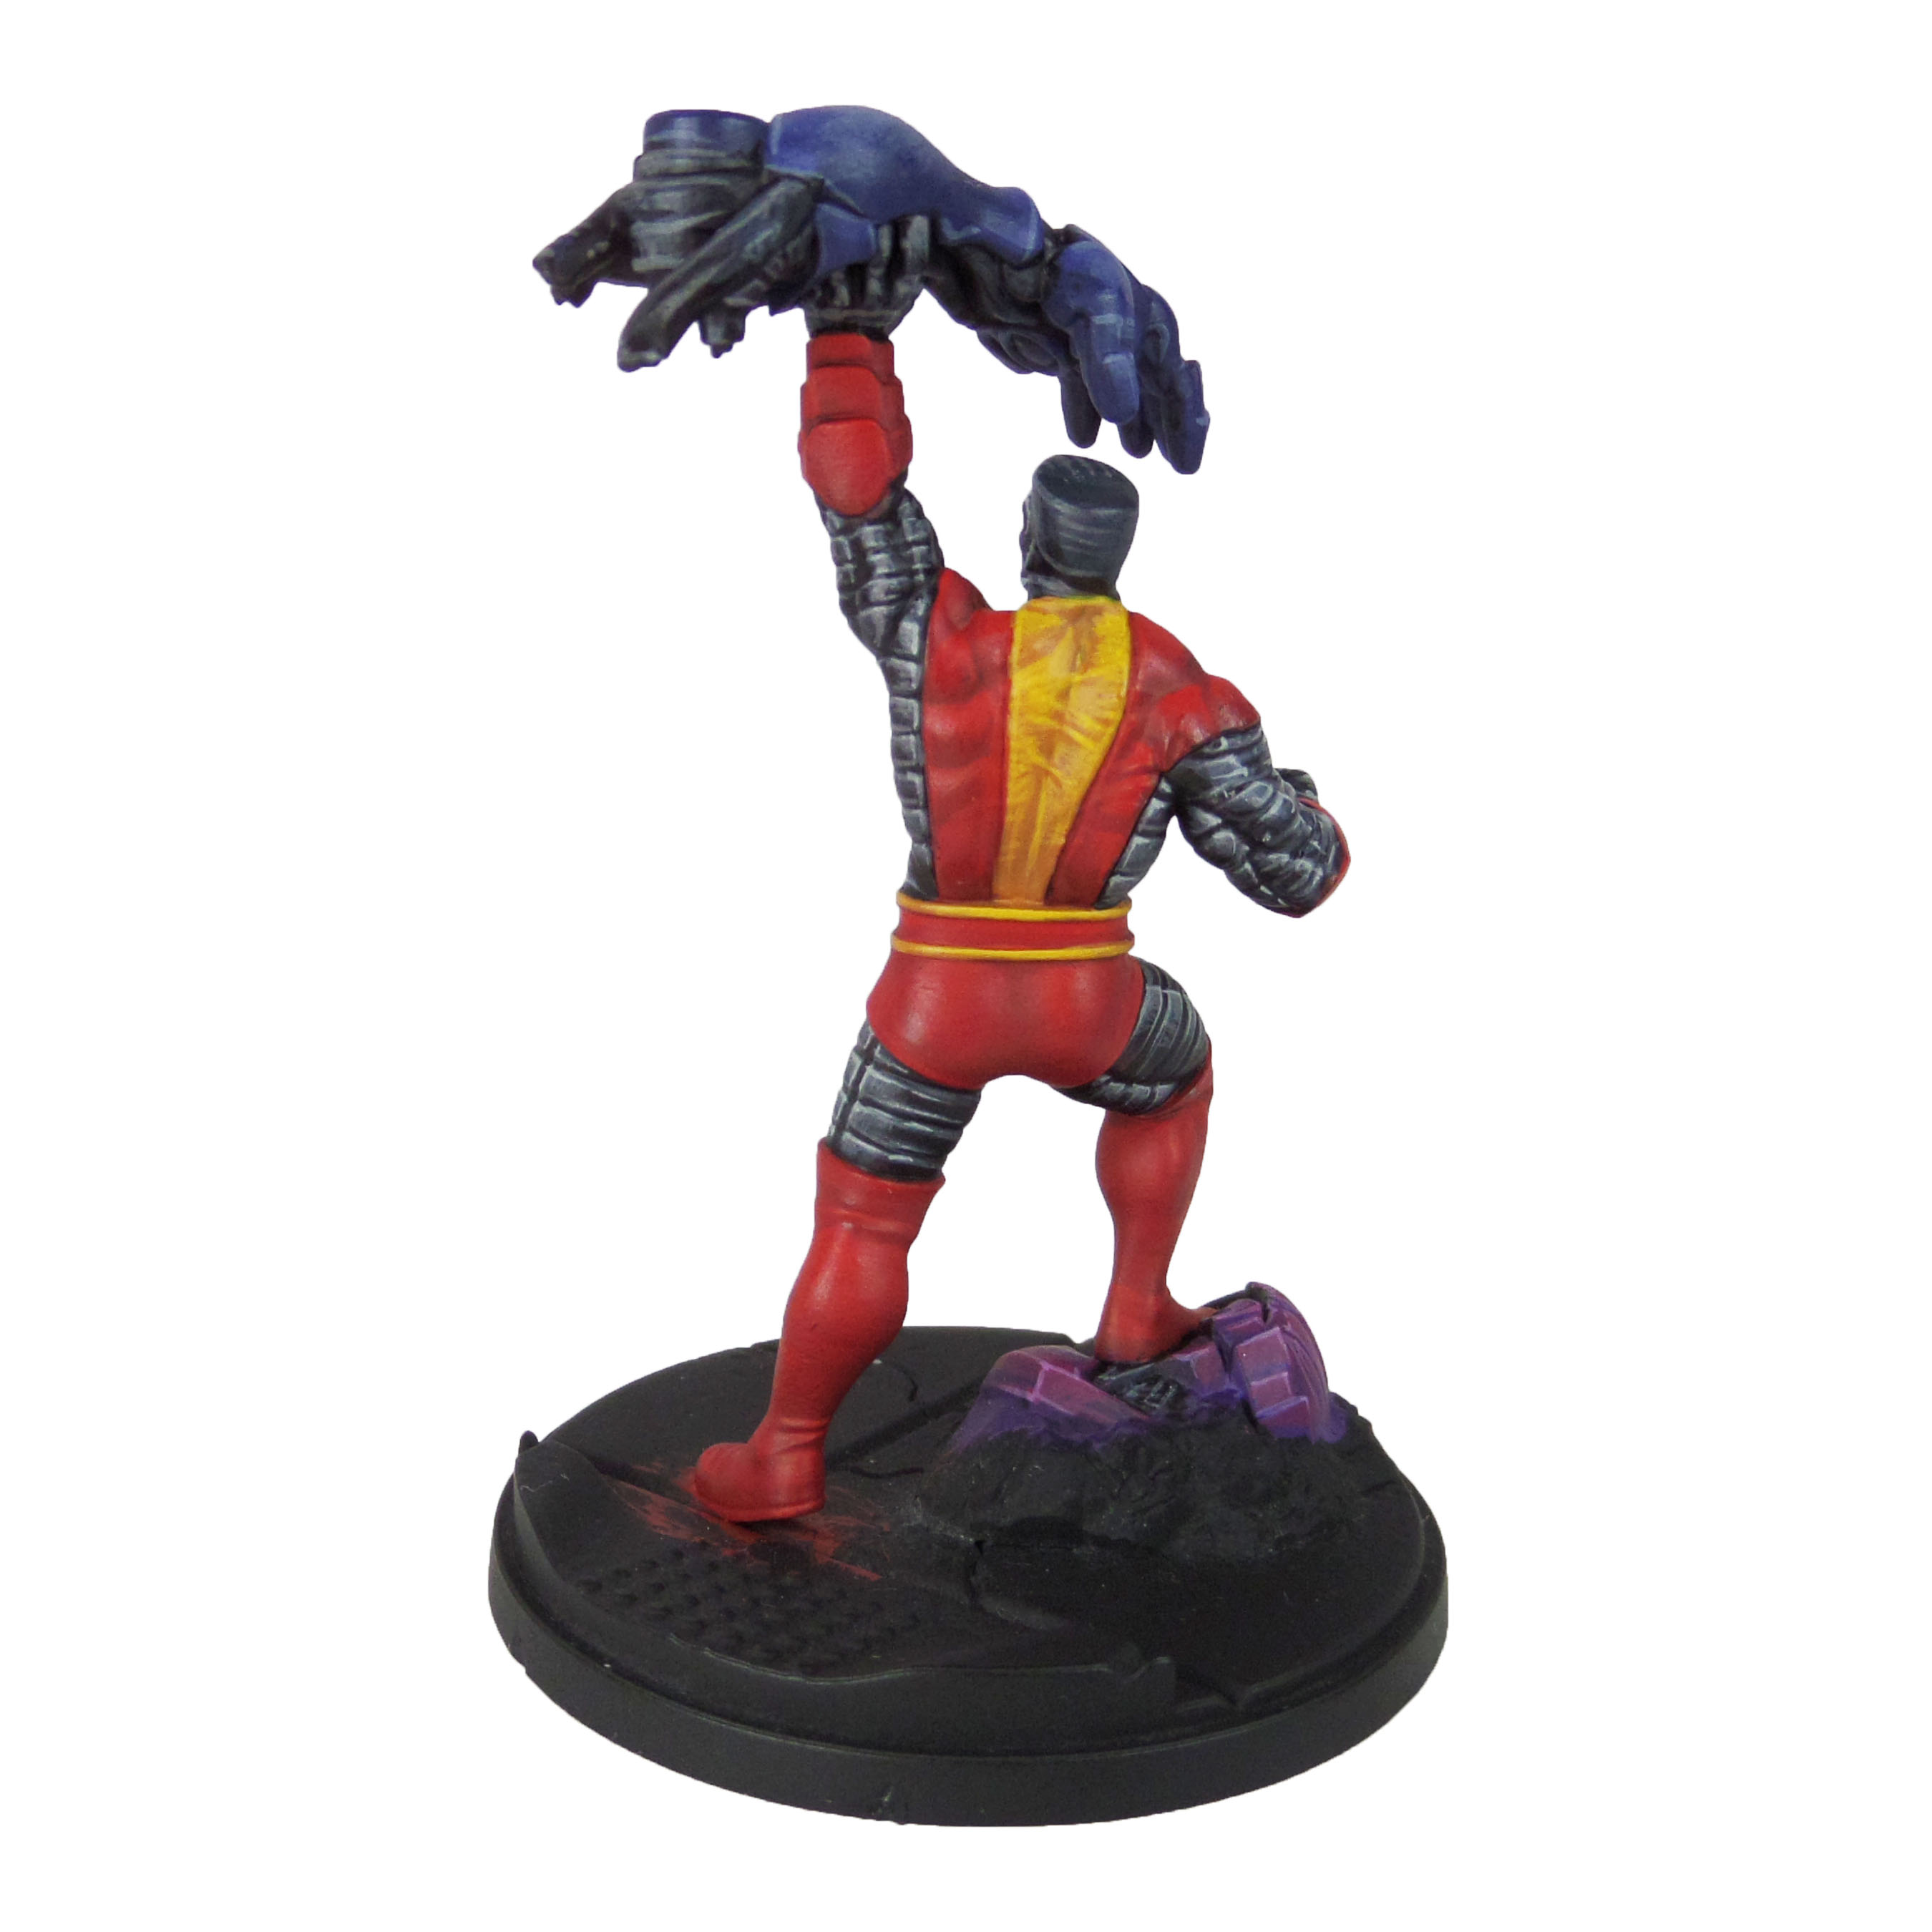
Colossus

Stage 1
Word Bearer’s Red: Apply a basecoat to the bodysuit.
Deathclaw Brown: Apply a basecoat to the centre stripe of the bodysuit and belt lining.
Phoenician Purple: Apply a basecoat to the sentinel head.
Kantor Blue: Apply a basecoat to the sentinel arm.
Incubi Darkness: Apply a basecoat to the hair.
Dark Reaper: Apply a line highlight or all of the hard edges of the metal skin. Also apply a thinned layer down the centre/top of each segment.
Stage 2
Mephiston Red: Apply a thinned layer to the bodysuit.
Tau Light Ochre: Apply a thinned layer to the stripe of the bodysuit and belt lining.
Screamer Pink: Apply a thinned layer to the dentinal head.
Macragge Blue: Apply a thinned layer to the sentinel arm.
Dark Reaper: Apply a thinned layer to the hair.
Dawnstone: Apply a line highlight to the hard edges and a thinned layer down the centre/top of each segment.

Stage 3
Evil Sunz Scarlet: Apply a line highlight to the bodysuit.
Yriel Yellow: Apply a line highlight to the stripe of the bodysuit and belt lining.
Kakophoni Purple: Apply a line highlight of the sentinel head.
Russ Grey: Apply a line highlight and a thinned layer to the sentinel arm.
Dawnstone: Apply a line highlight to the hair.
Celestra Grey: Apply a line highlight to the hard edges and a thinned layer down the centre/top of each segment.

Stage 4
Wild Rider Red: Apply a spot highlight to the bodysuit.
Phalanx Yellow: Apply a spot highlight of he stripe of the bodysuit and belt lining.
Slaanesh Grey: Apply a spot highlight to the sentinel head.
Fenrisin Grey: Apply a line highlight to the sentinel arm.
Celestra Grey: Apply a spot highlight to the hair.
Ulthuan Grey: Apply a spot highlight to the skin.
Finish by painting the base with the Base Painting guide.

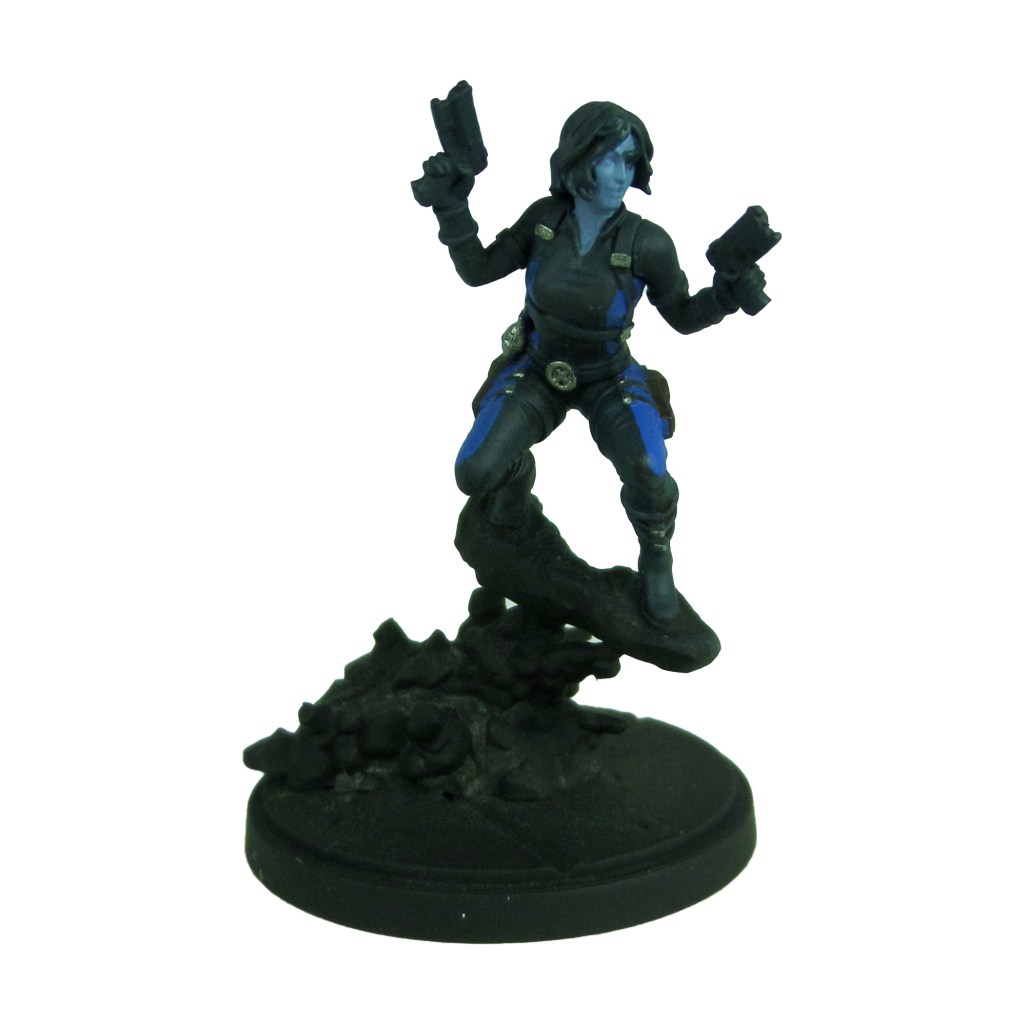
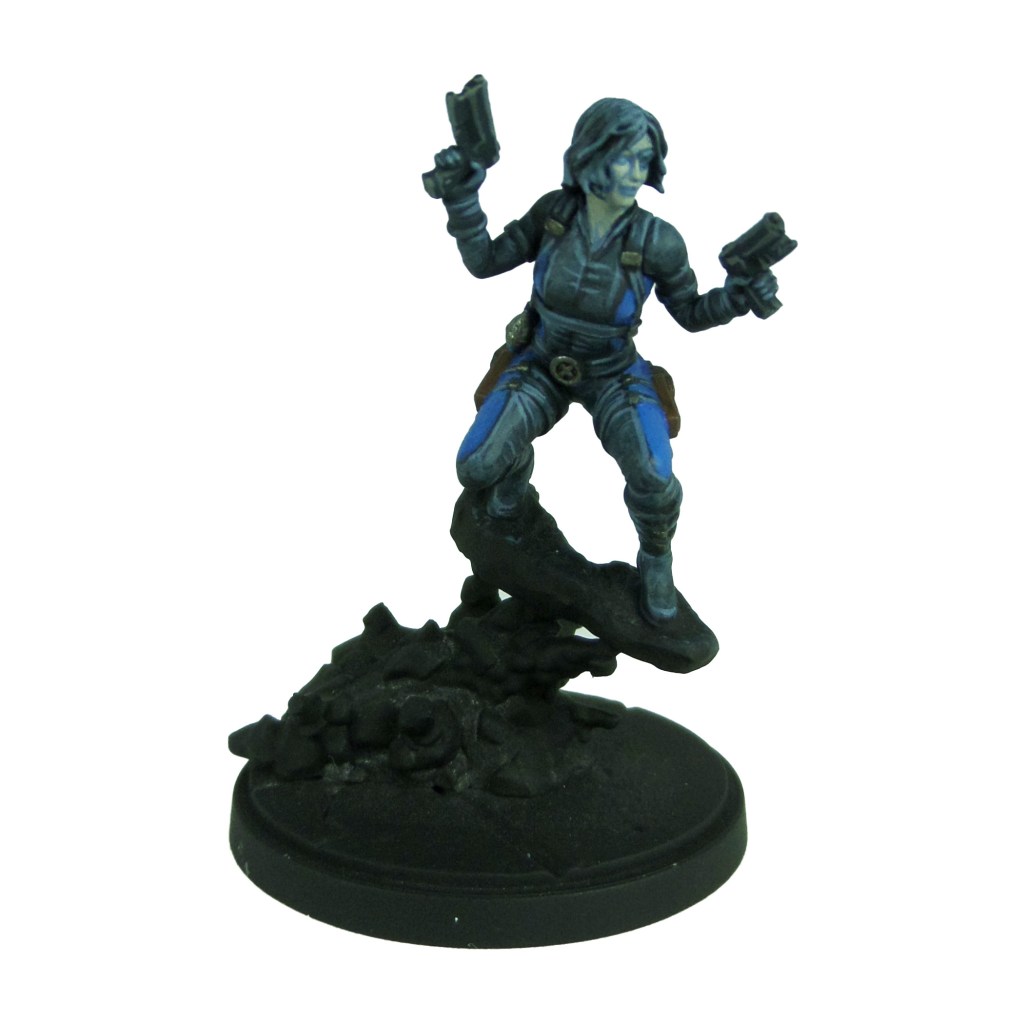
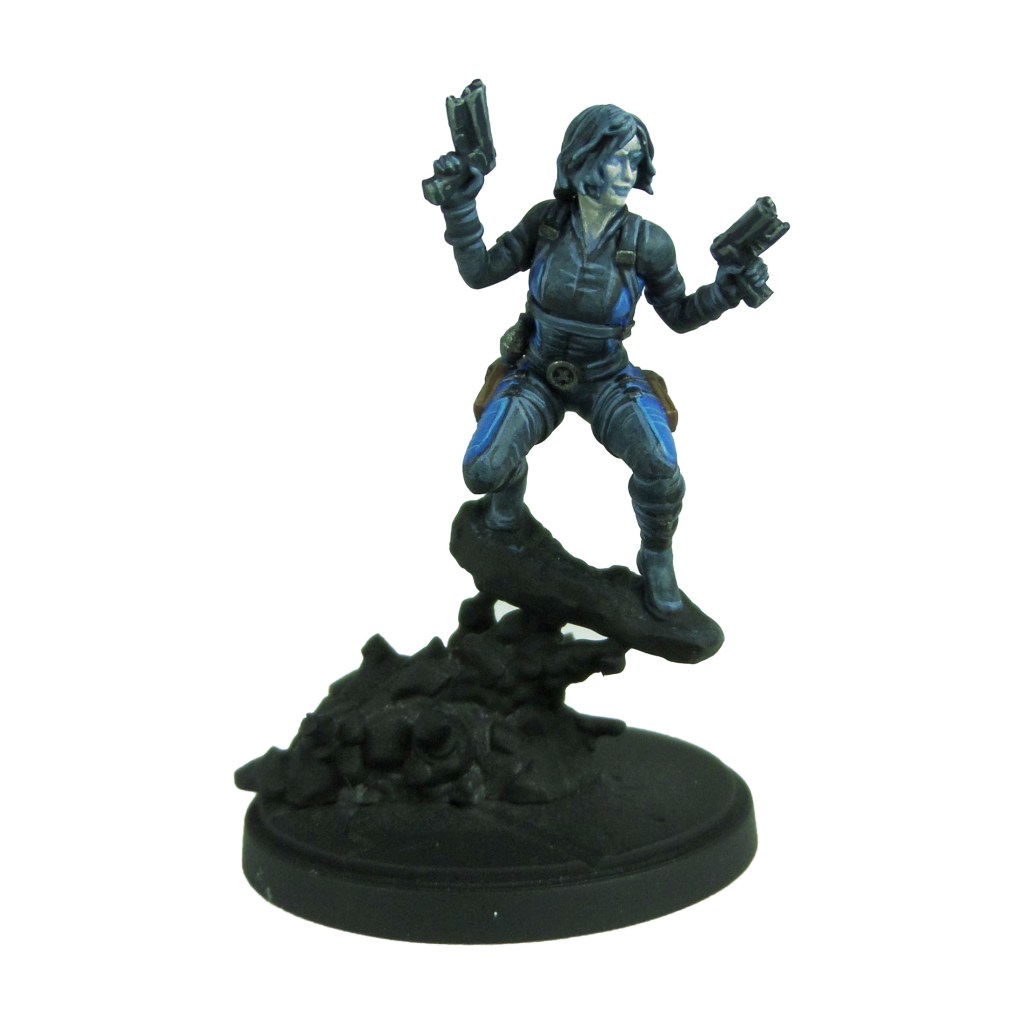
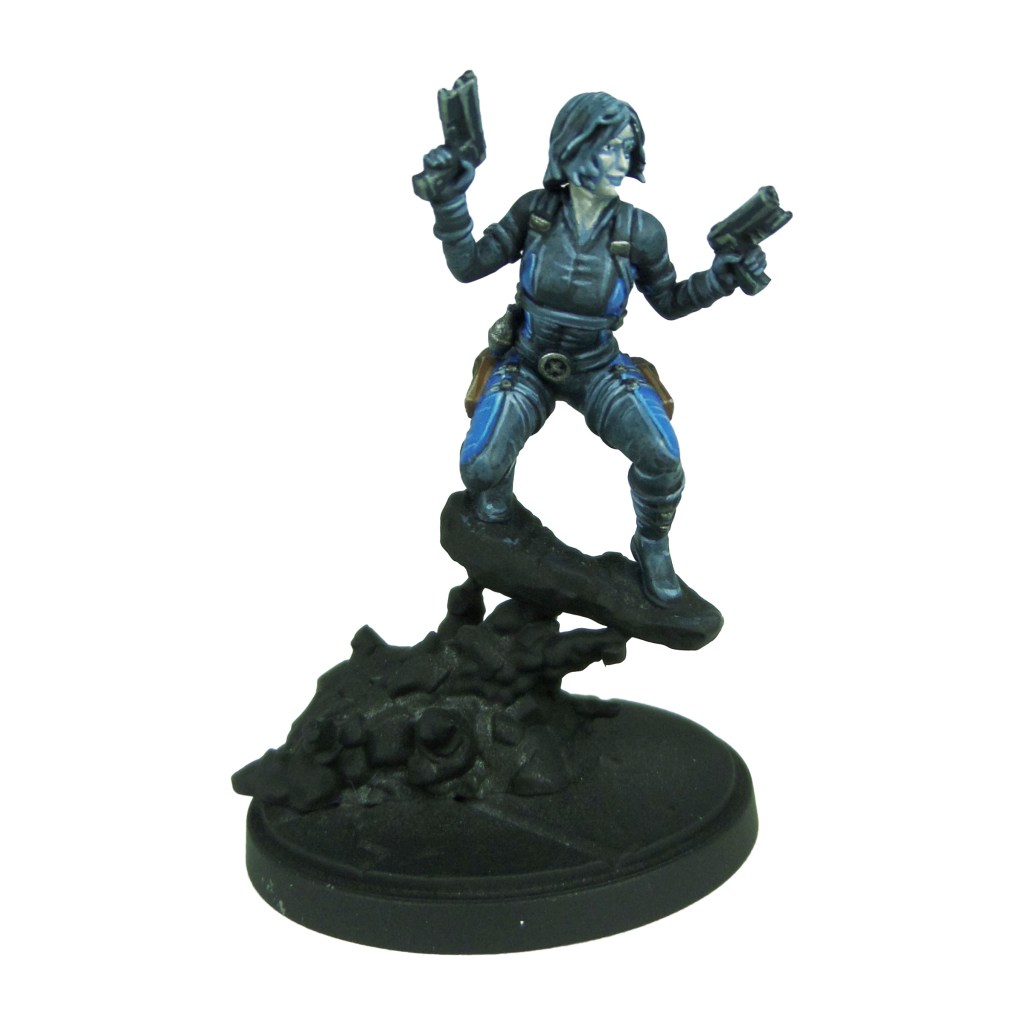
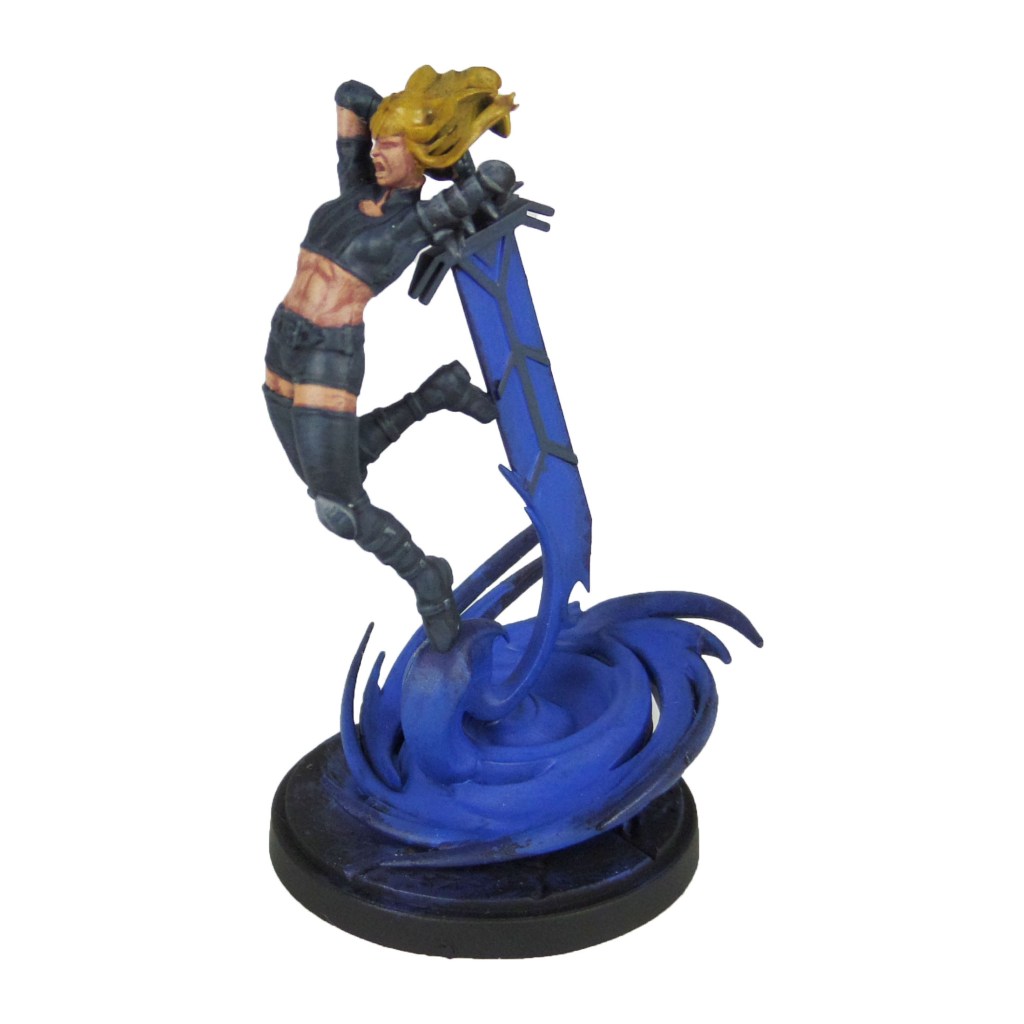
Magik

Stage 1
Incubi Darkness: Apply a basecoat to the cloths and sword hilt.
Kantor Blue: Apply a basecoat to the magic and sword blade.
Bugman’s Glow: Apply a basecoat to the skin.
Zandri Dust: Apply a basecoat to the hair.
Dark Reaper: Apply a thinned layer and line highlight to the armour.
Stage 2
Dark Reaper: Apply a layer to the cloths and sword hilt.
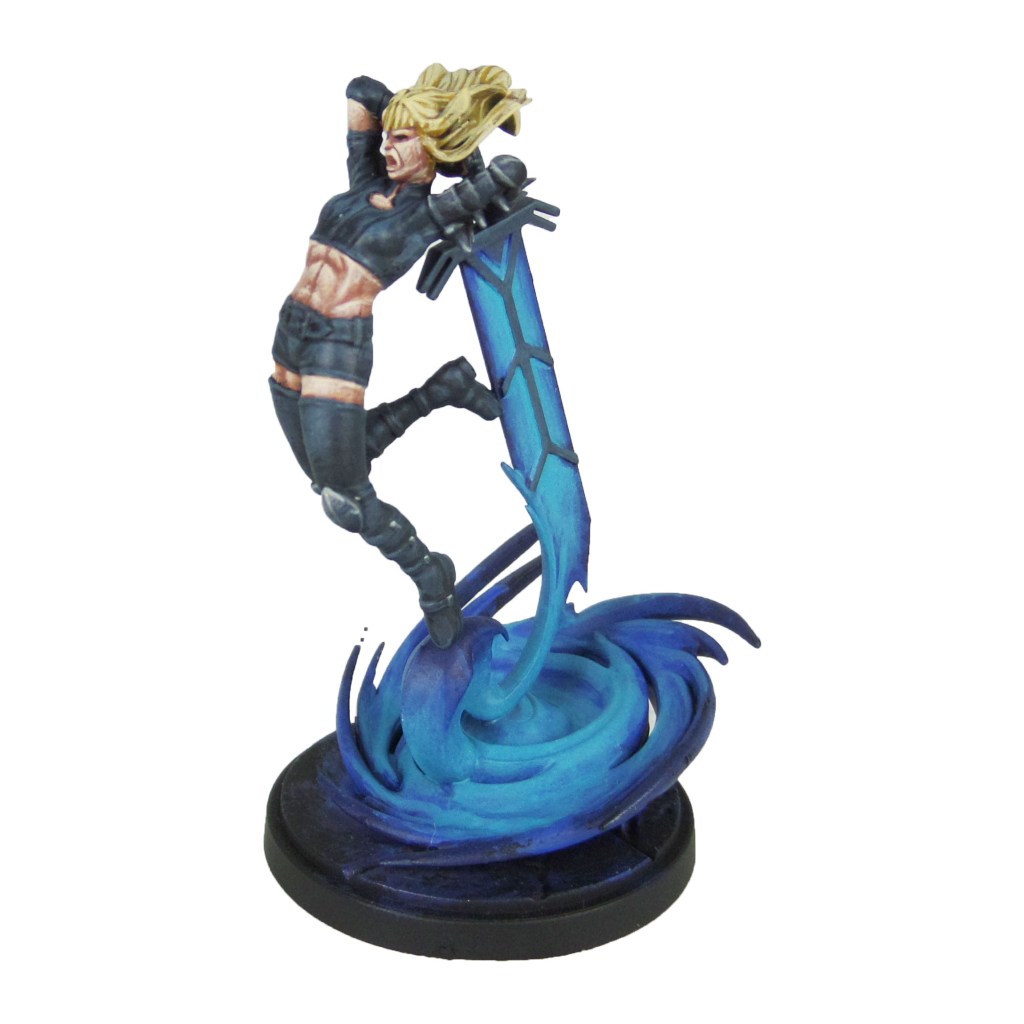
Caledor Sky: Use thinned layers to build up the glow off the magic, working out from the centre.
Cadian Fleshtone: Apply a layer to the skin.
Agrax Earthshade: Apply a shade to the hair.
Dawnstone: Apply a thinned layer and a line highlight to the armour.
Stage 3
Thunderhawk Blue: Apply a line highlight to the cloths and sword hilt.
Temple Guard Blue: Apply a thinned layer to the magic, again building from the centre.
Basic Skin Tone 70.815: Apply a thinned layer to the skin.
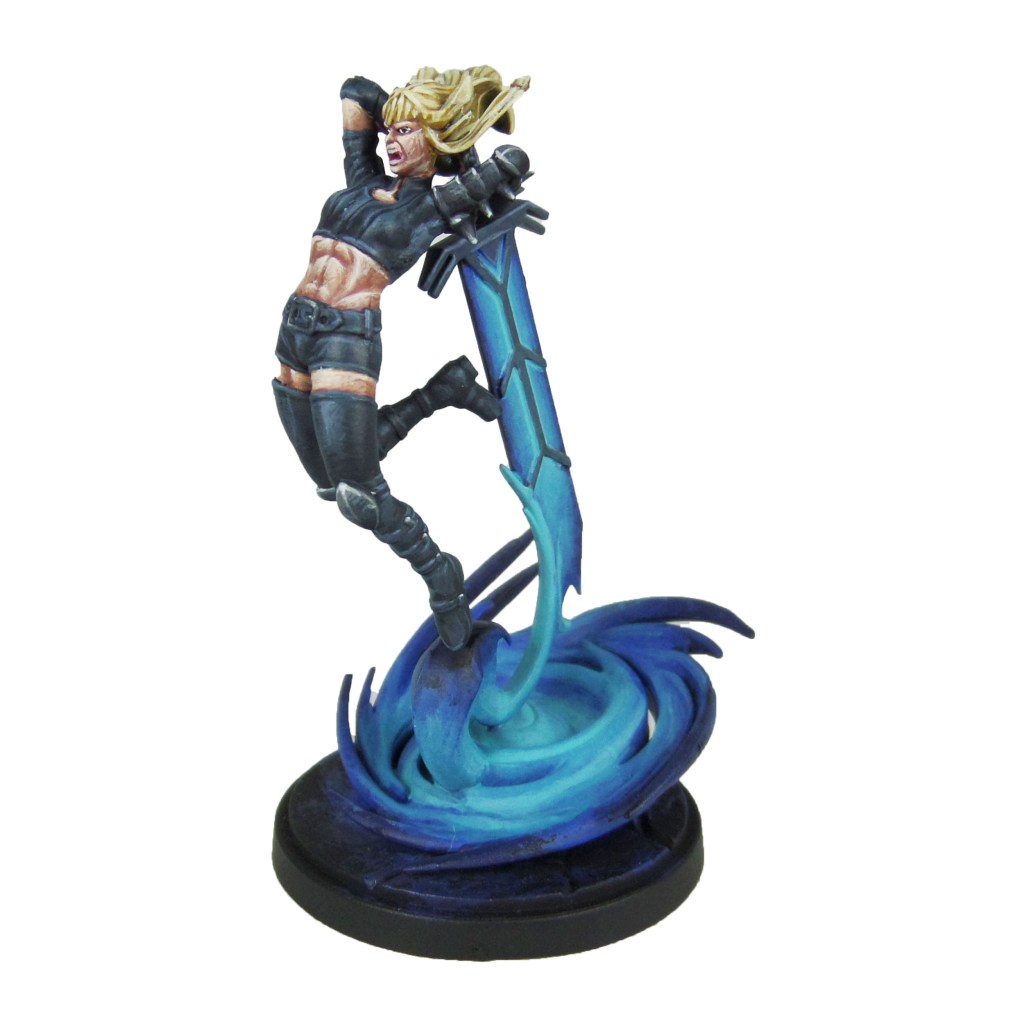
Blonde Hair 09257: Apply a layer to the hair.
Celestra Grey: Apply a line highlight to the armour.
Stage 4
Russ Grey: Apply a spot highlight to the clothes and hilt.
Baharroth Blue: Apply a spot highlight to the magic.
Light Flesh 70.928: Apply a spot highlight to the skin.
Blonde Highlight 09258: Apply a spot highlight to the hair.
Ulthuan Grey: Apply a spot highlight to the armour.
Finish by painting the base with the Base Painting guide.