Welcome to my latest painting guide! Cassandra Nova and Jean Grey bring their psychic potency to my roster.
I need your support. Because my guides takes time and supplies to do, any support you can offer would mean the world to me. A supportive message in the comments is enough, but if you have the means why not send me a gift on Ko-Fi or PayPal. Thank you!
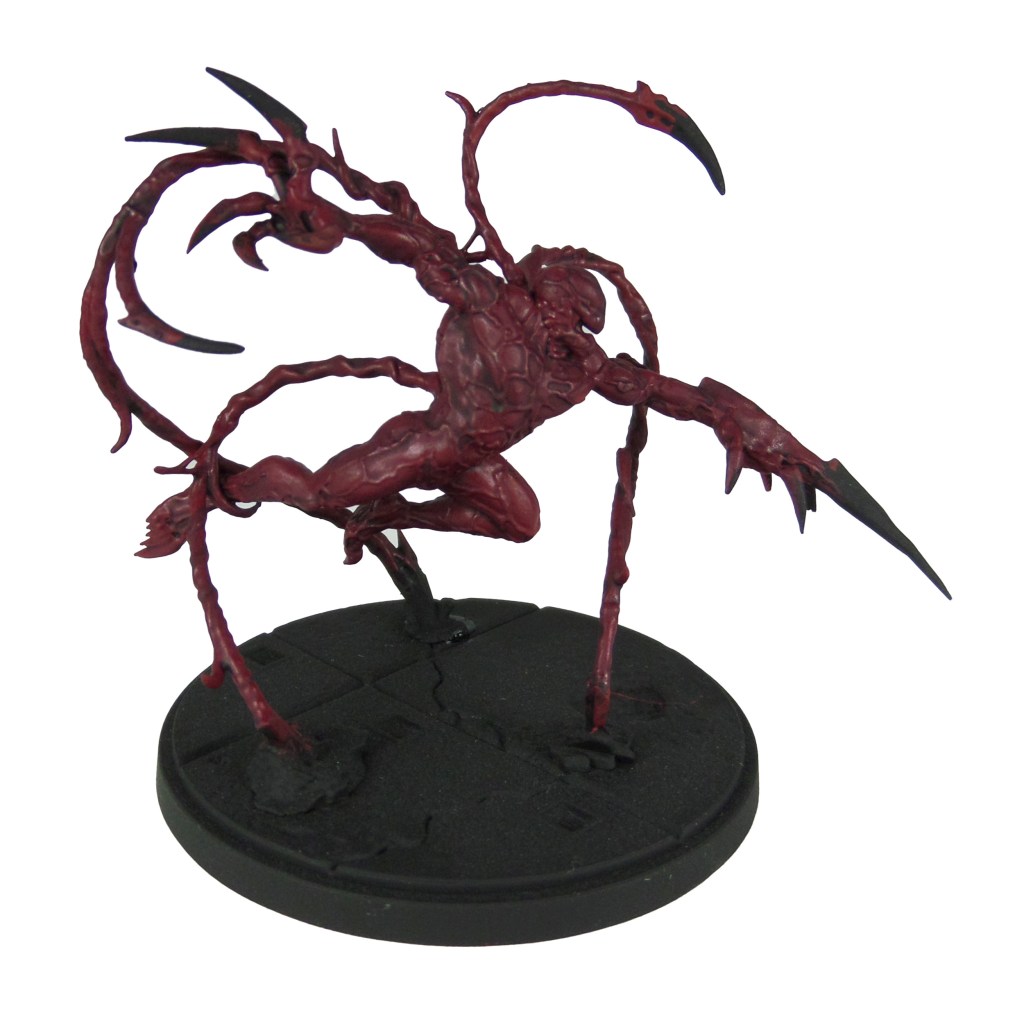
Prep: Fully build both models. Undercoat black.
Cassandra Nova

Stage 1
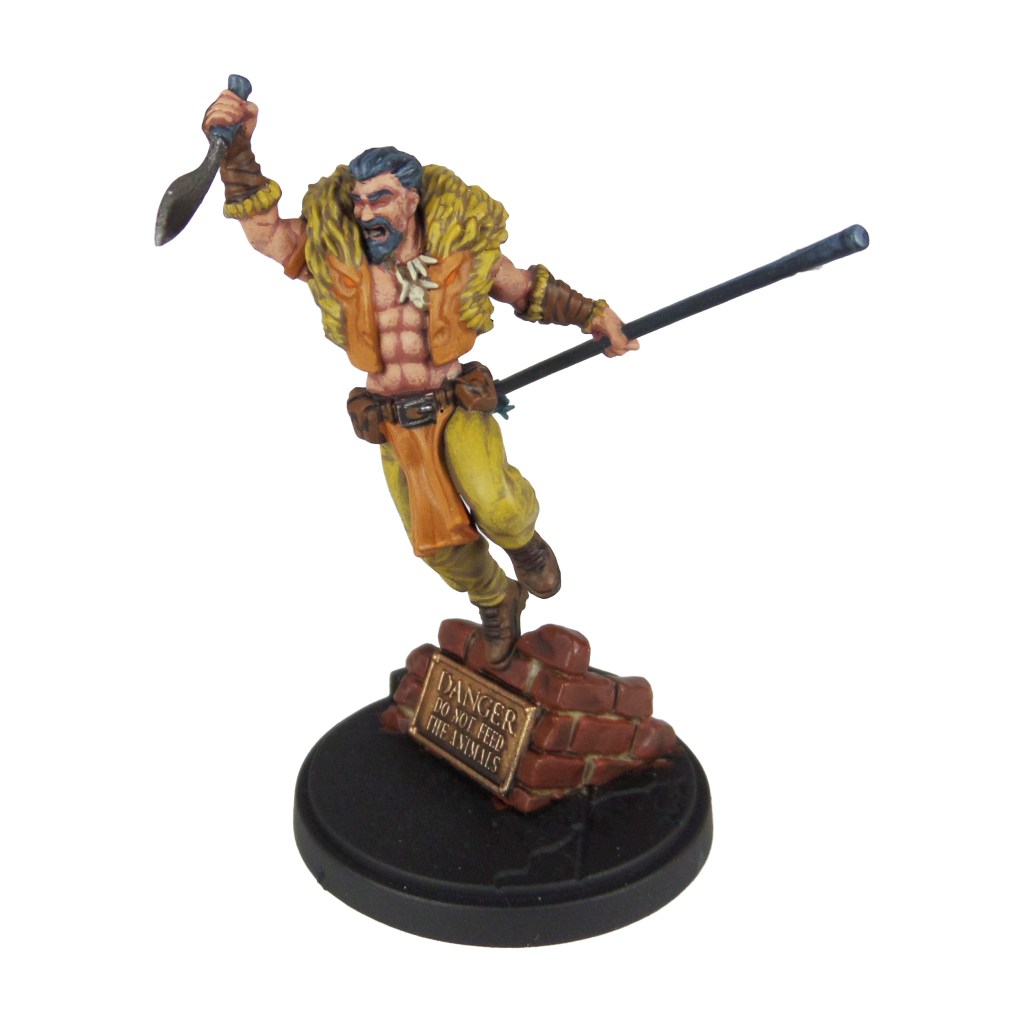
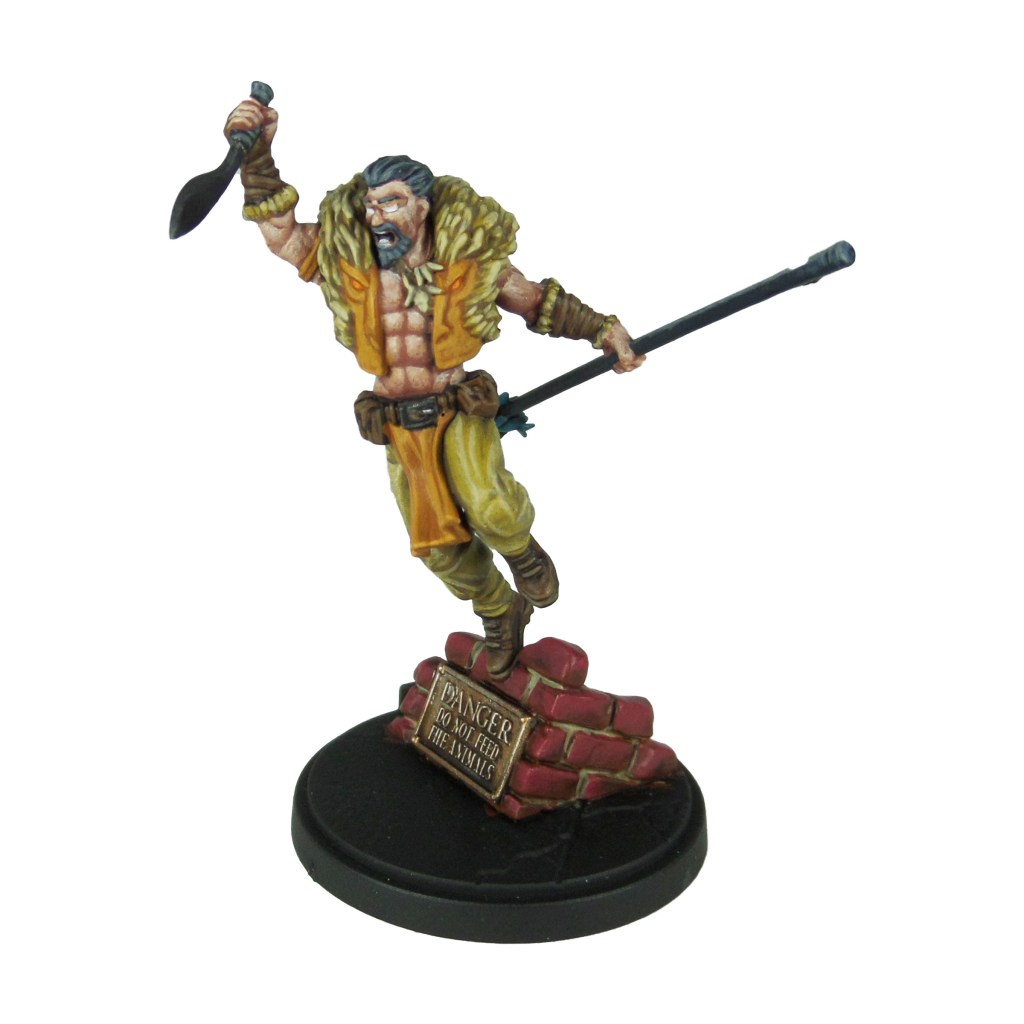
Thondia Brown: Apply a basecoat to the jacket, boots and belt.
Incubi Darkness: Apply a basecoat to the shirt.
Steel Legion Drab: Apply a basecoat to the trousers.
Warpstone Glow: Apply a basecoat to the psychic powers.
Skrag Brown: Apply a basecoat to the scarf.
Leadbelcher: Apply a basecoat to the buckle and cane.
Bugman’s Glow: Apply a basecoat to the skin.

Stage 2
Mournfang Brown: Apply a layer to the jacket, boots and belt.
Thunderhawk Blue: Apply a layer to the shirt.
Tallarn Sand: Apply a layer to the trousers
Moot Green: apply a layer to the psychic powers.
Deathclaw Brown: Apply a layer to the scarf.
Nuln Oil: Apply a shade to the buckles and cane.
Cadian Fleshtone: Apply a layer to the skin.

Stage 3
Steel Legion Drab: Apply a line highlight to the jacket, boots and belt.
Russ Grey: Apply a line highlight to the shirt.
Karak Stone: Apply a line highlight to the trousers.
Orruk Flesh: Apply a line highlight to the psychic powers.
Tau Light Ochre: Apply a line highlight to the scarf.
Drakenhof Nightshade: Apply a shade to the buckles and cane.
Basic Skin Tone 70.815: Apply a thinned layer to the skin.

Stage 4
Karak Stone: Apply a spot highlight to the jacket, boots and belt.
Fenrisian Grey: Apply a spot highlight to the shirt.
Ushabti Bone: Apply a spot highlight to the trousers.
Gauss Blaster Green: Apply a spot highlight to the psychic powers.
Averland Sunset: Apply a spot highlight to the scarf.
Canoptek Alloy: Apply a spot highlight to the buckles and cane.
Light Flesh 70.928: Apply a spot highlight to the skin.
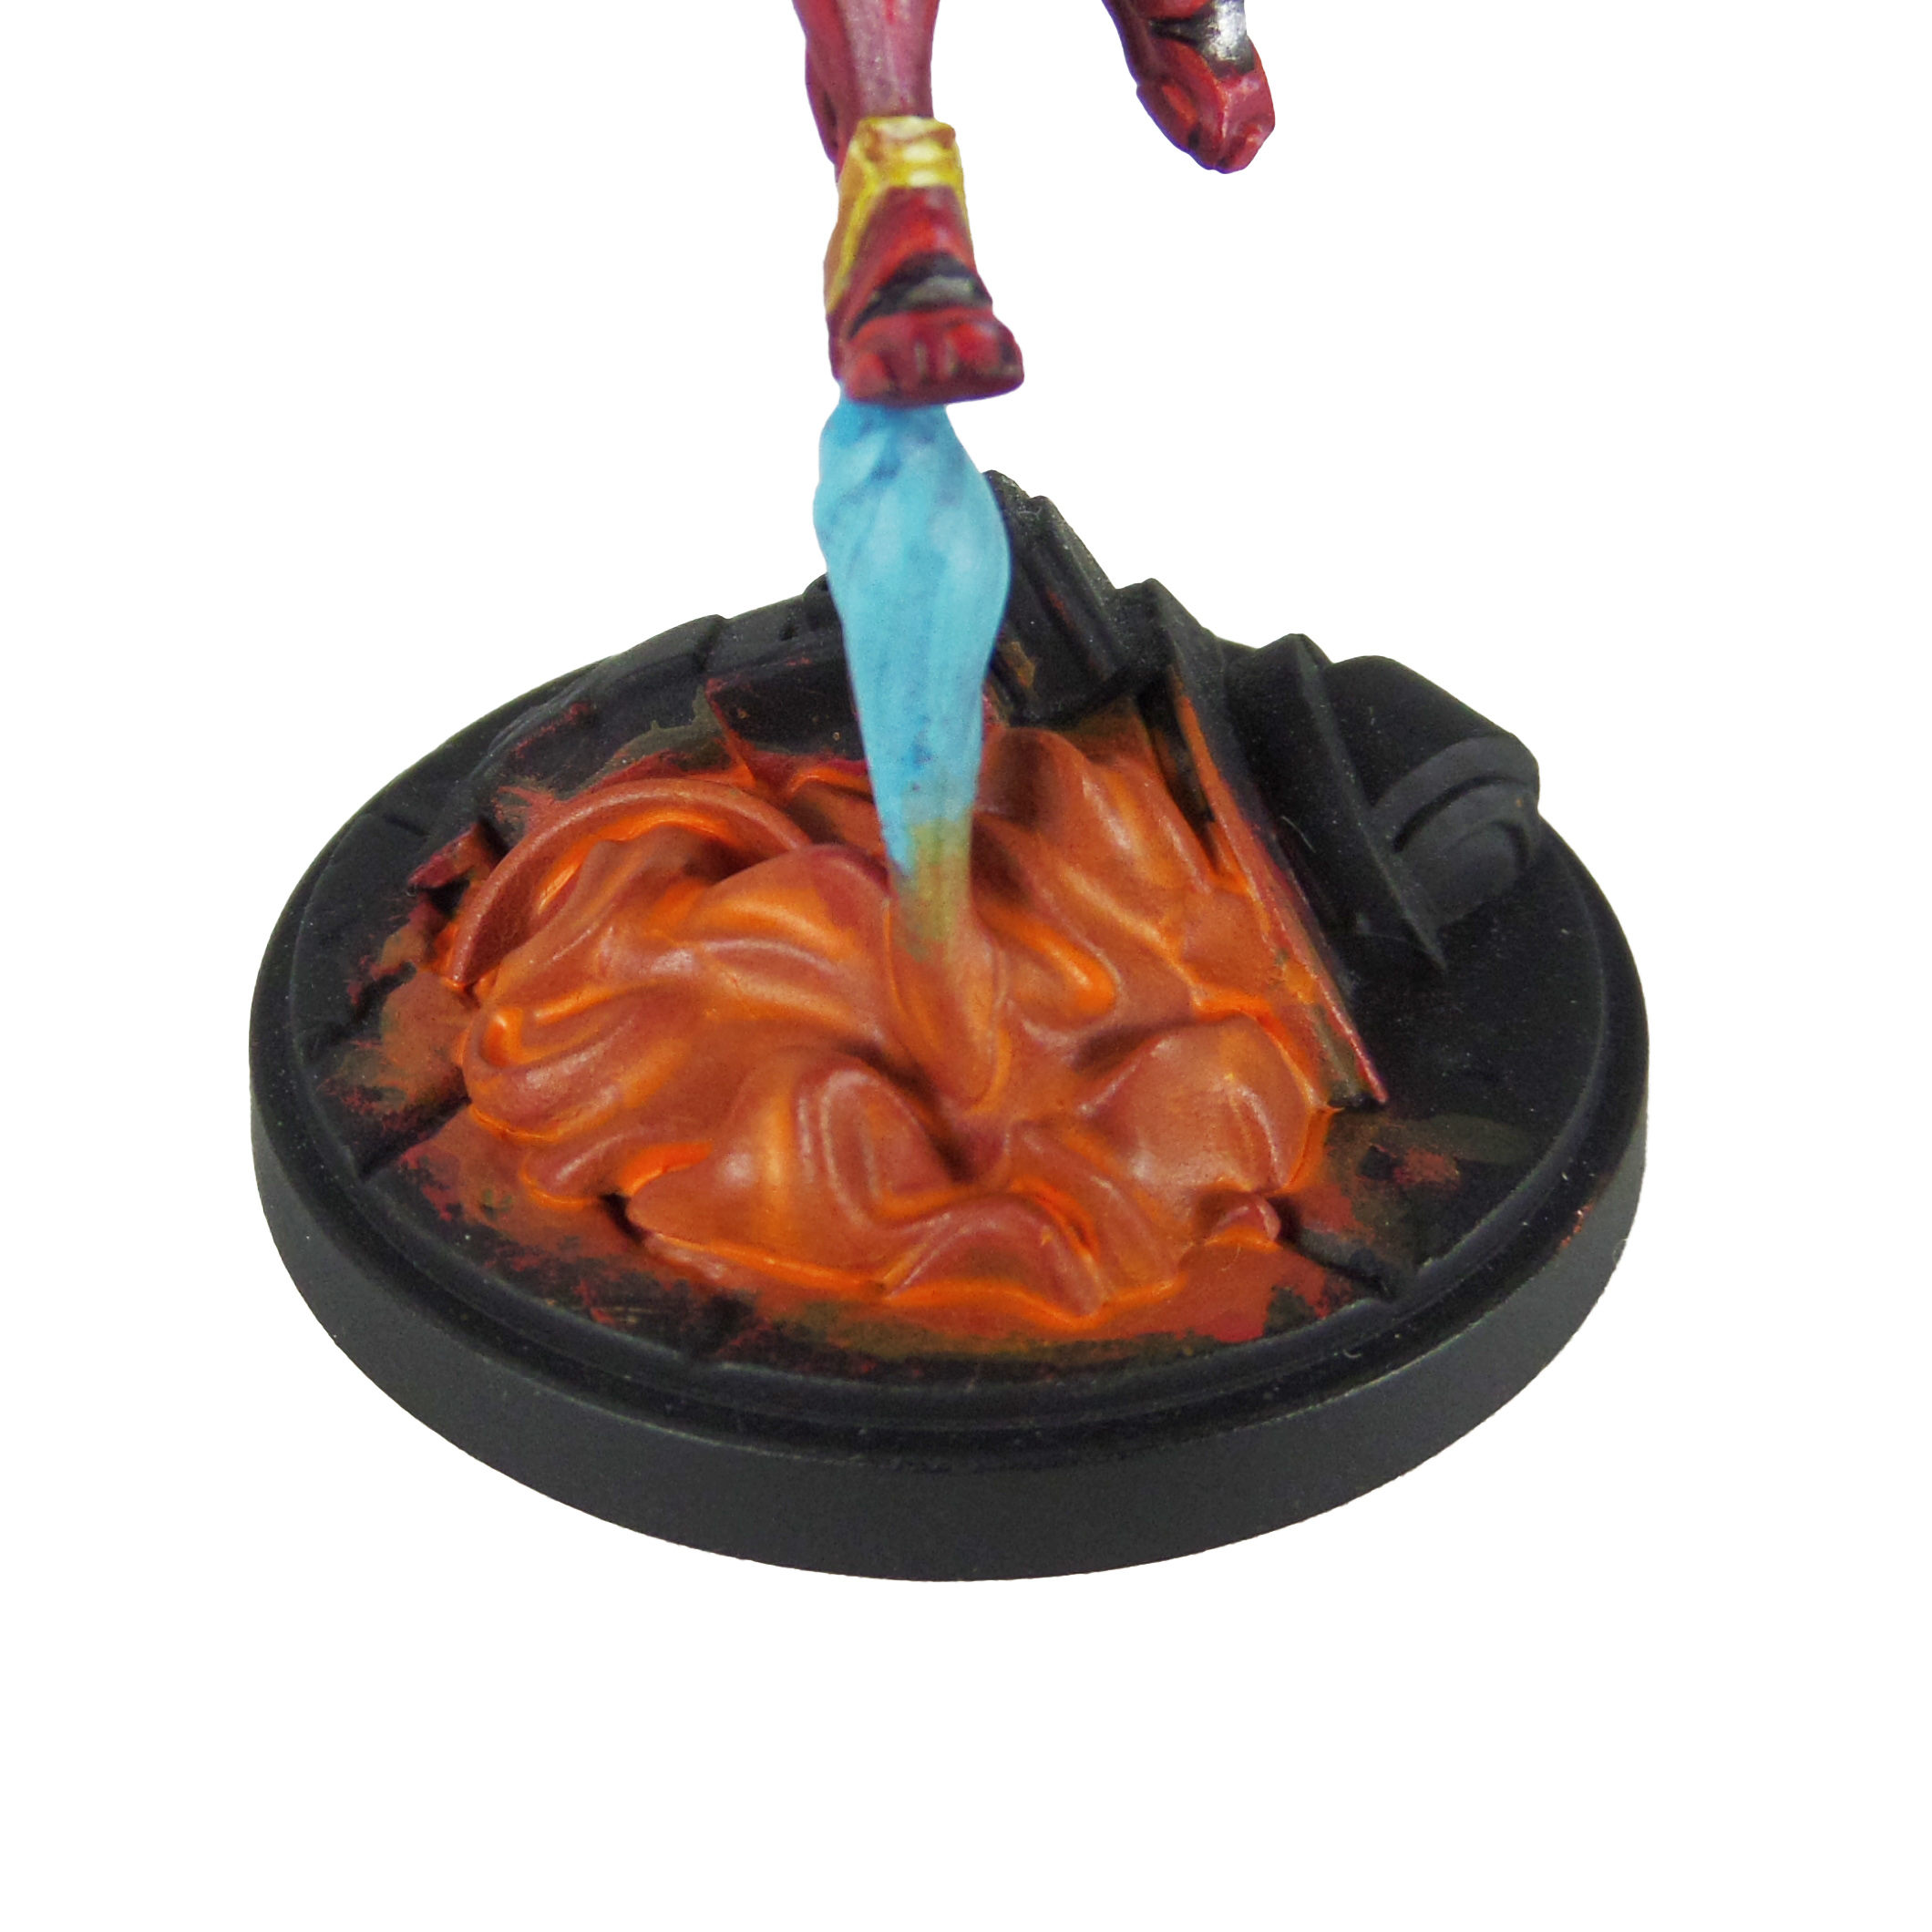
Finish by painting the base with the Base Painting guide.
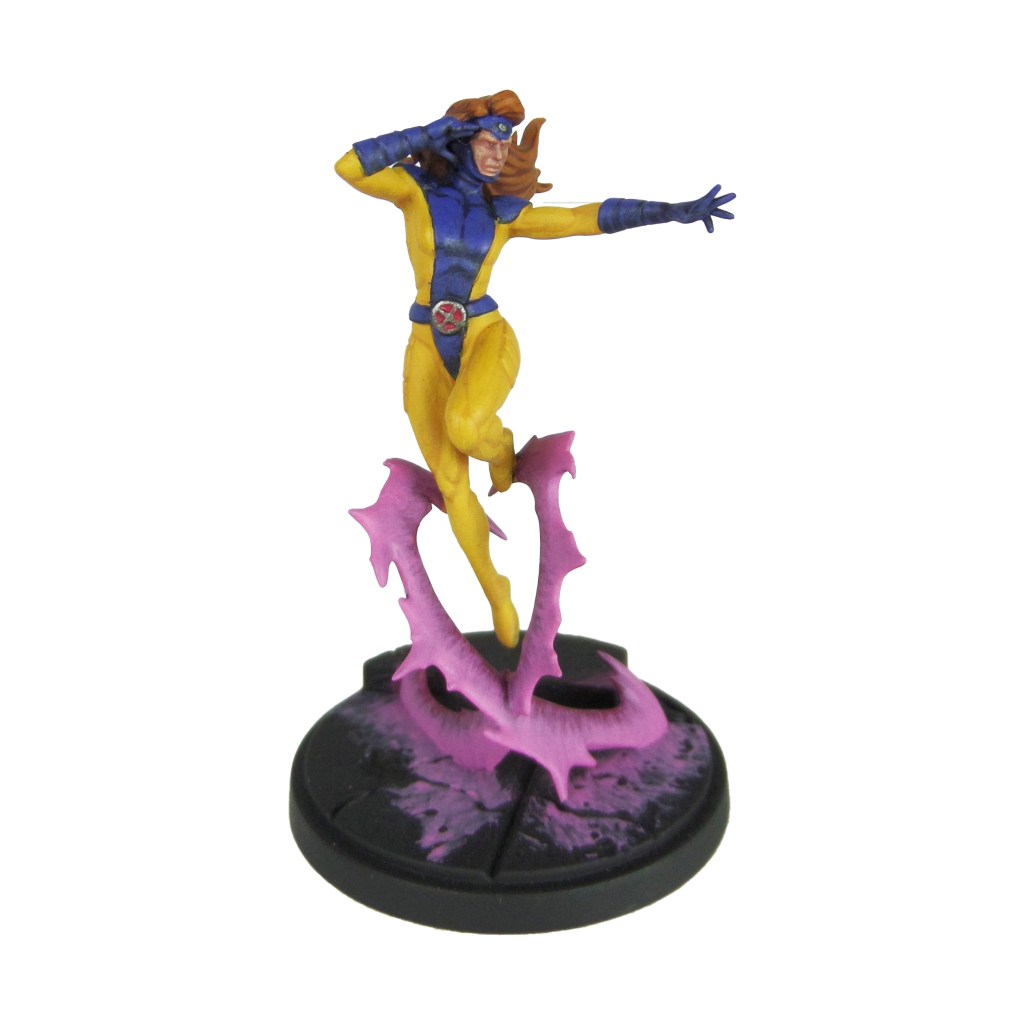
Jean Gray

Stage 1
Tau Light Ochre: Apply a basecoat to the bodysuit.
Night Lord’s Blue: Apply a basecoat to the centre of the bodysuit, gloves, belt and shoulders.
Pink Horror: Apply a basecoat to the psychic powers.
Doombull Brown: Apply a basecoat to the hair.
Bugman’s Glow: Apply a basecoat to the skin.
Stage 2
Averland Sunset: Apply a layer to the bodysuit.
Macragge Blue: apply a layer to the centre strip of the bodysuit and gloves, belt and shoulders.
Emperor’s Children: Apply a thinned layer to the psychic powers.
Skrag Brown: Apply a layer to the hair.
Cadian Fleshtone: Apply a layer to the skin.

Stage 4
Flash Gitz Yellow: Apply a thinned layer to the bodysuit.
Caledor Sky: Apply a line highlight to the centre bodysuit, gloves, belt and shoulders.
Fulgrim Pink: Apply an edge highlight to the psychic powers.
Jokaero Orange: Apply a line highlight to the hair.
Basic Skin Tone 70.815: Apply a thinned layer to the skin.

Stage 3
Dorn Yellow: Apply a line highlight to the bodysuit.
Temple Guard Blue: Apply a line highlight to the centre bodysuit, gloves, belt and shoulders.
White Scar: Apply a spot highlight to the psychic powers.
Blood letter: Apply a thin layer to the hair.
Light Flesh 70.928: Apply a spot highlight to the skin.
Finish by painting the base with the Base Painting guide.