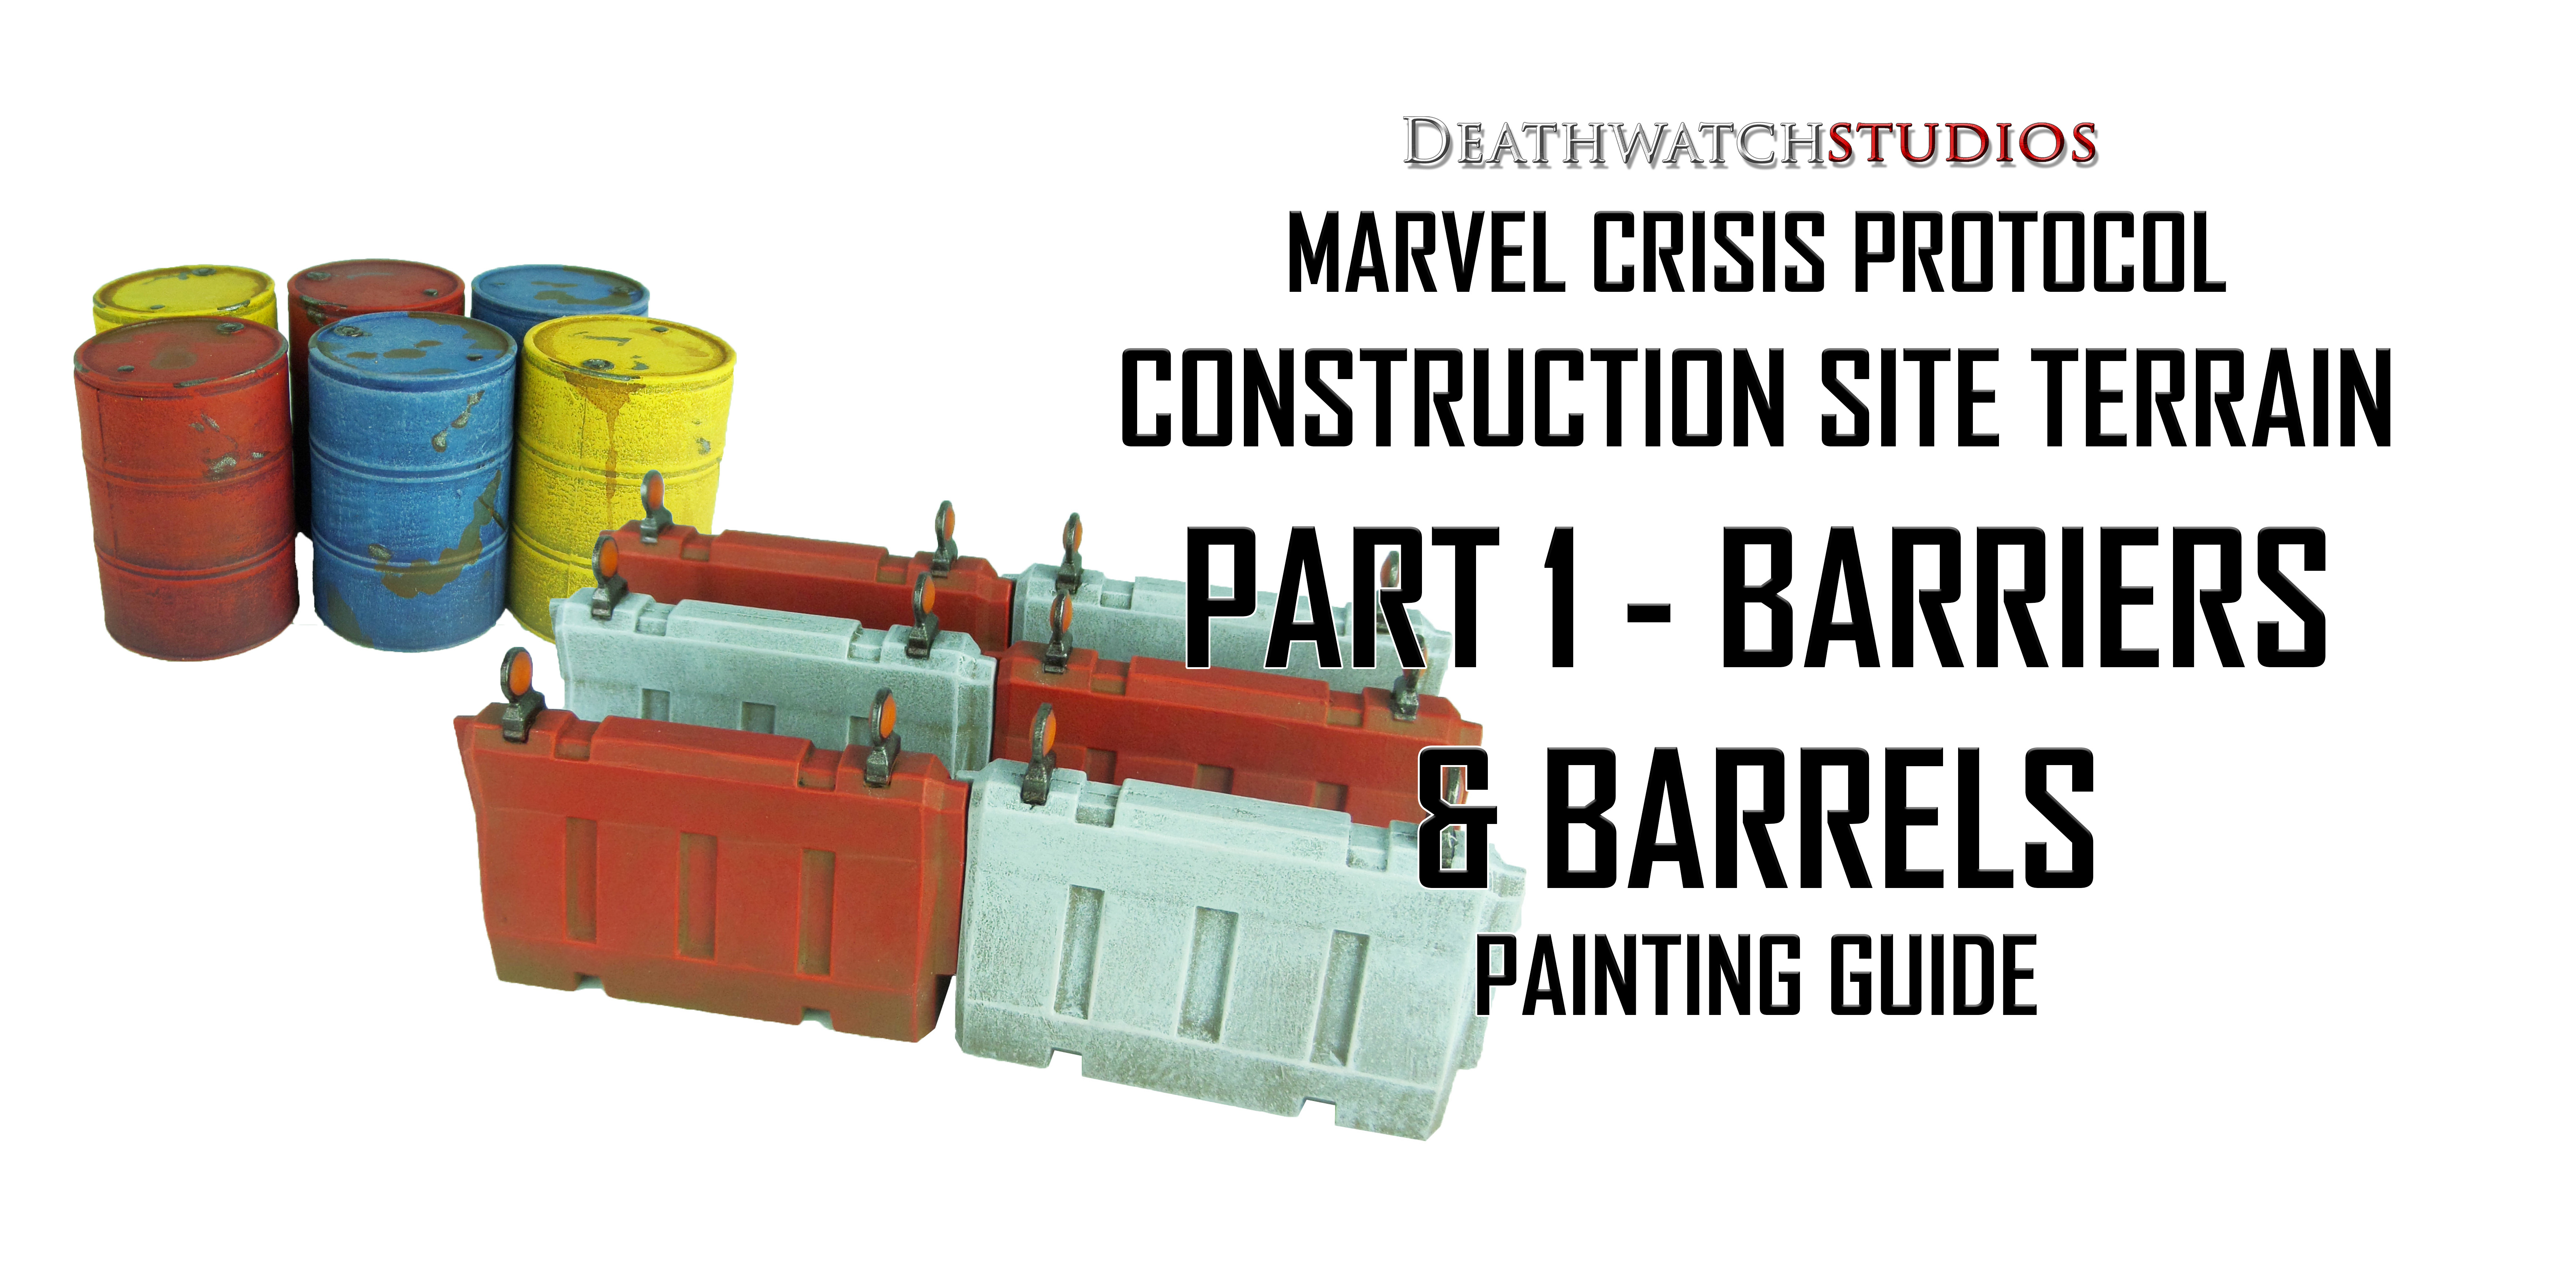
Welcome to my latest painting guide! This guide will tackle the smaller elements of the Construction Site Terrain Set, the barrels and barriers.
You can help me do more!
I make these guides for everyone to learn to paint, but they do cost money, time and resources. If you enjoyed this guide, you can donate £1-3 to help me make more!
Donate via Ko-Fi Donate via PayPal
Prep: Fully build all models and undercoat black.
A note on drybrushing: When covering larger areas, especially on terrain, I prefer to use drybrushing. This technique requires you to add a light amount of paint to the brush and then remove most of it. Lightly brushing over some kitchen roll until only a small amount of chalky paint is left. When brushed over a model this hits the hard edges but can also be used to build up in layers to create a gradation in colour.
A specific drybrush helps greatly, especially on larger models. Something like this or this.
Barrels

Stage 1
XV-88/Barak-nar Burgandy/Kantor Blue: Apply a basecoat.

Stage 2
Averland Sunset/Khorne Red/Caledor Sky: Apply a heavy drybrush from the top down.

Stage 3
Yriel Yellow/Wazdakka Red/Teclis Blue: Apply a medium drybrush from the top down.
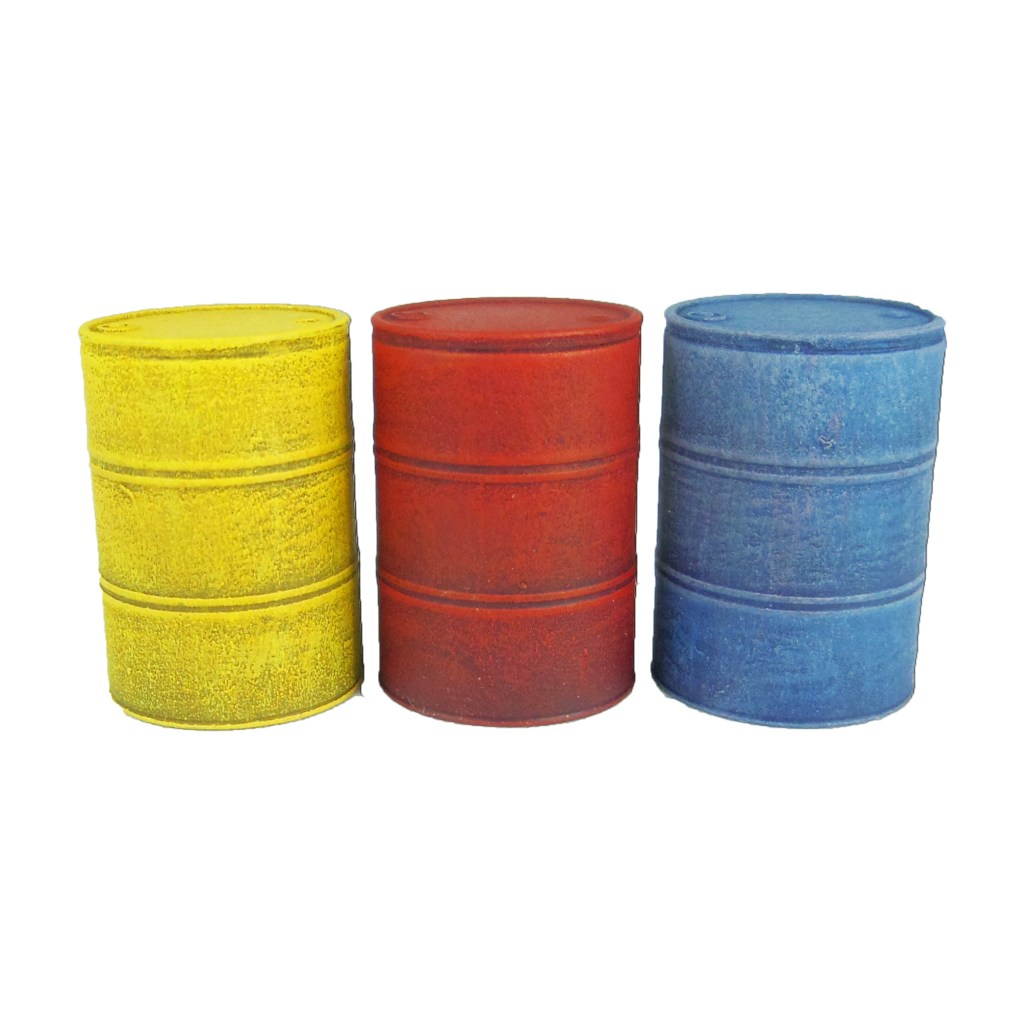
Stage 4
Phalanx Yellow/Evil Sunz Scarlet/Fenrisian Grey: Apply a light drybrush around the top.
Barrel Details
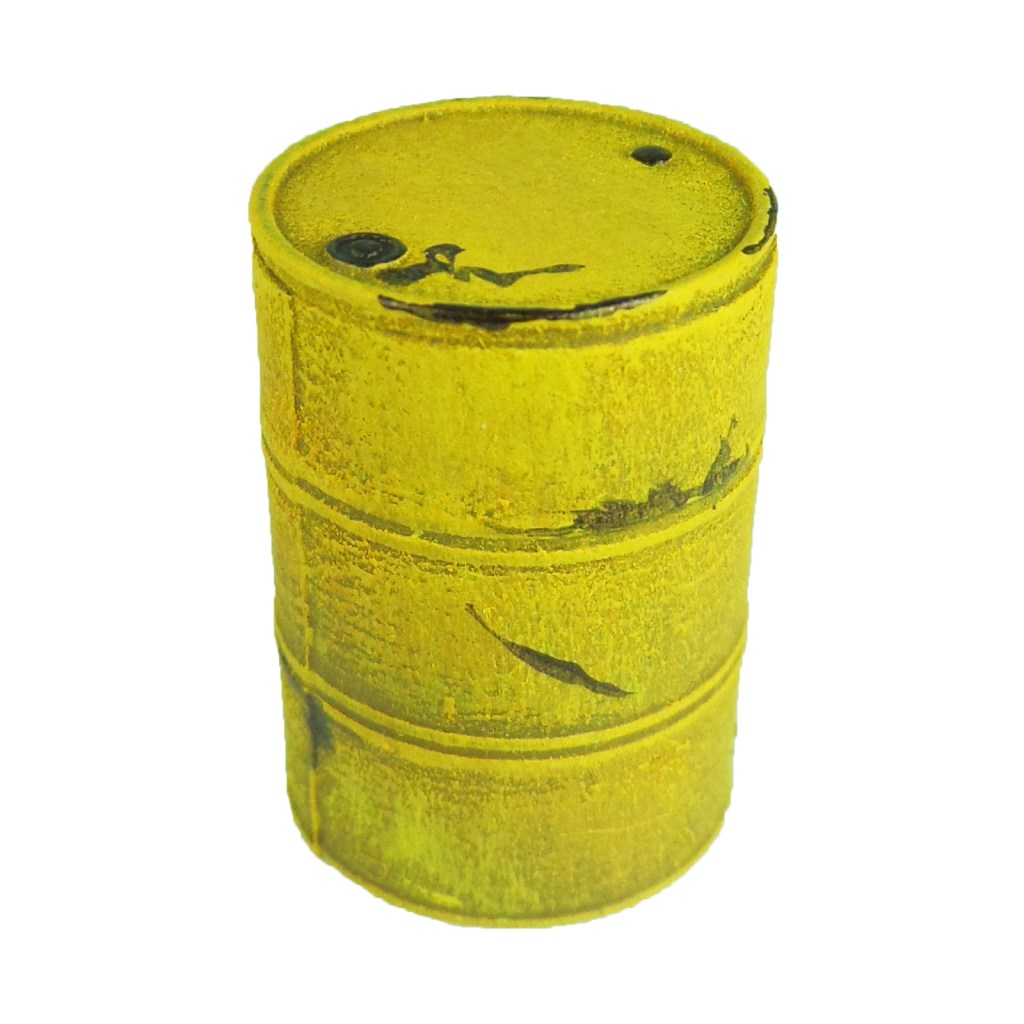
Stage 1
Warplock Bronze: Apply haphazardly to the edges and sides.

Stage 2
Leadbelcher: Apply a layer over the previous colour..

Stage 3
Mournfang Brown: Make a mix with around 3 parts water and apply haphazardly to create stains and drips.
Barriers

Stage 1
XV-88: Apply a basecoat.

Stage 2
Squig Orange: Apply a heavy drybrush from the top down.
Celestra Grey: Apply a heavy drybrush from the top down.

Stage 3
Evil Sunz Scarlet: Apply a light drybrush.
Ulthuan Grey: Apply a medium drybrush.

Stage 4
Wild Rider Red: Apply an edge highlight to the top half.
White Scar: Apply a light drybrush to the top half.
Barrier Details

Stage 1
Warplock Bronze: Apply a basecoat to the light fittings.
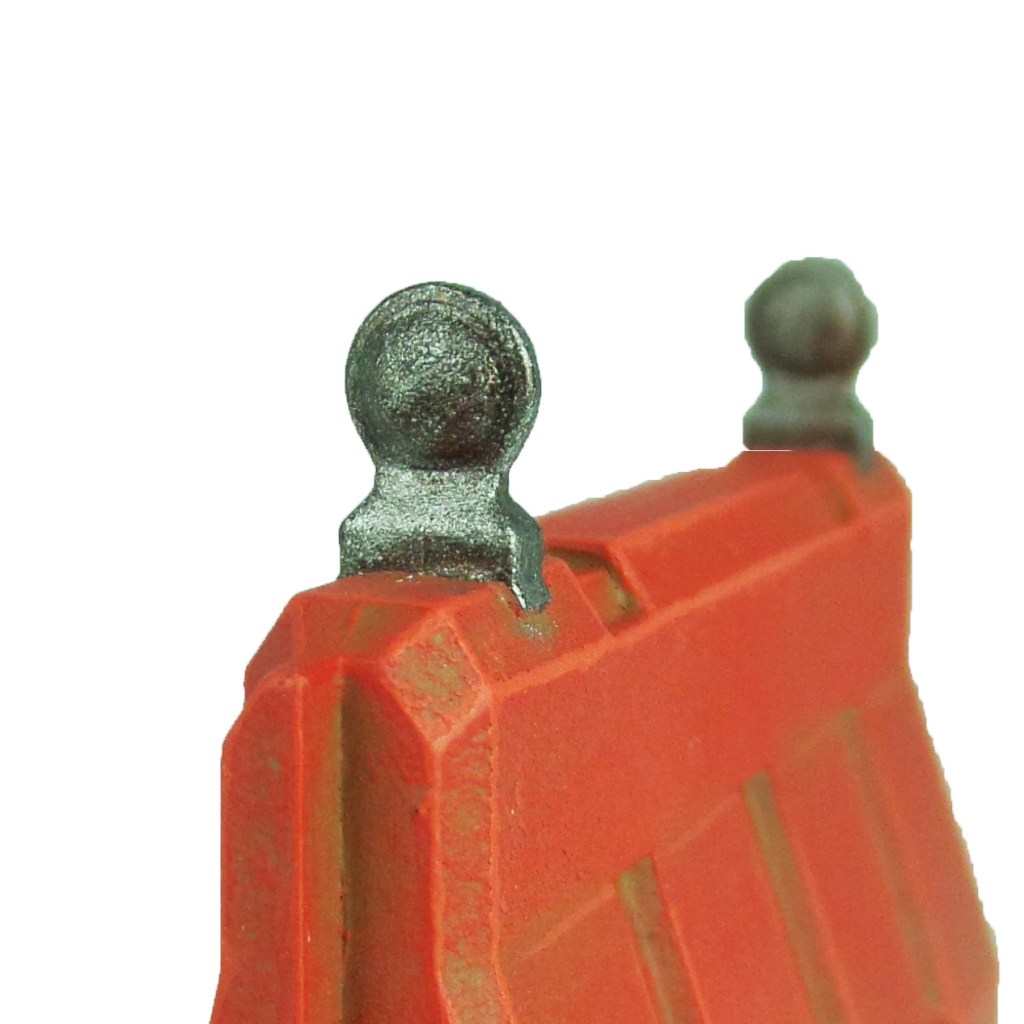
Stage 2
Leadbelcher: Apply a drybrush to the light fittings.
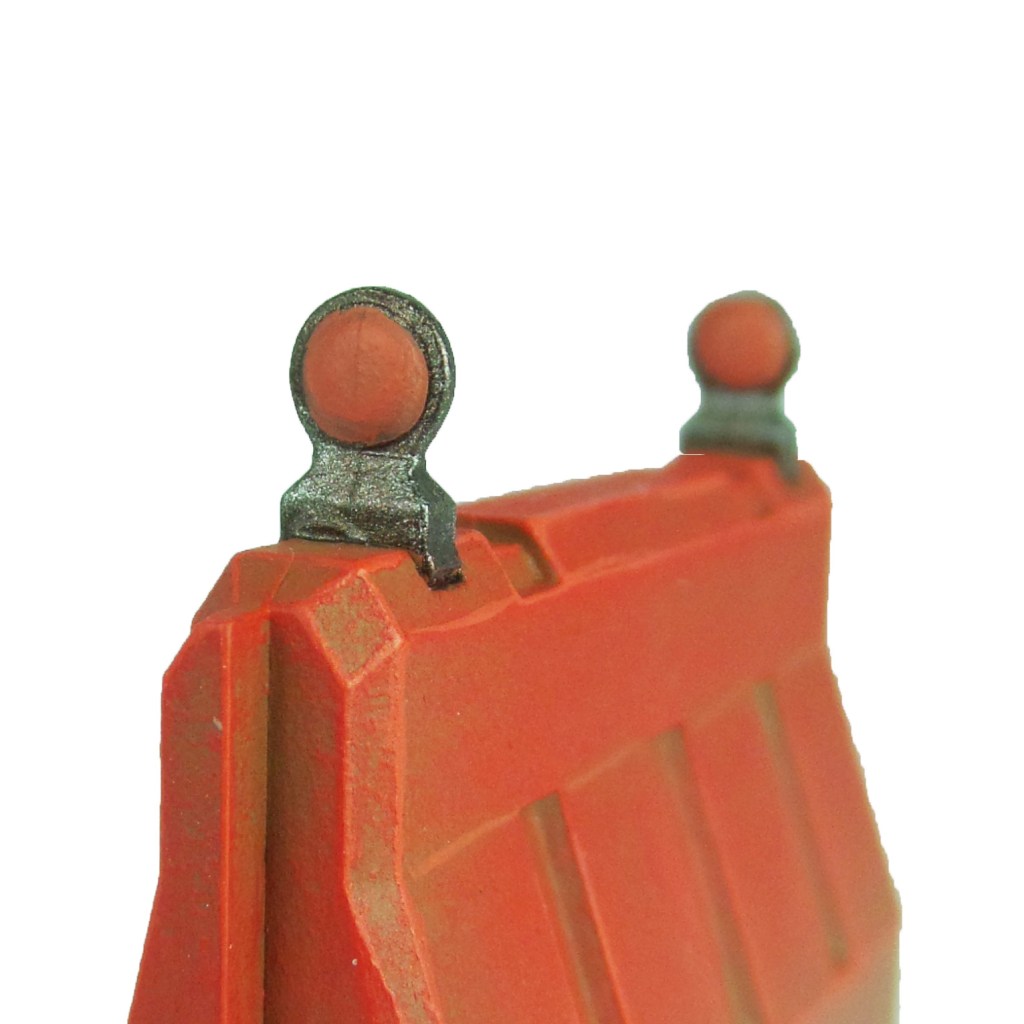
Stage 3
Squig Orange: Apply a basecoat to the light.

Stage 4
Trollslayer Orange: Apply a thinned layer to the light.

Pingback: MCP – Ms. Marvel Painting Guide | DeathWatch Studios