
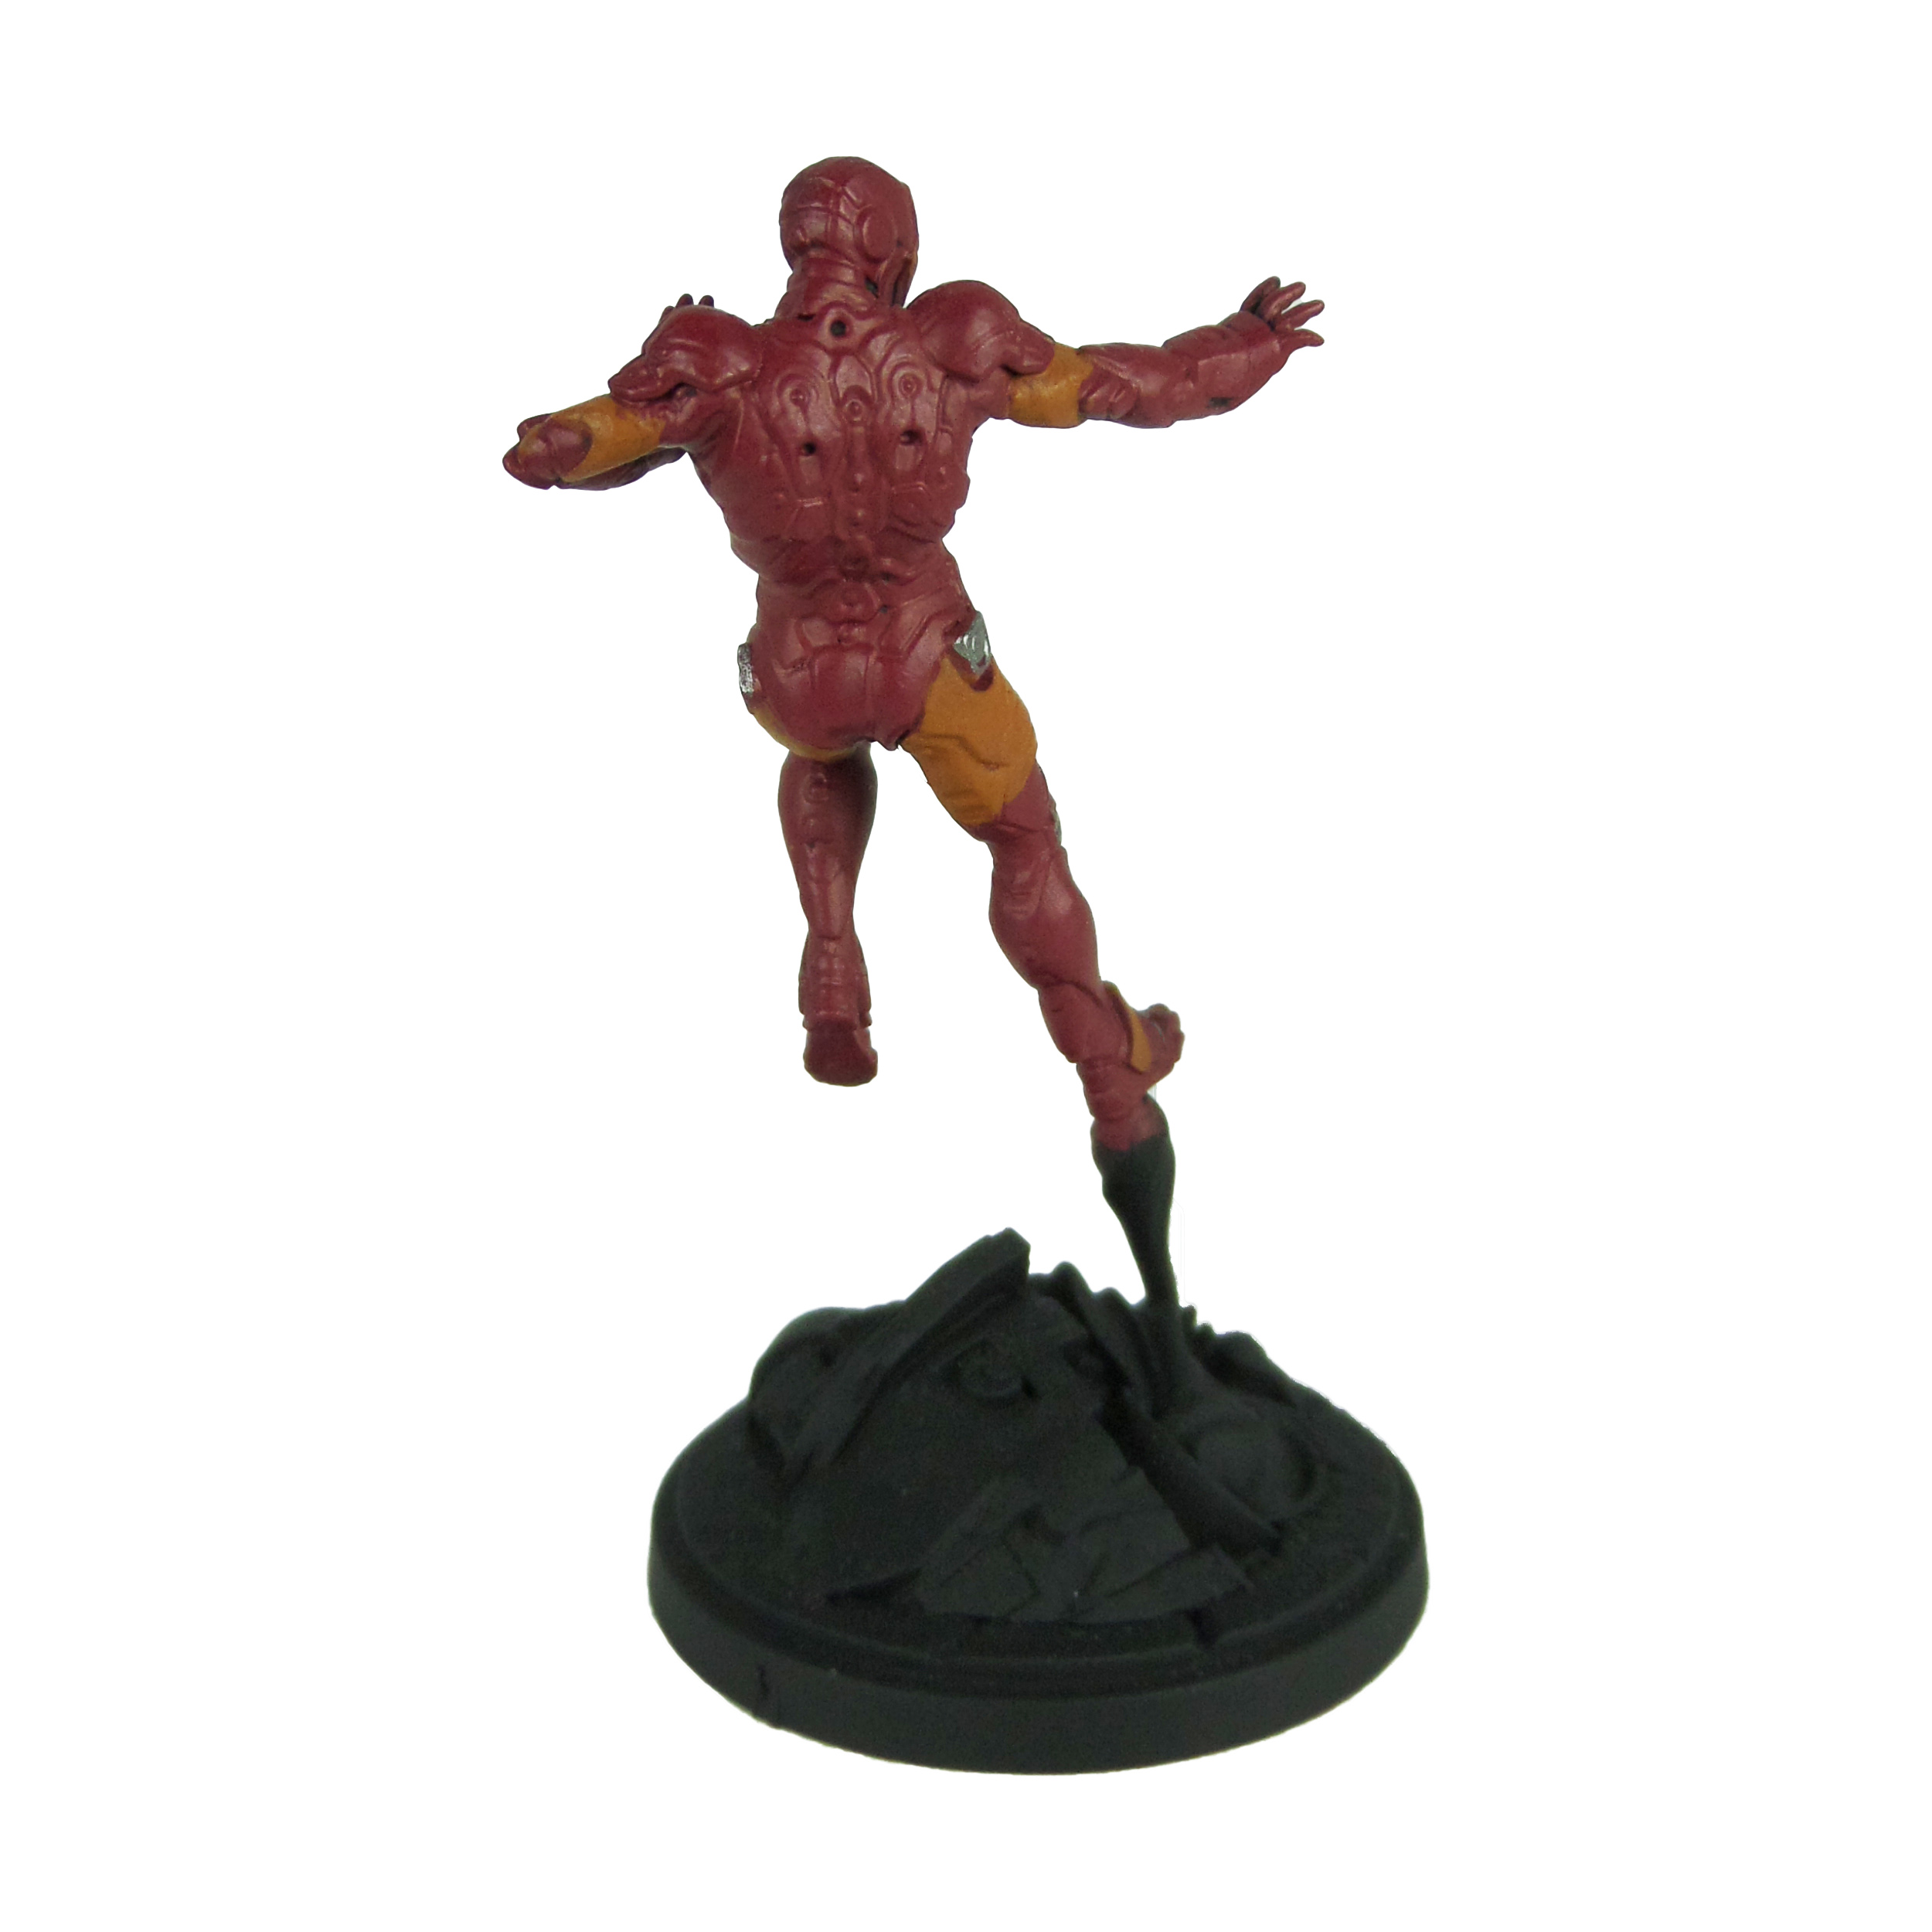
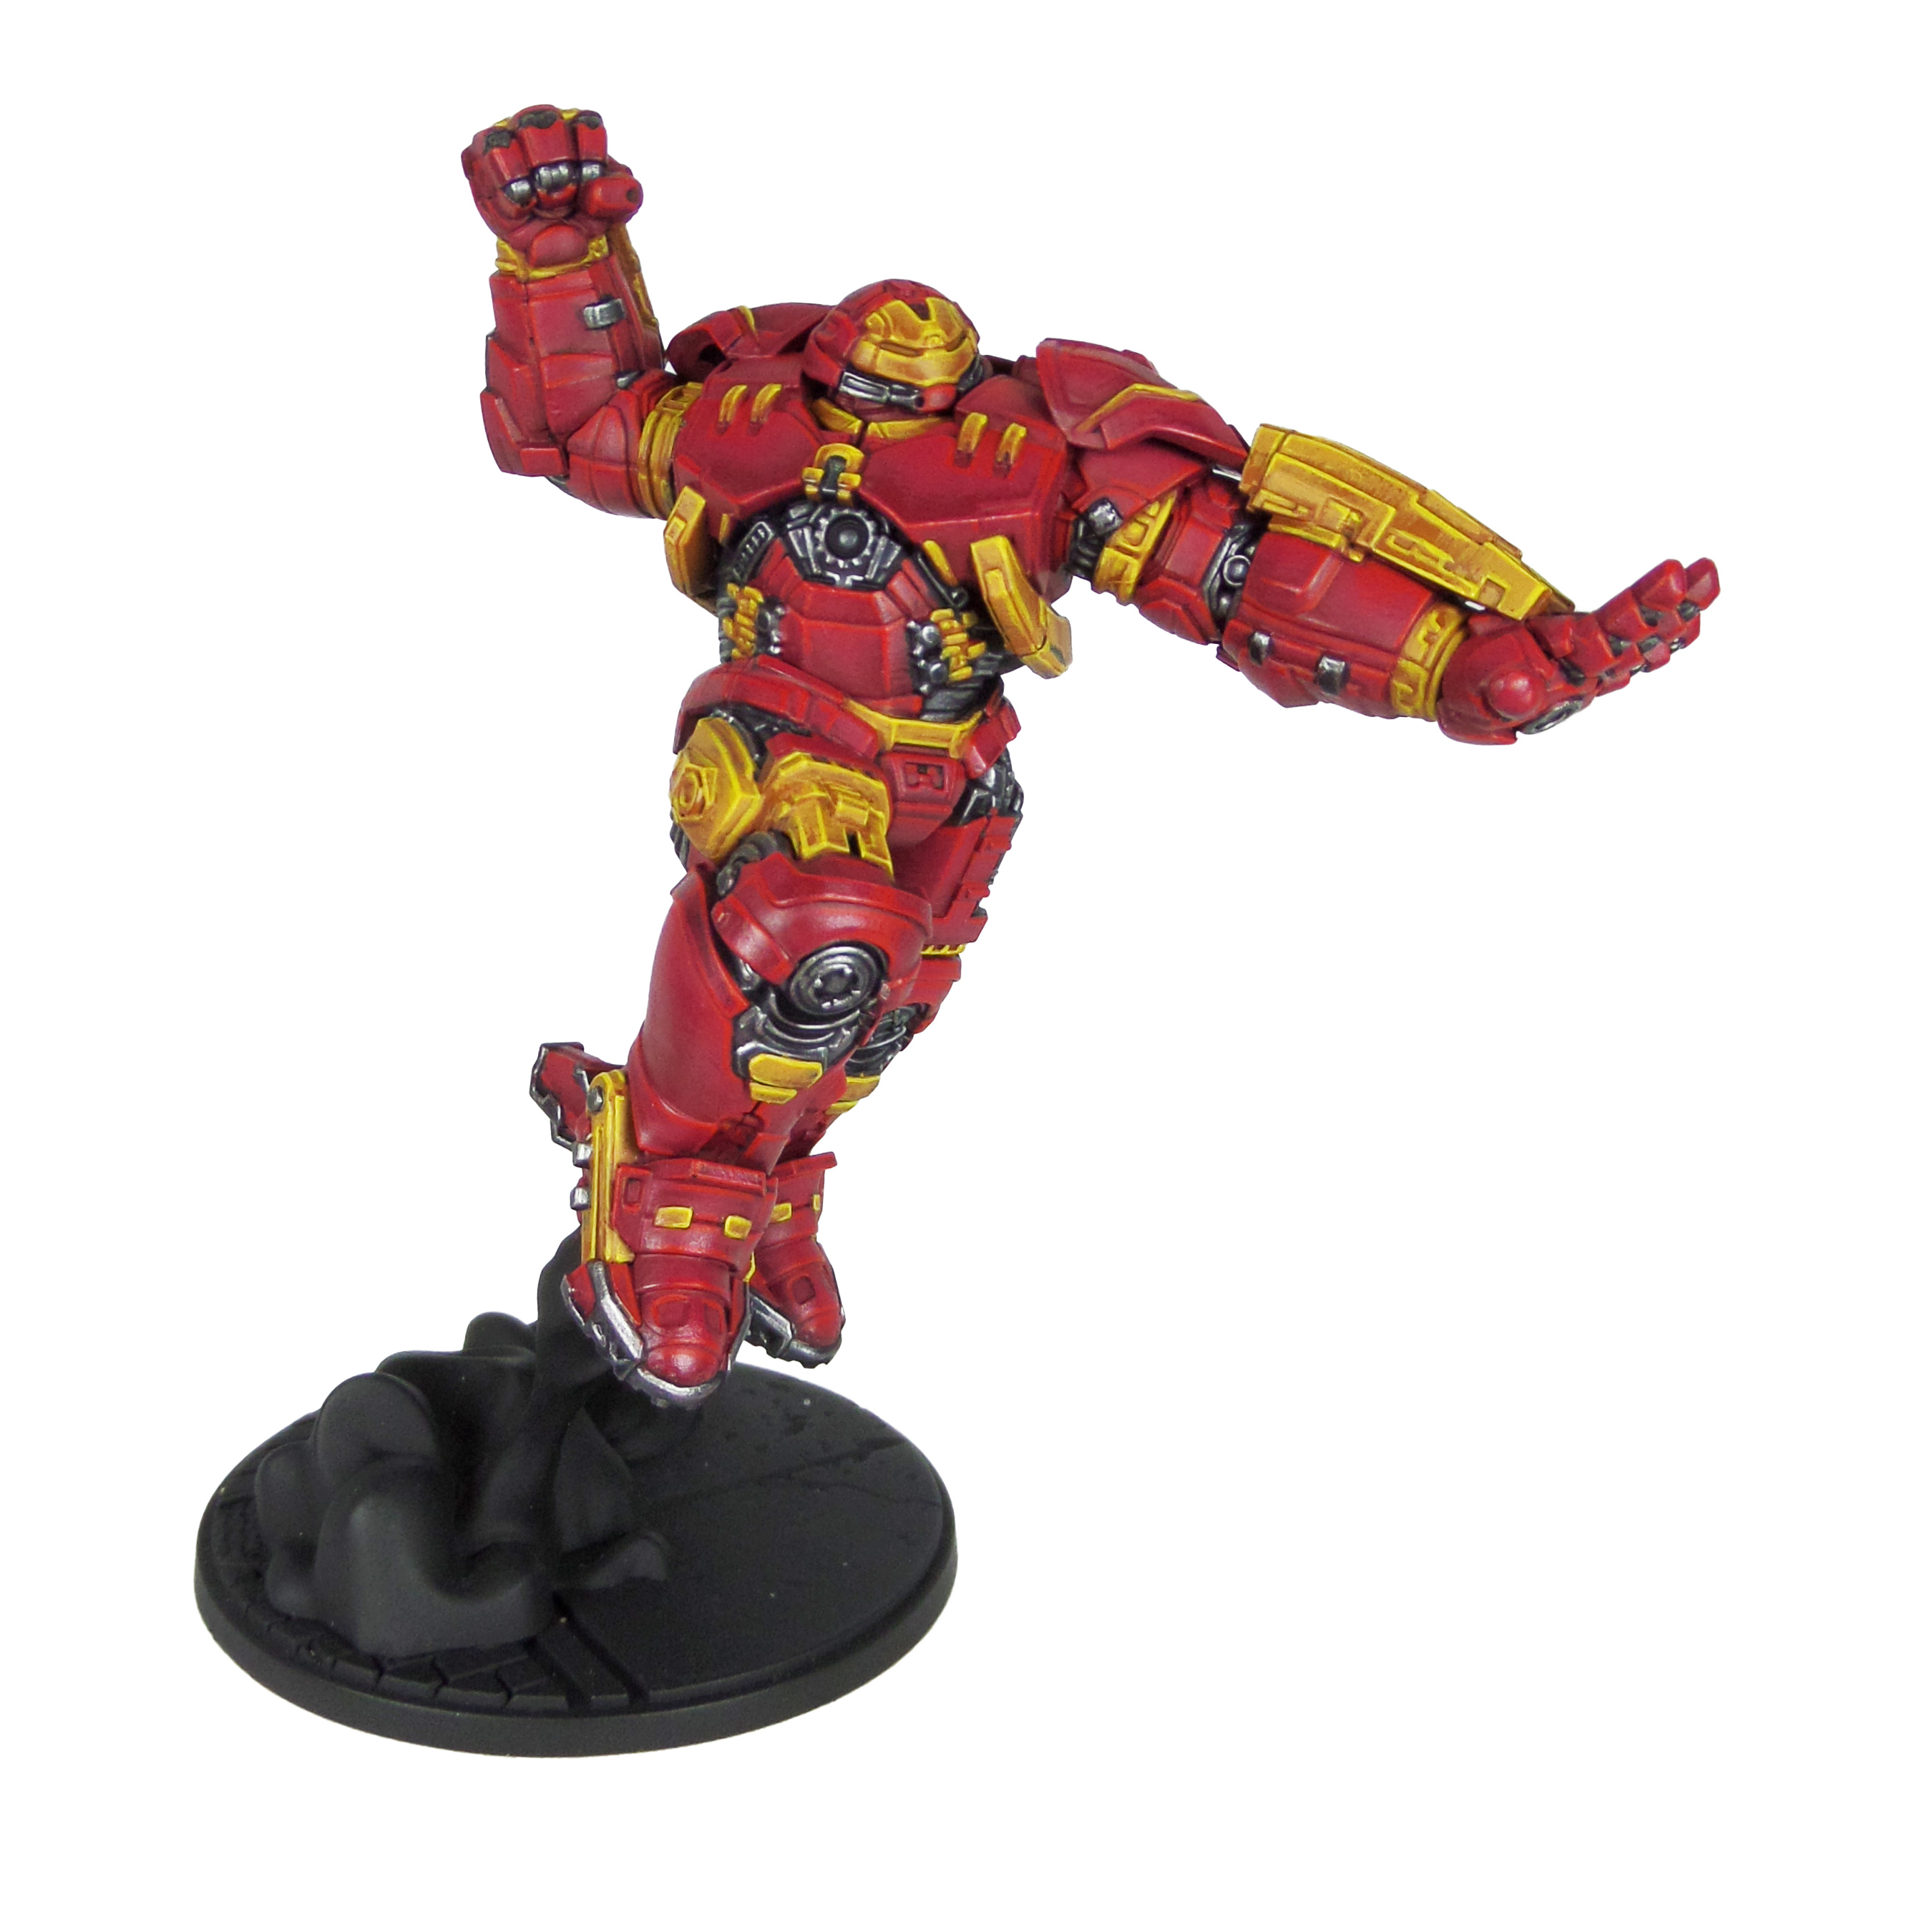
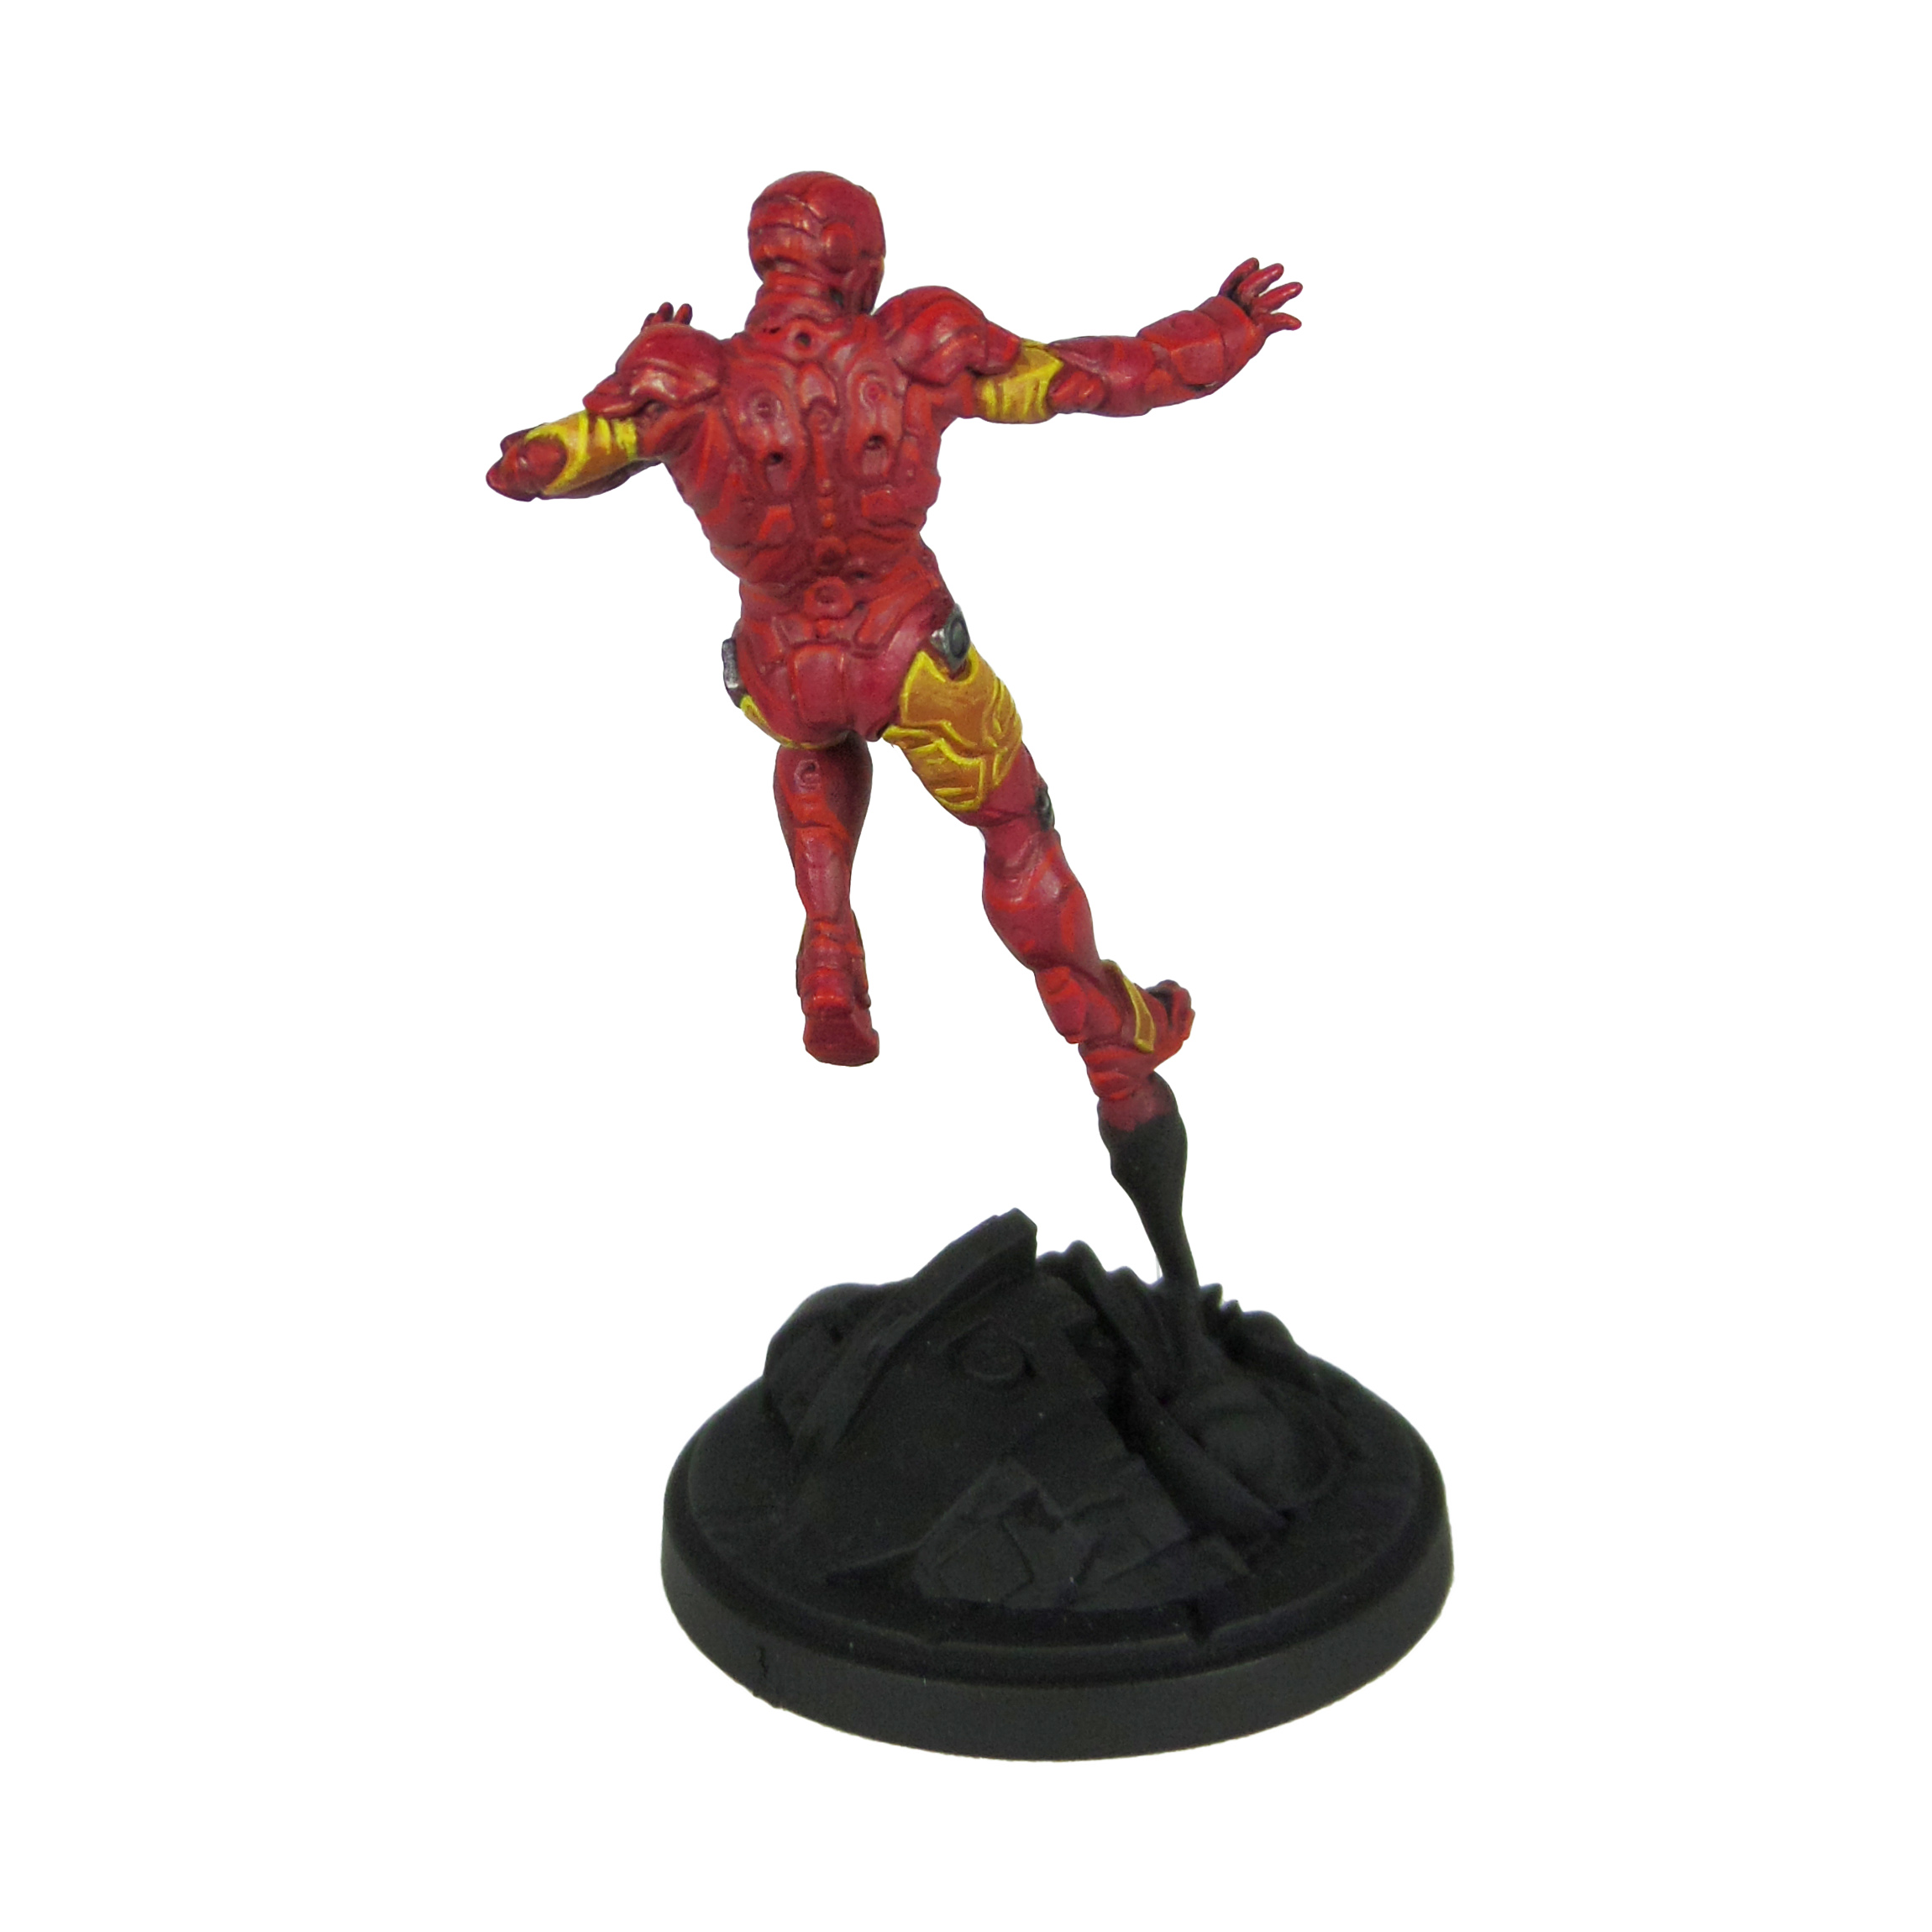
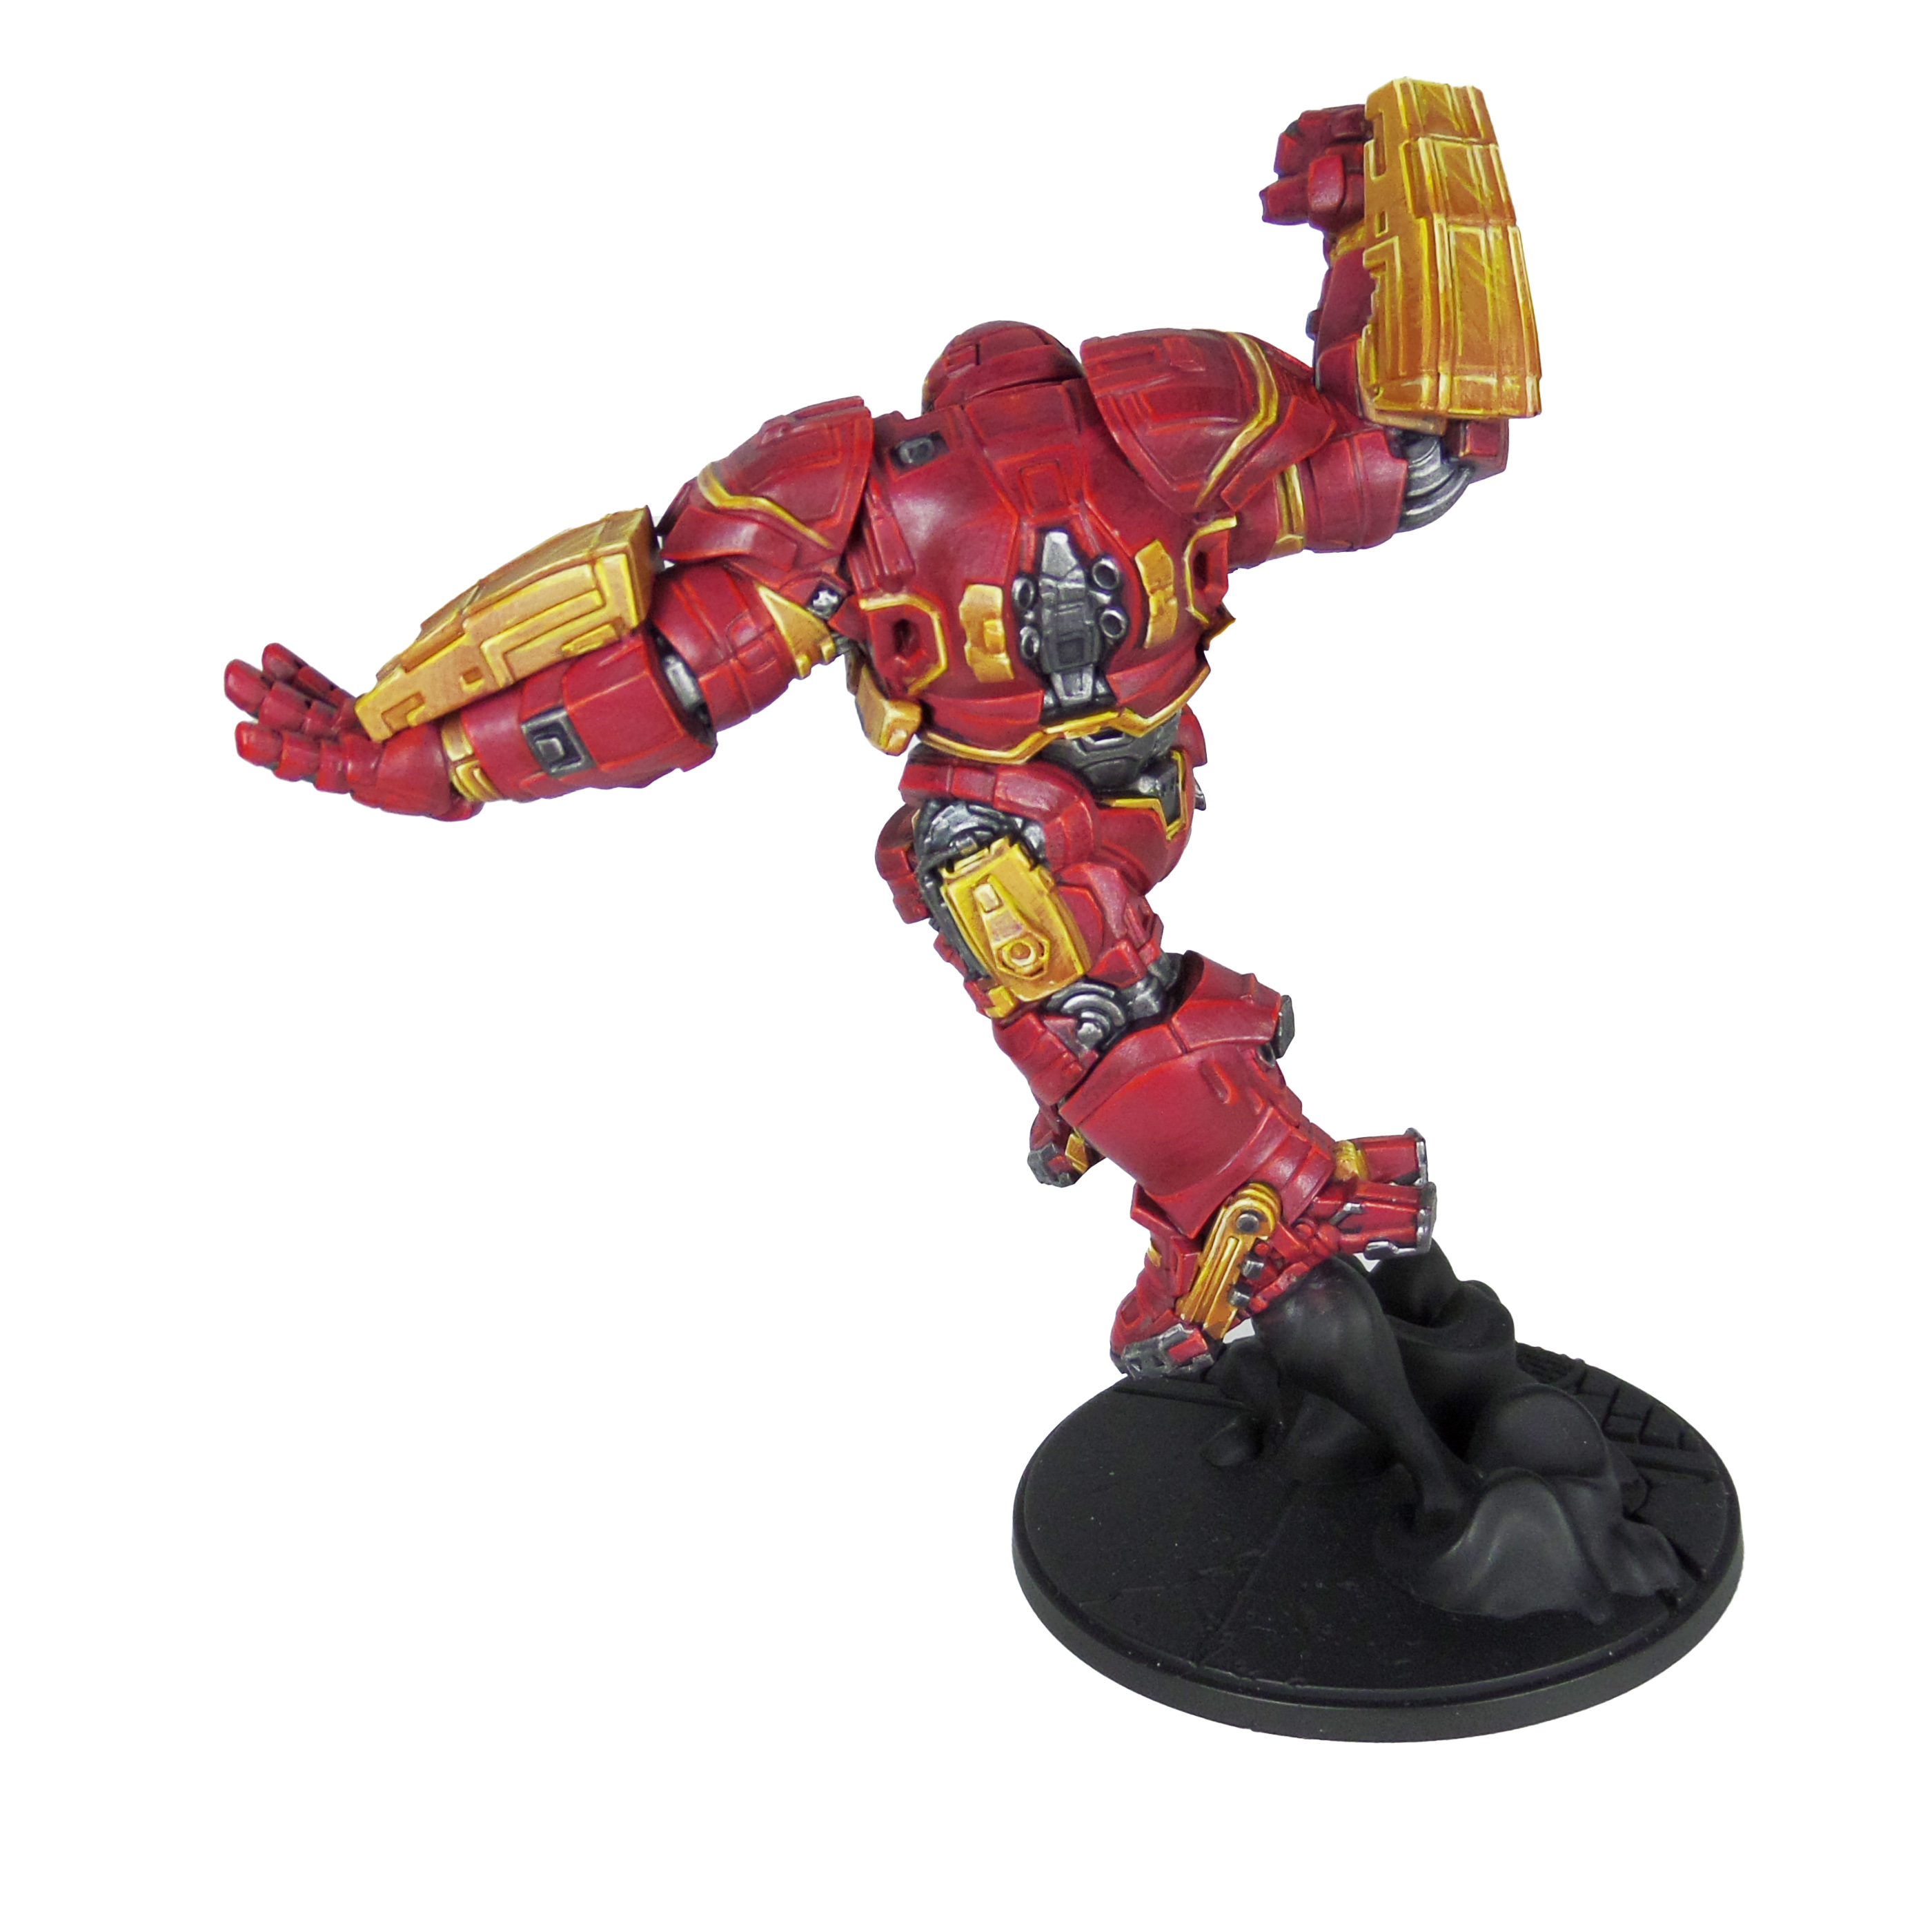
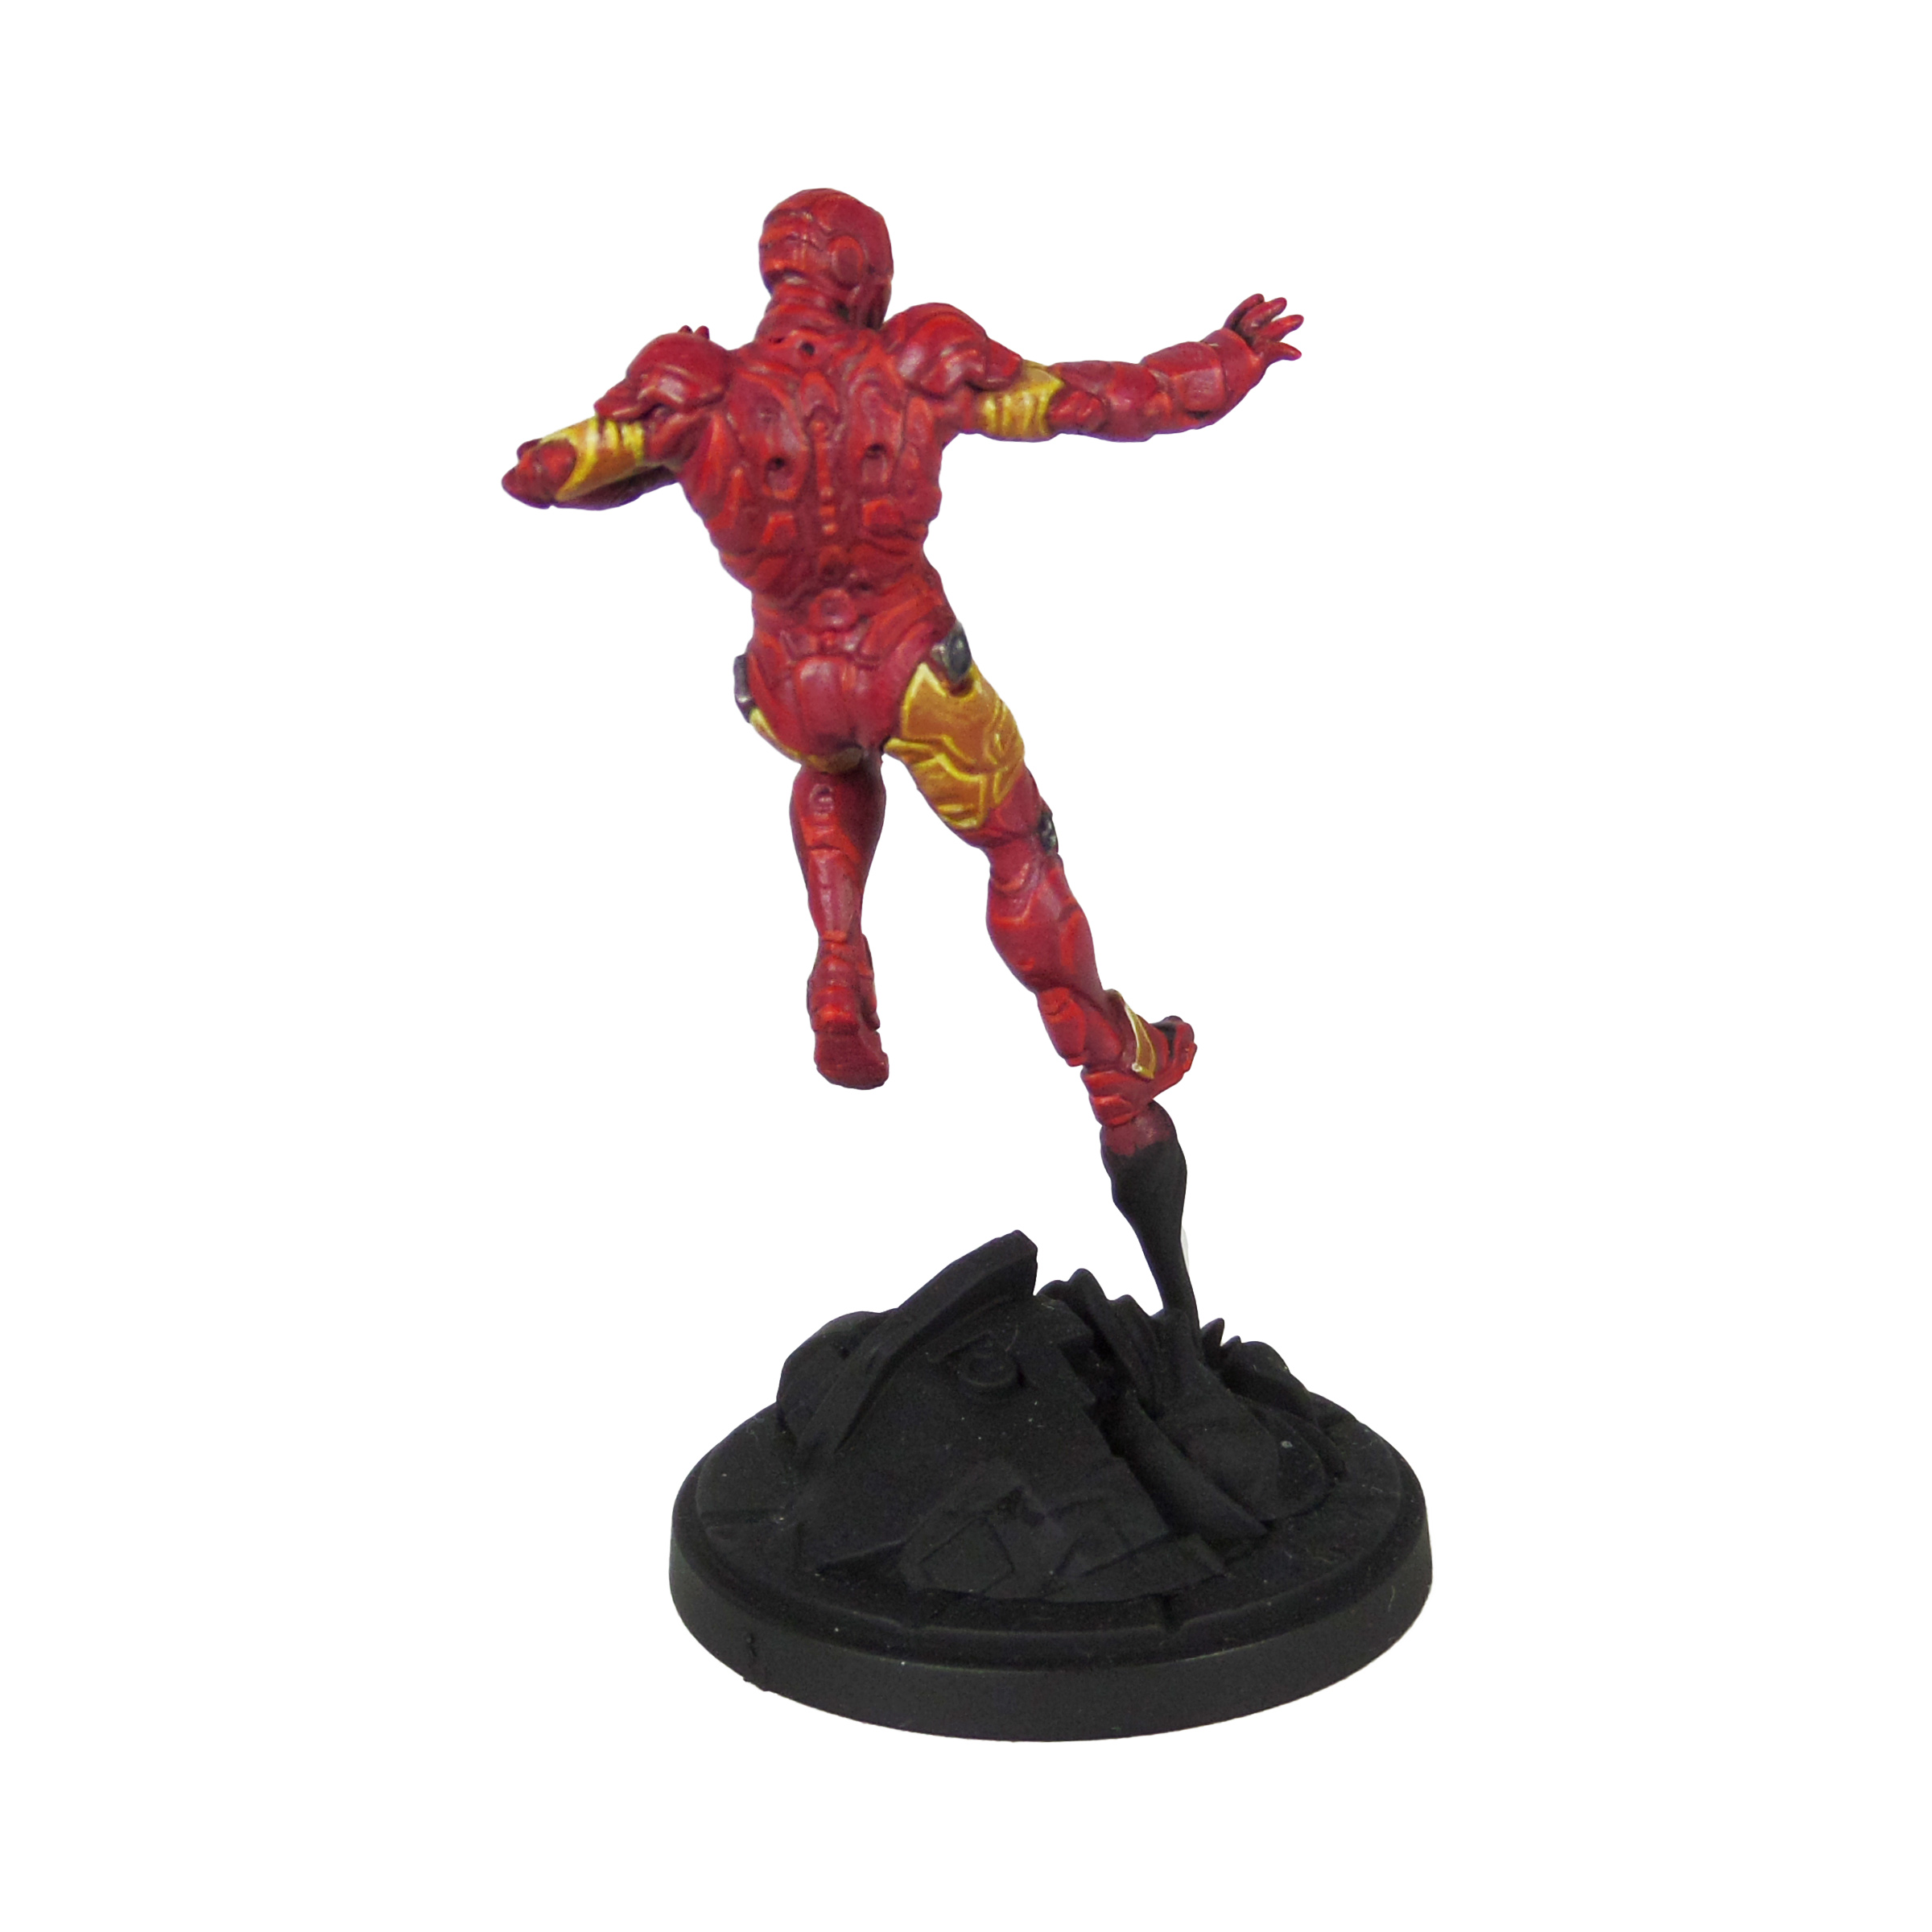
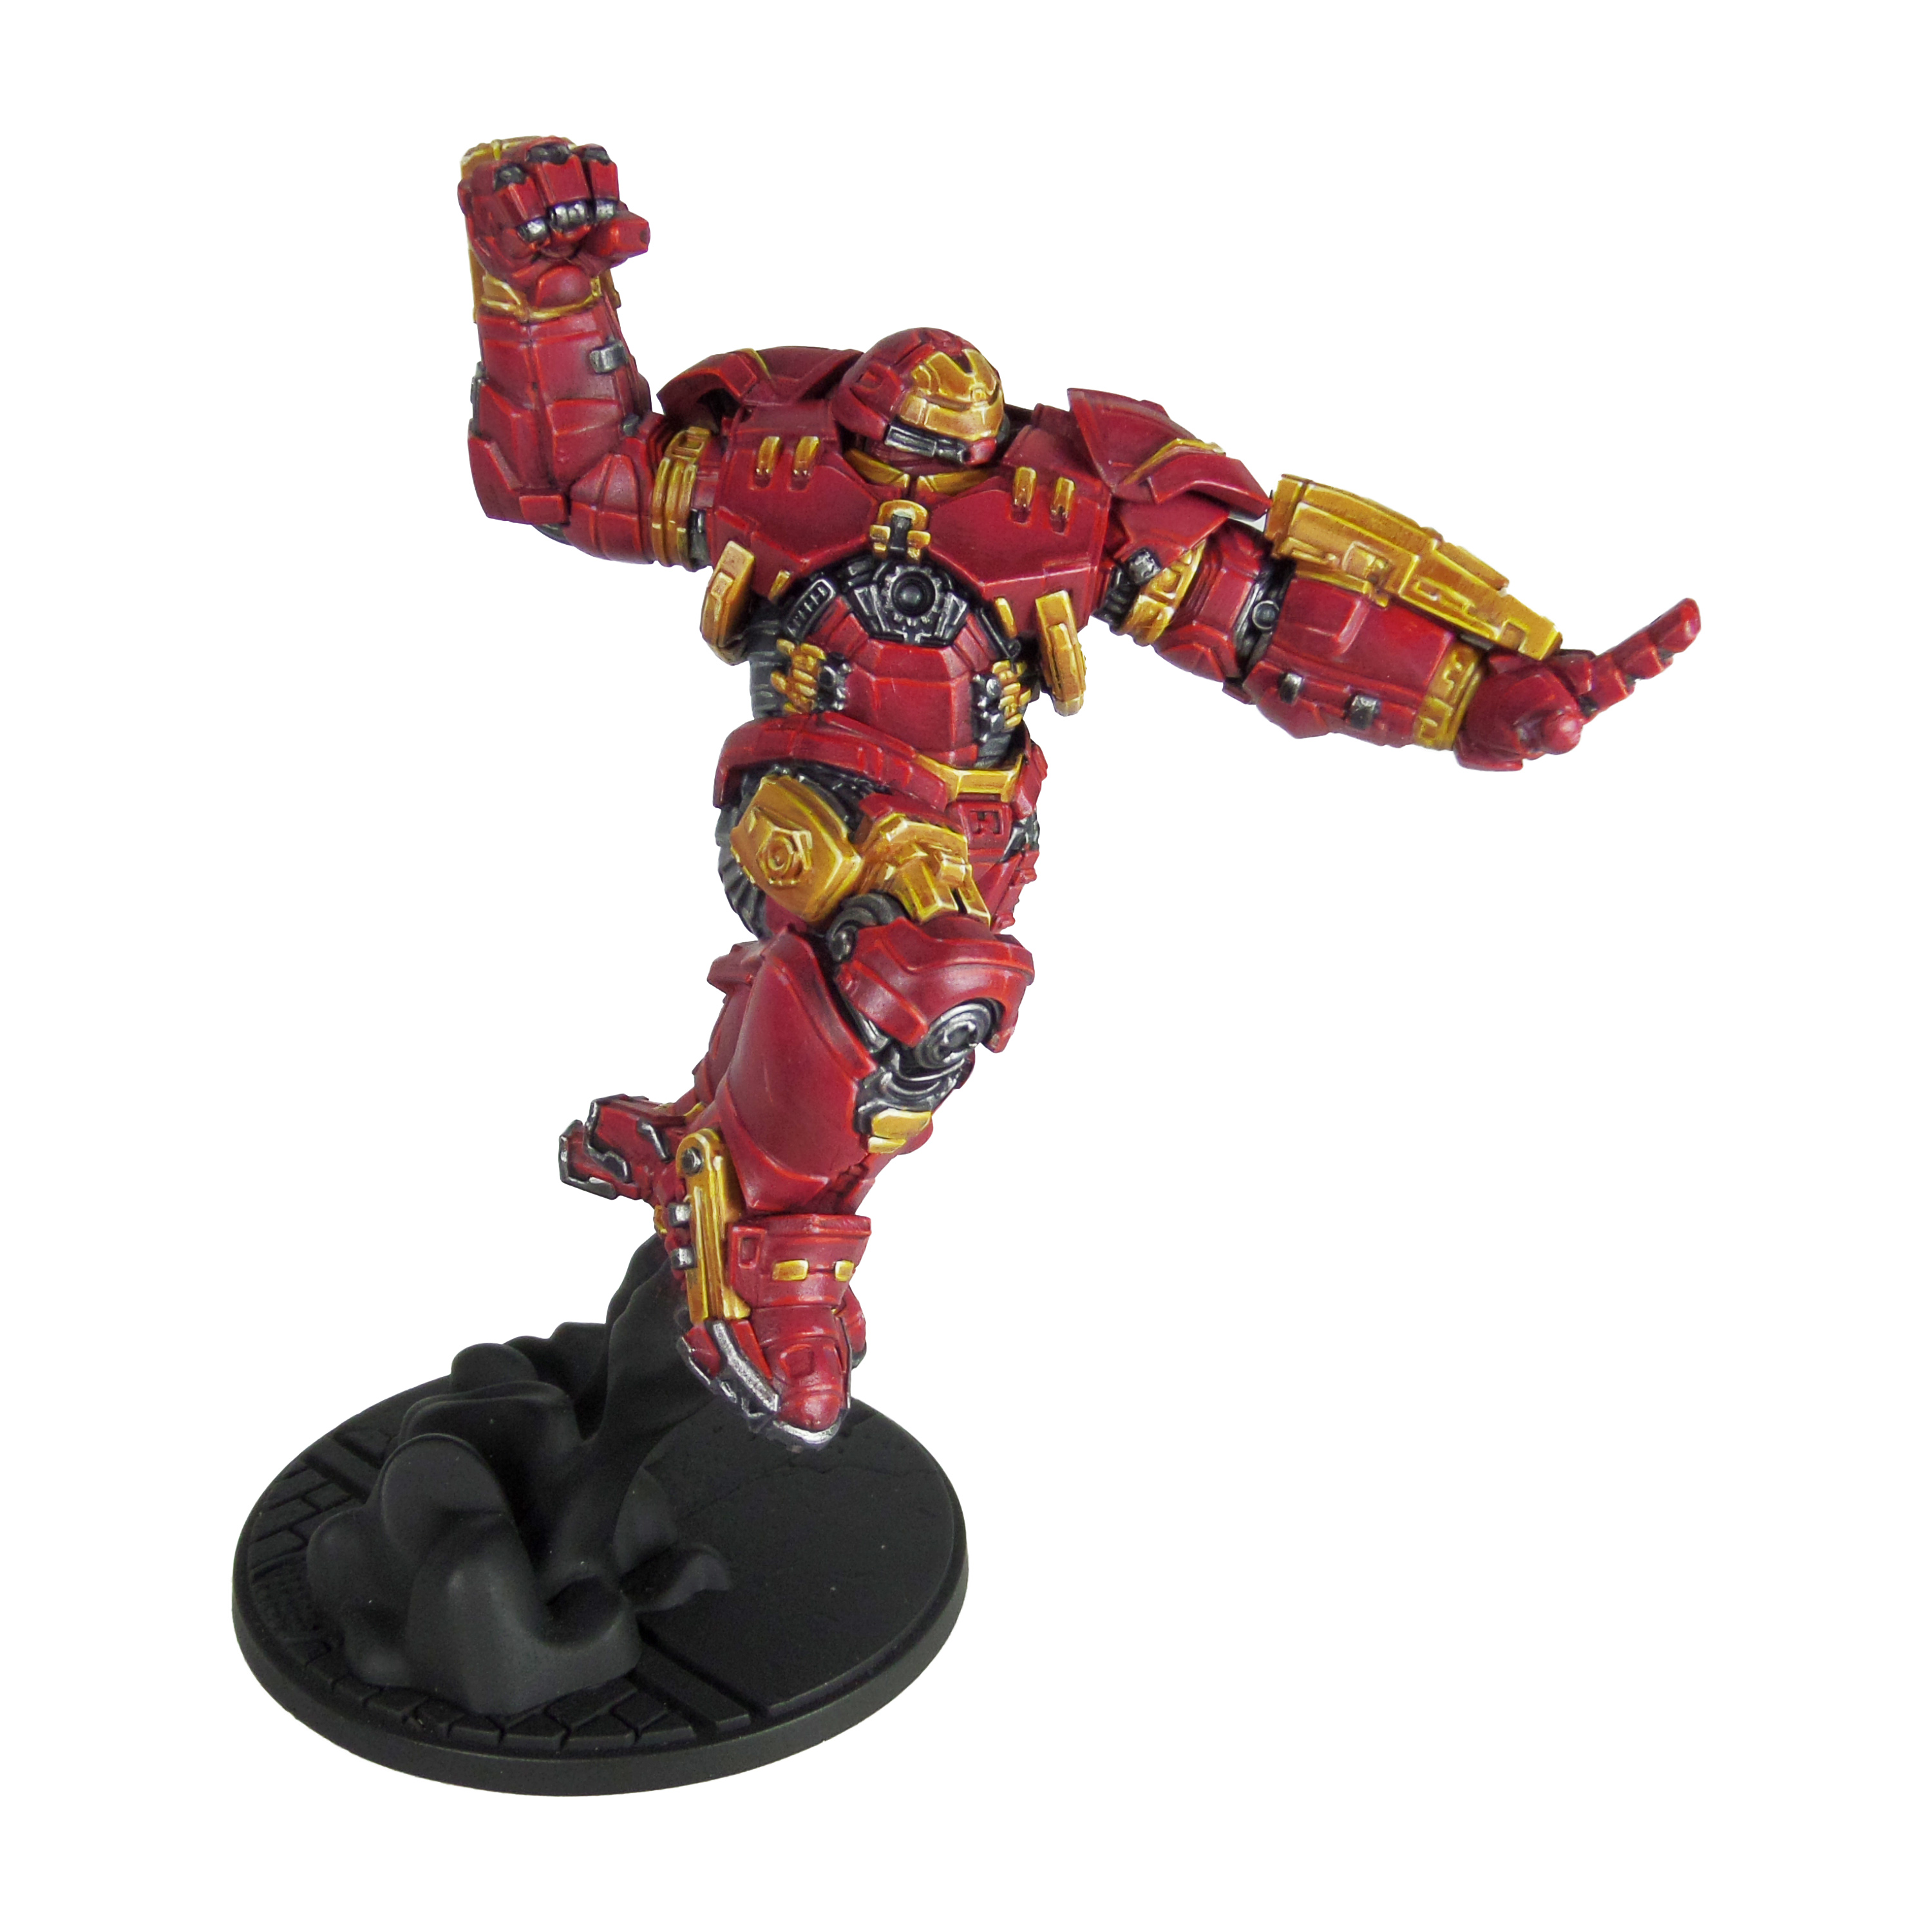
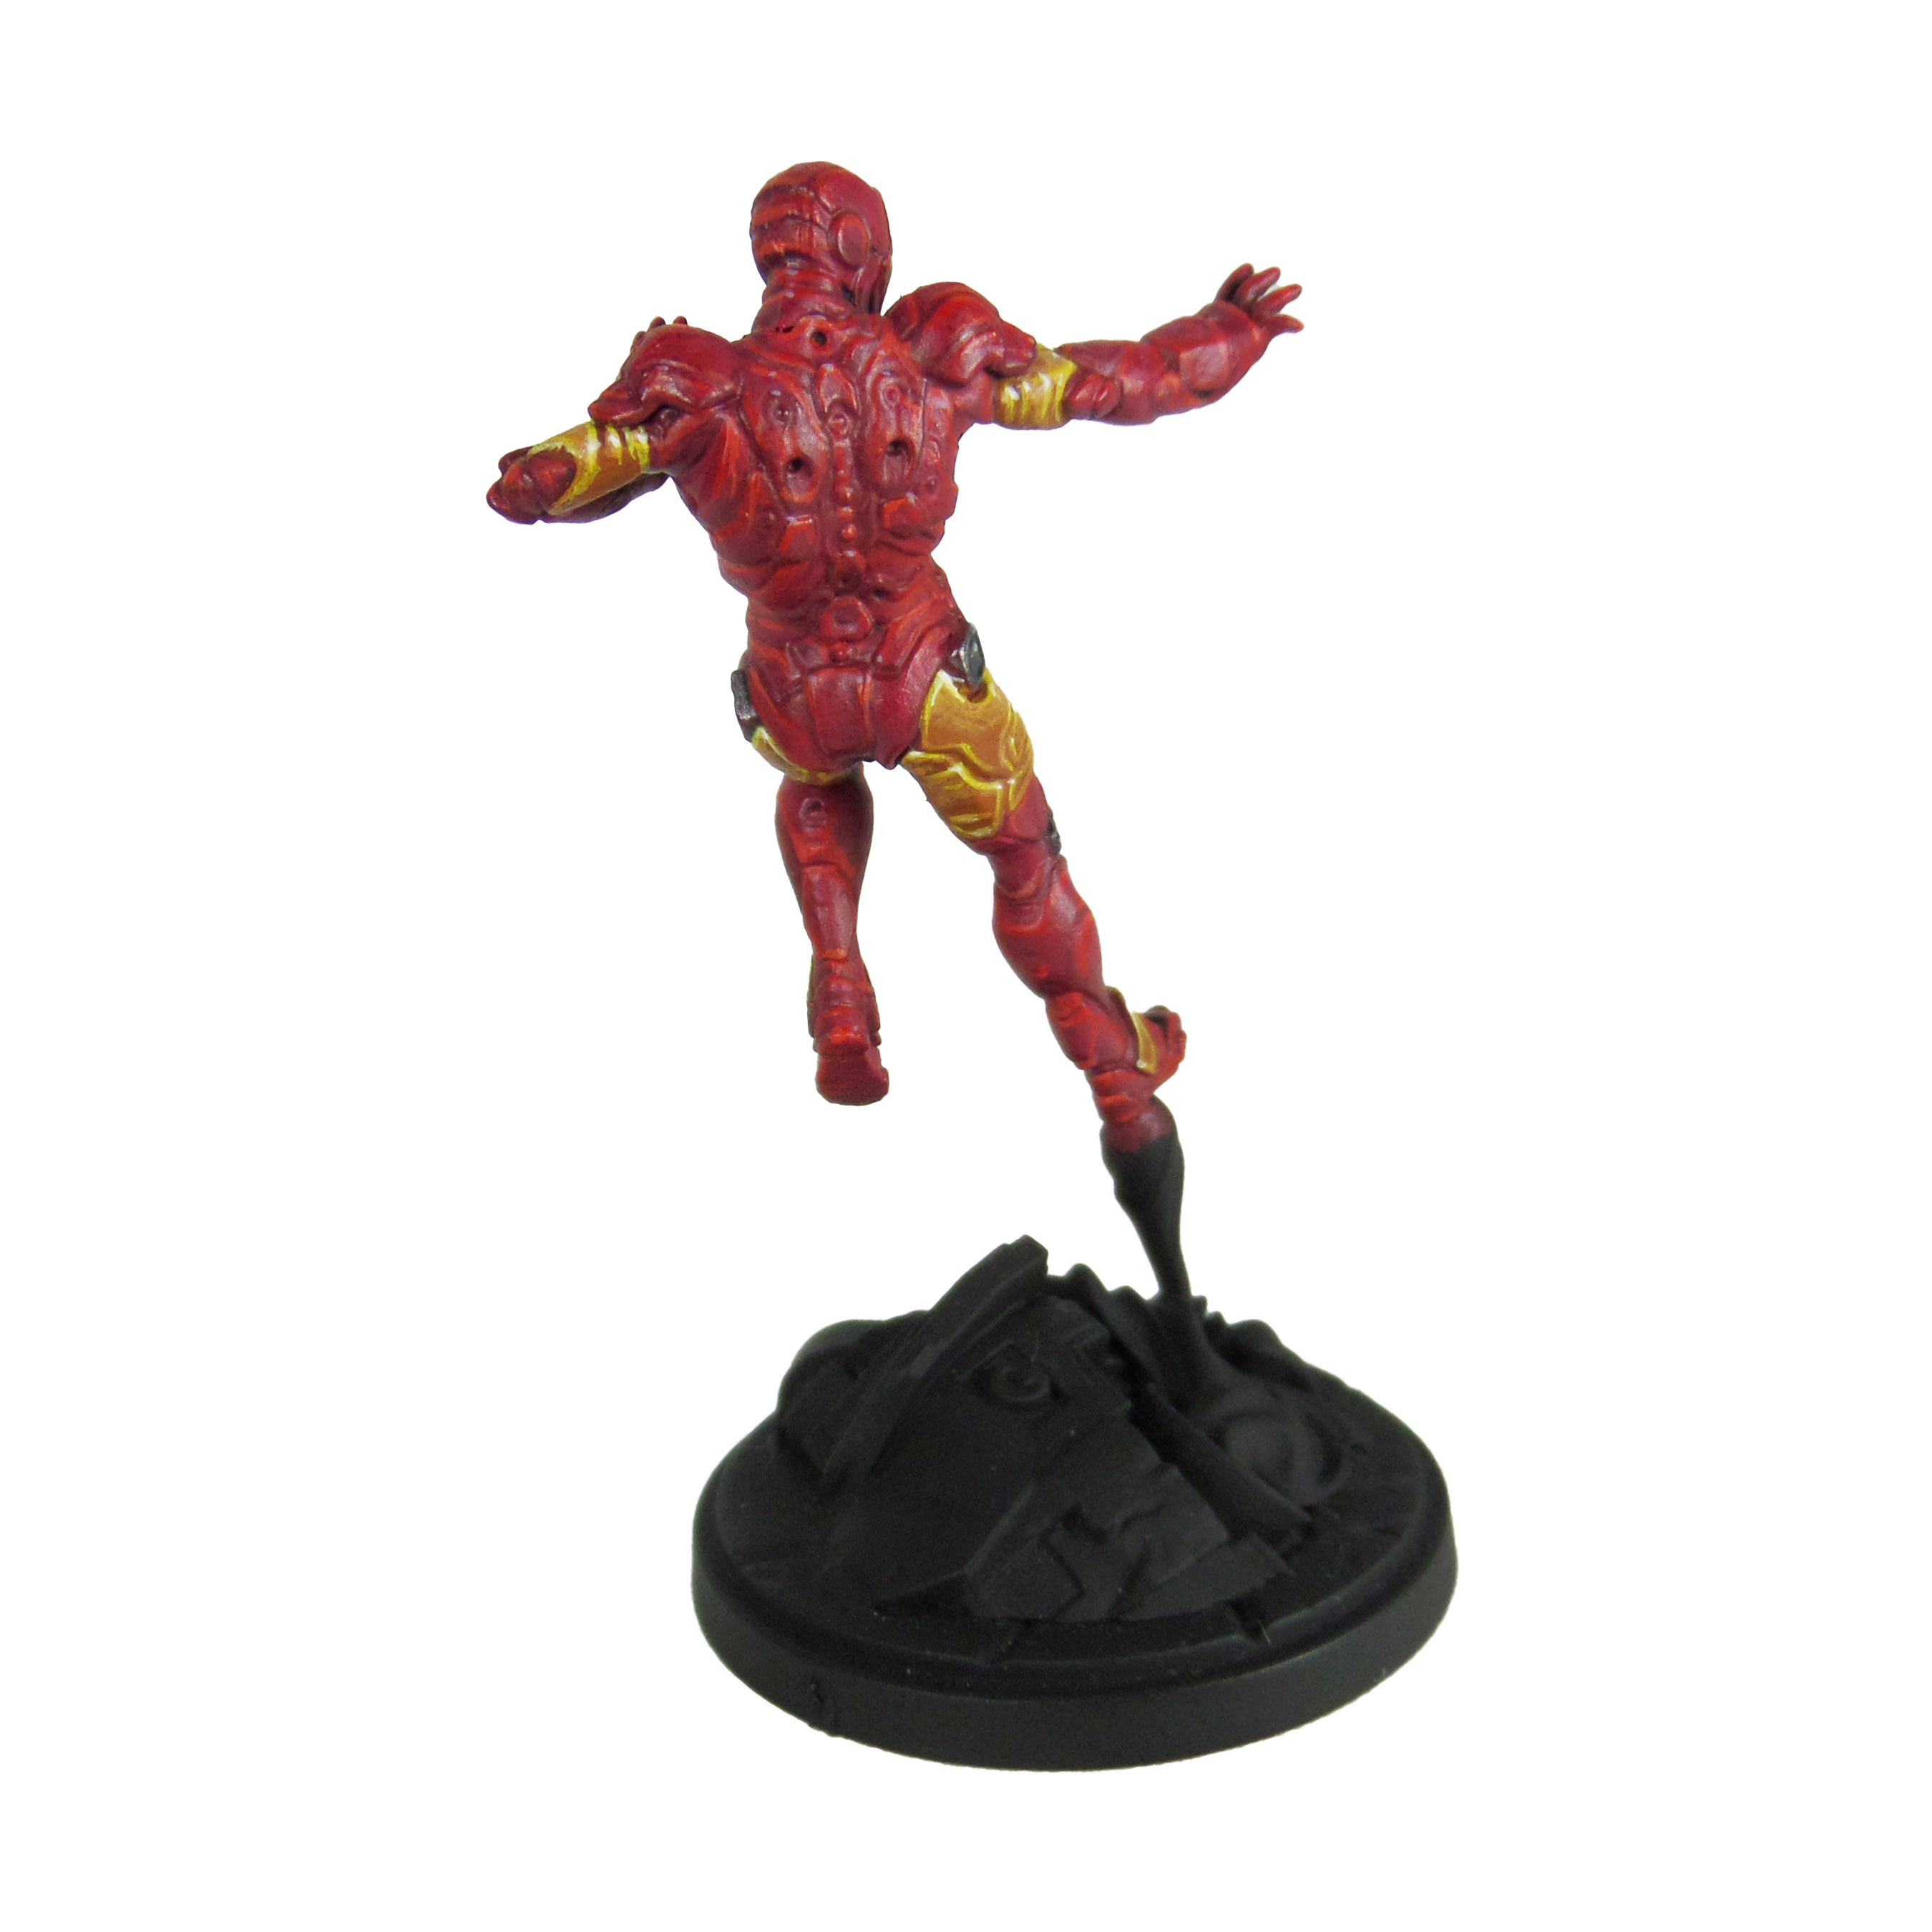
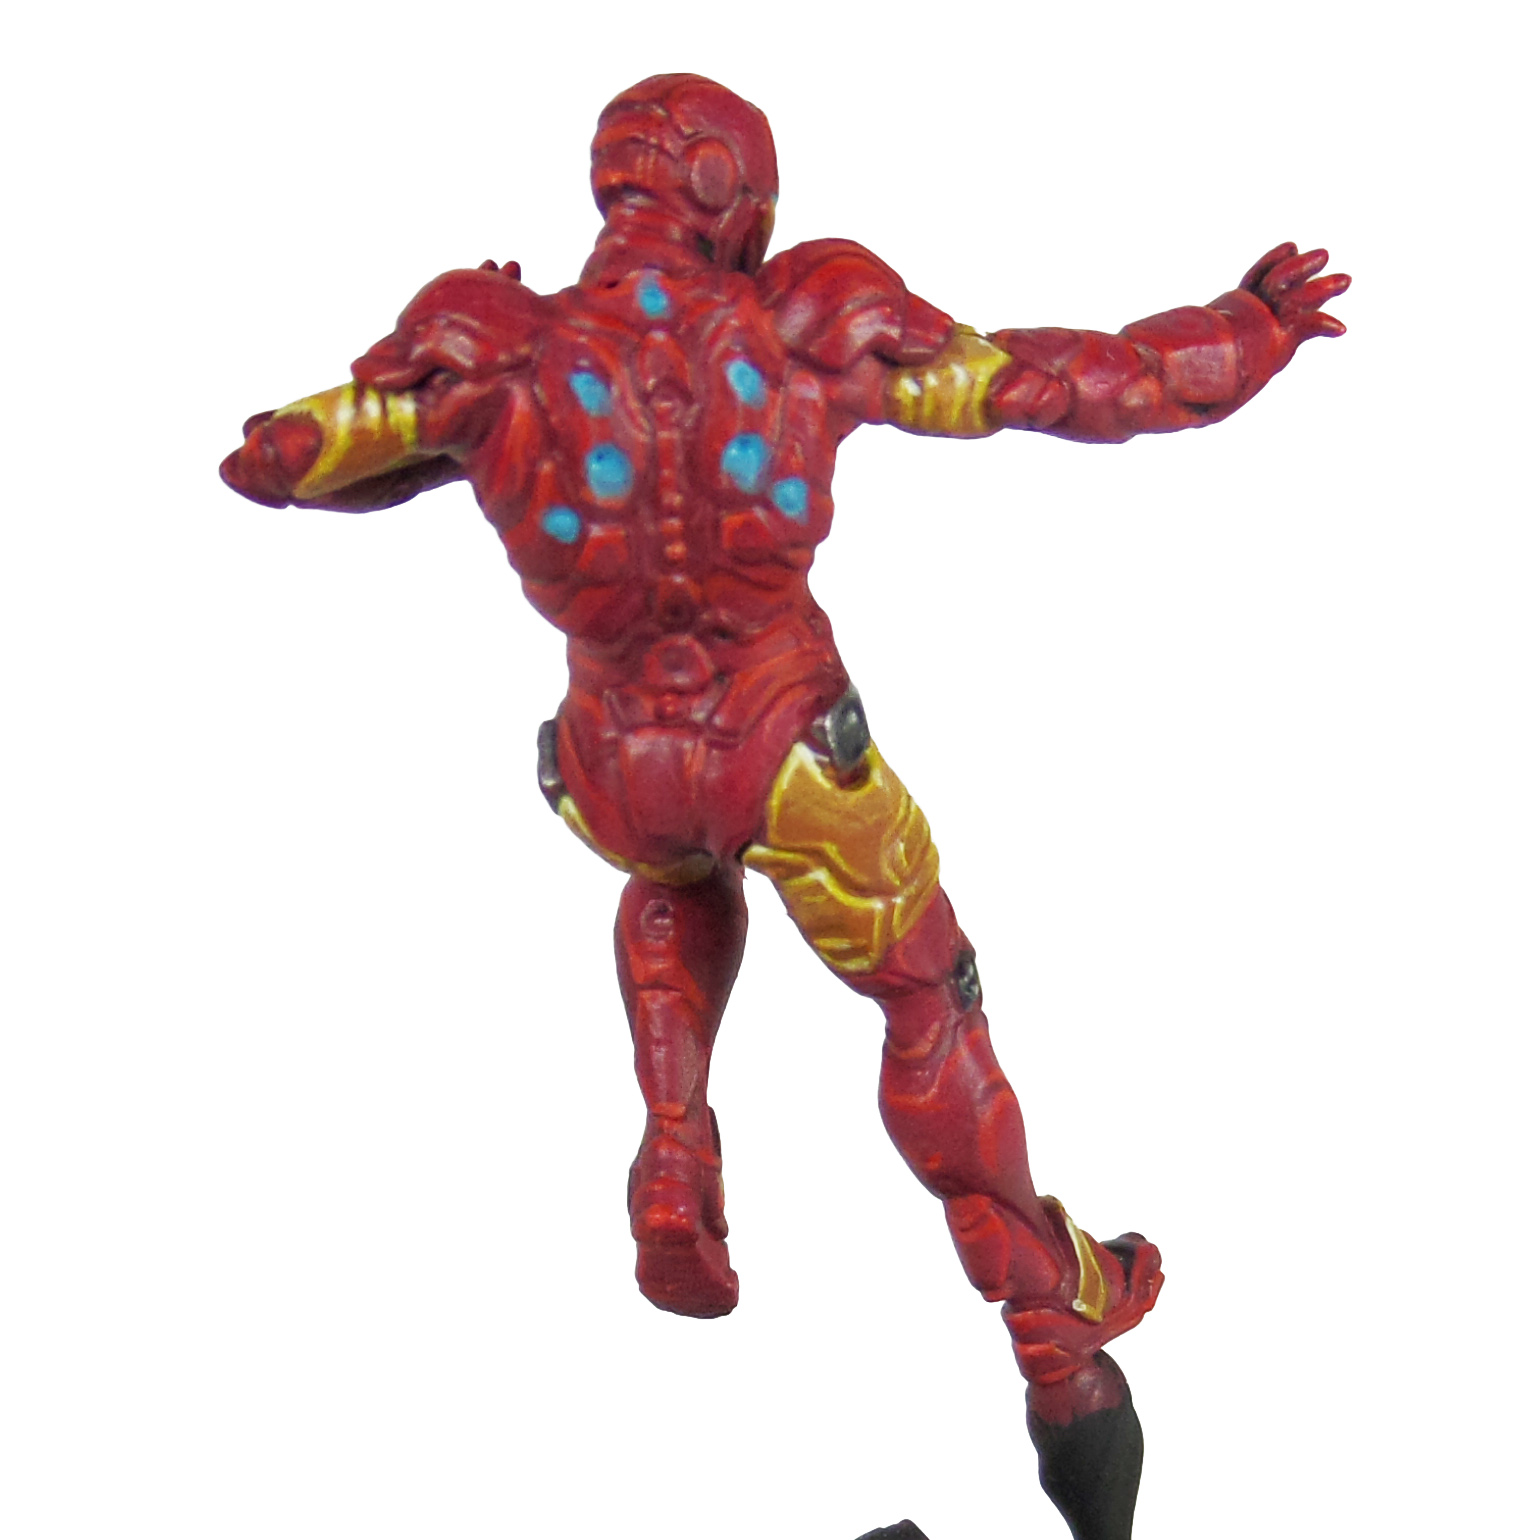
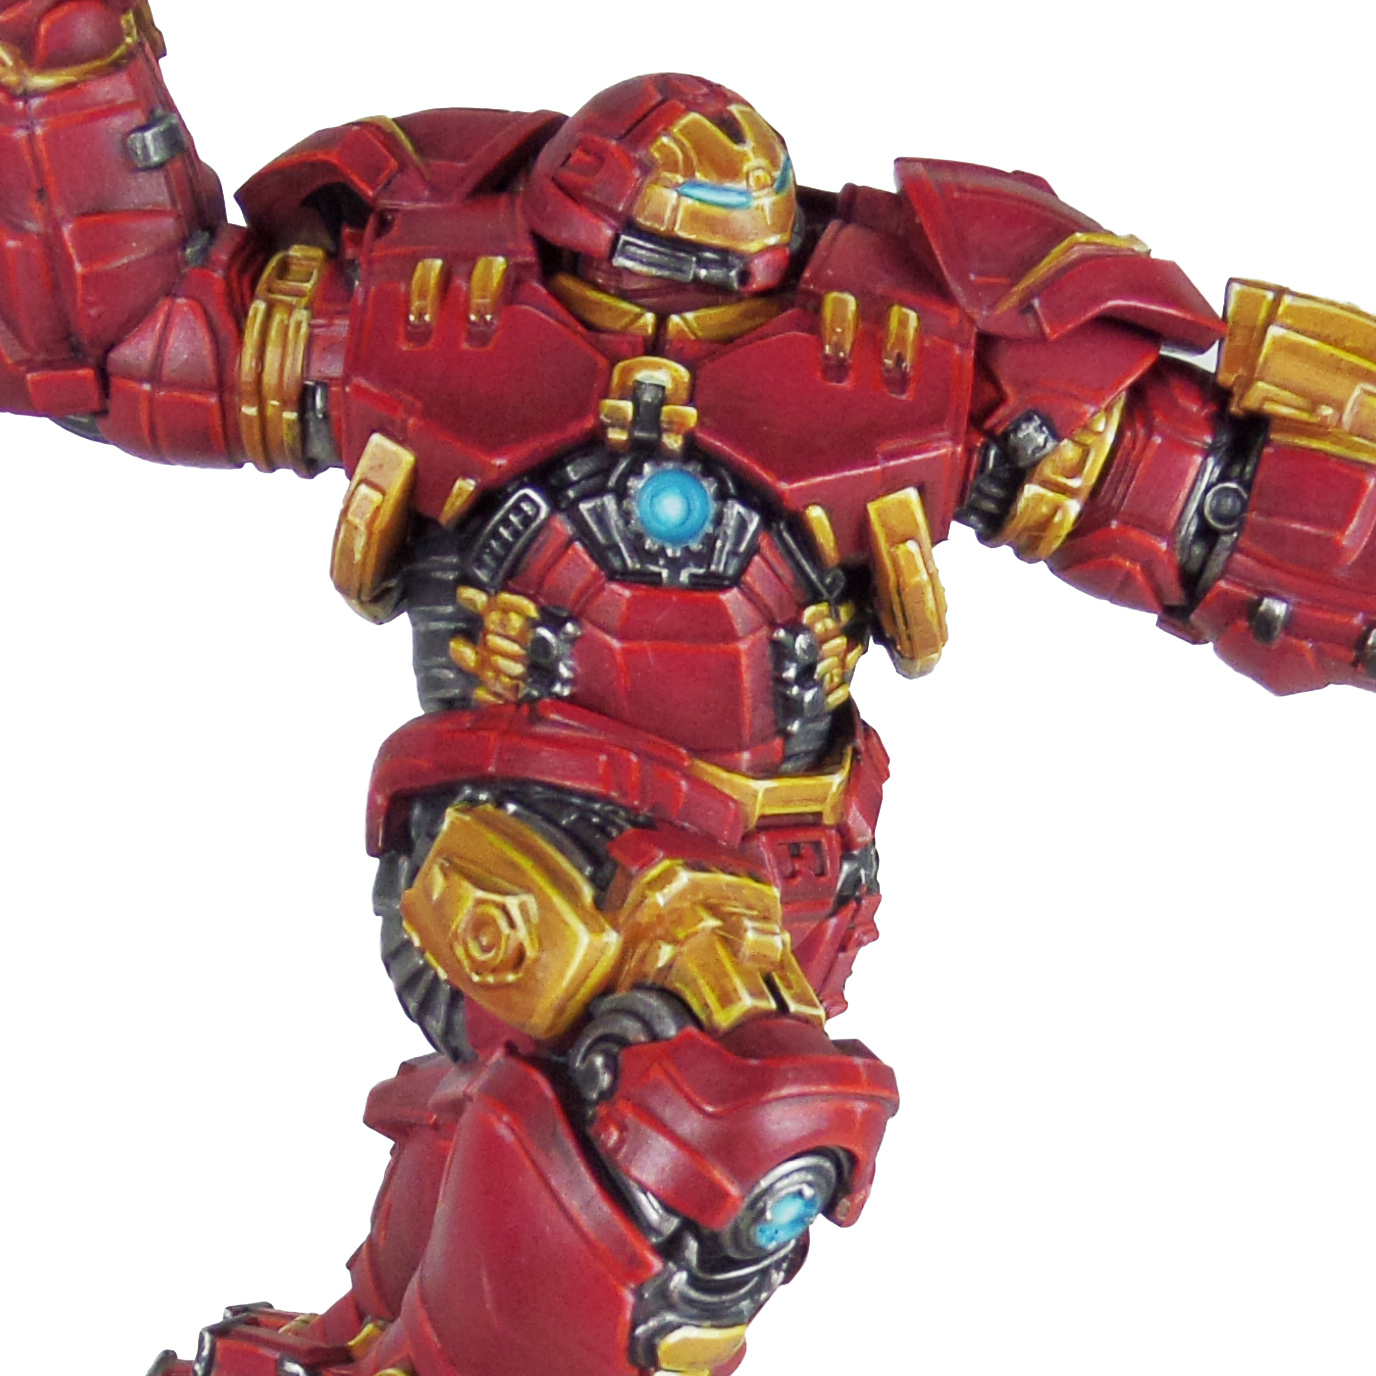
Welcome to my latest painting guide! Hulkbuster, the largest miniature that I’ve painted for MCP so far.
I need your support. Because my guides takes time and supplies to do, any support you can offer would mean the world to me. A supportive message in the comments is enough, but if you have the means why not send me a gift on Ko-Fi or PayPal. Thank you!
Prep: Fully build both models. Undercoat black.
Red, Gold & Metal
Stage 1
Word Bearers Red: Apply basecoat to the red panels.
Skrag Brown: Apply a basecoat to the golds.
Leadbelcher: Apply a basecoat to the metals.


Stage 2
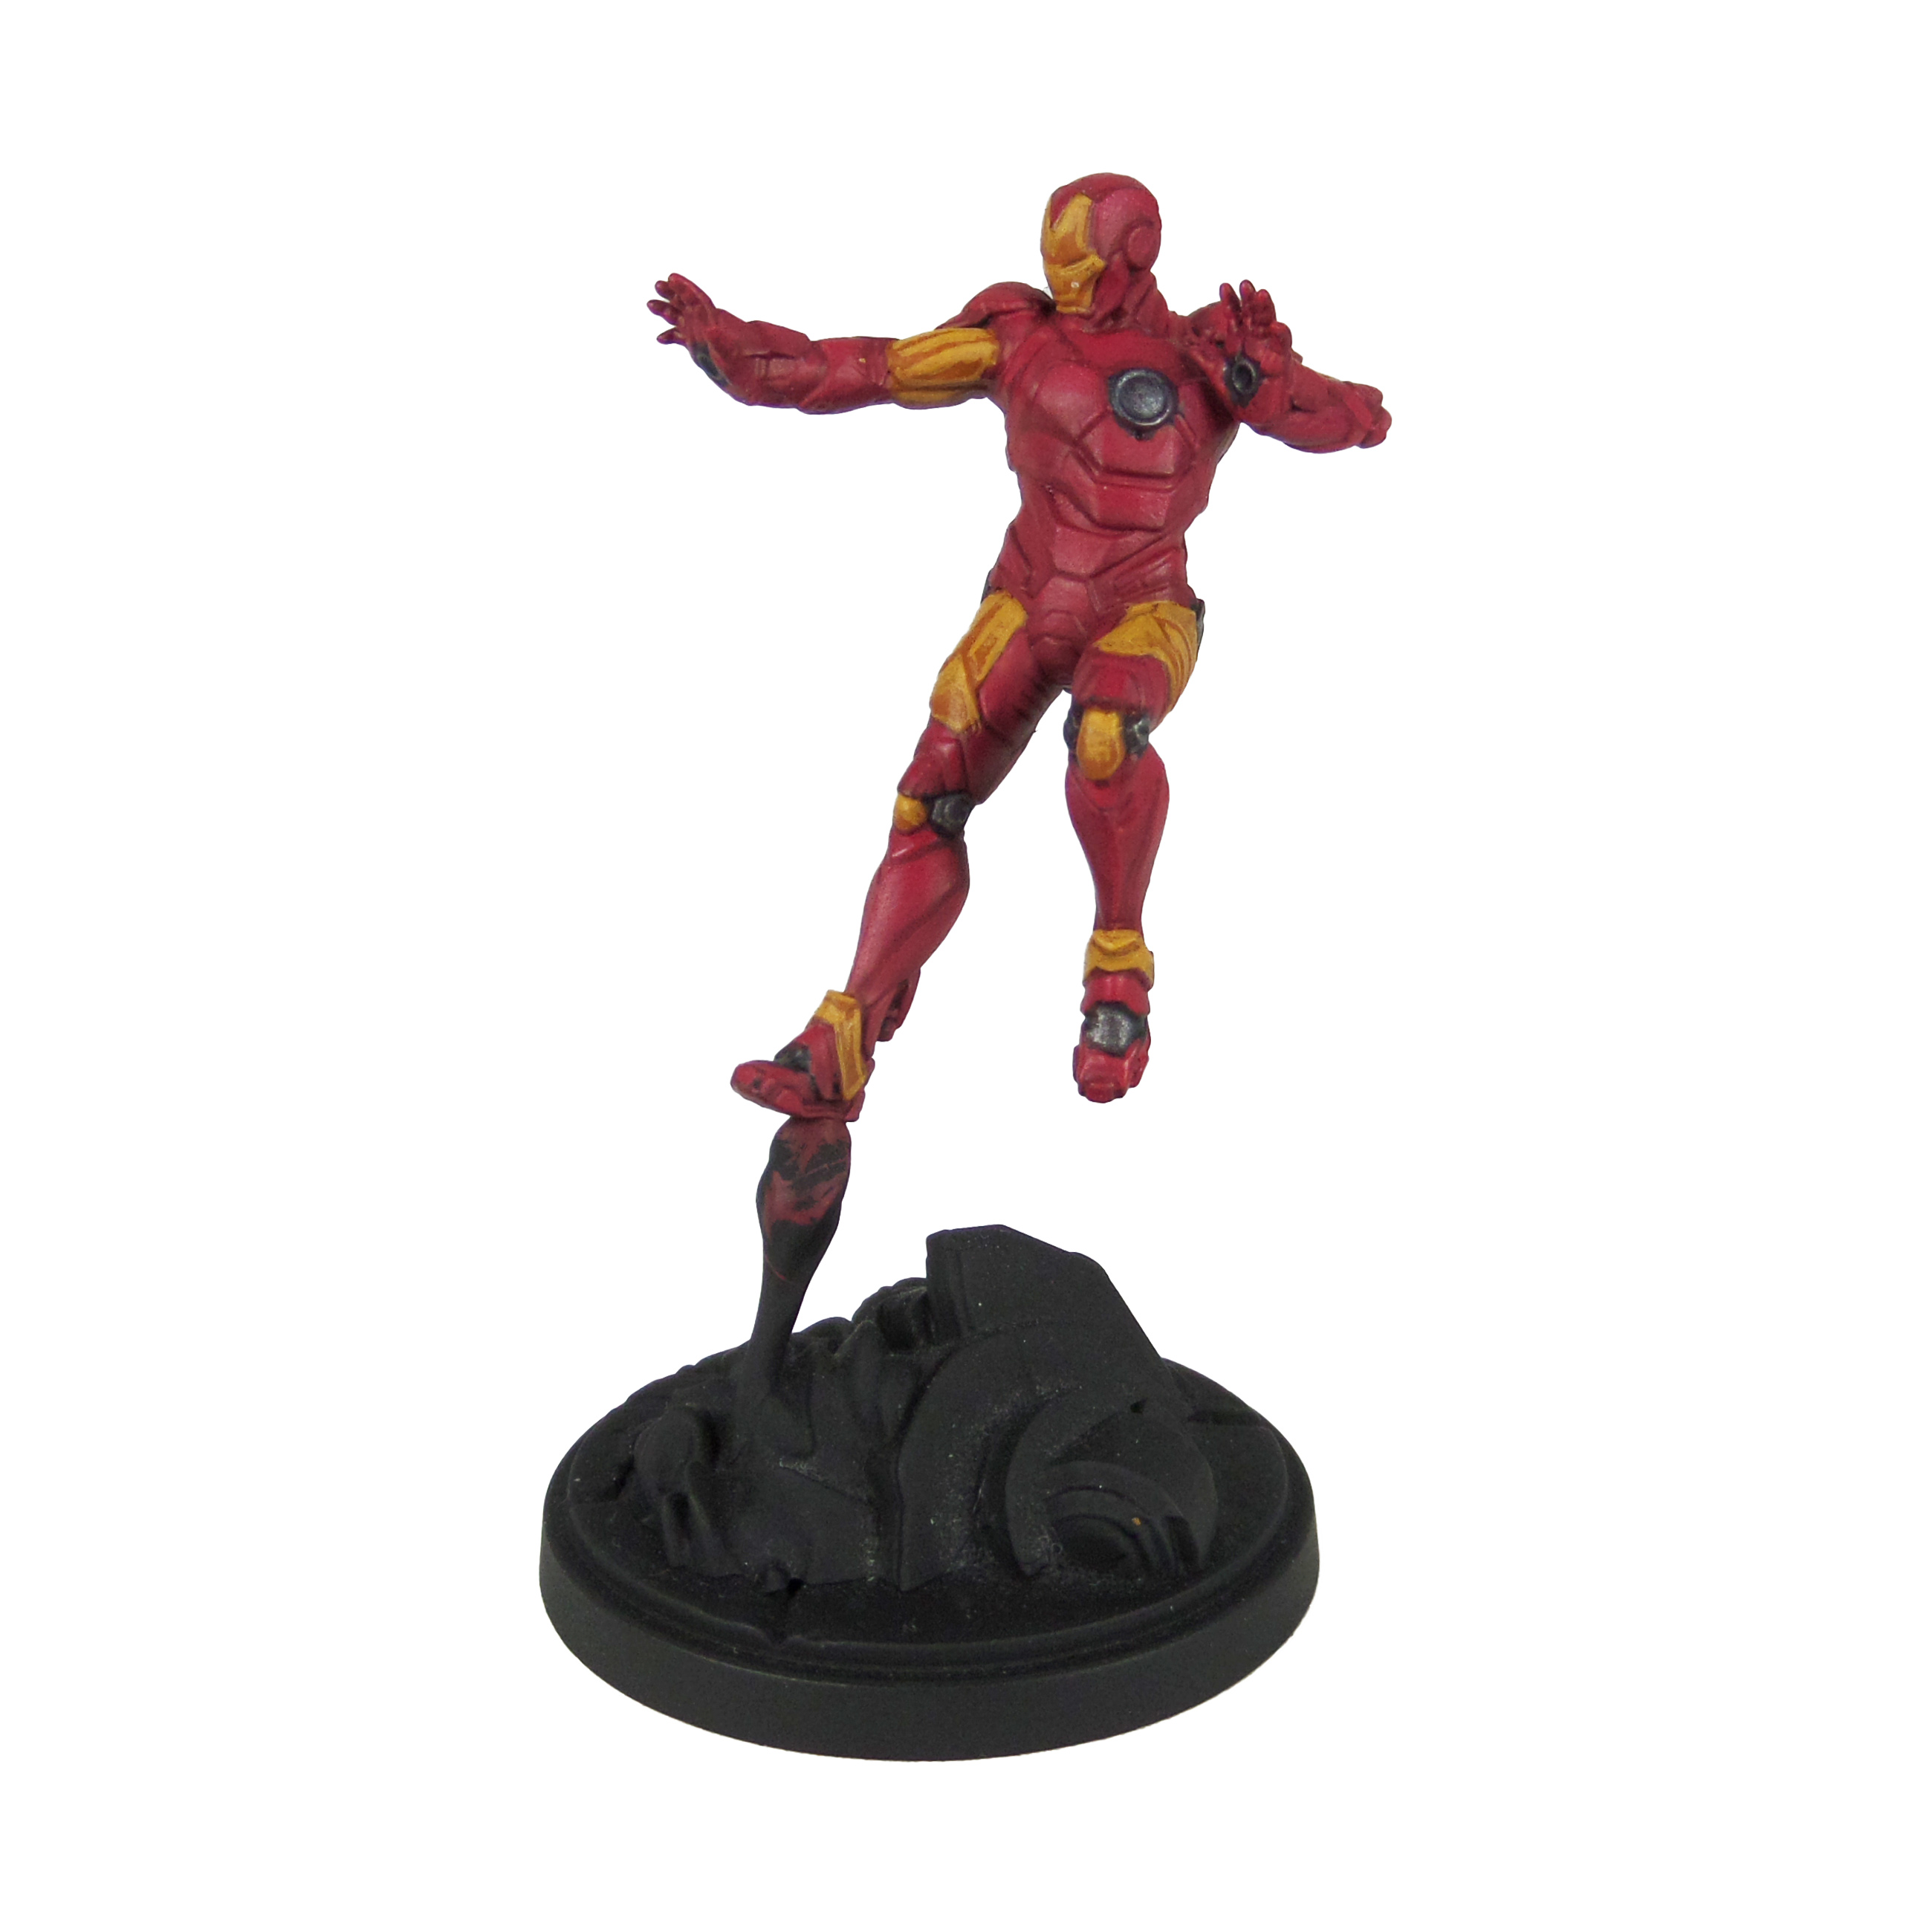
Wazdakka Red: Apply a thinned layer to the red panels. Start from the top of the panel working down.
Tau Light Ochre: Apply a thinned layer to the golds. Like the last stage work from the top down.
Drakenhof Nightshade: Apply a shade to the metals.
Nuln Oil: Once the previous shade has dried, apply a shade of Nuln Oil.


Stage 3
Evil Sunz Scarlet: Apply a line highlight to the top edges of the red panel. Apply a very light thinned layer to the tops of the panels.
Flash Gitz Yellow: Apply a line highlight to the gold panels.
Ironbreaker: Apply a line highlight to the metals.


Stage 4
Wild Rider Red: Apply a fine line highlight to the top and side edges of the panels.
Dorn Yellow: Apply a line highlight to the top edges of the gold panels.
Stormhost Silver: Apply a spot highlight to the metals.


Stage 5
Slaanesh Grey: Apply a spot highlight to the red panels, focussing on the top corner and ,meeting points.
White Scar: Apply a spot highlight to the gold panels.


Arc Reactors
Stage 1
Temple Guard Blue: Apply a basecoat.


Stage 2
Baharroth Blue: Apply a thinned layer to the centre.

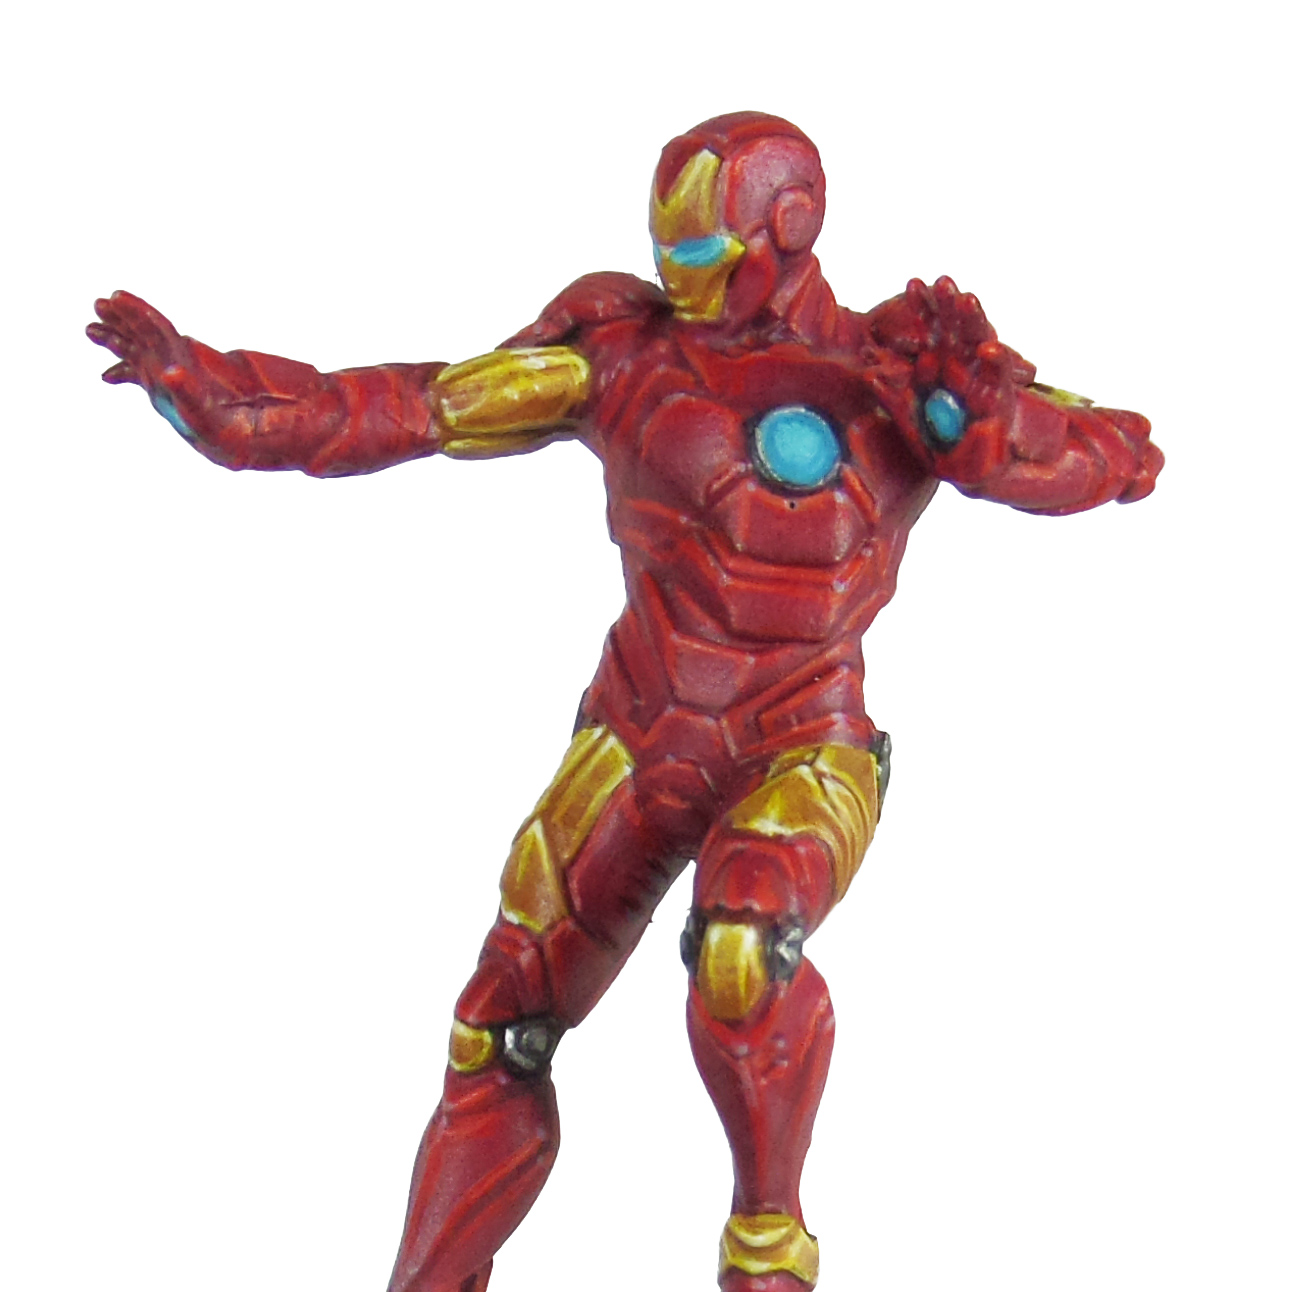
Stage 3
Blue Horror: Apply a thinned layer to the centre, decreasing the size compared to the last stage.
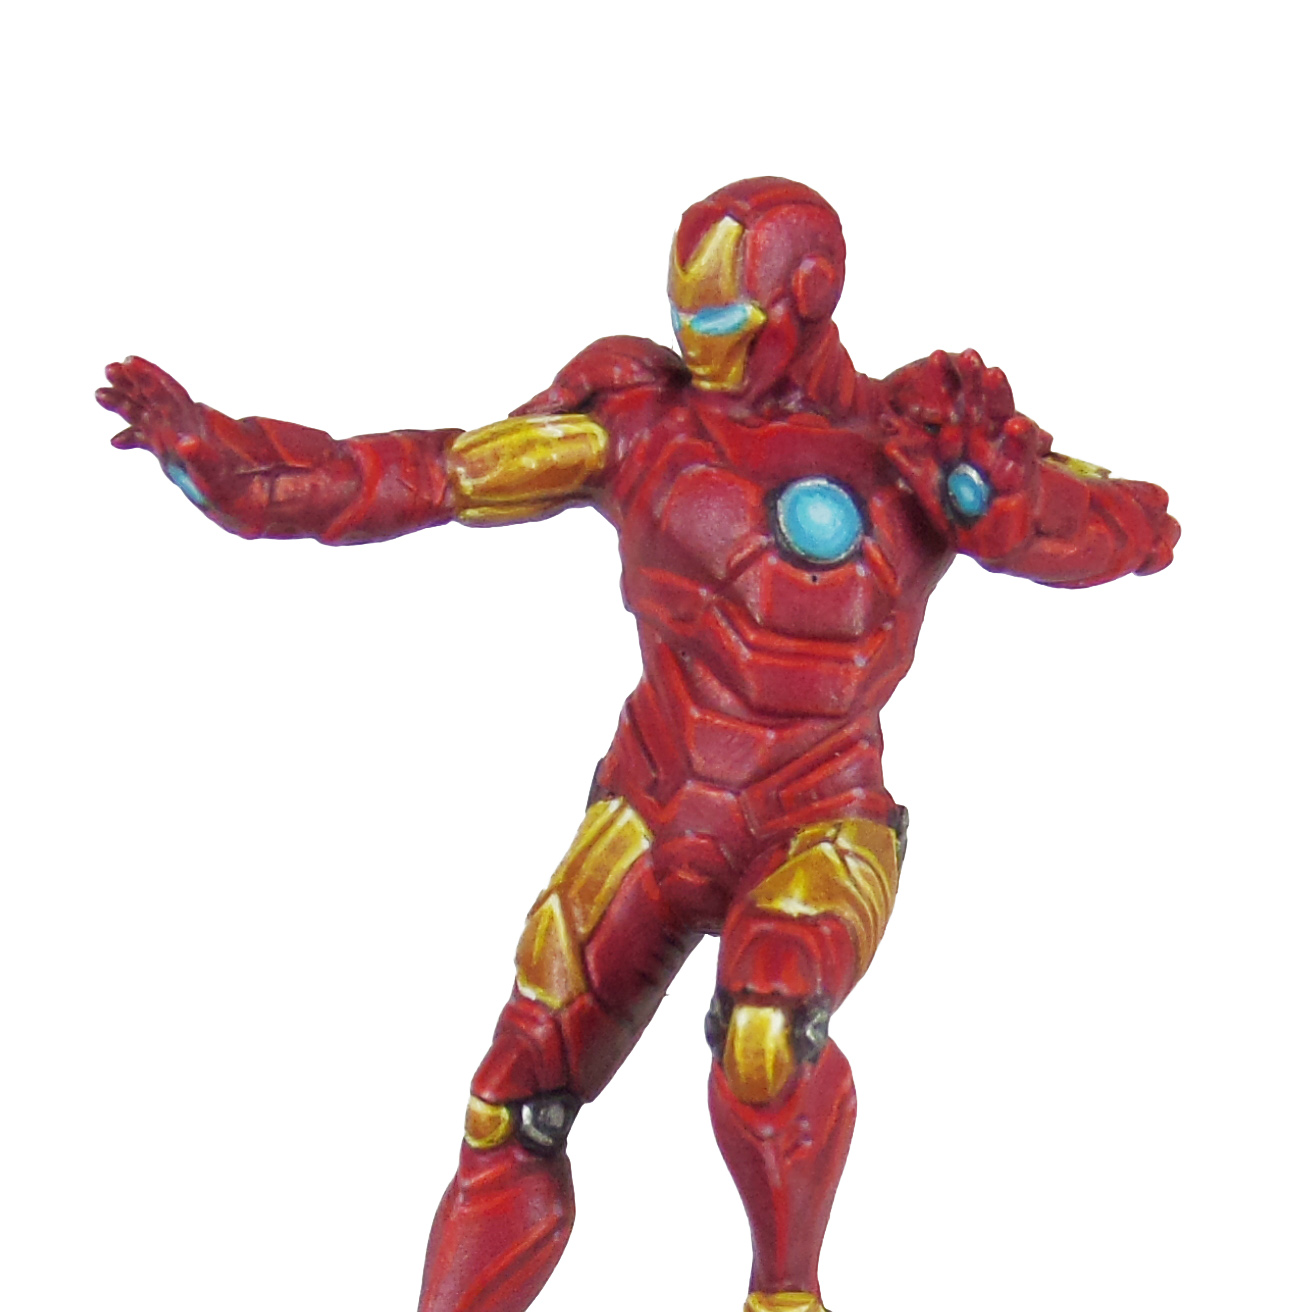
Stage 4
White Scar: Apply a spot highlight to the centre.


Base Repulsor Blasts
Stage 1
Mephiston Red: Apply a basecoat to the clouds.
Temple Guard Blue: Apply a basecoat to the repulsor blasts.


Stage 2
Troll Slayer Orange: Make a mix with around 5 parts water to 1 part paint and apply over the cloud. once dry repeat 2-3 times to help build the colour.
Baharroth Blue: Apply a thinned layer to the repulsor blast, from the bottom up.

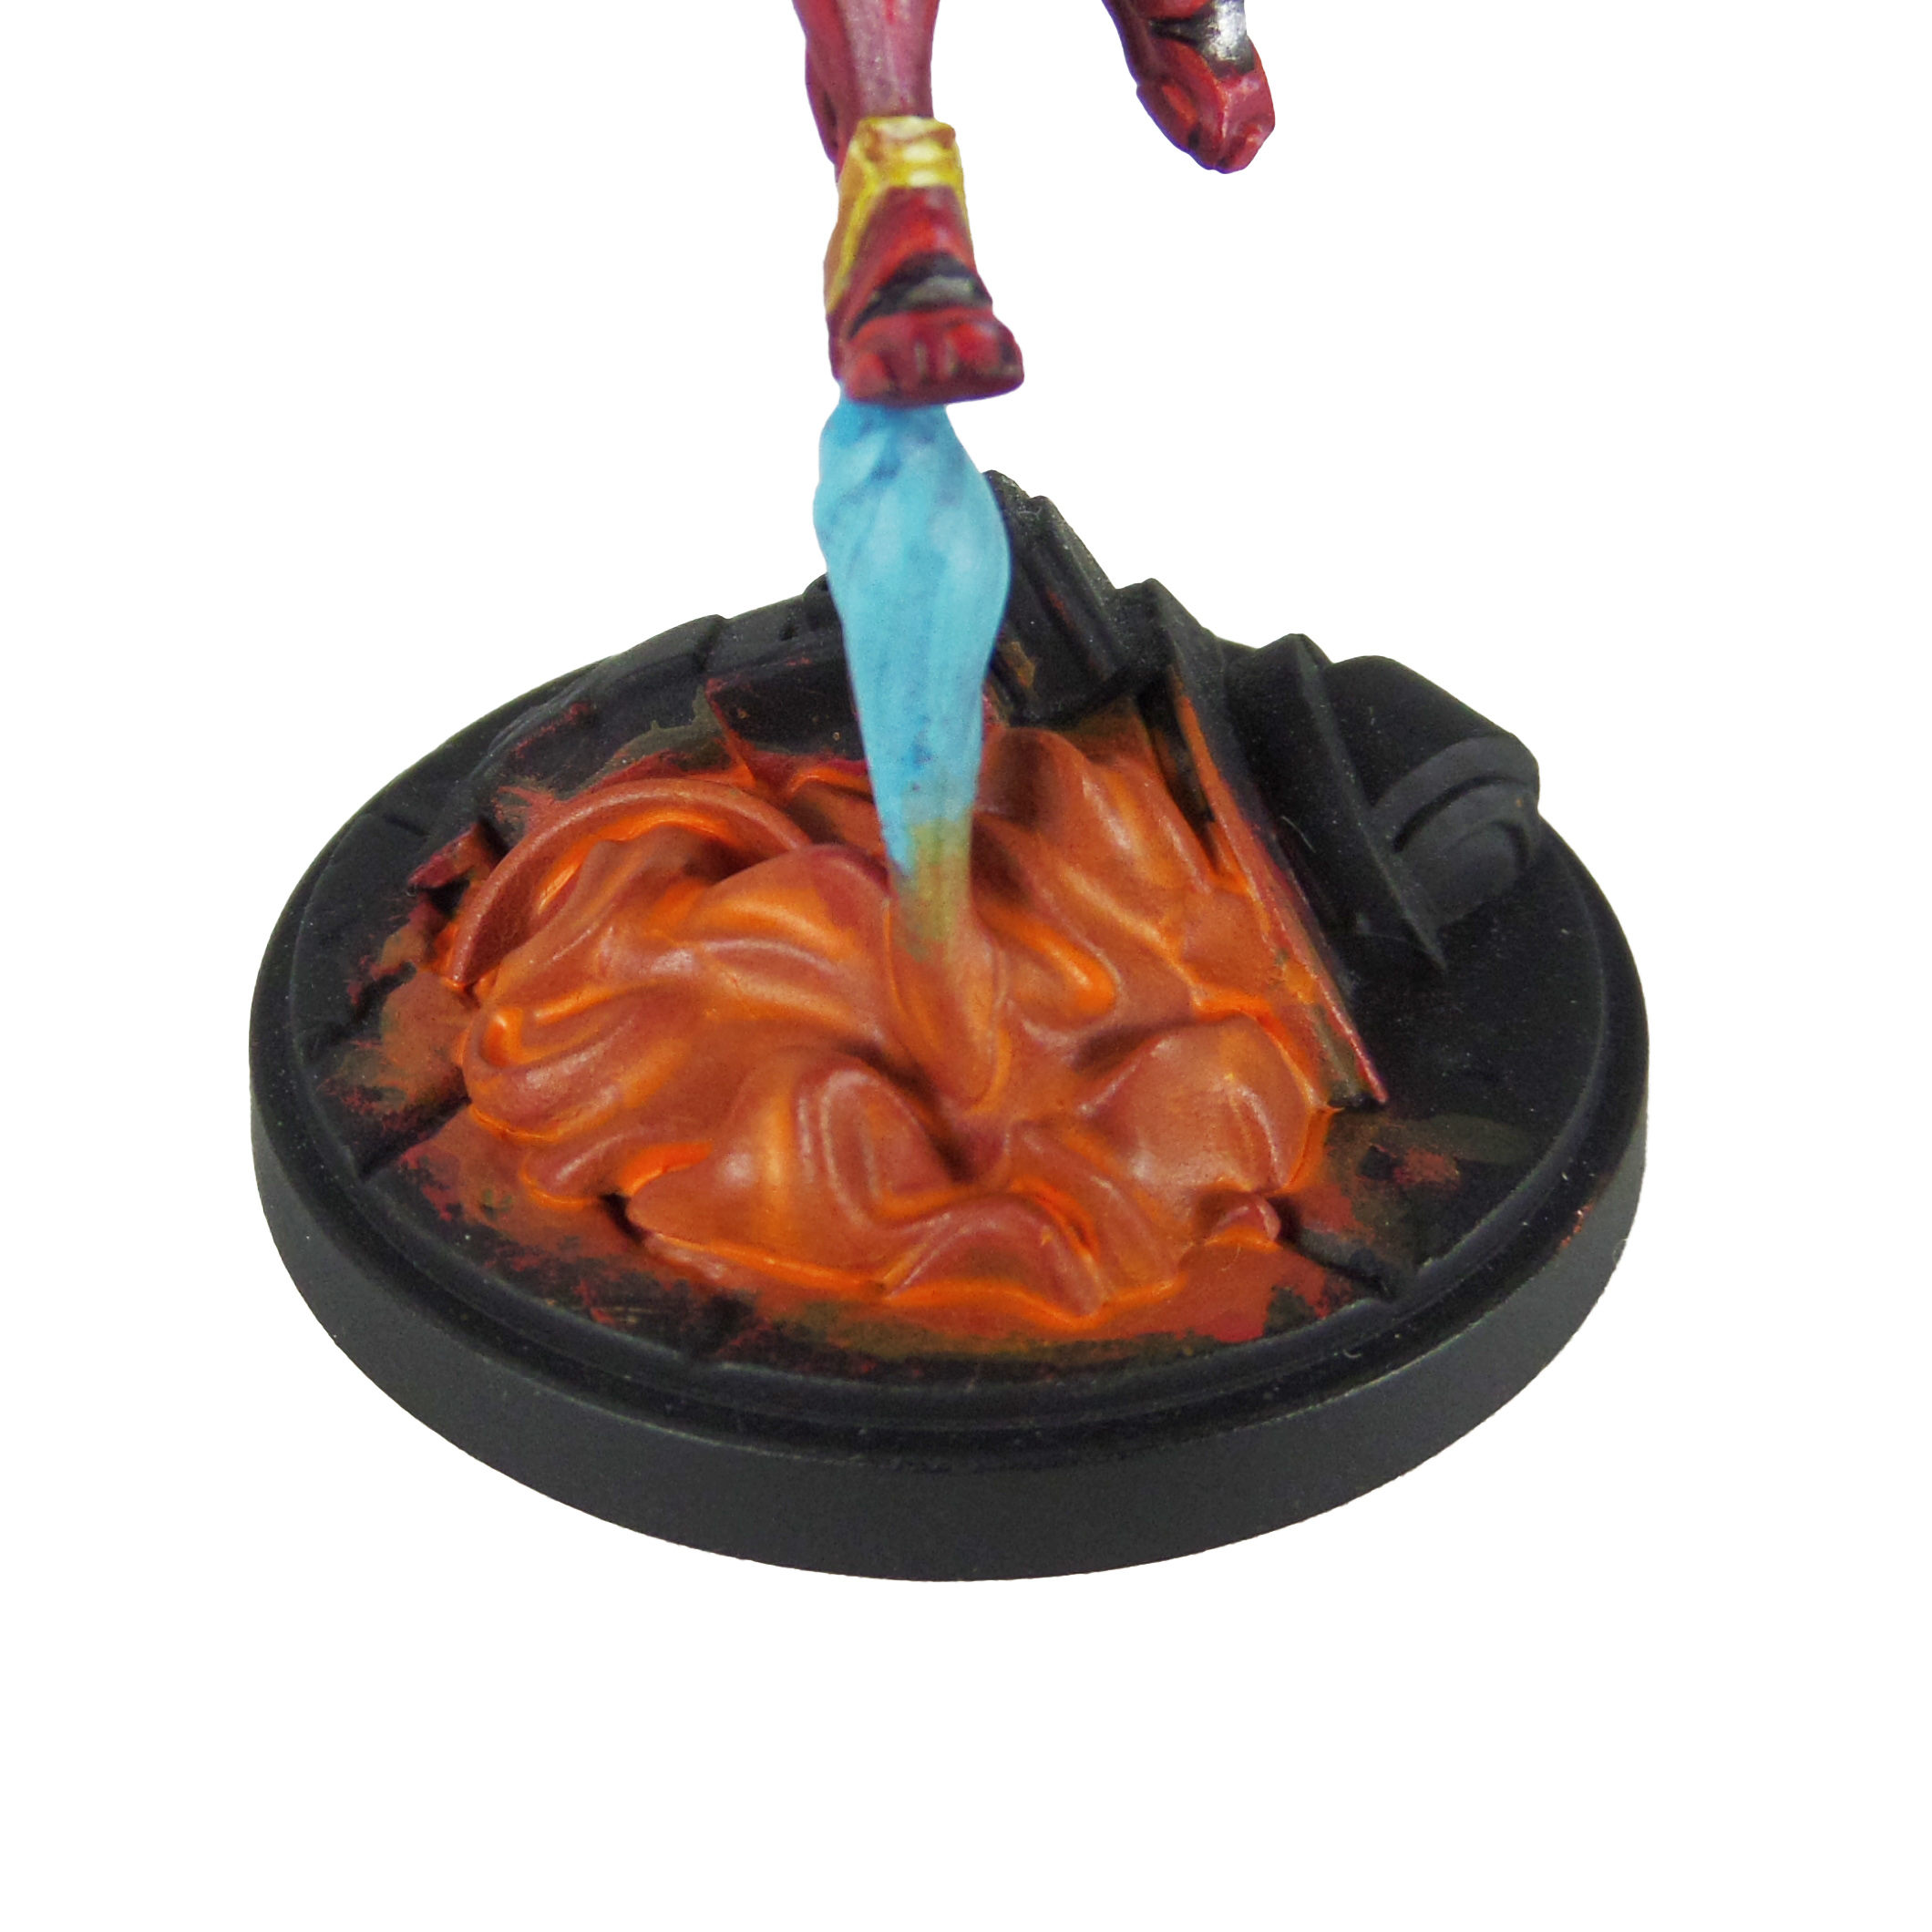
Stage 3
Blue Horror: Apply a line highlight following the twists of the repulsor blasts.
Yriel Yellow: Apply a thinned line highlight to the crevasses featering the highest concentration of orange, and apply lines meeting the repulsor blasts.
Skavenblight Dinge: Apply a thinned layer ot the clouds, avoiding the brightest orange areas.


Stage 4
White Scar: Apply a spot highlight to the twists of the repulsor blasts.
Dorn Yellow: Apply a spot highlight to the brightest parts of the cloud.
Abaddon Black: Apply a thinned layer to the darkest areas of the clouds.
Finish by painting the base with the Base Painting guide.
