Hello everyone! It’s good to be back and posting an update…finally. I want to start by saying thank you to everyone for your views, comments and donations. They are a superb and welcome boost. So a thousand thank yous to everybody.
Why the gap?
My mental health has been suffering for a while and the pandemic made things much worse. Painting offers an almost meditative calm for me, so that has continued for the most part, but when I’m at my worst I struggle with communication and unfortunately that includes online too. I’m sorry if I have not replied to your messages or emails. That’s something I will catch up on in the next few days.
I’m working through my issues and I’m still a long way off but I’m going to start posting a couple of times a week again to hopefully jump start things again.
What have I been painting

I’d been feeling a fair amount of burnout with MCP and as a result ended up jumping in the deep end with Star Wars Legion instead. Over the last few months I’ve managed to paint up an Empire army and a wee Shadow Collective force(although that was for an article). I’m a Star Wars nerd so I think I had a lot of pent up energy ready for a project like this.

I’ve also still been working on articles for Tabletop Gaming magazine each month, with more on the way. This always gives me an opportunity to tackle a huge variety of different minis.


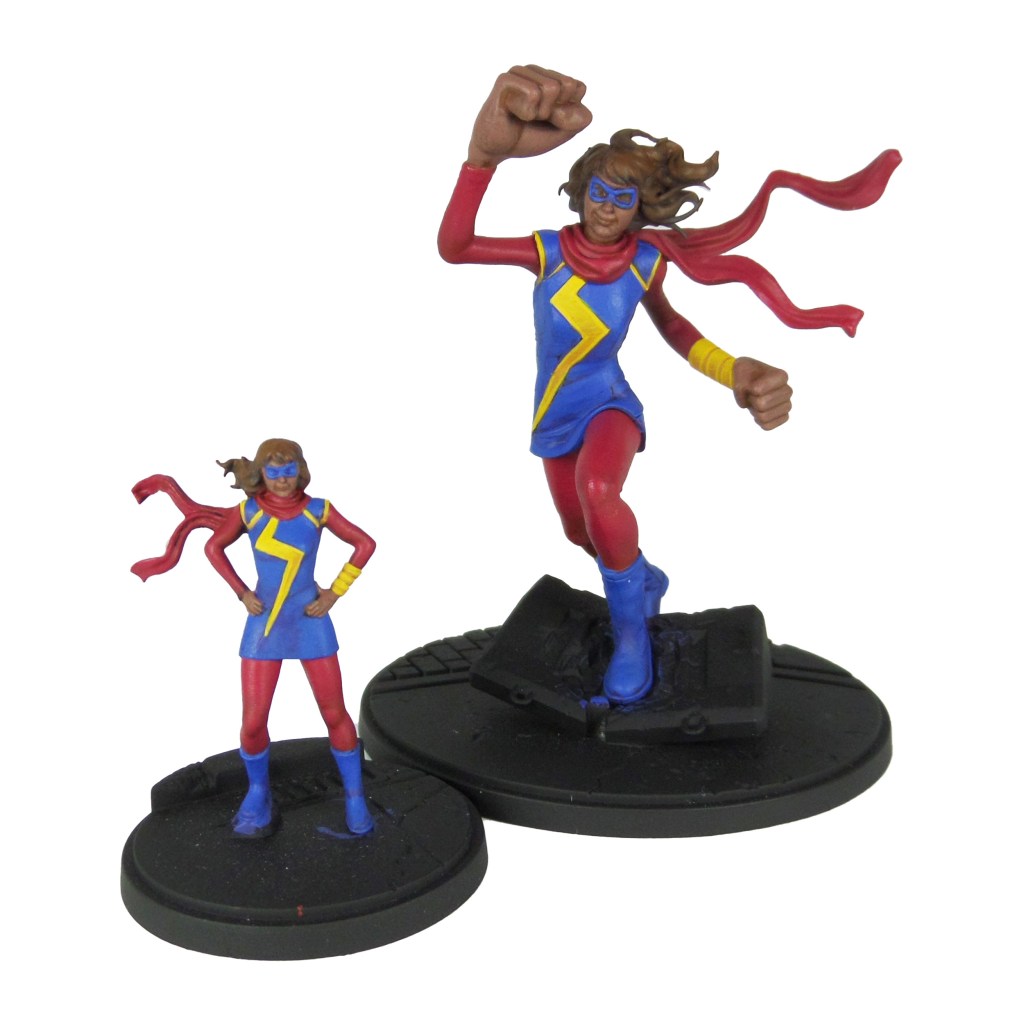
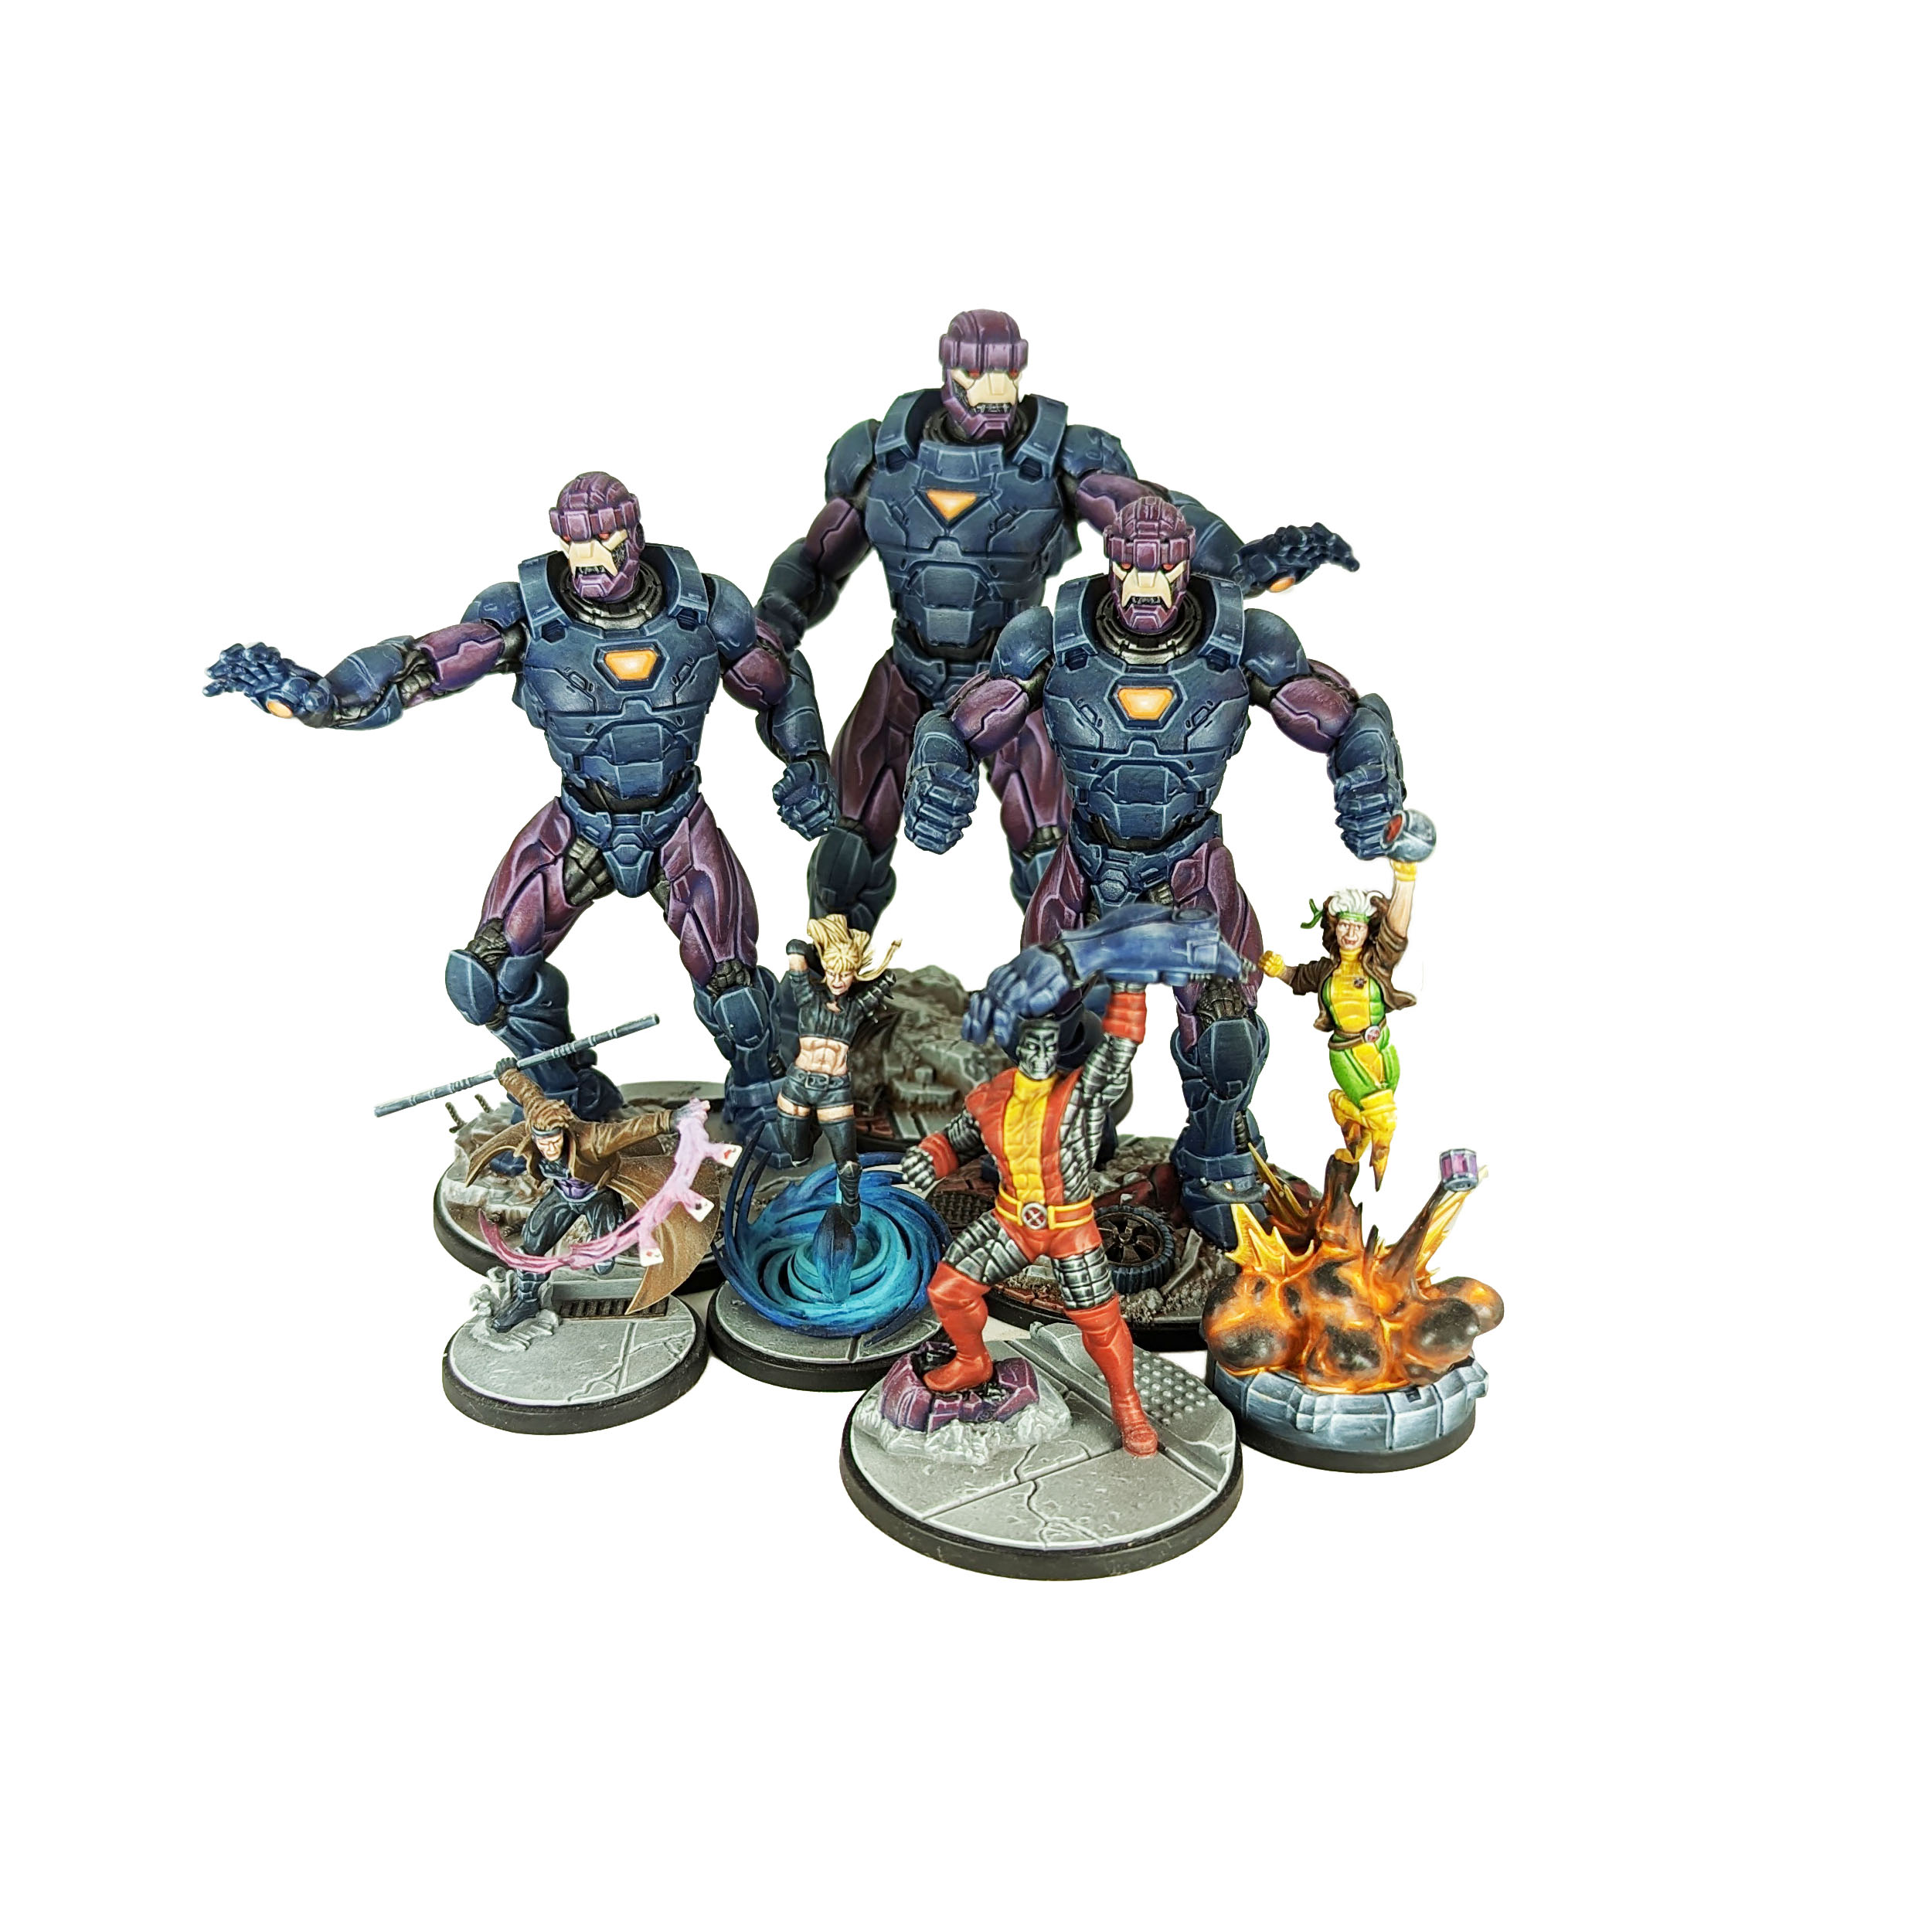
Your support has always kept MCP and my painting guides at the back of my mind but I wasn’t really feeling the want to paint what I had. It was the announcement of the Sentinels that brought my attention fully back.
This also means I’ll have a few new guides up in the next couple of days…


What’s Next?
Well aside from the guides mentioned above I have a few MCP figures ready and waiting to be painted. More specifically the following…
Juggernaut
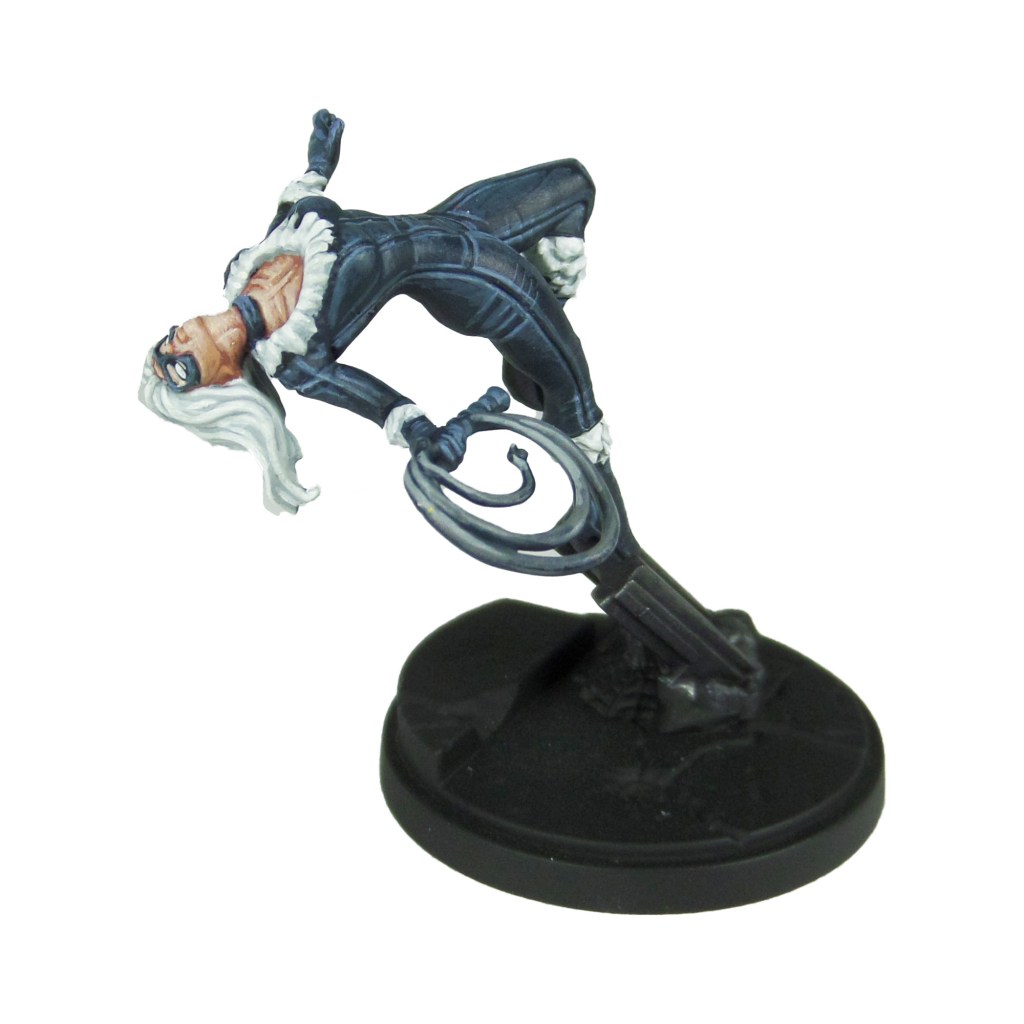
Blade & Moon Knight
X-23 & Honey Badger
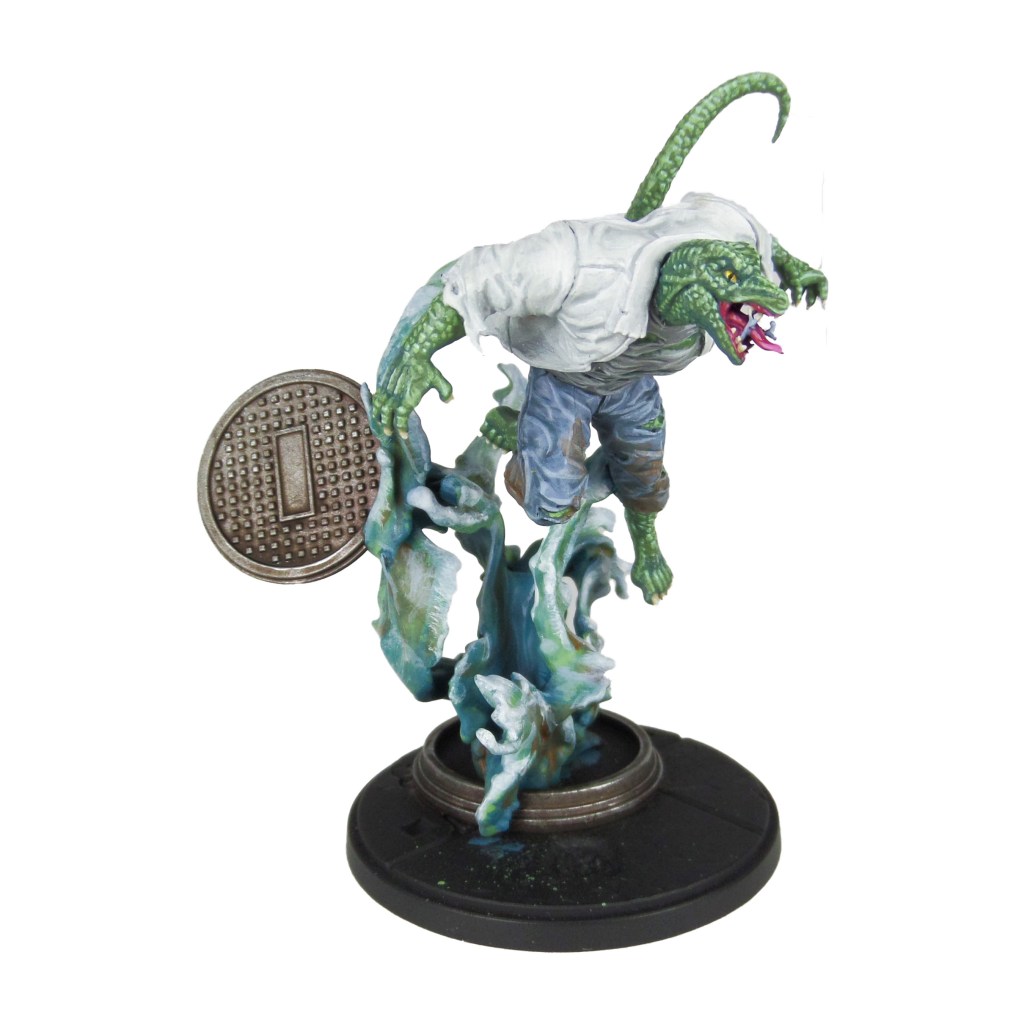
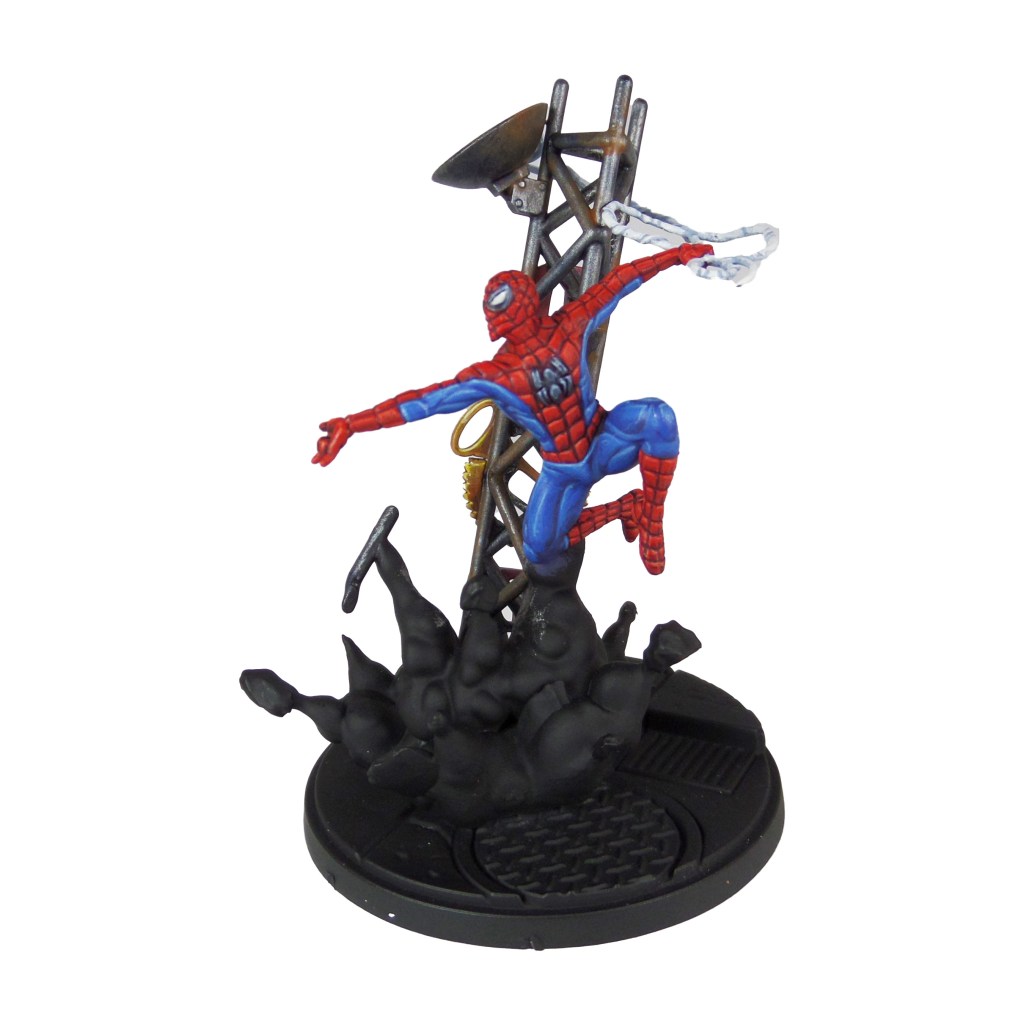
Spider-Man Vs. Doc. Ock
I’ve no plans on an order I’ll be doing these as yet, you’ll have to wait and see what takes my fancy.
I’d love to hear from all of you, what guides would you like to see next?