Welcome to my latest painting guide! Today we’re looking at the Amazing Spider-Man, a truly ‘amazing’ model, and Black Cat, one of the coolest ‘flip’ models I’ve seen.
I need your support. Because my guides takes time and supplies to do, any support you can offer would mean the world to me. A supportive message in the comments is enough, but if you have the means why not send me a gift on Ko-Fi or PayPal. Thank you!
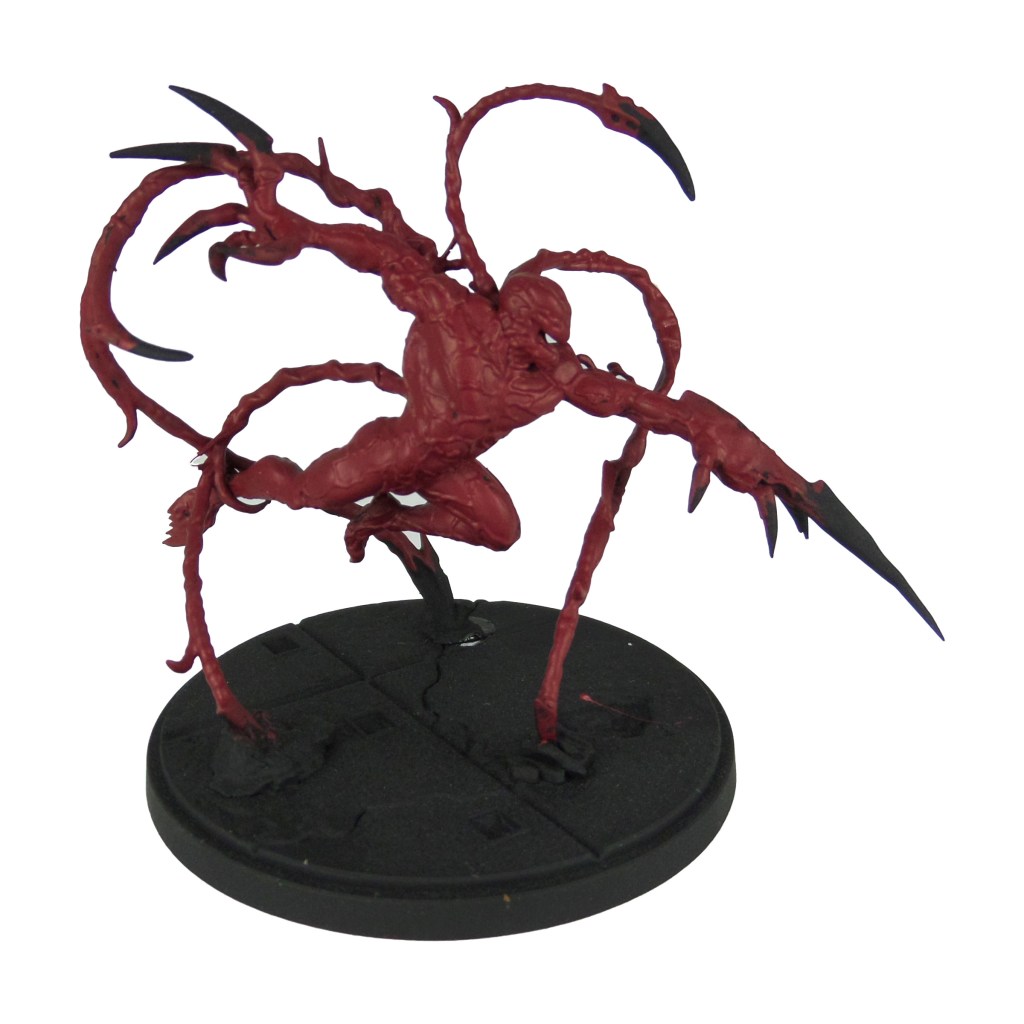
Prep: Fully build both models. Undercoat black.
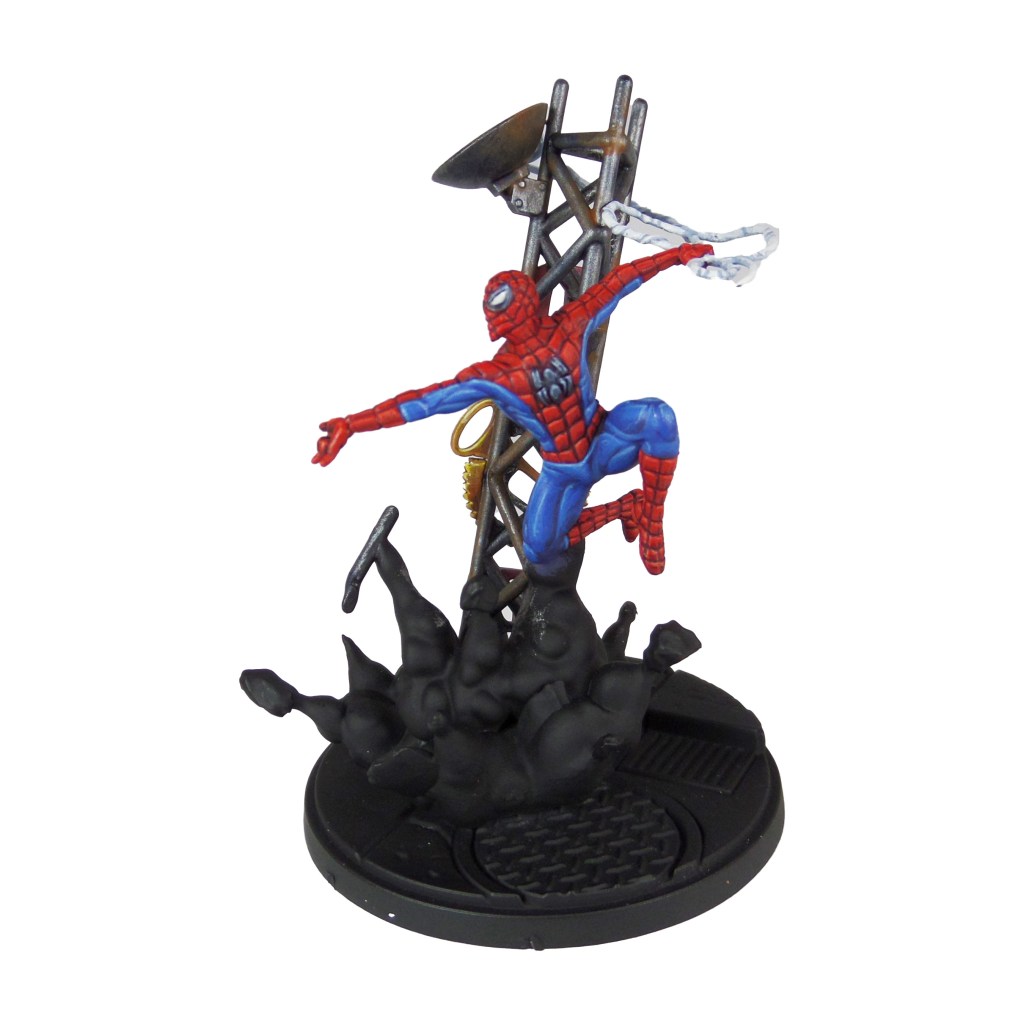
The Amazing Spider-man

Stage 1
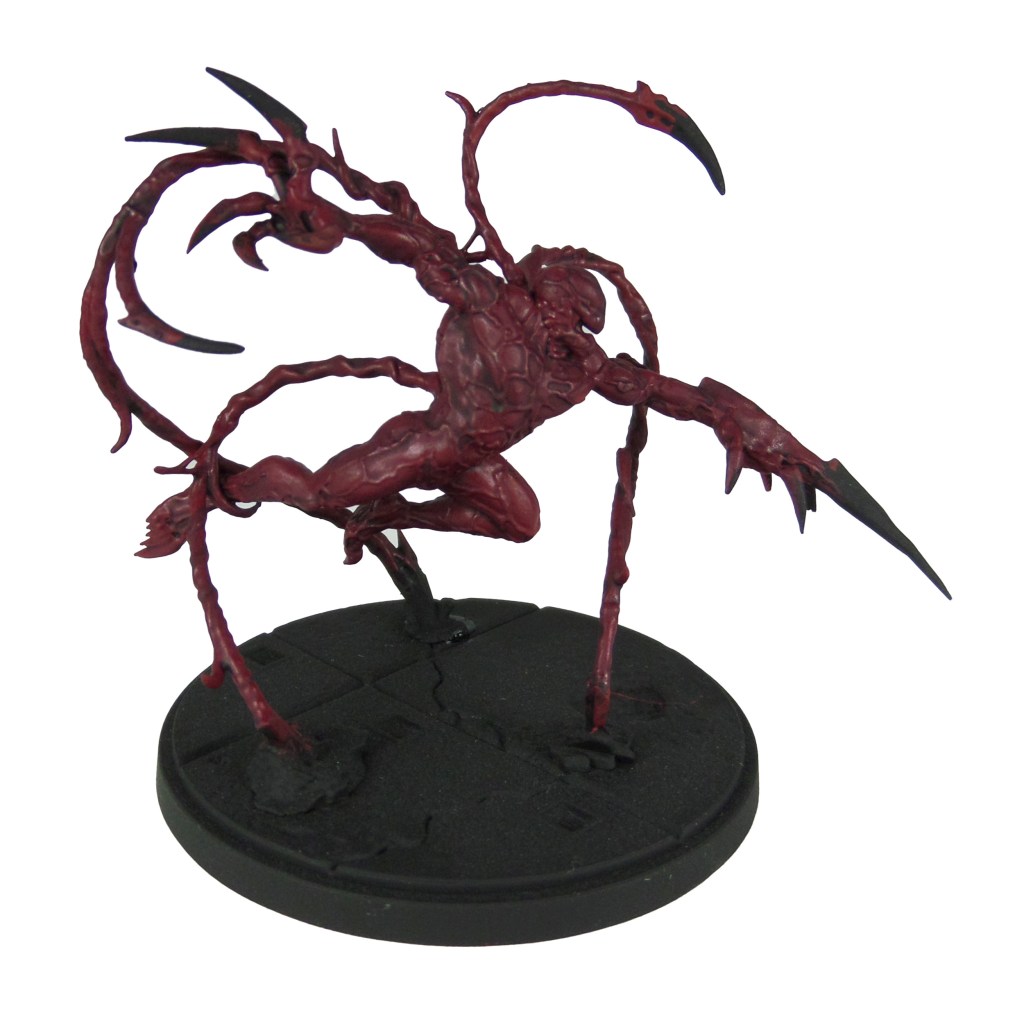
Mephiston Red: Apply a basecoat to the red suit sections.
Macragge Blue: Apply a basecoat to the blue sections of the suit.
Leadbelcher: Apply a basecoat to the tower.
Fenrisian Grey: Apply a basecoat to the webbing.
Incubi Darkness: Apply a basecoat to the spider symbols and eye border.
Celestra Grey: Apply a basecoat to the eyes.

Khorne Red: Apply a basecoat to the Daily Bugle lettering.
Skrag Brown: Apply a basecoat to the Daily Bugle symbol.

Stage 2
Druchii Violet: Apply a shade to the red areas of the suit. Use a fairly light coat as this stage is to bring out the webbing.
Caledor Sky: Apply a layer to the blue sections of the suit.
Drakenhof Nightshade: Apply a shade to the tower and dish.
Blue Horror: Apply a layer to the webbing.
Thunderhawk Blue: Apply a thinned layer to the spider symbols and eye lining.
Ulthuan Grey: Apply a layer to the eyes.

Wazdakka Red: Apply an edge highlight and a thinned layer to the Daily Bugle lettering.
Tau Light Ochre: Apply an edge highlight and a thinned layer to the Daily Bugle symbol.

Stage 3
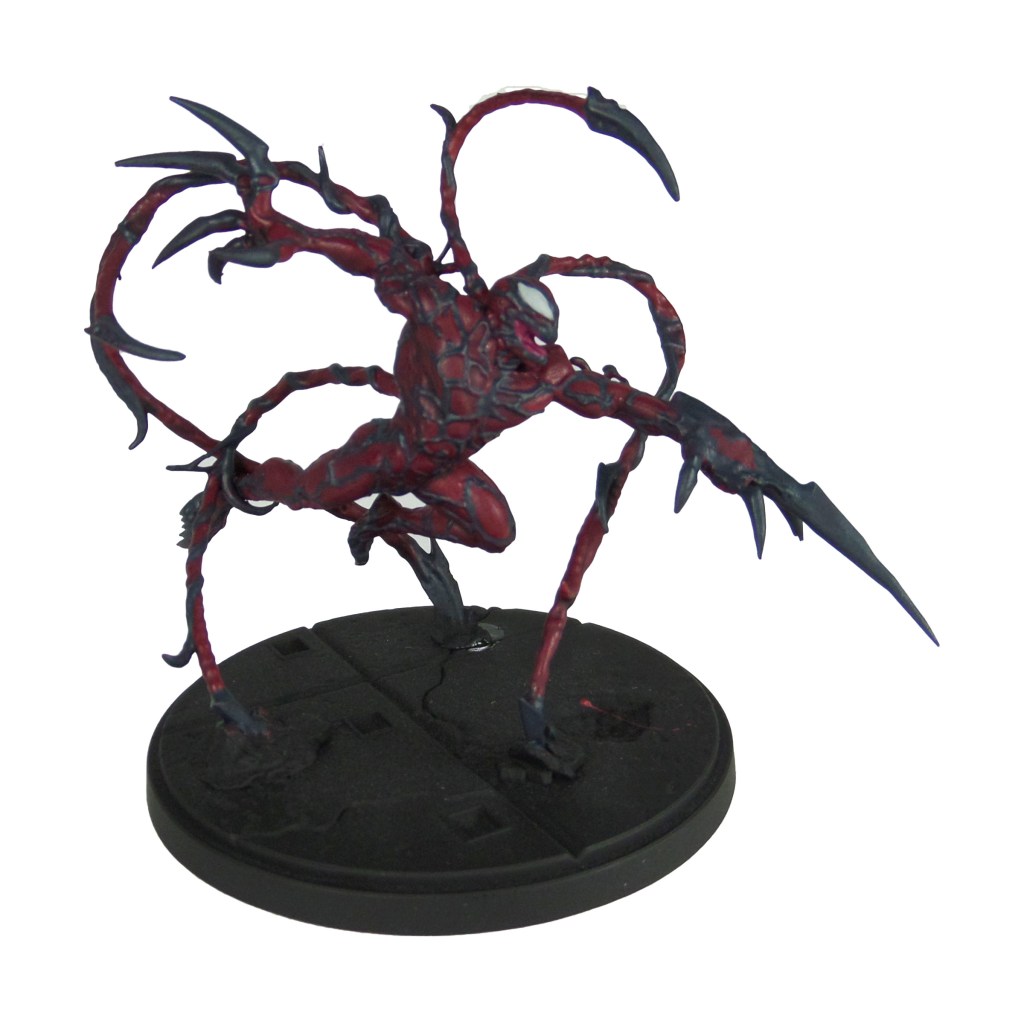
Evil Sunz Scarlet: Apply a layer to the red sections of the suit.
Teclis Blue: Apply a line highlight to the blue sections of the bodysuit.
Skrag Brown: Make a mix with around 5 parts water and apply lightly to the random sections of the tower and dish.
White Scar: Apply a layer to the webbing and eyes.
Russ Grey: Apply a line highlight to the spider symbols and eye lining.

Evil Sunz Scarlet: Apply an edge highlight to the Daily Bugle lettering.
Flash Gitz Yellow: Apply an edge highlight to the Daily Bugle Symbol.
Stage 4
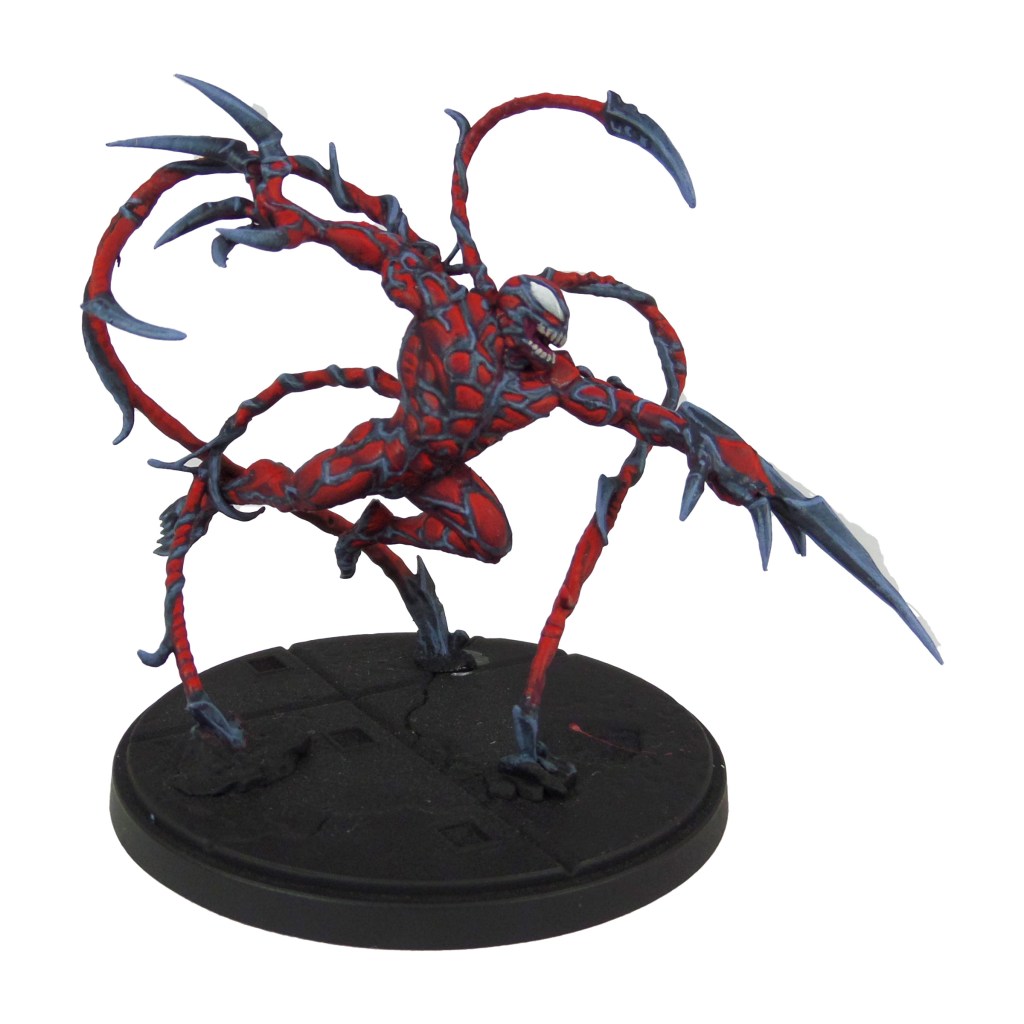
Wild Rider Red: Apply a line highlight to the top of each section of red suit.
Lothern Blue: Applya line highlight ot the blue sections of the suit.
Ironbreaker: Apply a light highlight to the tower and dish.
Fenrisian Grey: Apply a spot highlight to the spider symbols and eye lining.

Wild Rider Red: Apply an edge highlight to the top edges of the Daily Bugle lettering.
Dorn Yellow: Apply a spot highlight to the Daily Bugle Symbol.
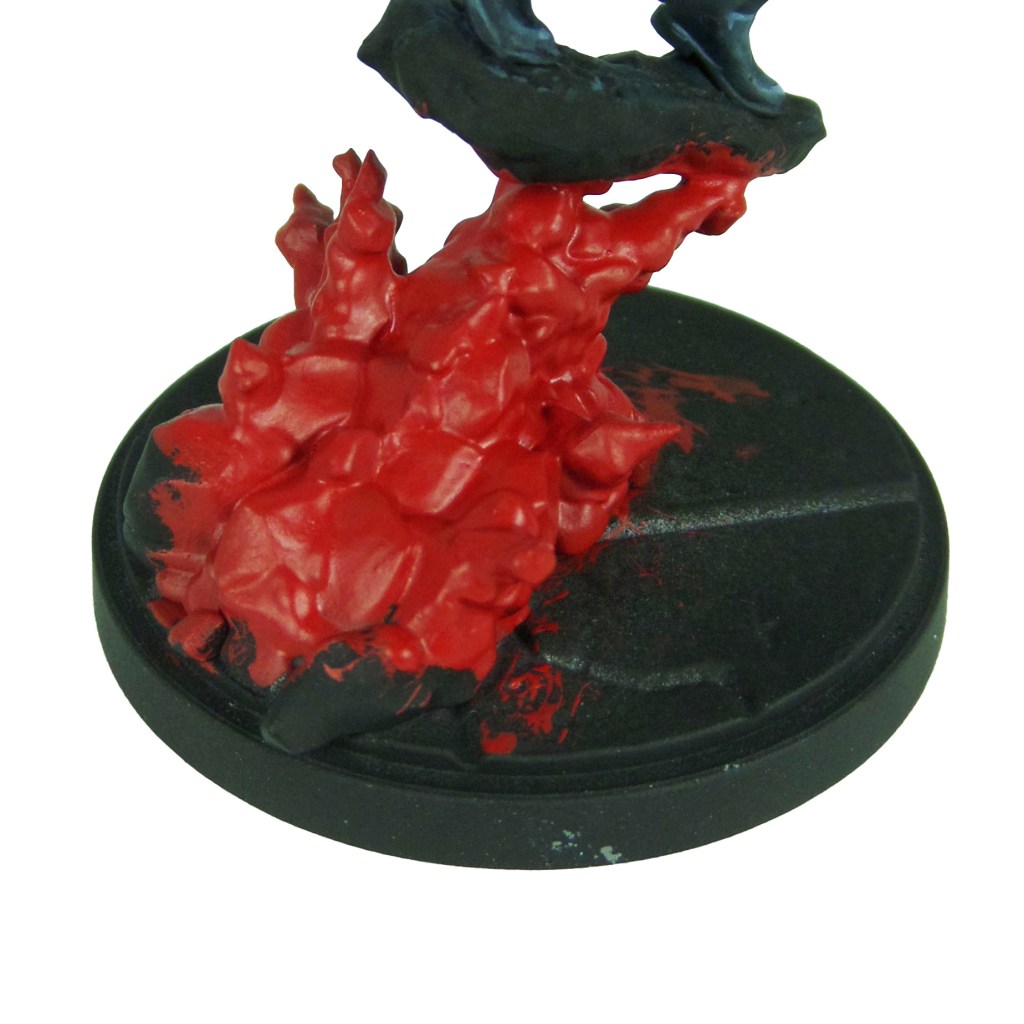
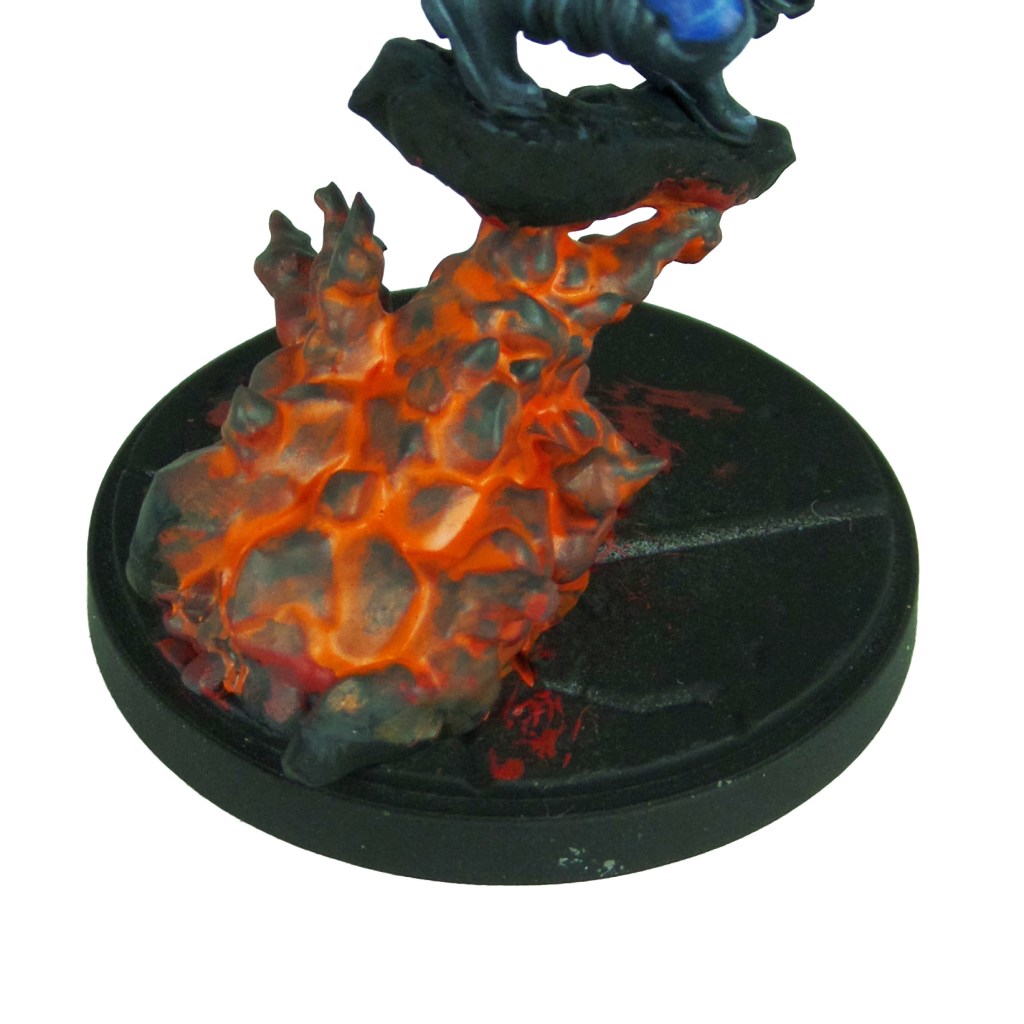
Finish by painting the base with the Base Painting guide and Explosion Painting Guide.
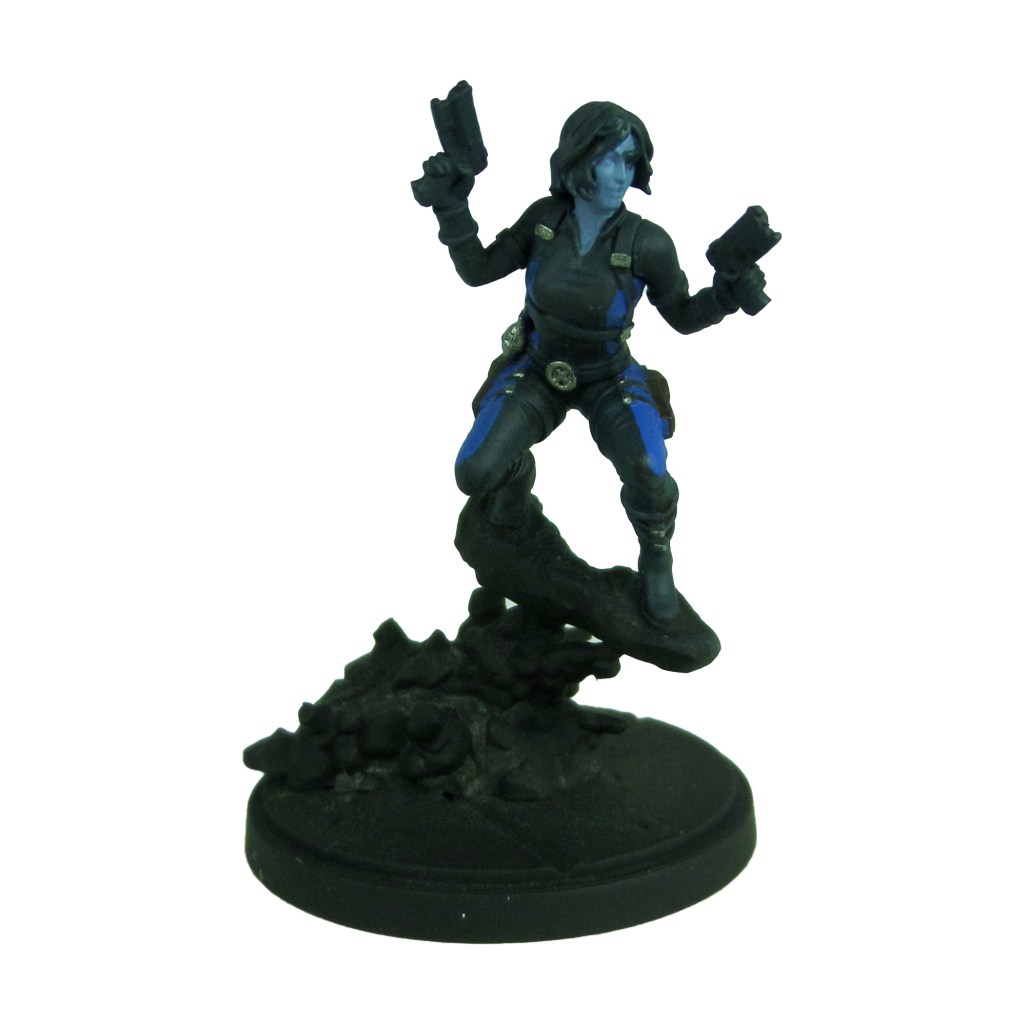
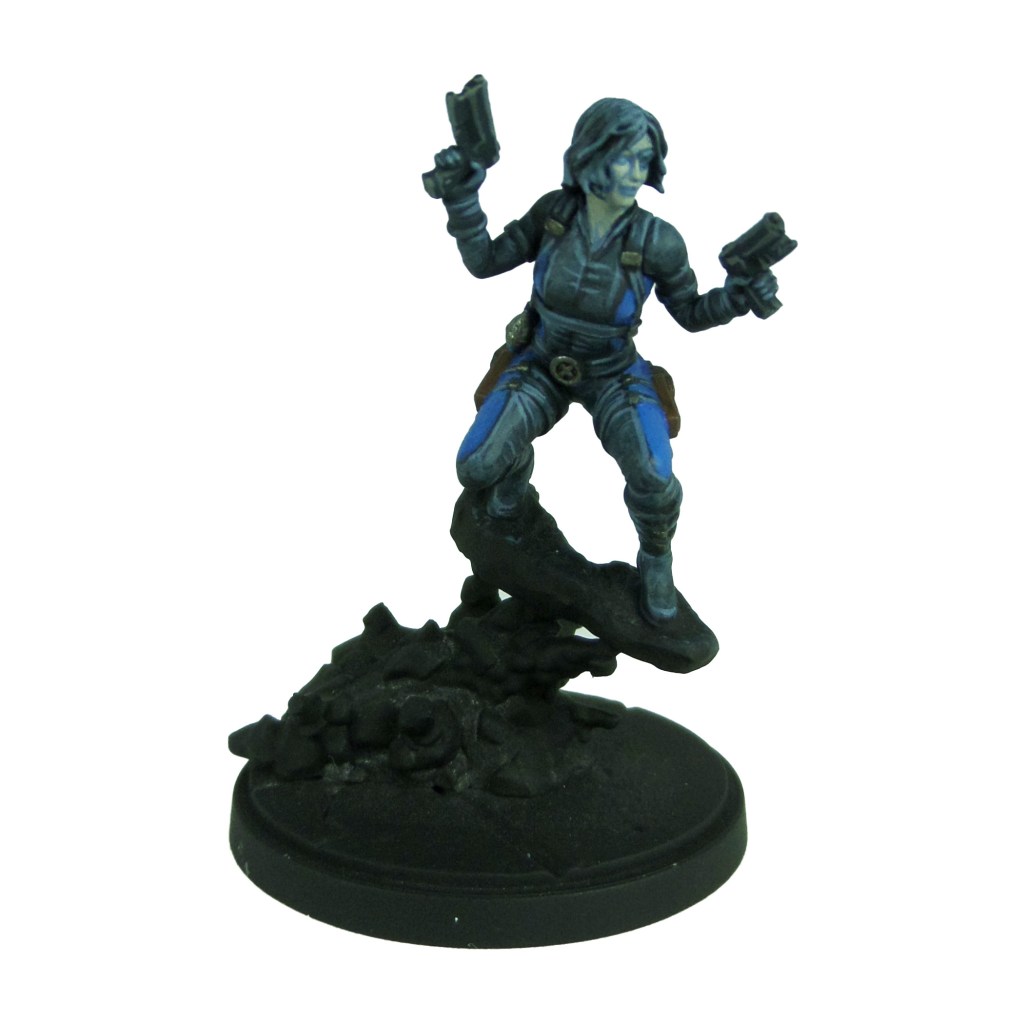
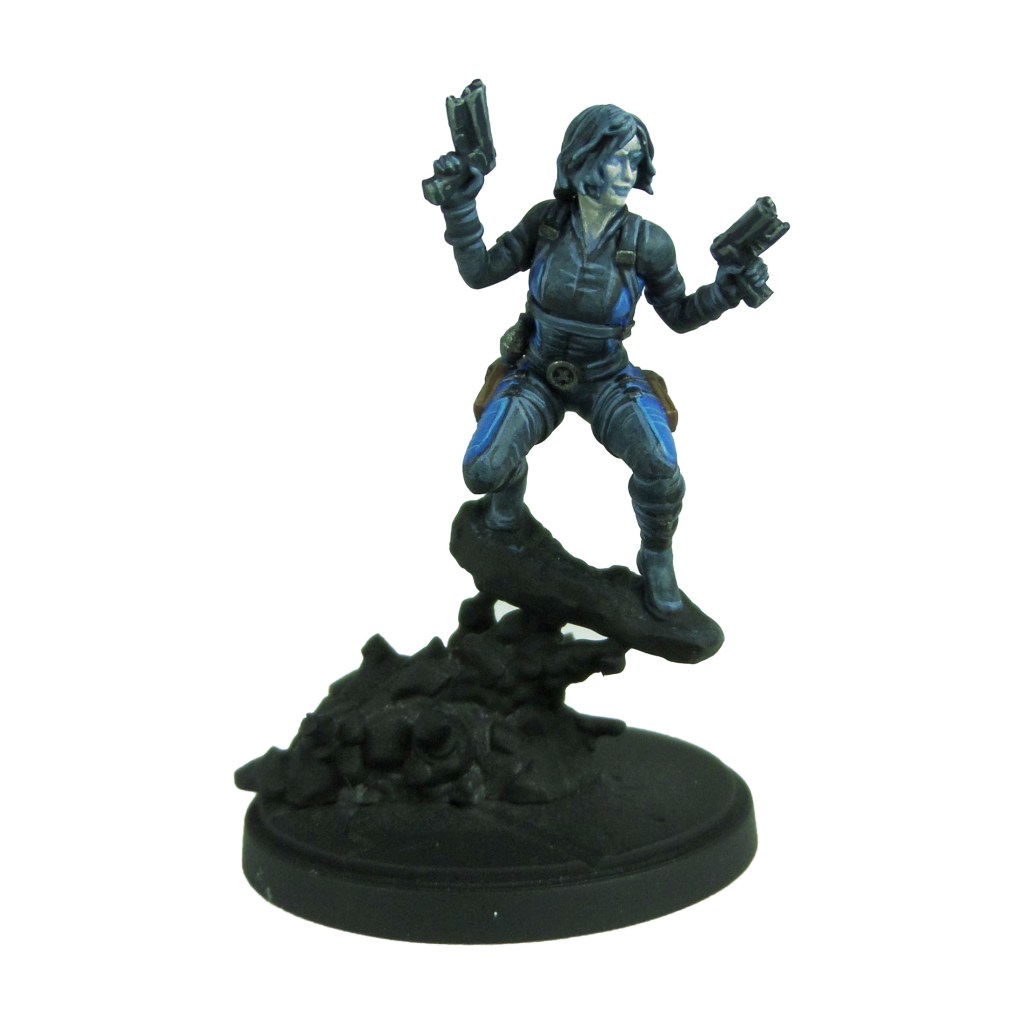
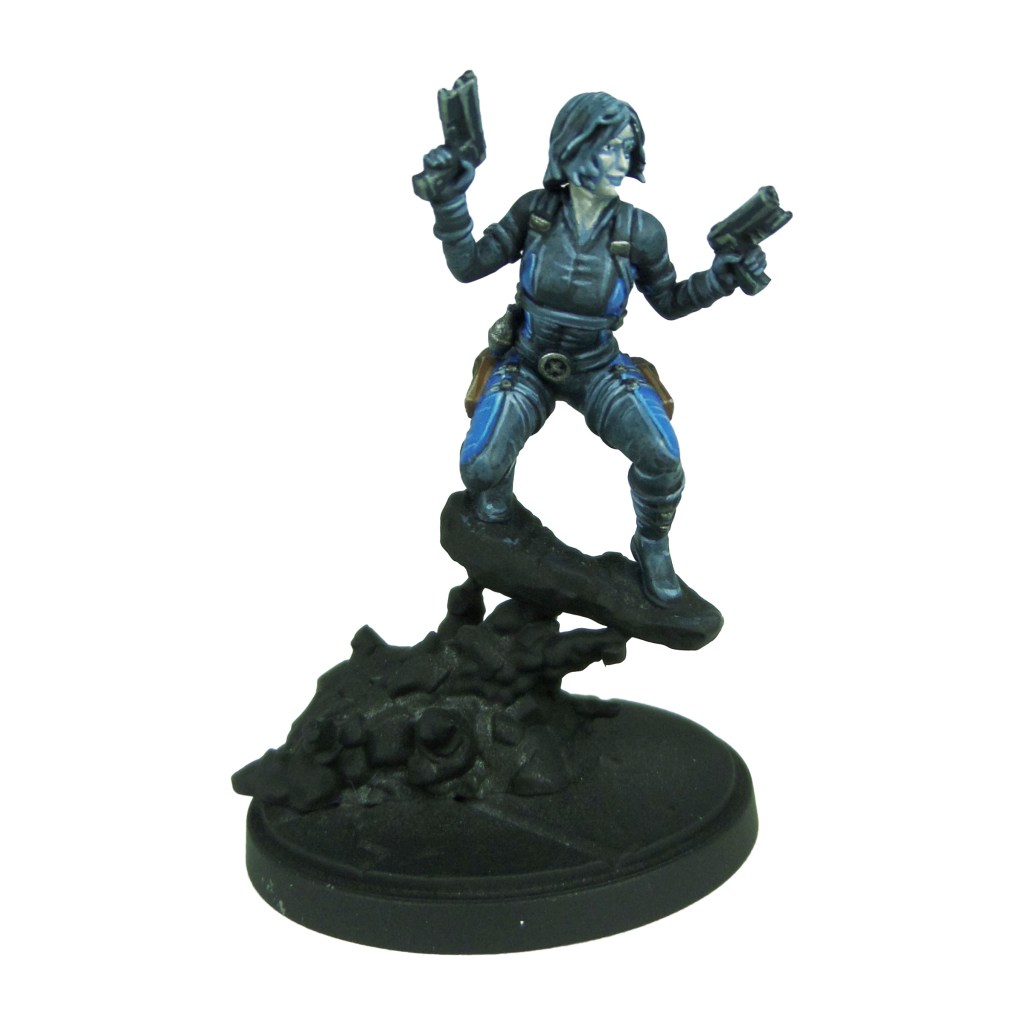
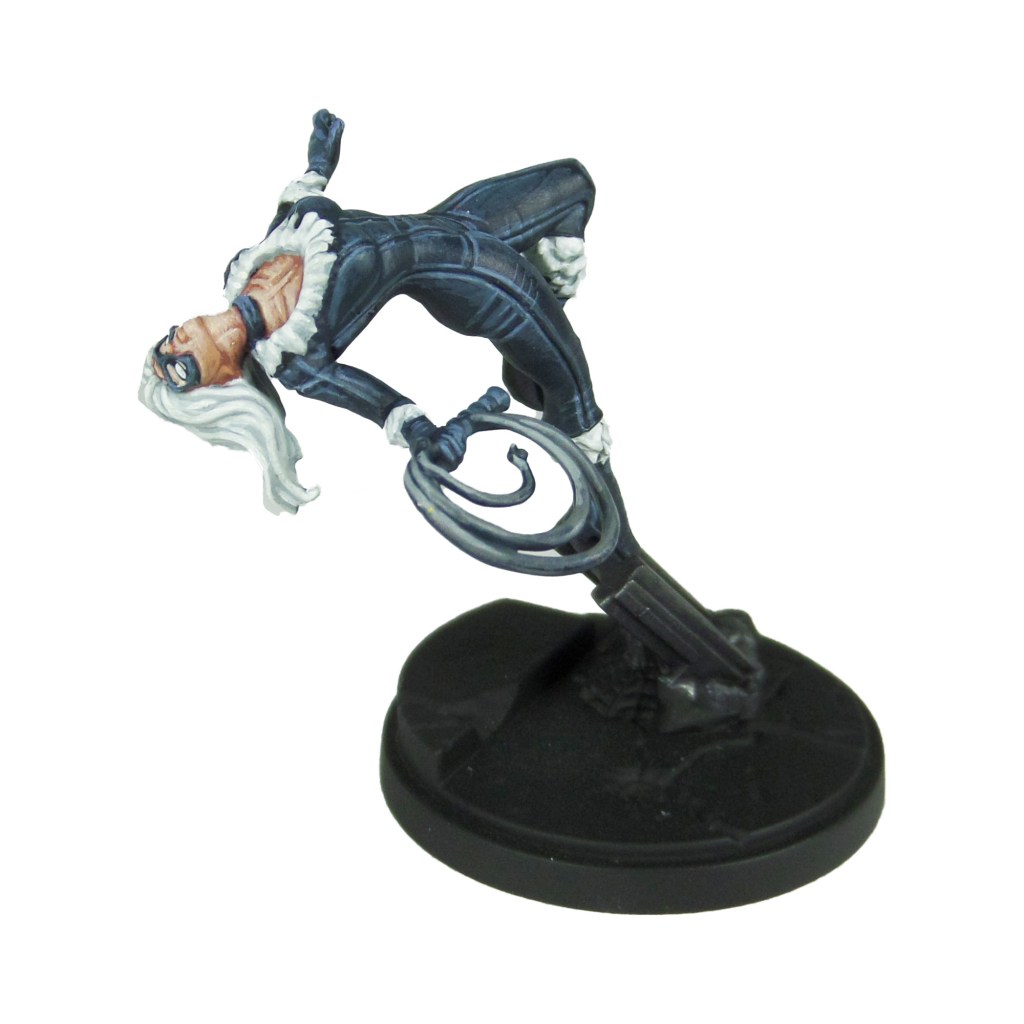
Black Cat

Stage 1
Incubi Darkness: Apply a basecoat to the bodysuit, collar, whip and mask.
Celestra Grey: Apply a basecoat to the fur trims and base webbing.
Bugman’s Glow: Apply a basecoat to the skin.
Leadbelcher: Apply a basecoat to the girder.

Stage 2
Thunderhawk Blue: Apply a thinned layer to the bodysuit, collar, whip handle and mask.
Ulthuan Grey: Apply a layer to the fur trim.
Cadian Fleshtone: Apply a layer to the skin.
Nuln Oil: Apply a shade to the girder.
Dawnstone: Apply a layer to the whip.
Stage 3
Russ Grey: Apply a line highlight to the bodysuit, collar, whip handle and mask.
White Scar: Apply a layer to the fur lining and eyes.
Basic Skin Tone 70.815: Apply a thinned layer to the skin.
Drakenhof Nightshade: Apply a shade to the girder.
Celestra Grey: Apply a highlight to the whip.

Stage 4
Fenrisian Grey: Apply a spot highlight to the bodysuit, collar, whip handle and mask.
Light Flesh 70.928: Apply a line highlight to the skin.
Abaddon Black: Apply pupils to the eyes.
Finish by painting the base with the Base Painting guide.