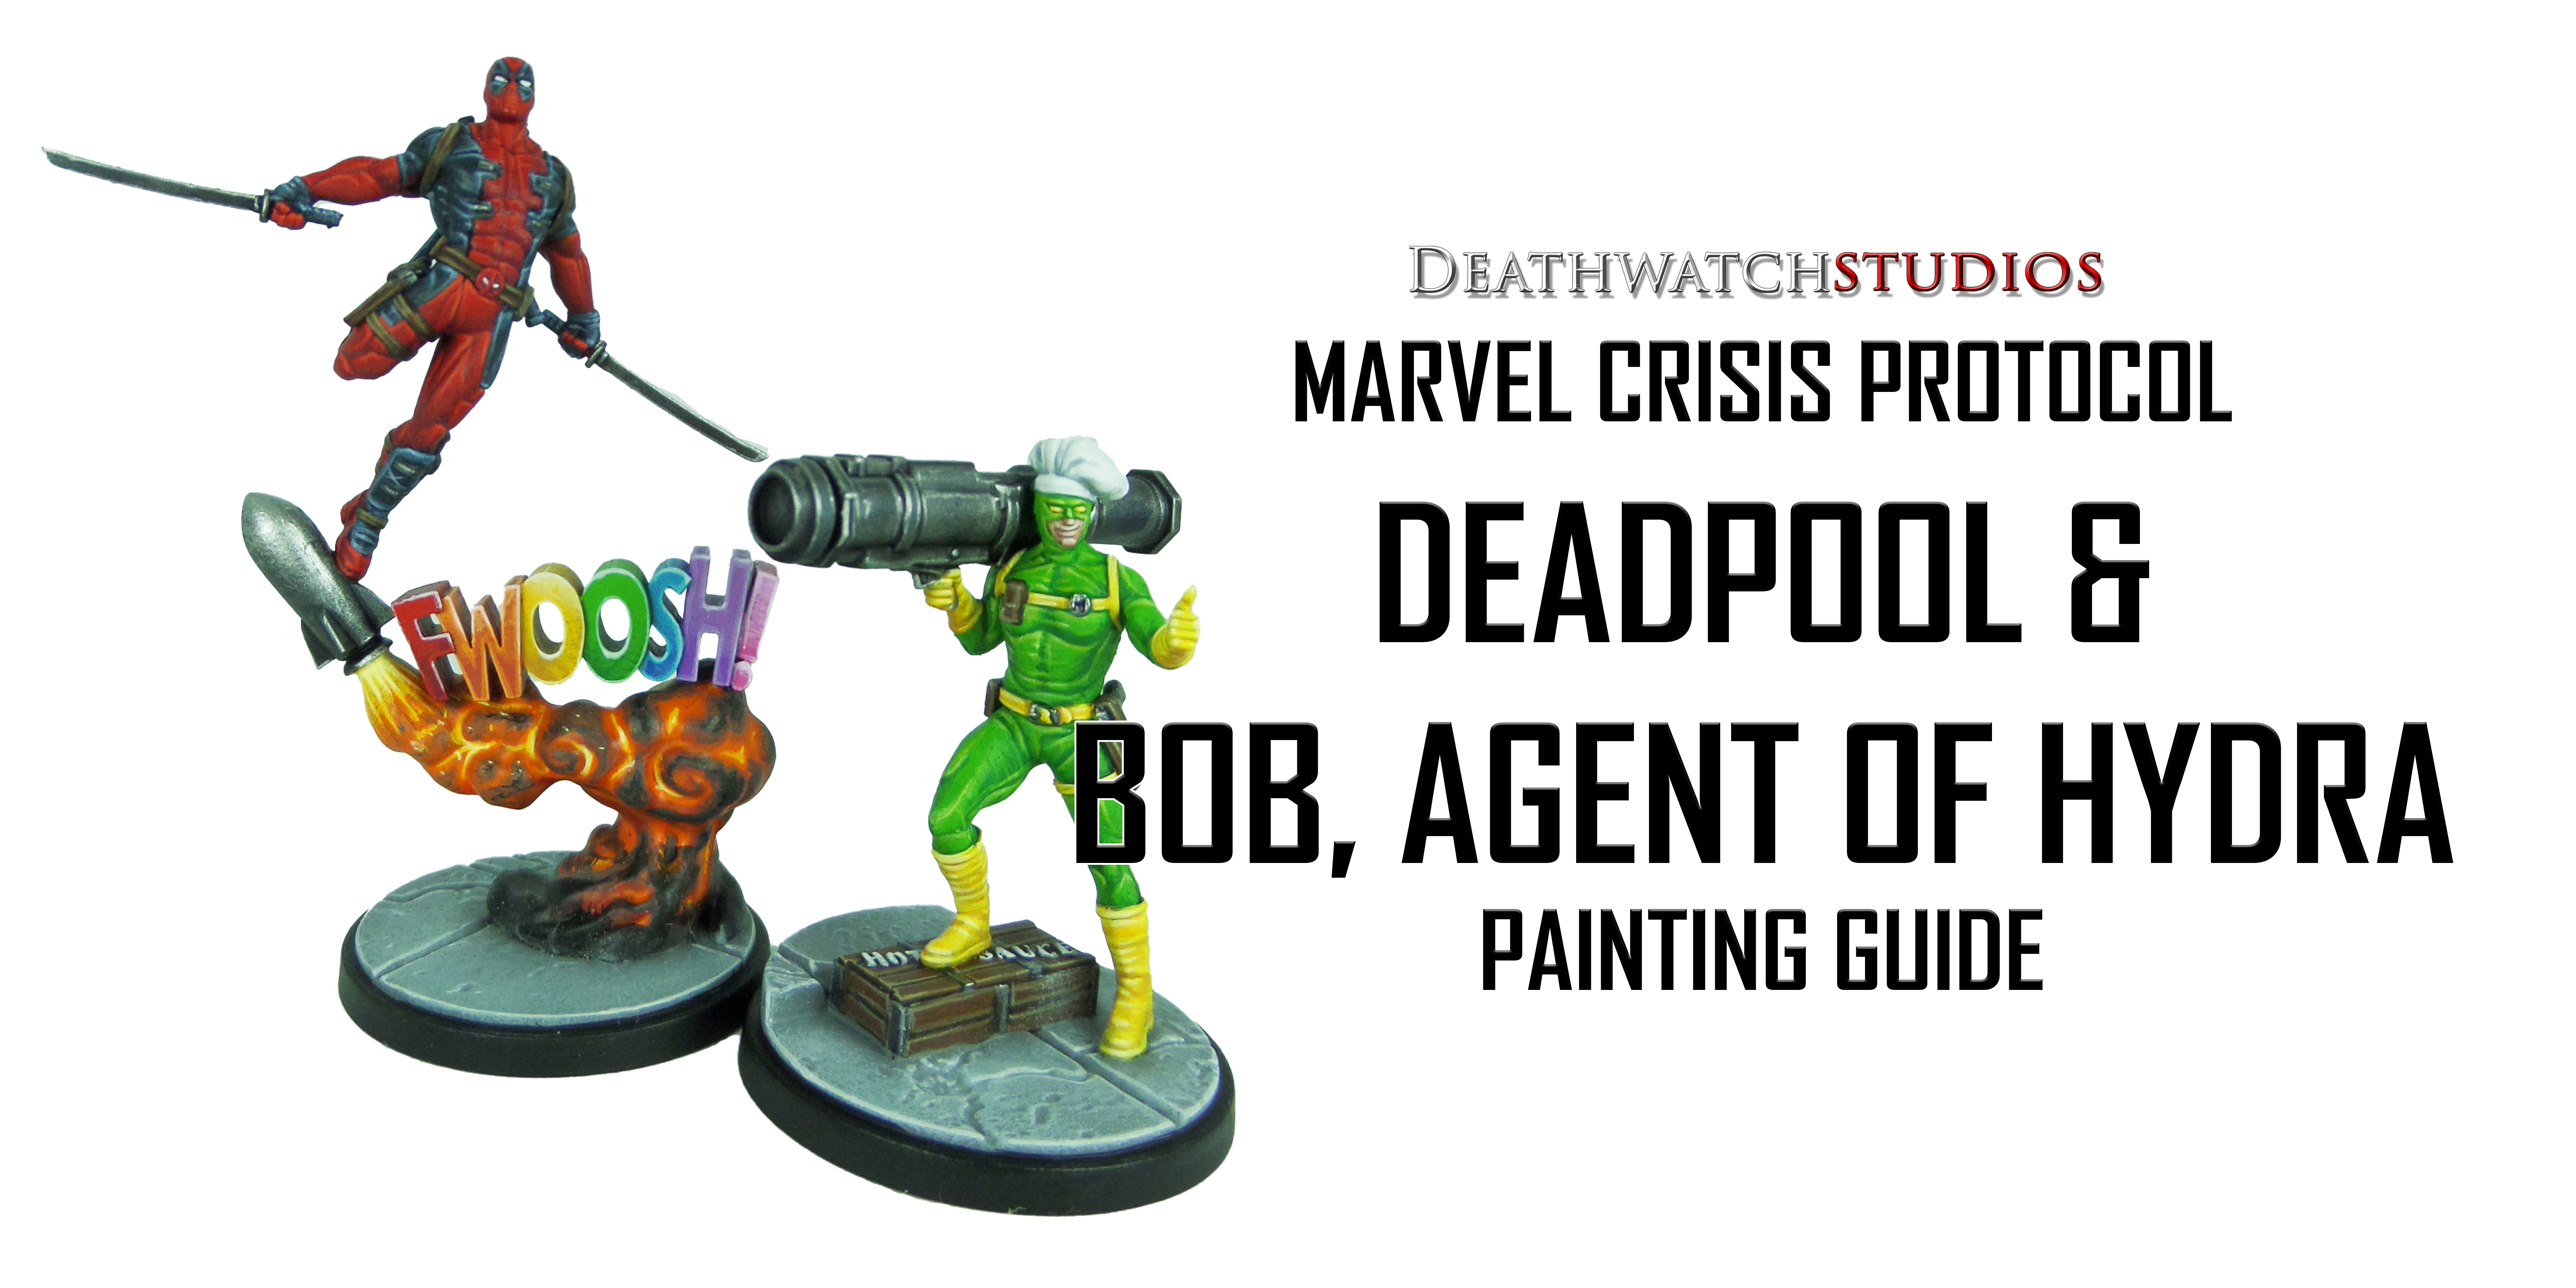
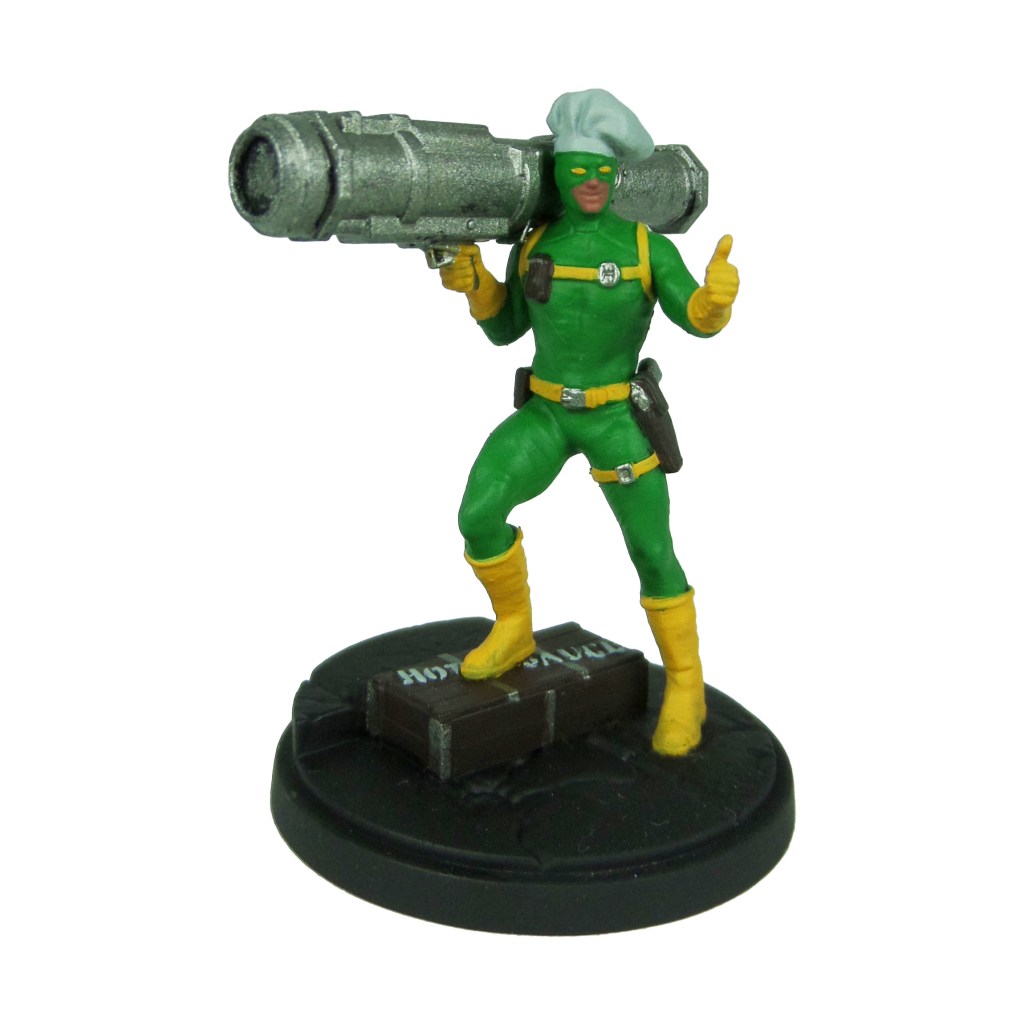
Welcome to my latest painting guide! Two of my all-time favourite X-Men hit the painting table.
I need your support. Because my guides takes time and supplies to do, any support you can offer would mean the world to me. A supportive message in the comments is enough, but if you have the means why not send me a gift on Ko-Fi or PayPal. Thank you!
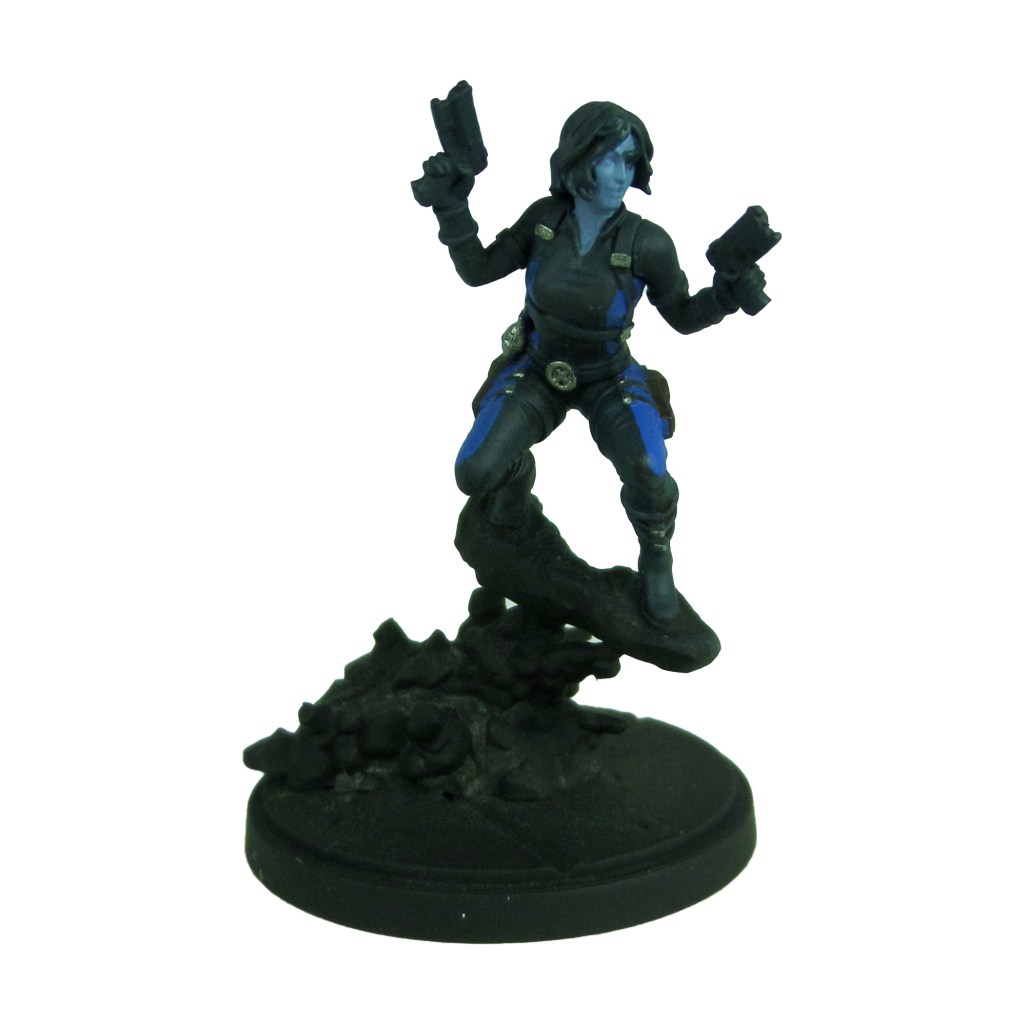
Prep: Fully build both models. Undercoat black.
Before you begin…
For this guide I’ve switched over to a non metallic metal(NMM) technique. The paints used are within the guide, but take a look at the thinned layers mini-guide for a better understanding.
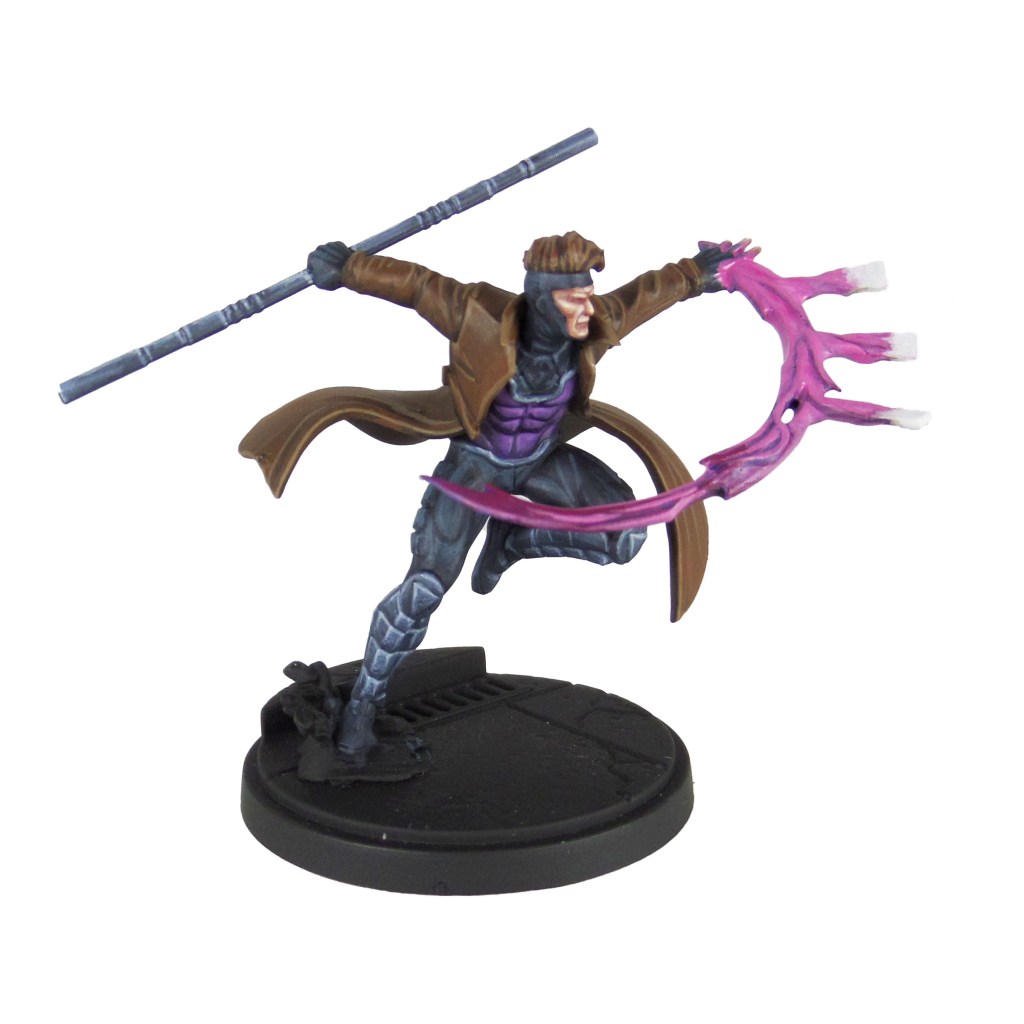
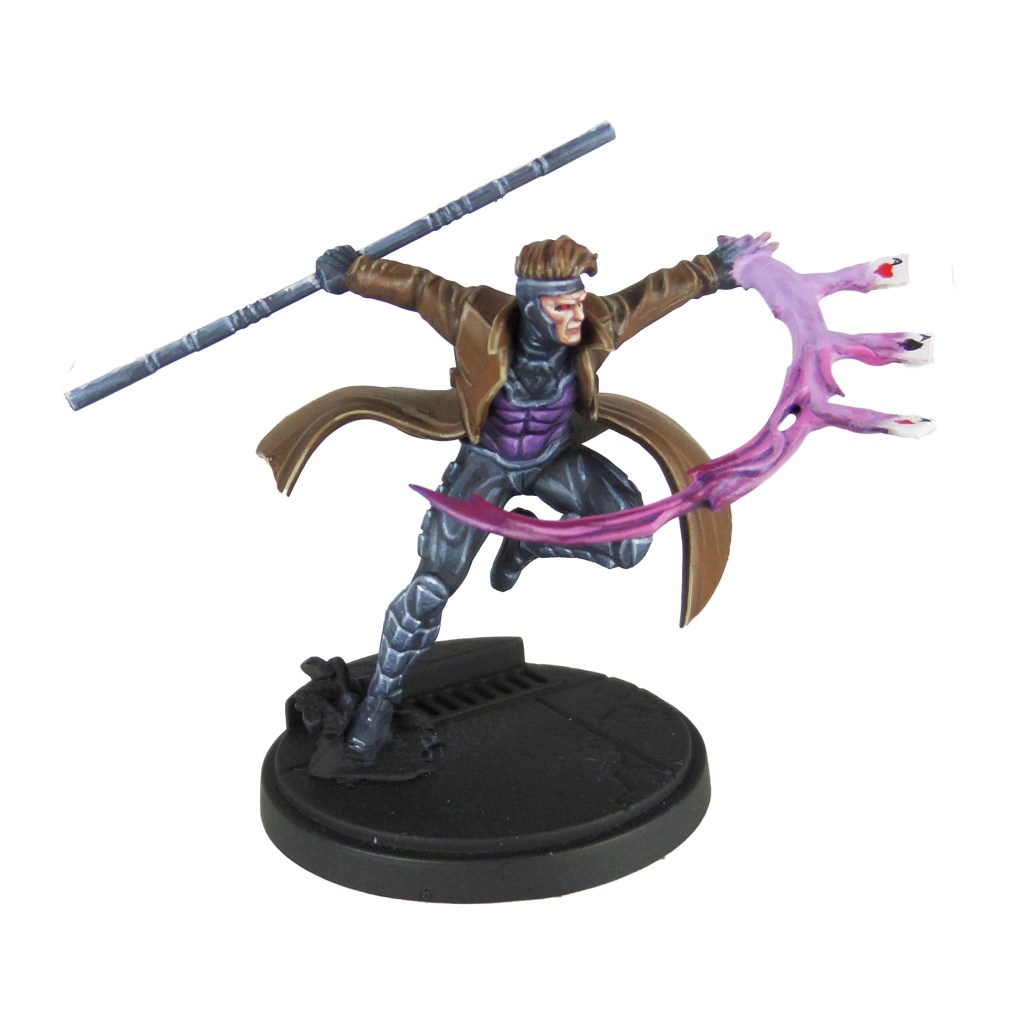
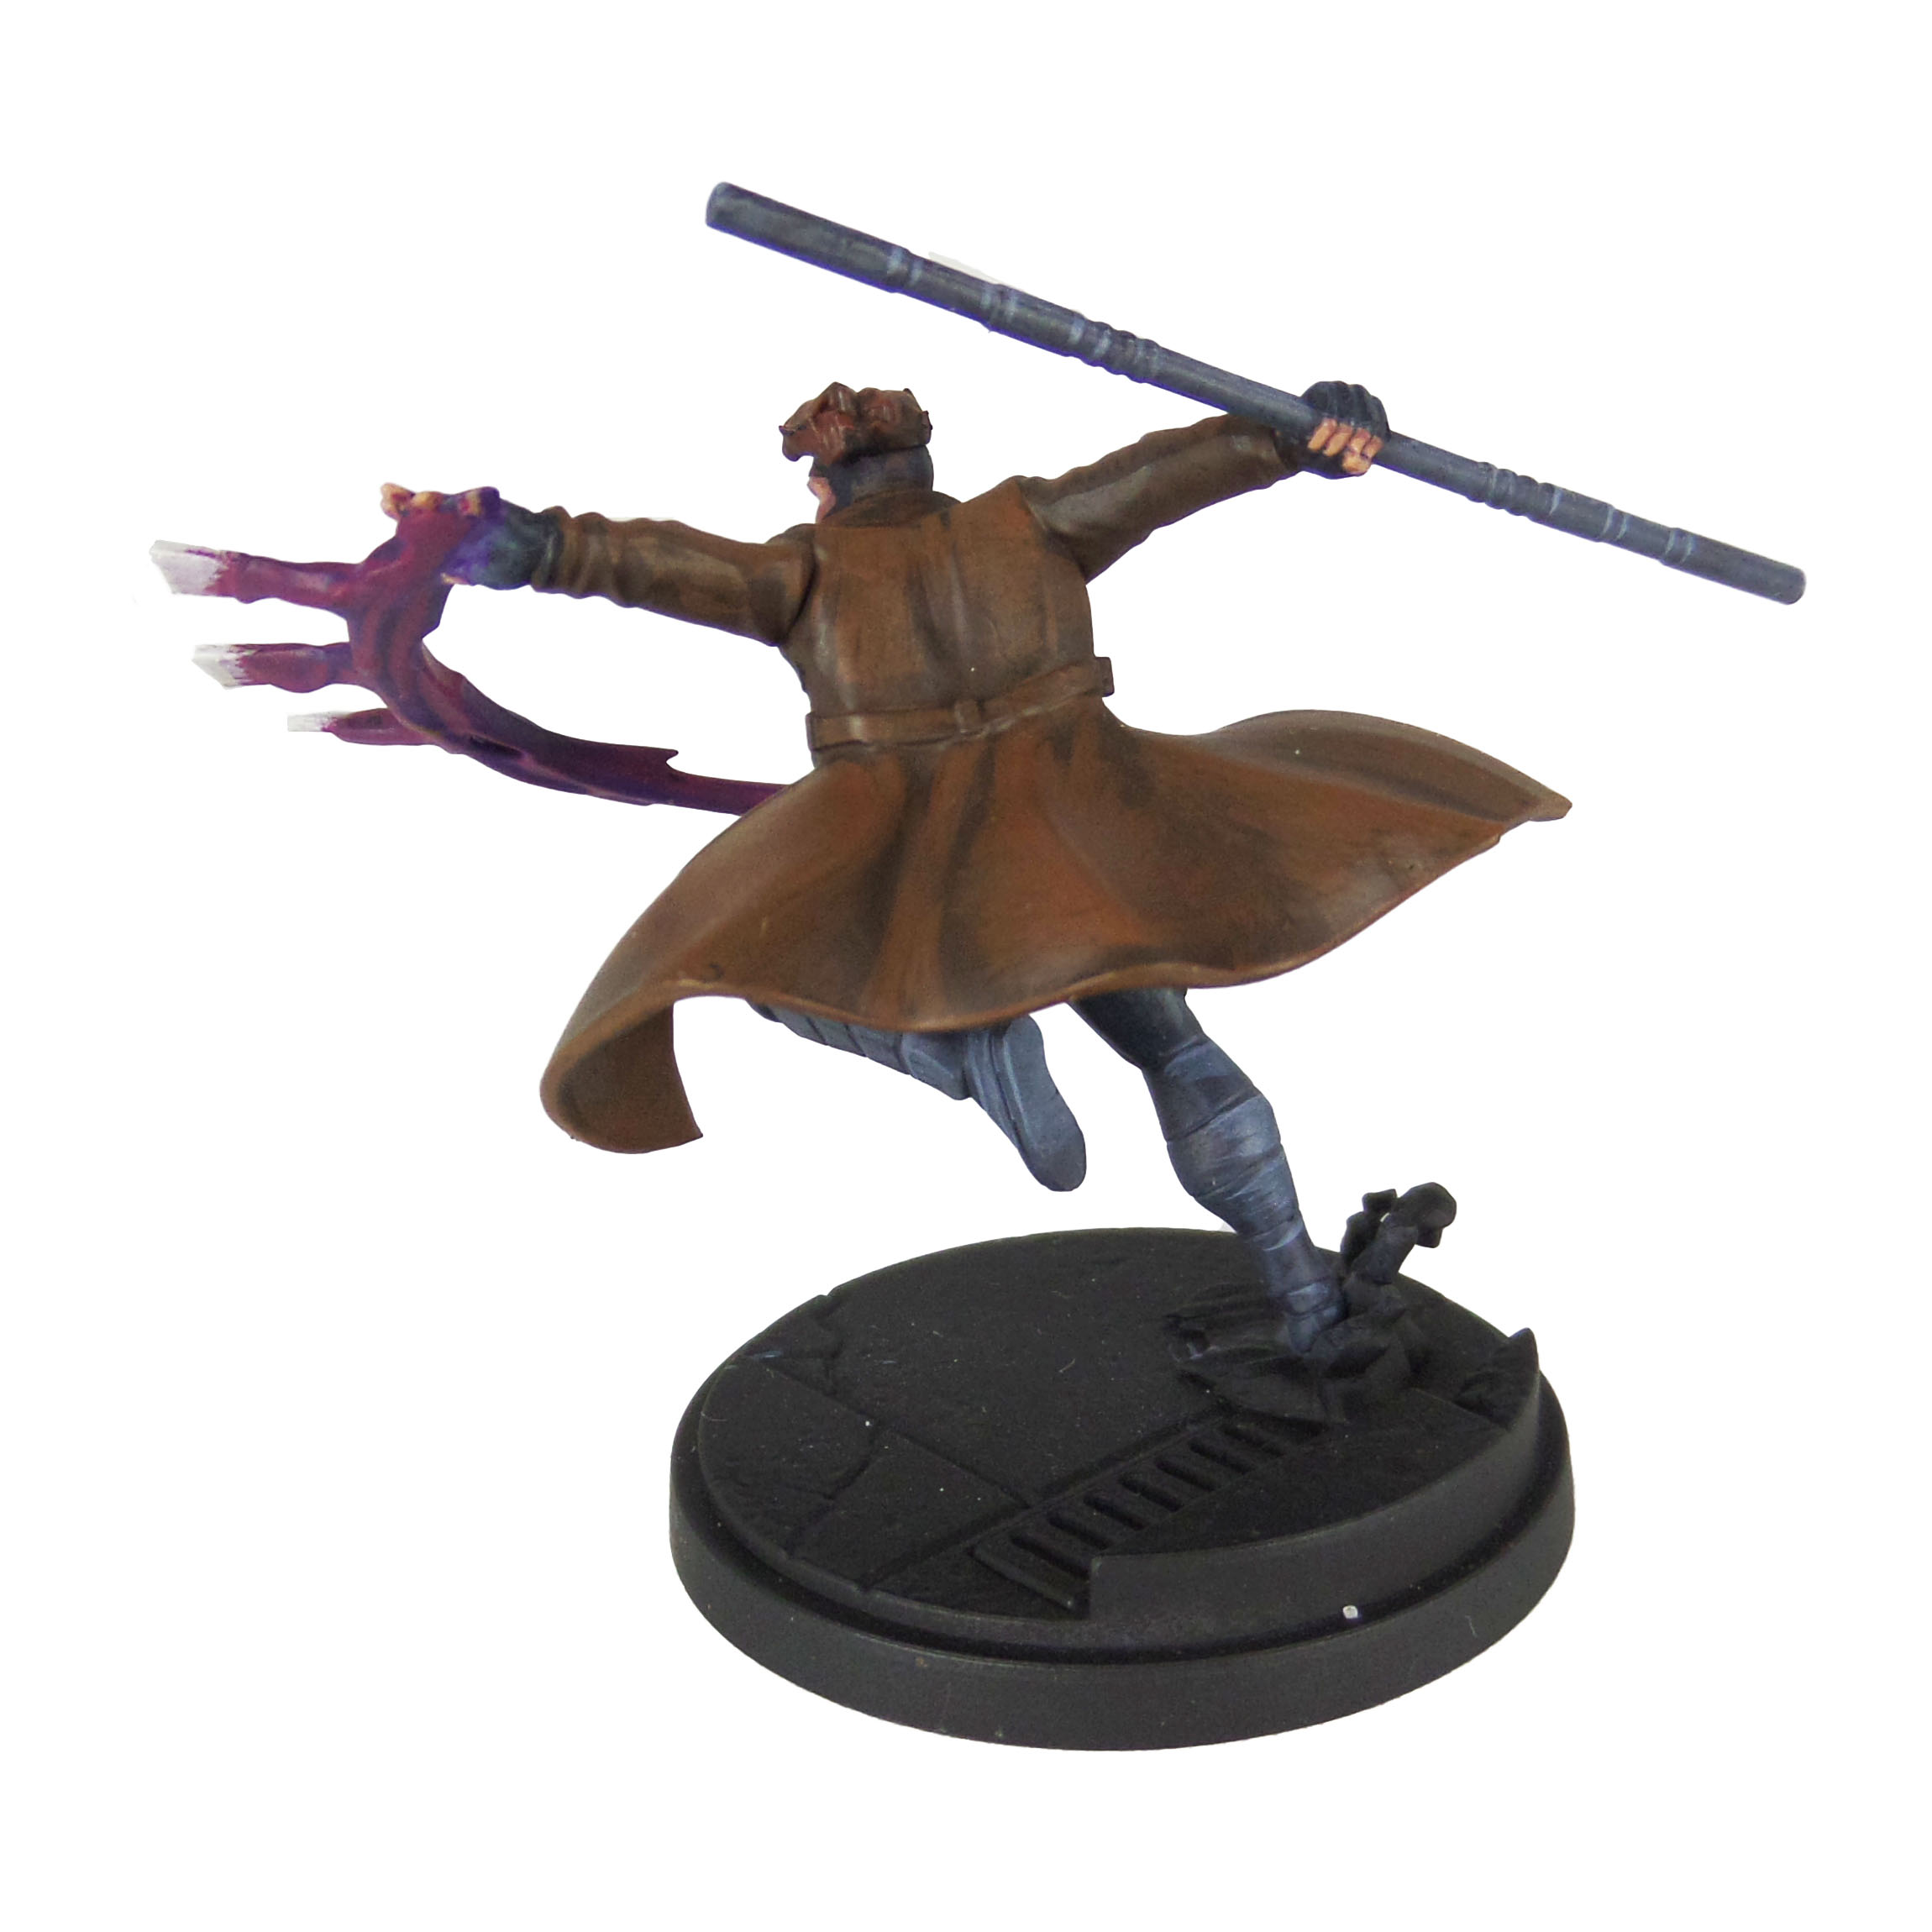
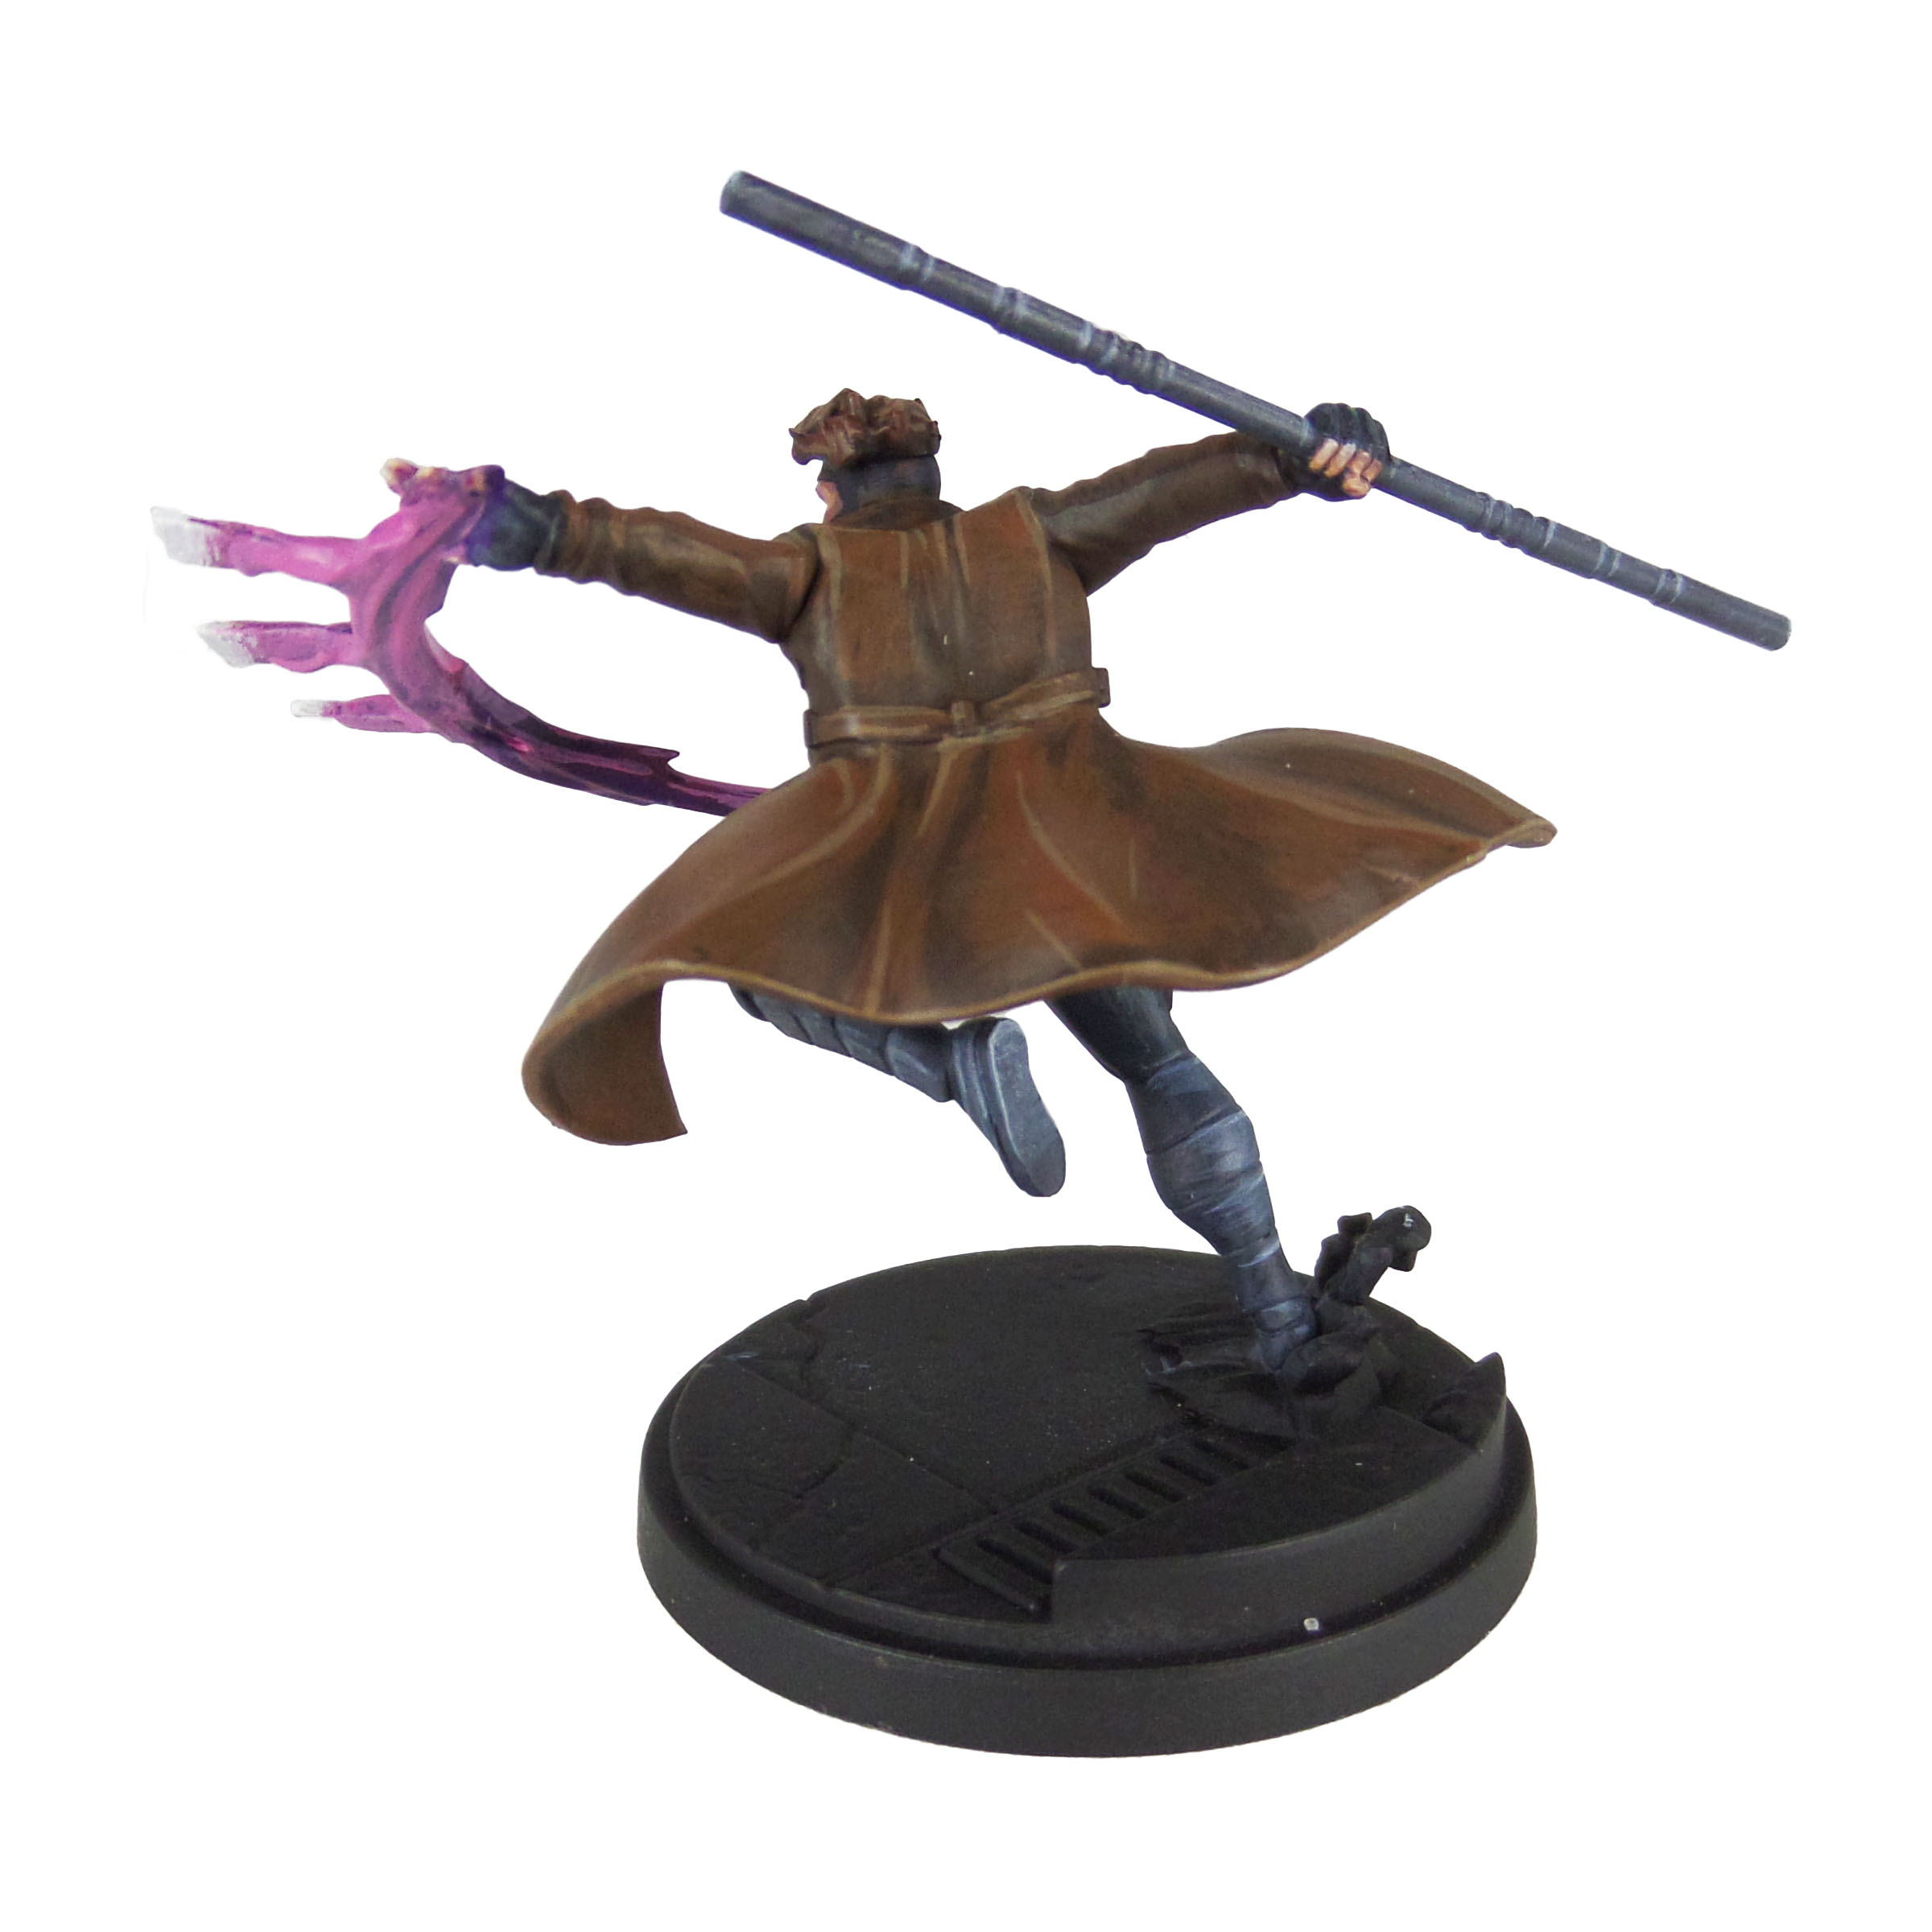
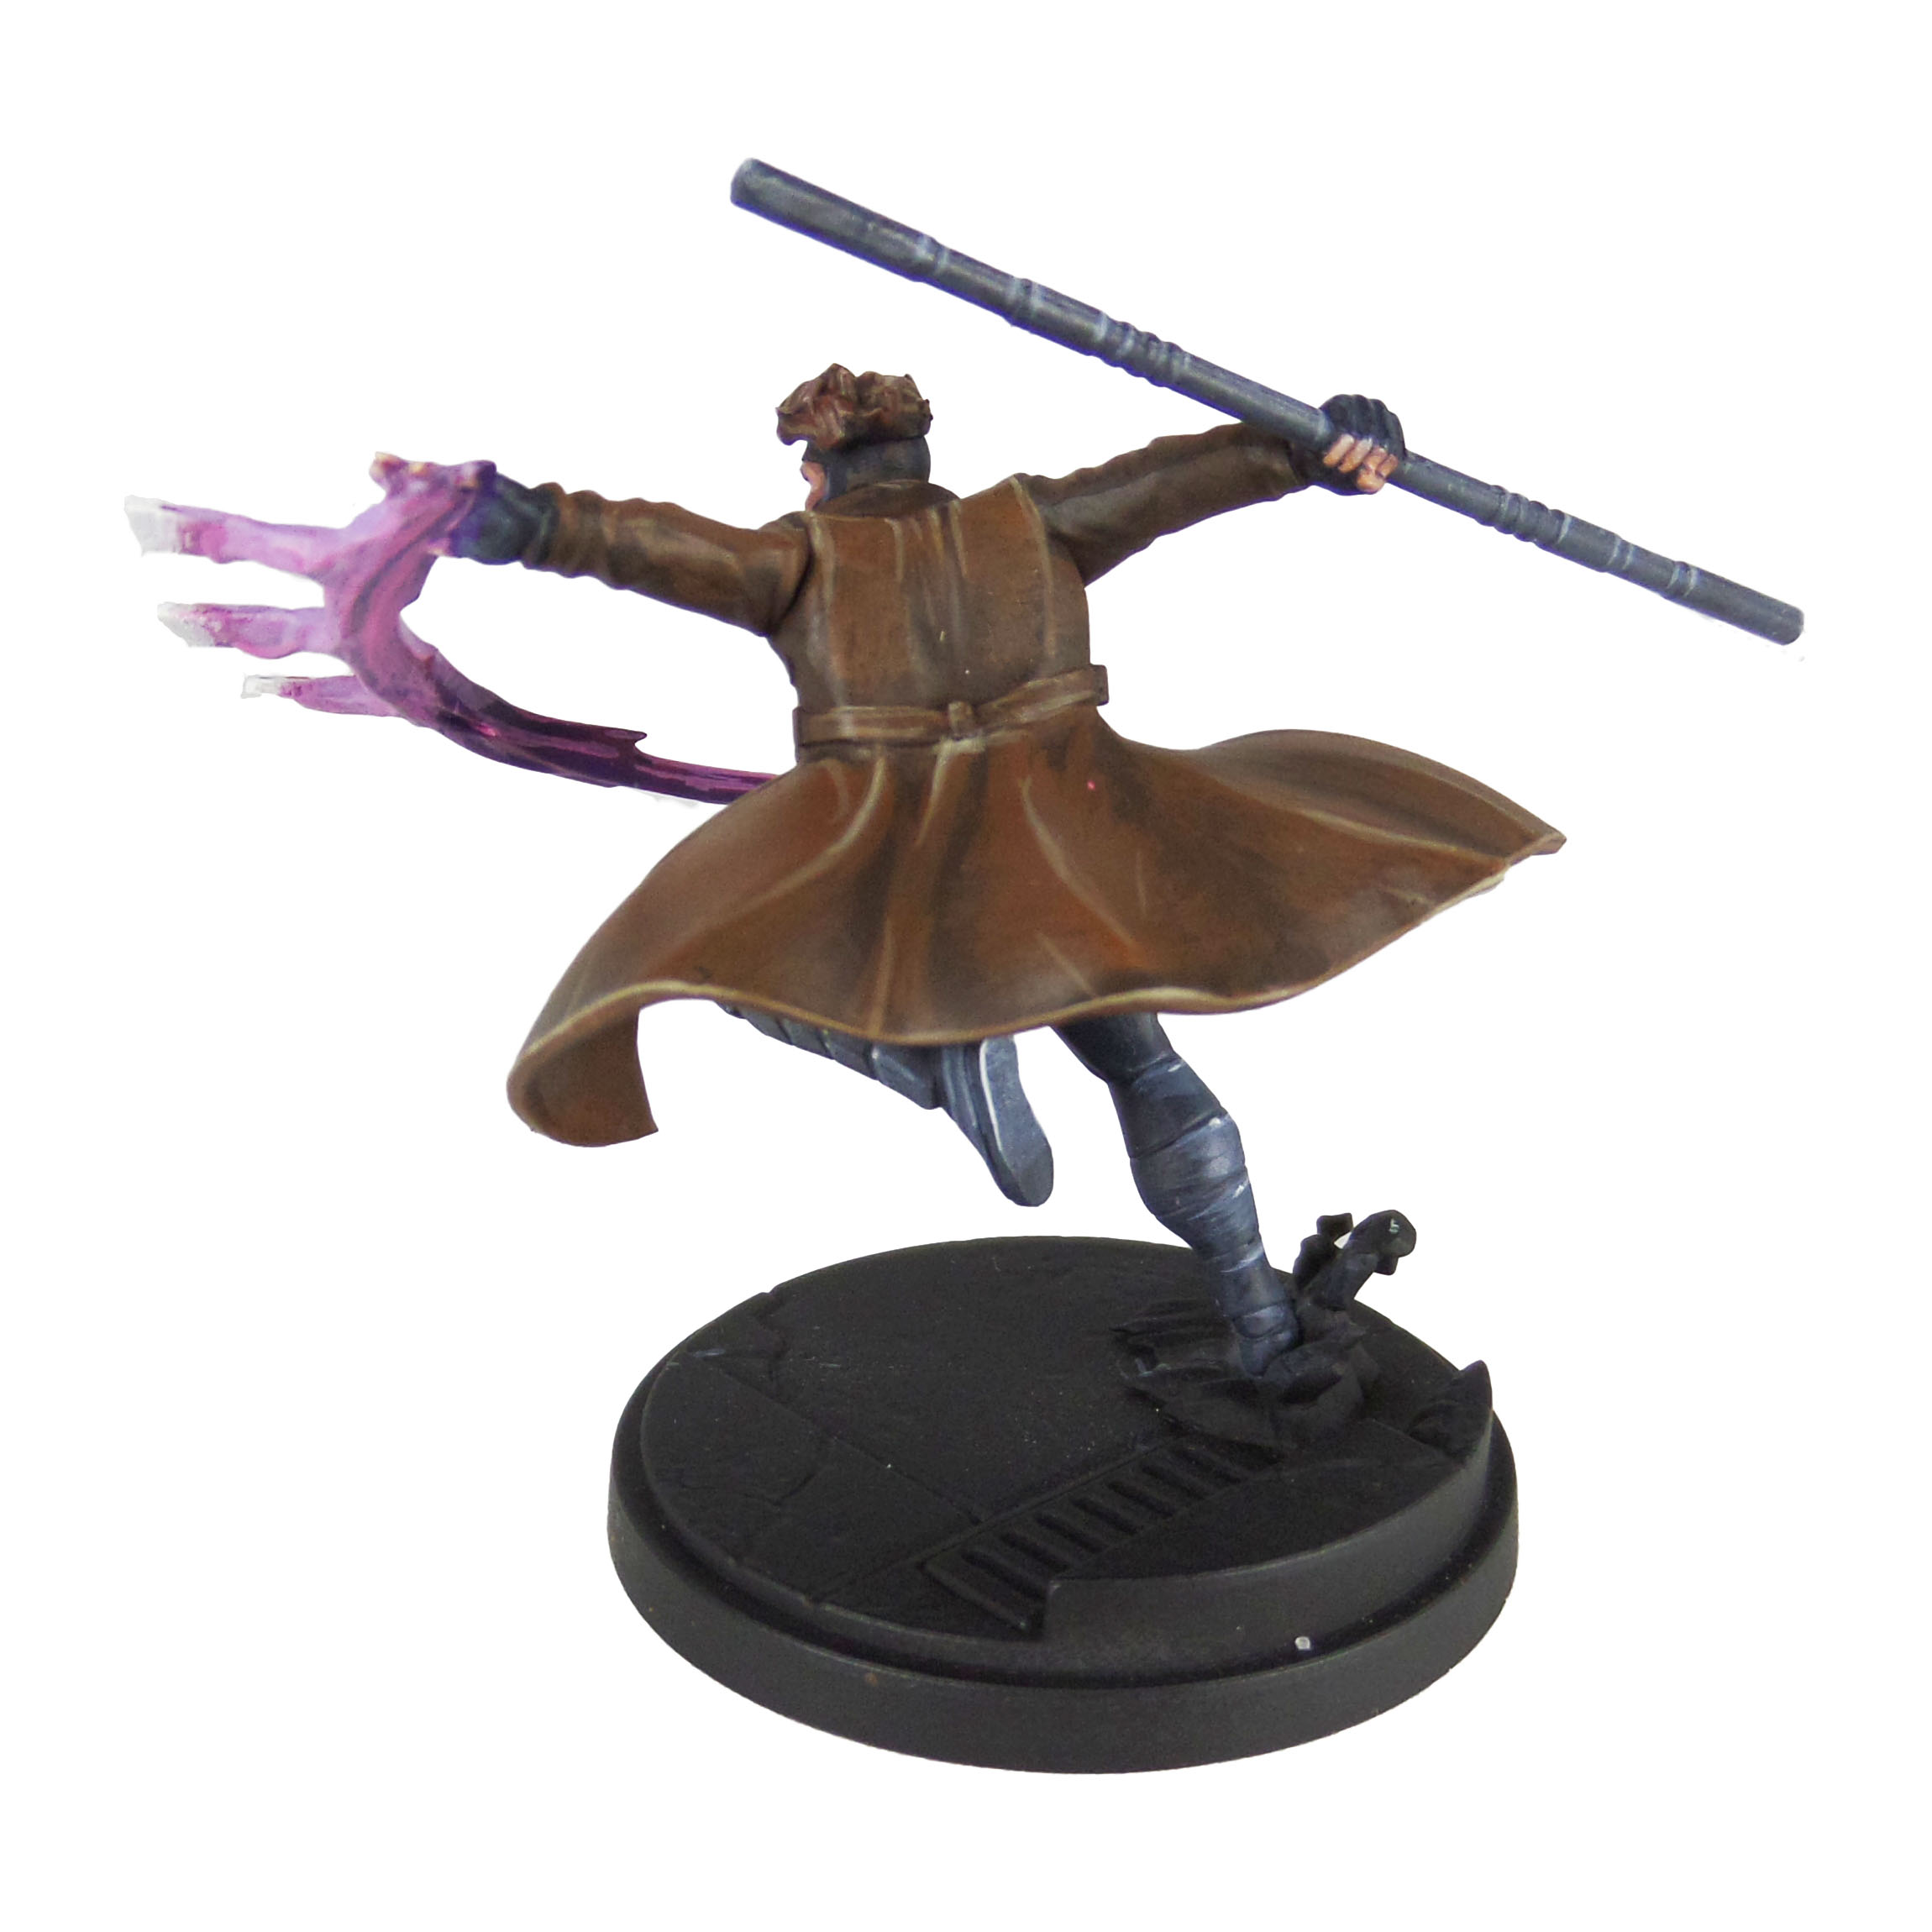
Gambit

Stage 1
Incubi Darkness: Apply a basecoat to the bodysuit and gloves.
Thondia Brown: Apply a basecoat to the jacket and hair.
Phoenician Purple: Apply a basecoat to the chest and kinetic charge.
Karak Stone: Apply a basecoat to the cards.
Bugman’s Glow: Apply a basecoat to the skin.
Dark Reaper: Apply a basecoat to the boots, lining and staff.

Stage 2
Thunderhawk Blue: Apply a layer to the bodysuit and gloves.
Mournfang Brown: Apply a layer to the jacket.
Doombull Brown: Apply a layer to the hair.
Genestealer Purple: Apply a thinned layer to the chest.
Screamer Pink: Apply a layer to the kinetic charge.
Pallid Wych Flesh: Apply a layer to the cards.
Russ Grey: Apply a line highlight and a thinned layer to the boots, suit lining and staff.
Cadian Fleshtone: Apply a layer to the skin.
Stage 3
Russ Grey: Apply a line highlight to the bodysuit and gloves.
Steel Legion Drab: Apply a thinned layer to the jacket and hair.
Kakophoni Purple: Apply a line highlight to the chest.
Emperor’s Children: Apply a thinned layer to the kinetic charge.
White Scar: Apply a thinned layer to the cards.
Blue Horror: Apply a line highlight and thinned layer to the boots, suit lining and staff.
Basic Skin Tone 70.815: Apply a thinned layer to the skin.
Stage 4
Fenrisian Grey: Apply a spot highlight to the bodysuit and gloves.
Karak Stone: Apply a spot highlight to the jacket and hair.
Fulgrim Pink: Apply a aspot highlight to the kinetic charge.
Abaddon Black/Mephiston Red: carefully apply the symbols to the cards.
White Scar: Apply a spot highlight to the boots, suit lining and staff.
Light Flesh 70.928: Apply a spot highlight to the skin.
Finish by painting the base with the Base Painting guide.

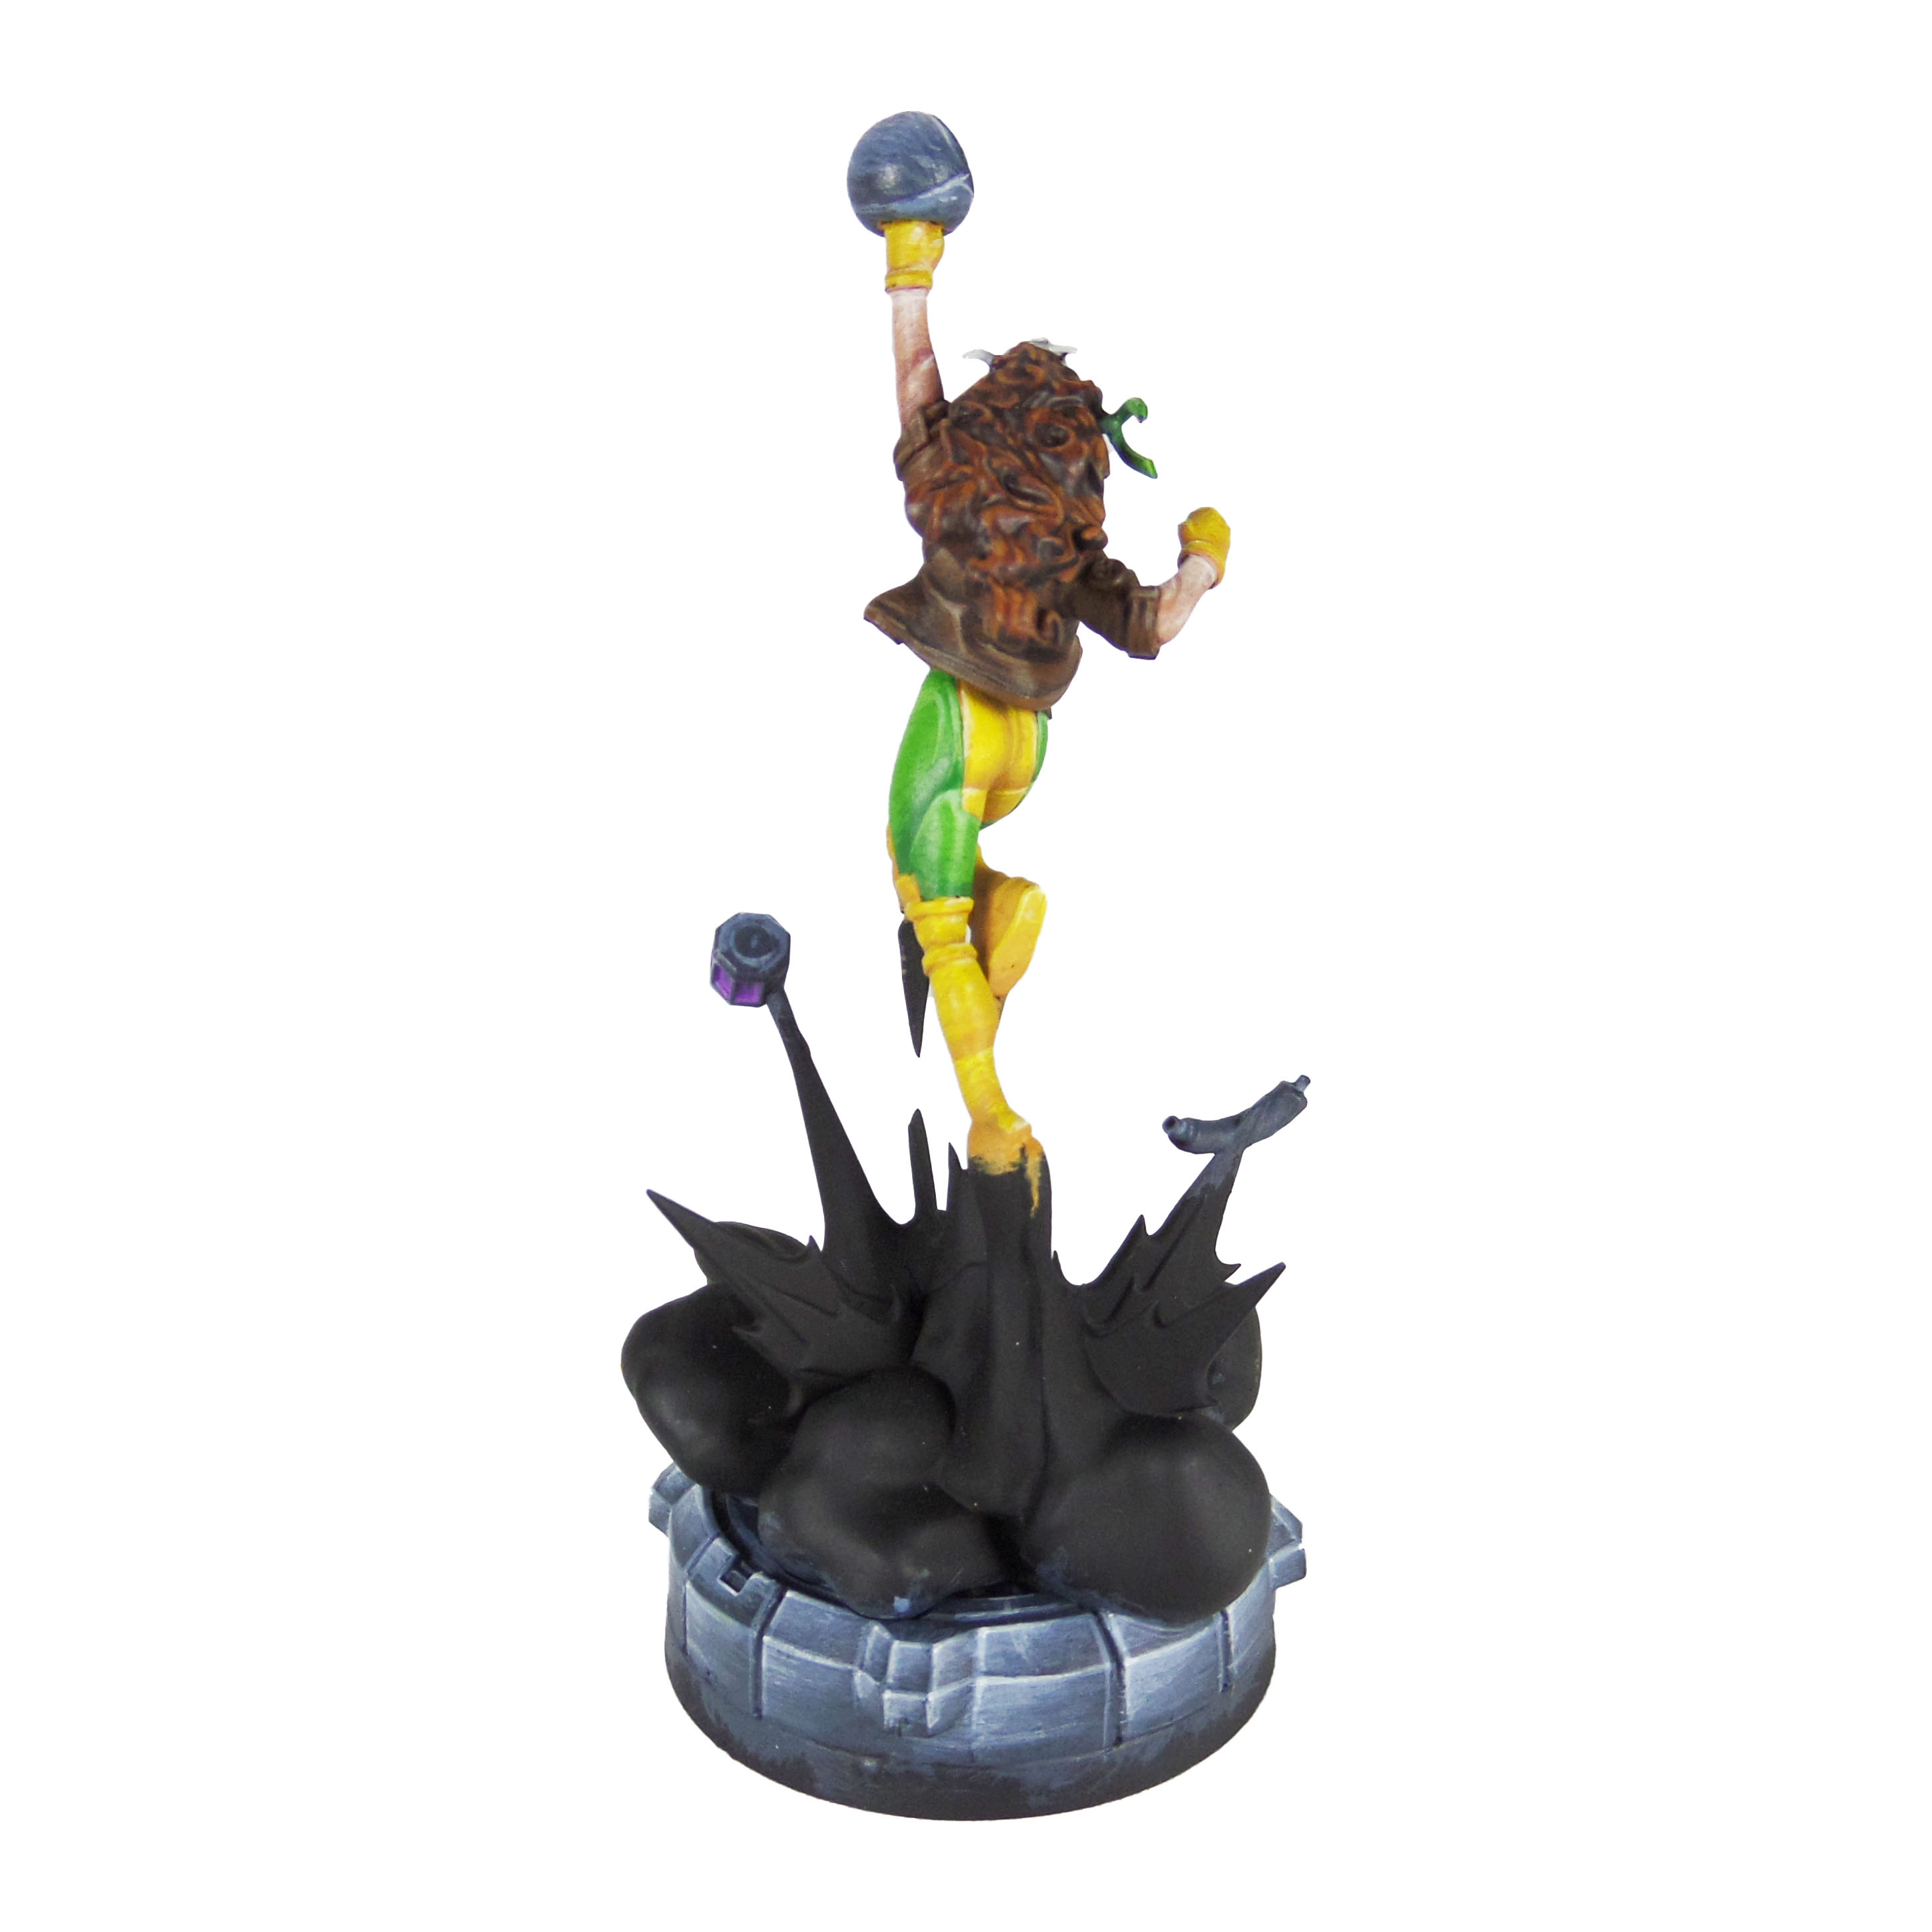
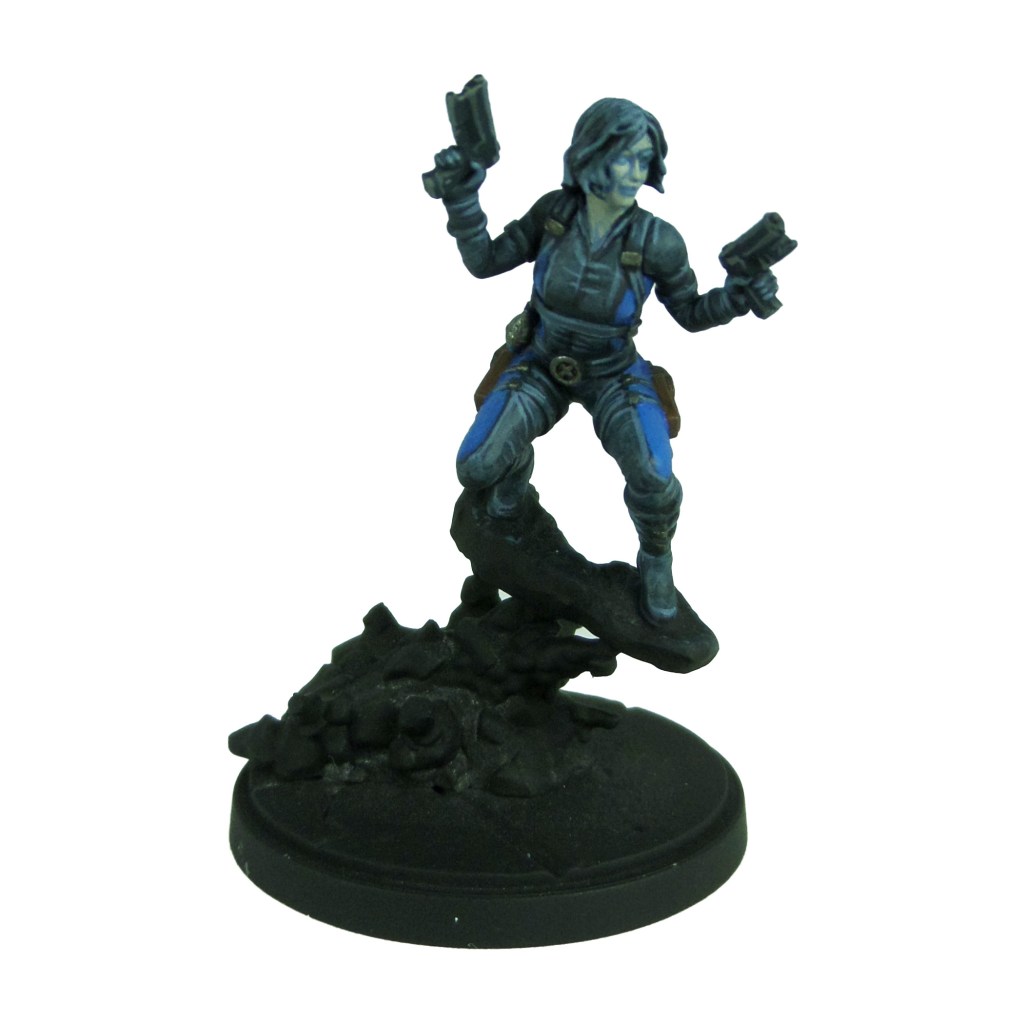
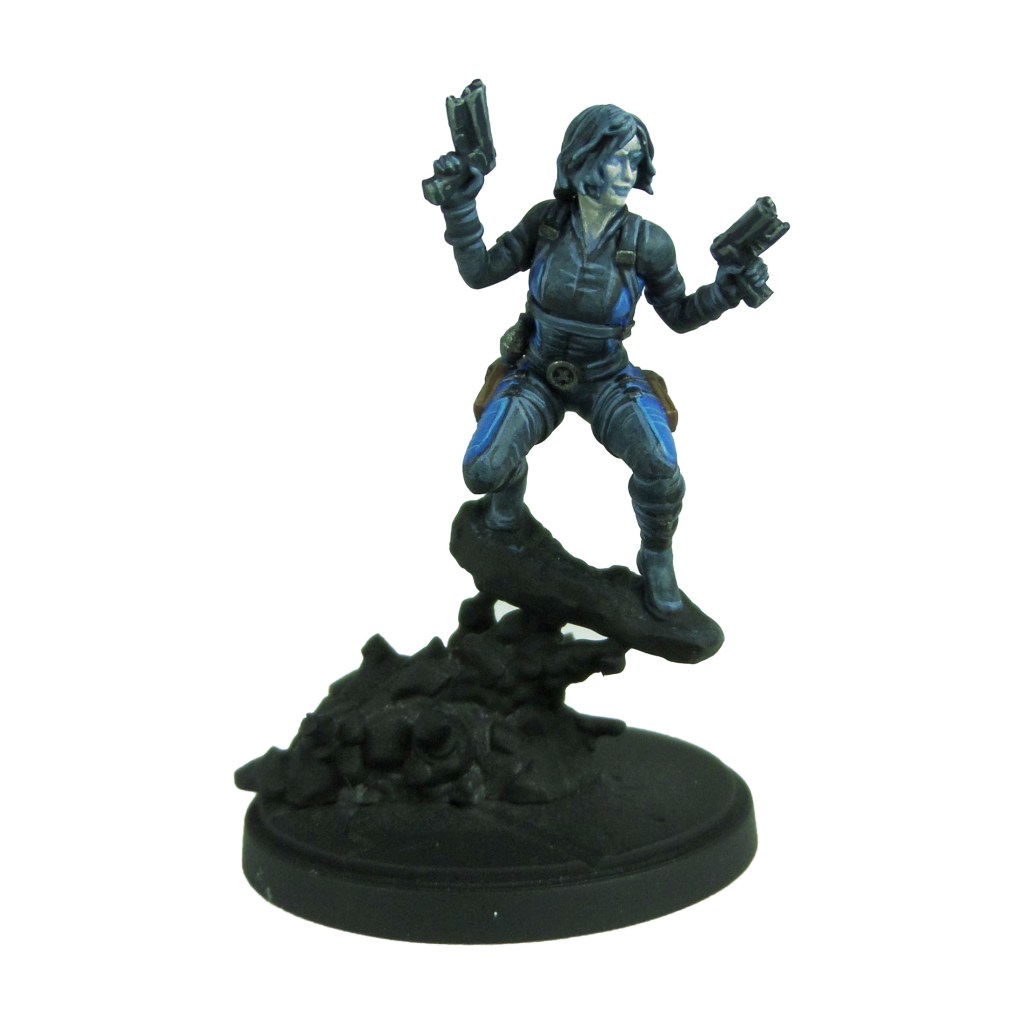
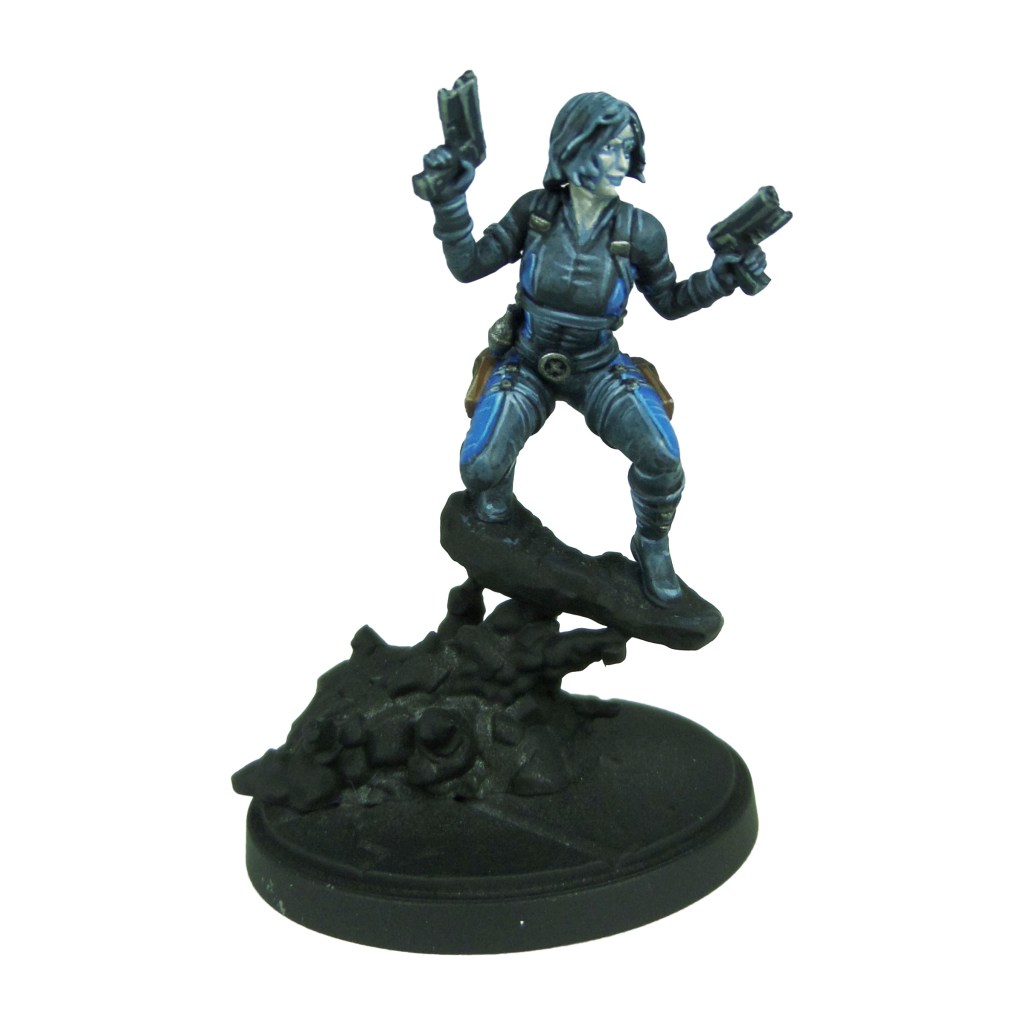
Rogue
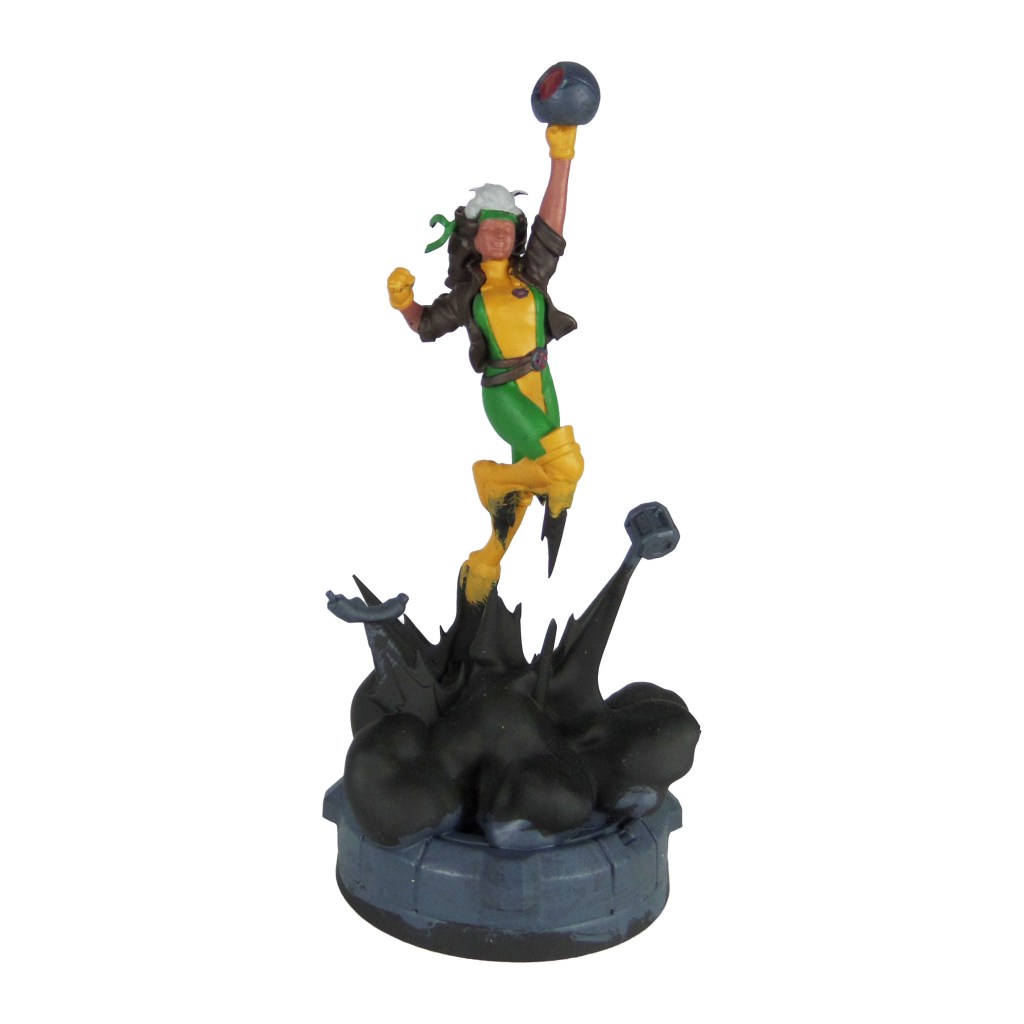
Stage 1
Tau Light Ochre: Apply a basecoat to the centre of the bodysuit, boots and gloves.
Warpstone Glow: Apply a basecoat to the sides and legs of the bodysuit.
Rhinox Hide: Apply a basecoat to the jacket and hair.
Celestra Grey: Apply a basecoat to the front patch of hair.
Dark Reaper: Apply a basecoat to the core, base edge and debris.
Khorne Red: Apply a basecoat to the core lens, and inside the x symbols.
Bugman’s Glow: Apply a basecoat to the skin.

Stage 2
Averland Sunset: Apply a layer to the bodysuit, boots, and gloves.
Moot Green: Apply a layer to the sides and legs of the bodysuit.
Doombull Brown: Apply a layer to the hair.
Mournfang Brown: Apply a layer to the jacket.
Ulthuan Grey: Apply a layer to the front patch of hair.
Russ Grey: Apply a line highlight and a thinned layer to the core, base edge and debris.
Mephiston Red: Apply a layer to the core lens and inside of the x symbols.
Cadian Fleshtone: Apply a layer to the skin.

Stage 3
Flash Gitz Yellow: Apply a line highlight to the bodysuit, boots and gloves.
Skarsnik Green: Apply a line highlight to the sides and legs of the bodysuit.
Skrag Brown: Apply a line highlight to the hair.
Steel Legion Drab: Apply a line highlight to the jacket.
White Scar: Apply a layer to the front patch of hair.
Blue Horror: Apply a line highlight and thinned layer to the core, base edge and debris.
Evil Sunz Scarlet: Apply a spot highlight to the core lens and inside of the x symbols.
Basic Skin Tone 70.815: Apply a thinned layer to the skin.

Stage 4
Dorn Yellow: Apply a spot highlight to the bodysuit, boots and gloves.
Gauss Blaster Green: Apply a spot highlight to the sides osides and legs of the bodysuit.
Deathclaw Brown: Apply a spot highlight to the hair.
Karak Stone: Apply a spot highlight to the jacket.
White Scar: Apply a spot highlight to the core, base edges and debris.
Light Flesh 70.928: Apply a spot highlight to the skin.
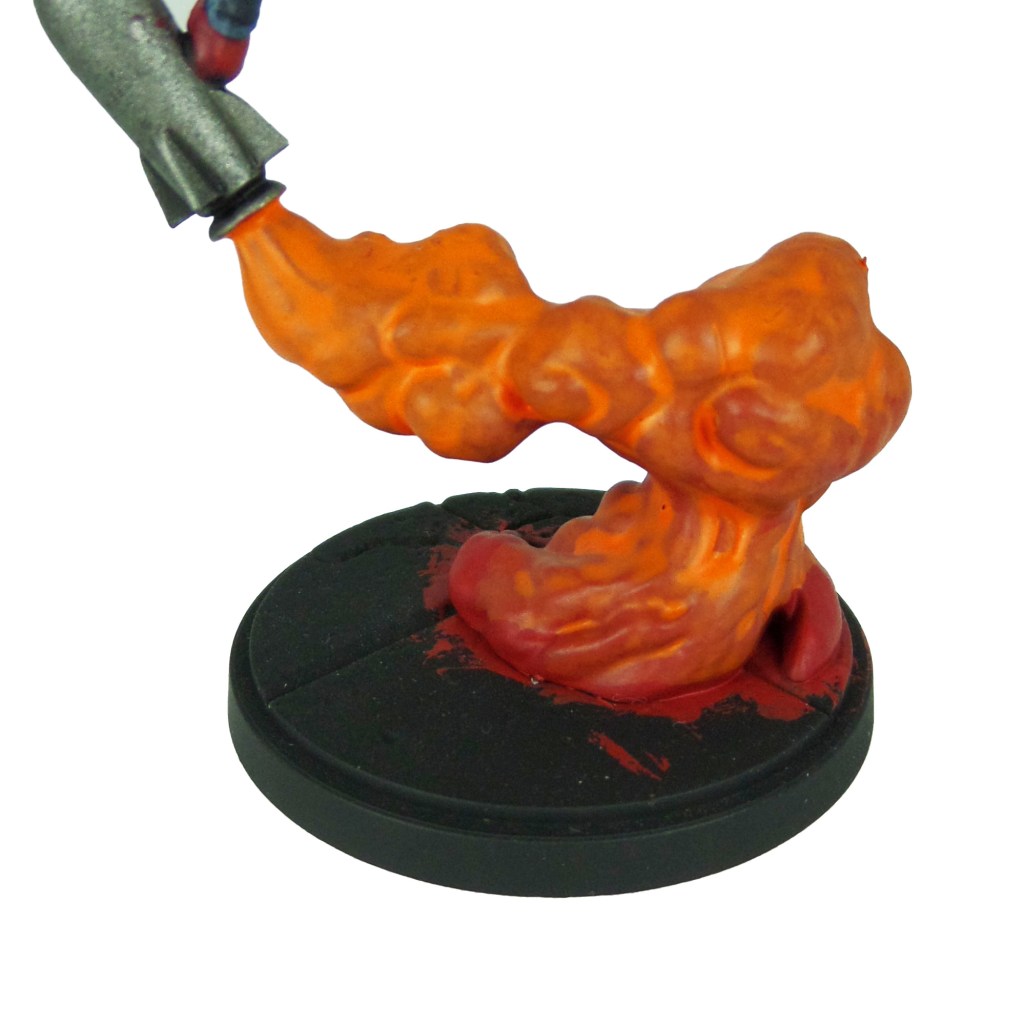
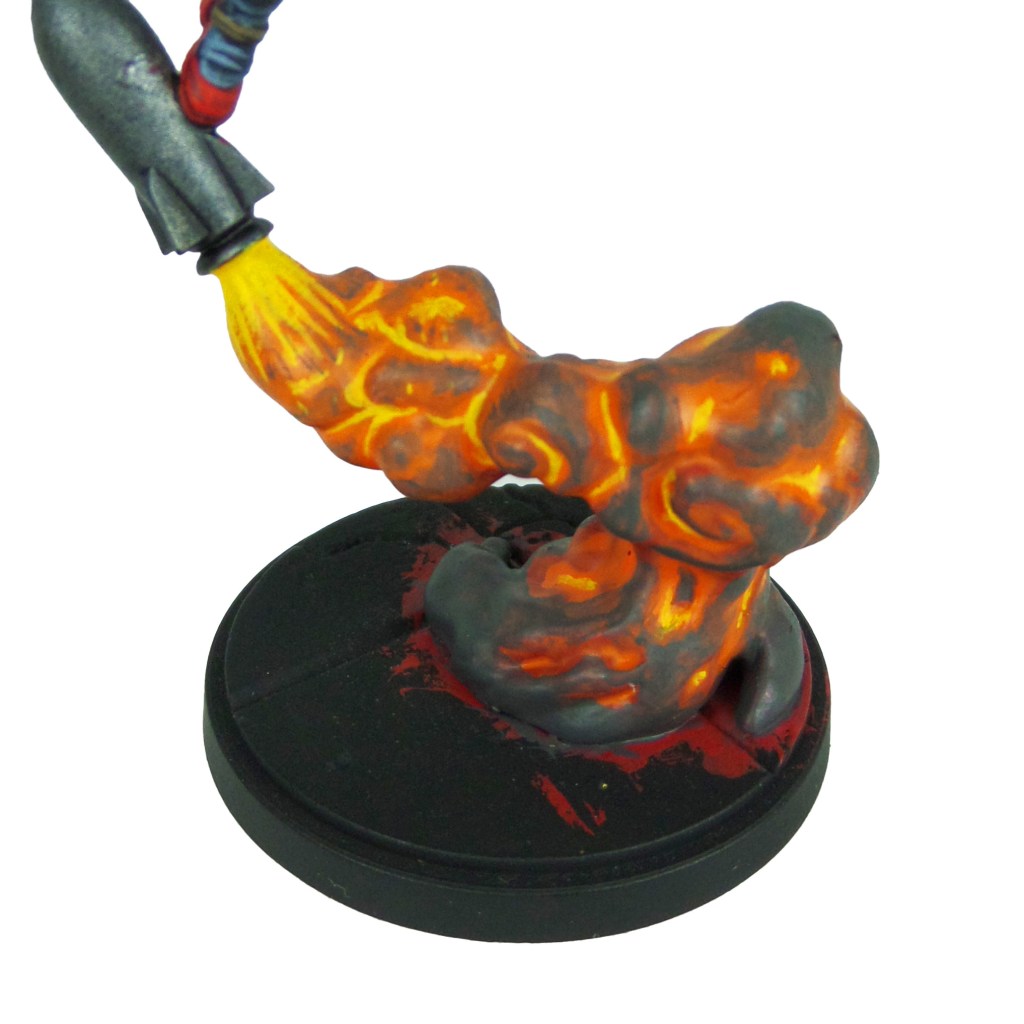
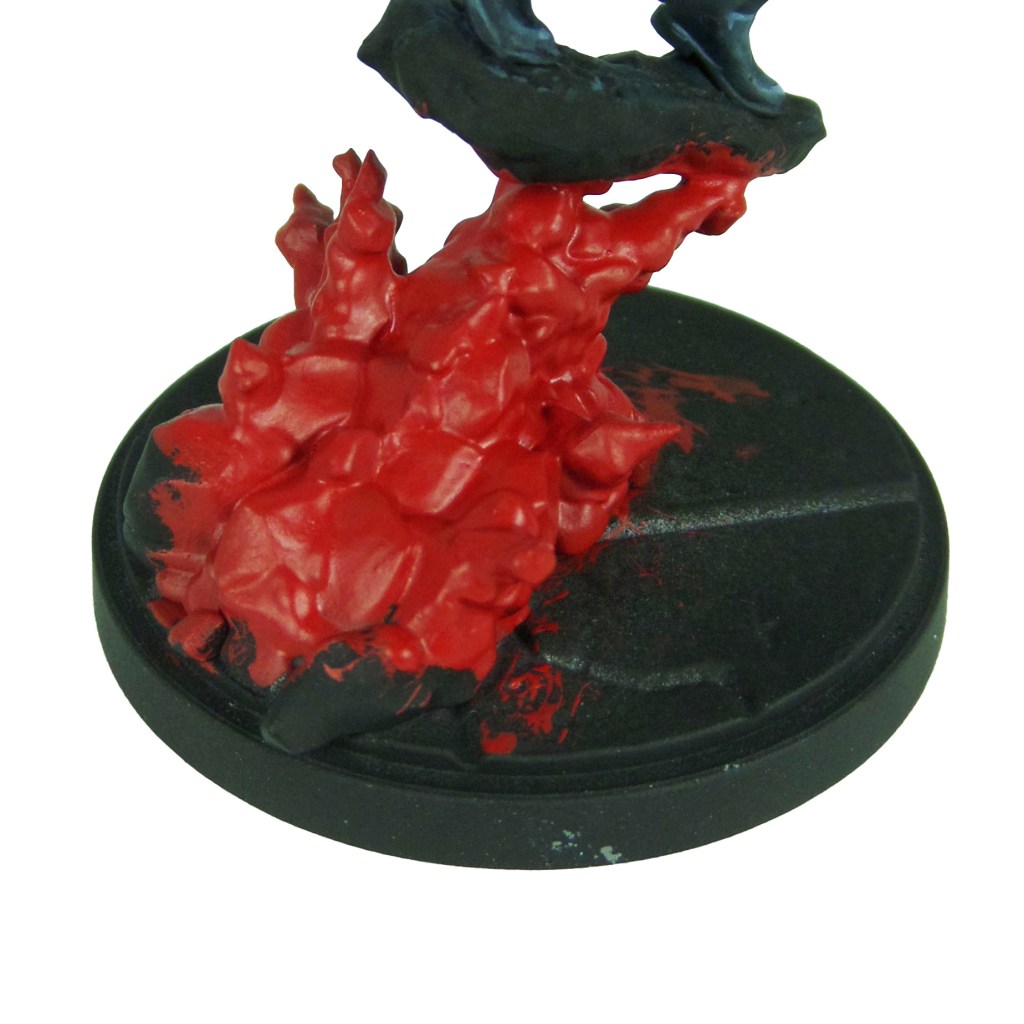
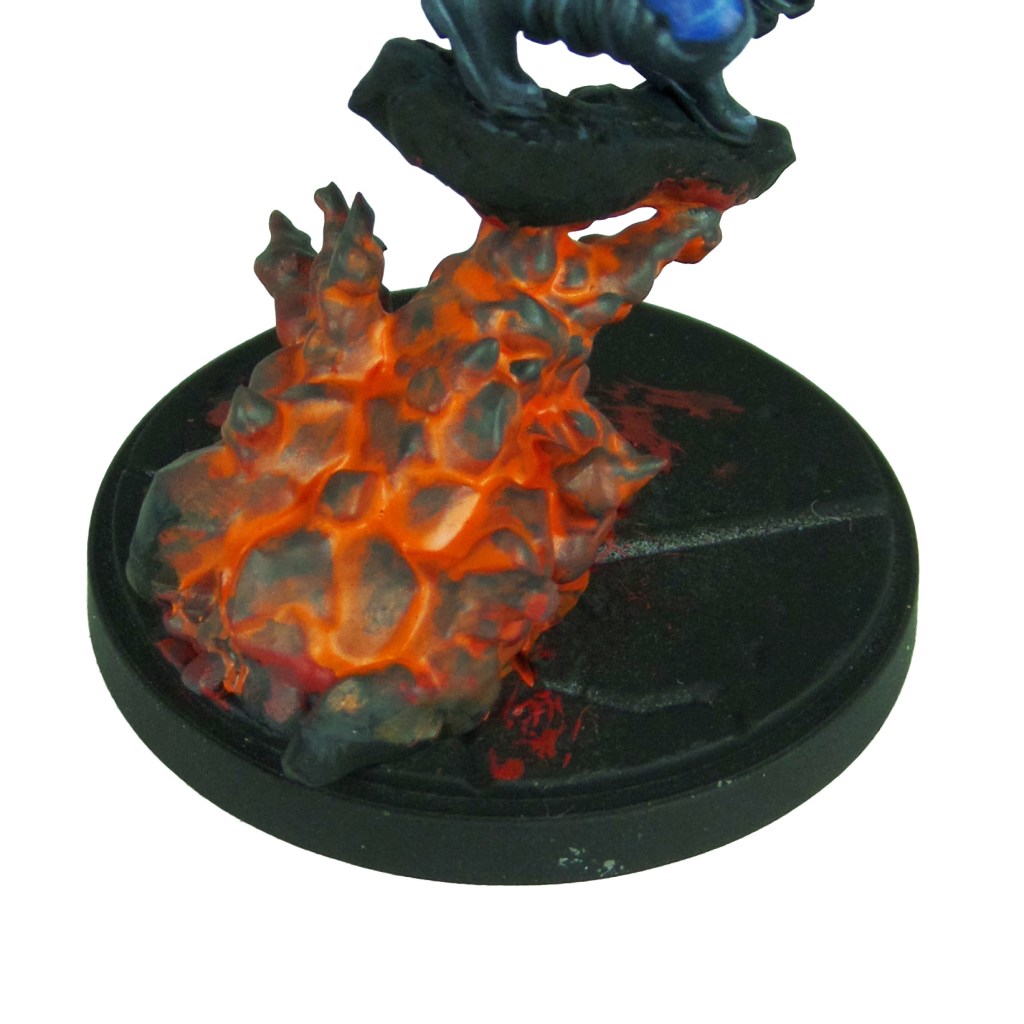
Finish by painting the explosion with the Explosion painting guide.