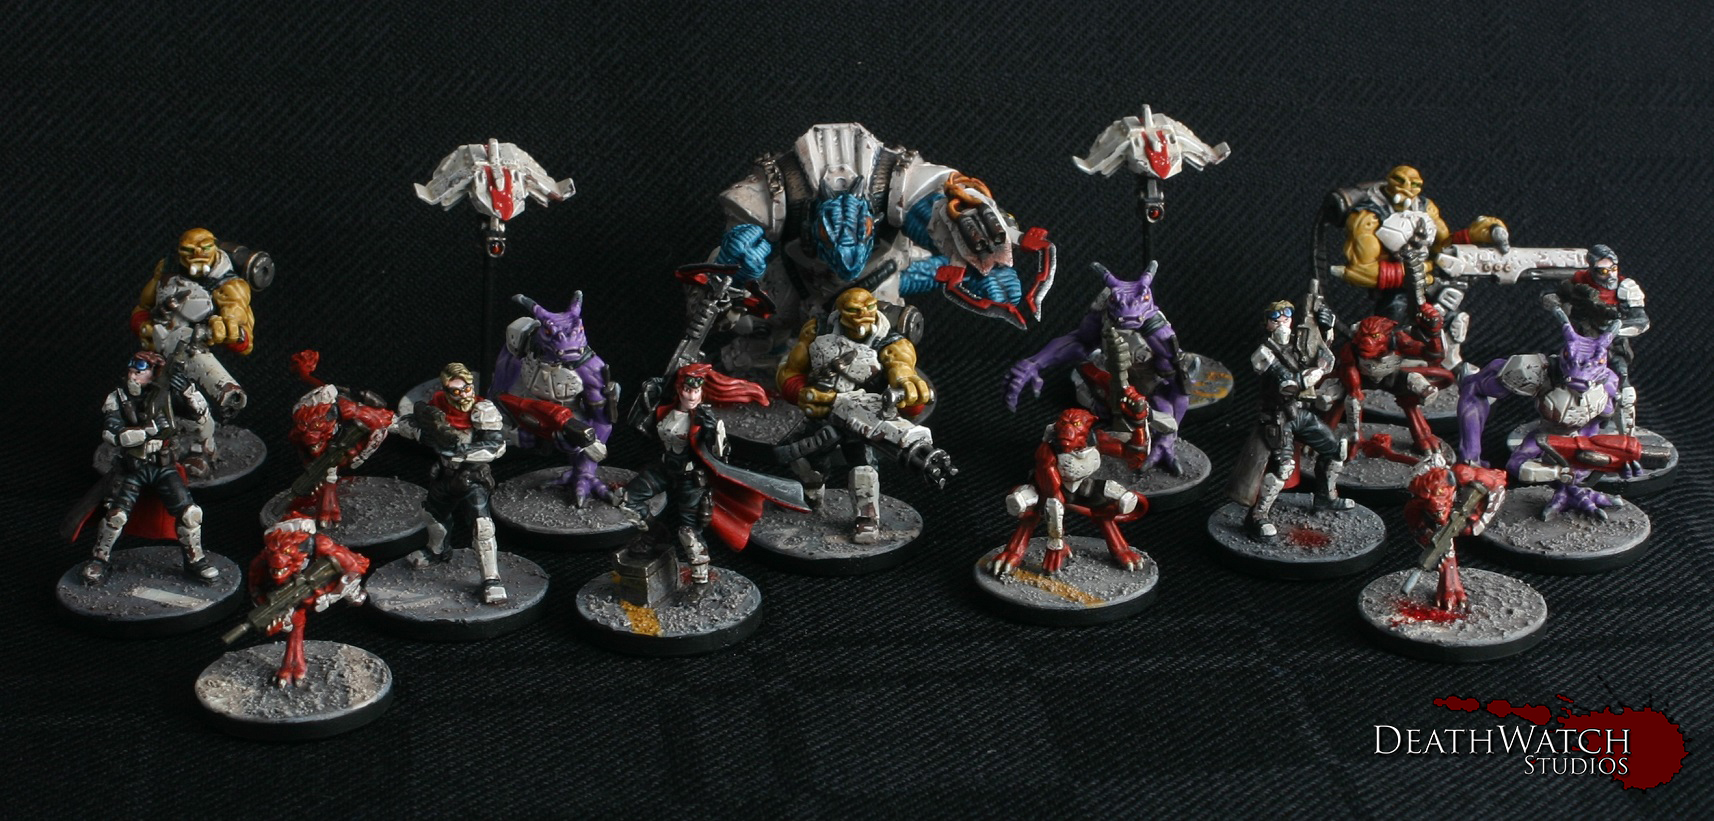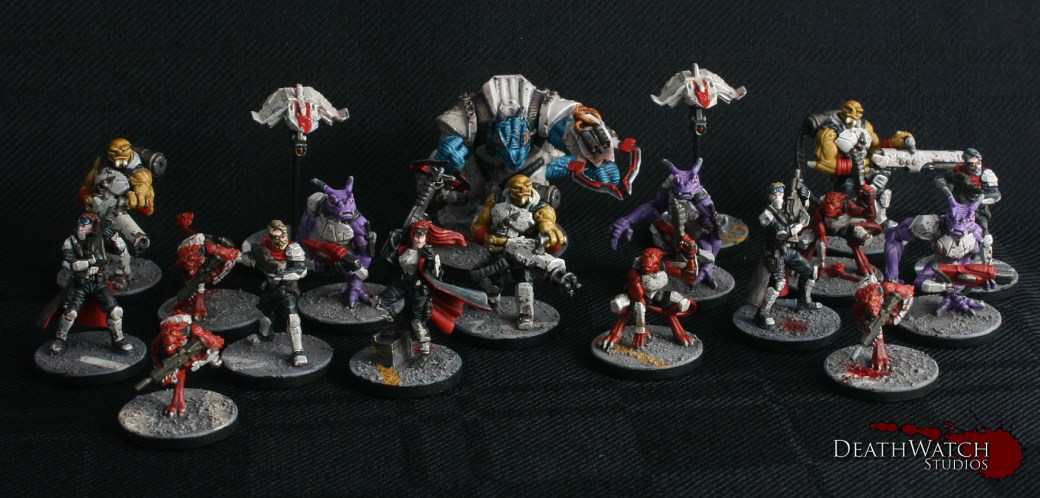
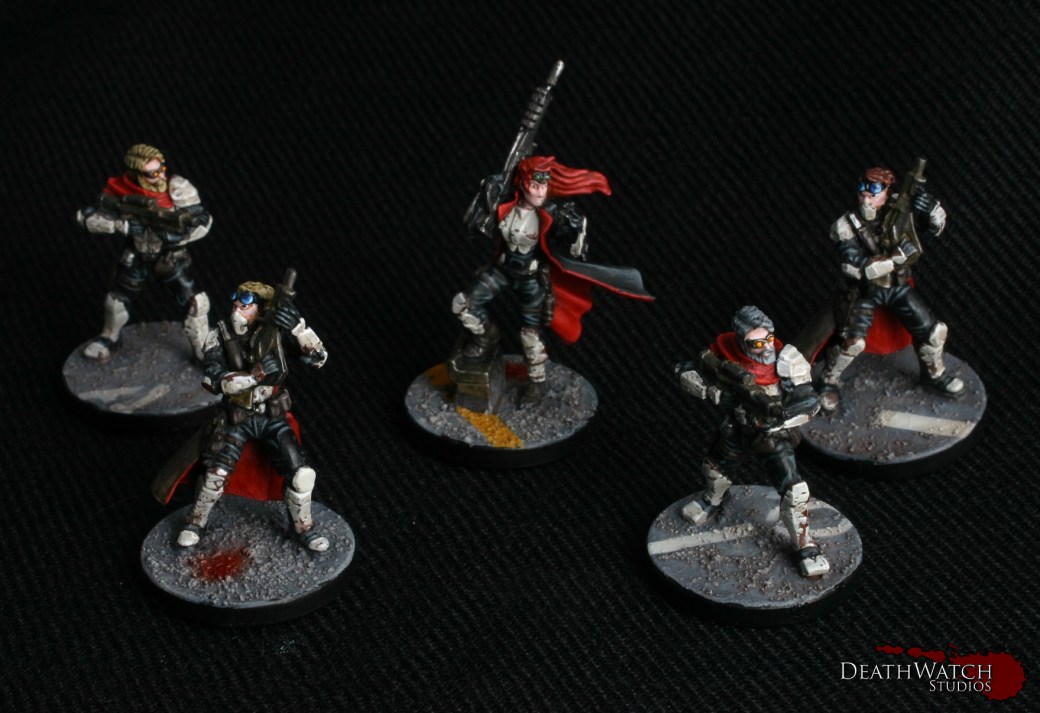
Here’s a guide as to how I panted up my Rebs Force.
The first thing to say is there were a few basic colours that stayed the same throughout the force; the armour, blacks, reds, metals and leather. So here’s a rundown of how those colours were achieved:

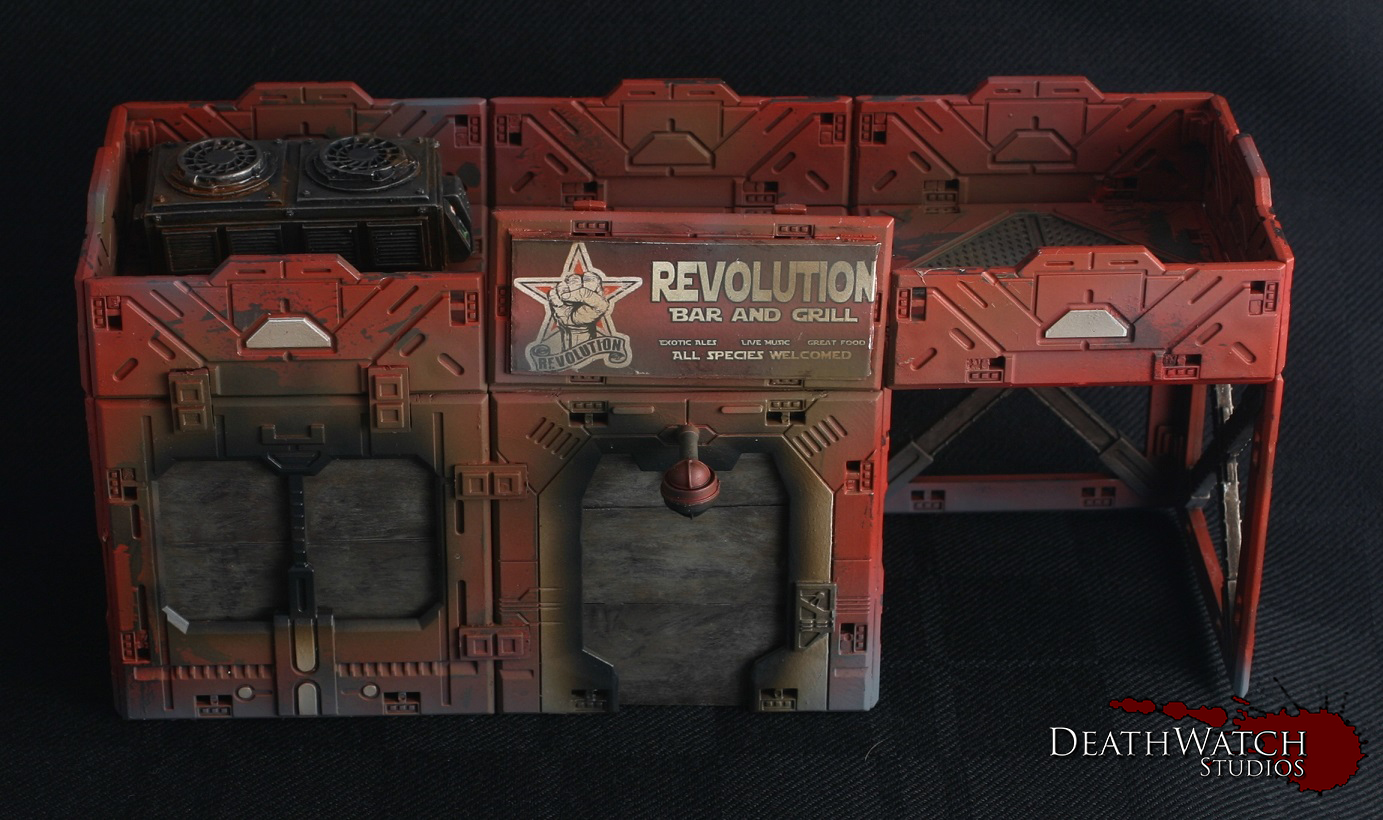
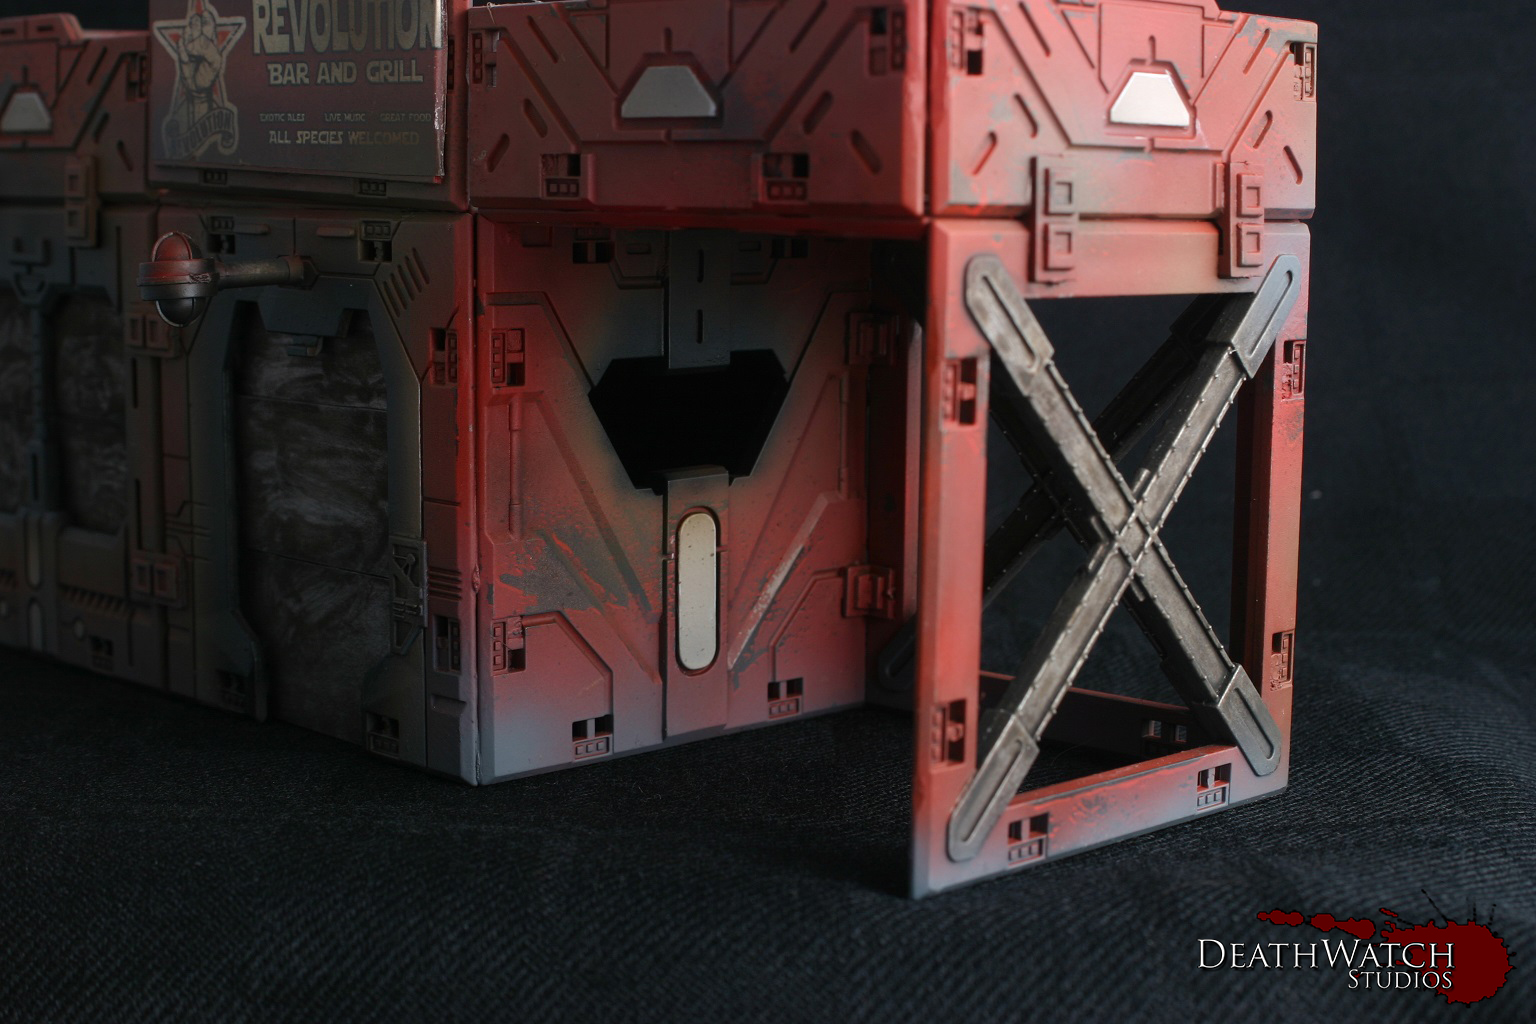
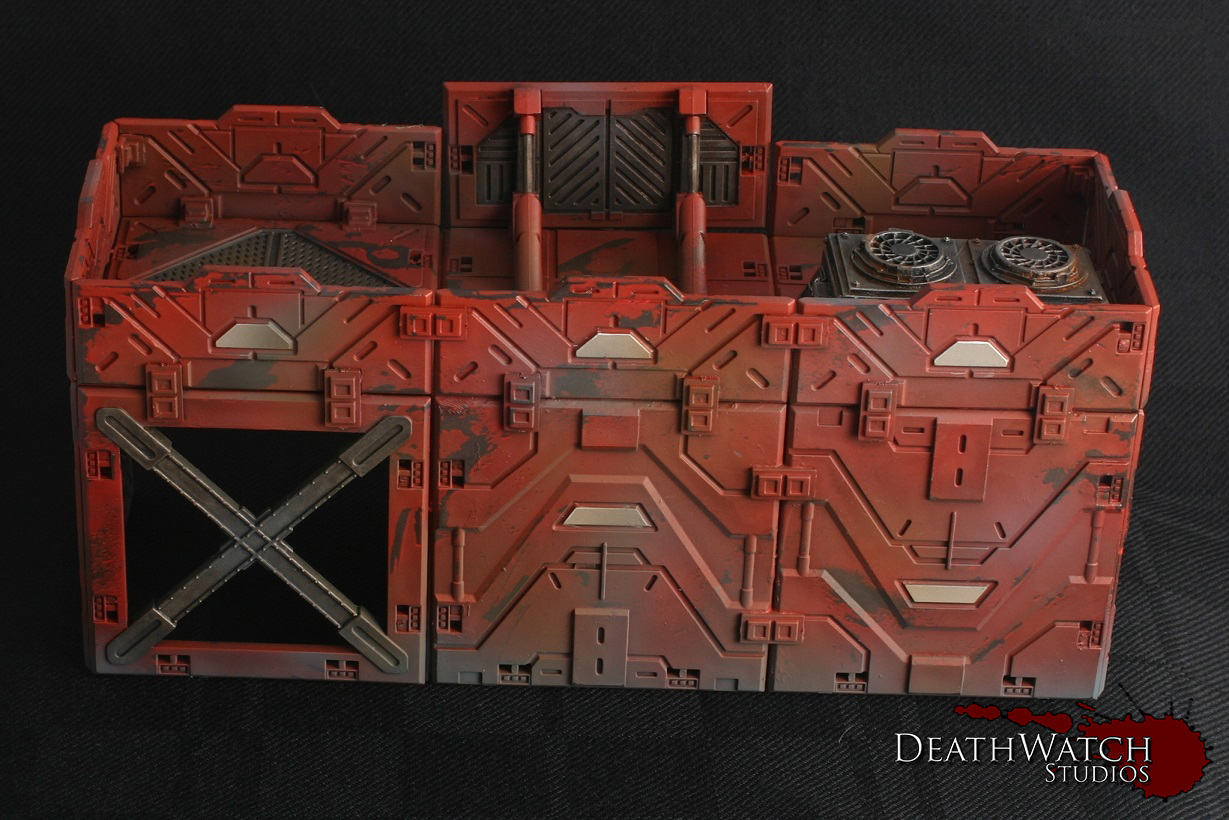
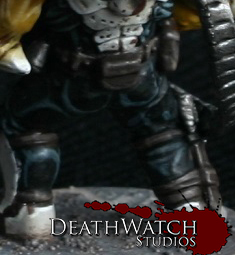
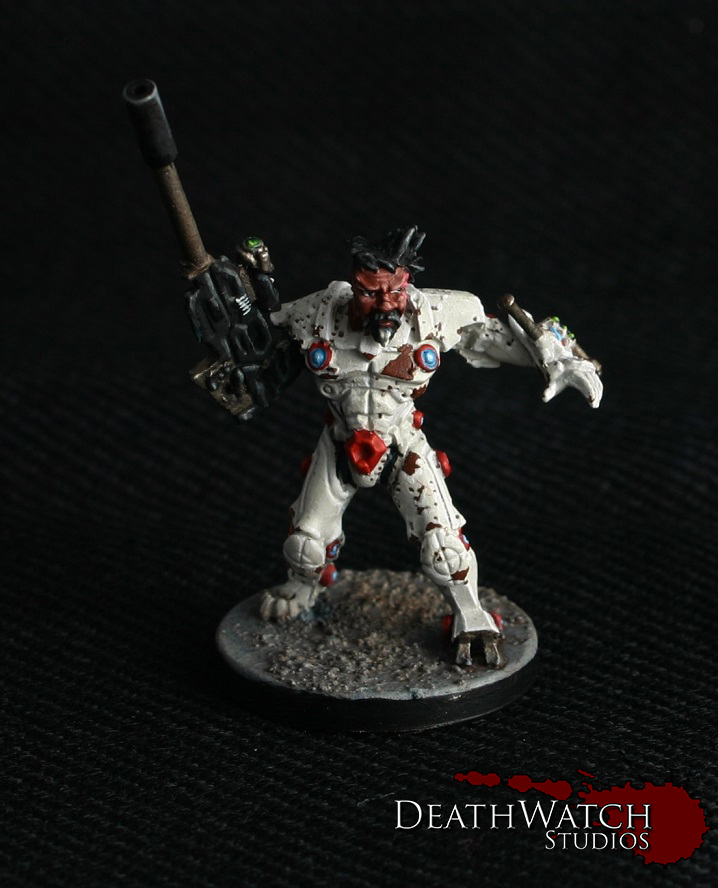
Armour: The armour was painted in the same fashion as my Deadzone terrain. Take a look HERE to see how that was acheived.
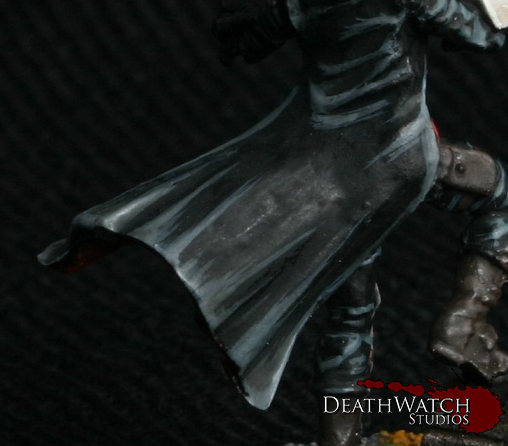
Blacks: Basecoat with Abaddon Black
Highlight of Mechanicus Standard Grey with a touch of Hawk Turquoise focussing on the top edge of the folds and raised areas
Highlight of Codex Grey with a touch of Hawk Turquoise
Fine Highlight of Fortress Grey with a touch of Hawk Turquoise
Was of Nuln oil mixed with a bit of Lahmian Medium

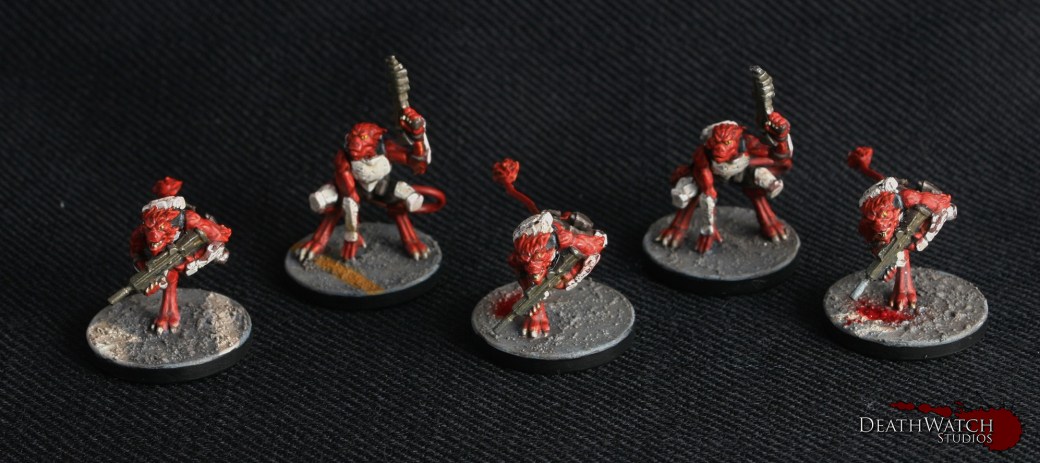
Reds: Over the Khorne Red base:
Layer of Mephiston Red leaving the recesses the original colour
Highlight of Evil Sun Scarlet
Highlight of 1:1 Evil Sun Scarlet and Tau Light Ochre
and finally a glaze of Bloodletter
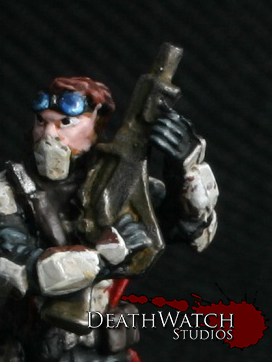
Metals: Basecoat of Leadbelcher
Wash of Agrax Earthshade
Wash of 4:1 water and Tallarn Sand

Leather: Over a Dryad Bark base I added two highlights
The first is 2:1 Dryad bark and Ushabti Bone
The second 1:1 Dryad bark and Ushabti Bone
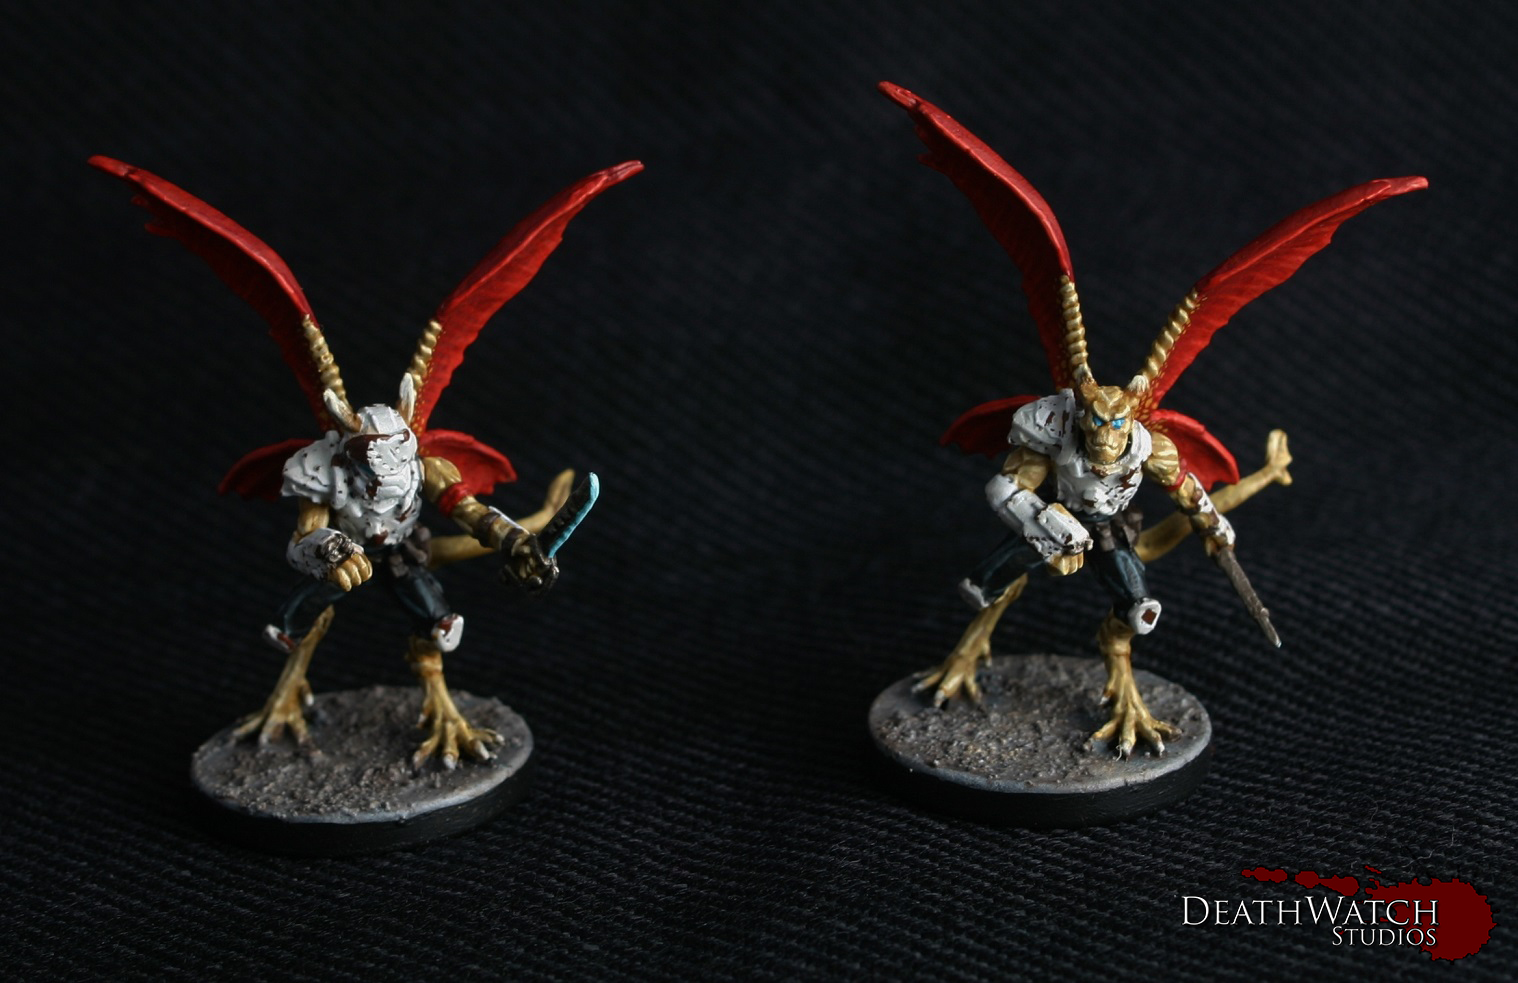
The rest is mainly the flesh of the different species and other small details which I’ll go into here:
Grogan Flesh: Basecoat of Zamesi Desert followed by a Seraphim Sepia wash
Once dry apply a coat of Zamesi Desert leaving the recesses the basecoat colour
Highlight of 2:1 Zamasi Desert and Menoth White Highlight
Fine Highlight of 1:1 Zamasi Desert and Menoth White Highlight
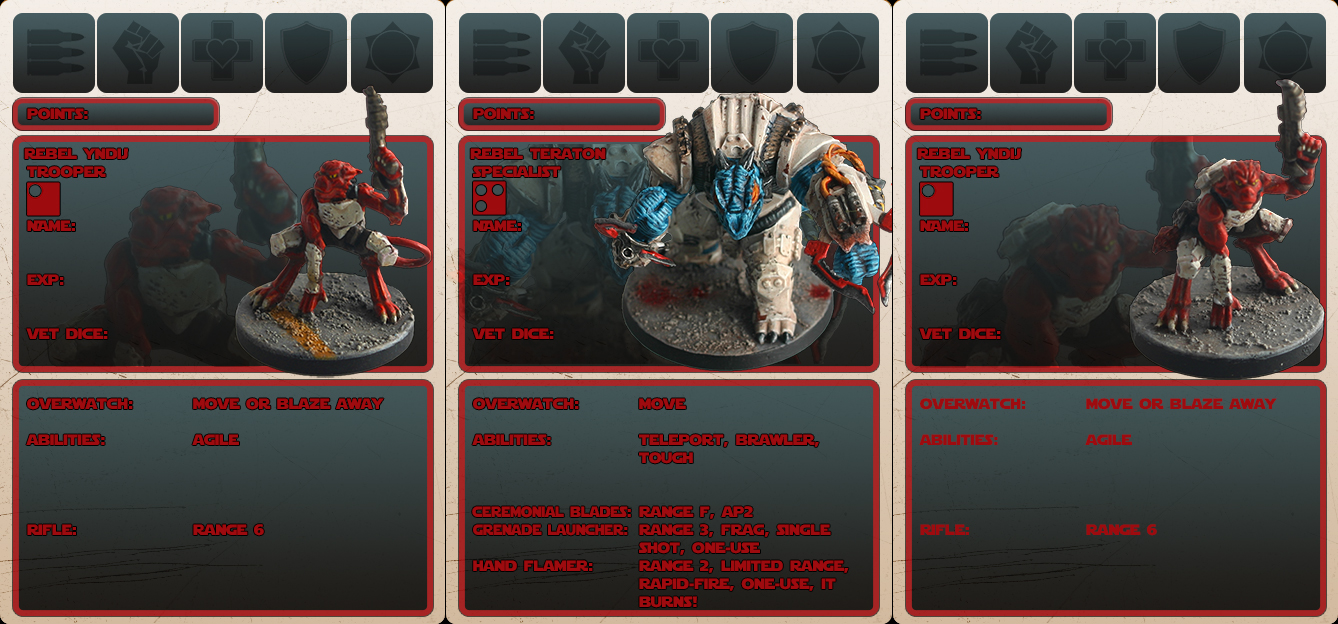
Yndij Flesh: Doombull Brown basecoat followed by an Agrax Earthshade wash
Once dry apply a light coat of Mephiston Red, leaving the recesses and a little bit of the underside sections the original colour
Evil Sun Scarlet highlight
Thinned Tau Light Ochre fine highlight
Bloodletter glaze

Sorak Flesh: Basecoat of Genestealer Purple followed by a Druchii Violet Wash
Once dry apply a coat of Genestealer Purple leaving the bascoat colour in the recesses
Highlight with a 2:1 mix of Genestealer Purple and Menoth White Highlight
Fine Highlight of 1:1 mix of Genestealer Purple and Menoth White Highlight
Human Flesh: Basecoat of 2:1 mix of Rakkarth Flesh and Pink Horror followed by a light Agrax Earthshade wash
Add a coat of 1:1:1 Rakkarth Flesh, Pink horror and Menoth White Highlight but leave the recesses the basecoat colour
Add a small amount of Menoth White Highlight to this mix and add a Highlight
Black Human Flesh: Basecoat of Doombull Brown followed by a light wash of Agrax Earthshade
Coat of 2:1 Doombull Brown and Ushabti Bone leaving the recesses the base colour
Highlight of 1:1 Doombull Brown and Ushabti Bone
Fine Highlight of 1:2 Doombull Brown and Ushabti Bone

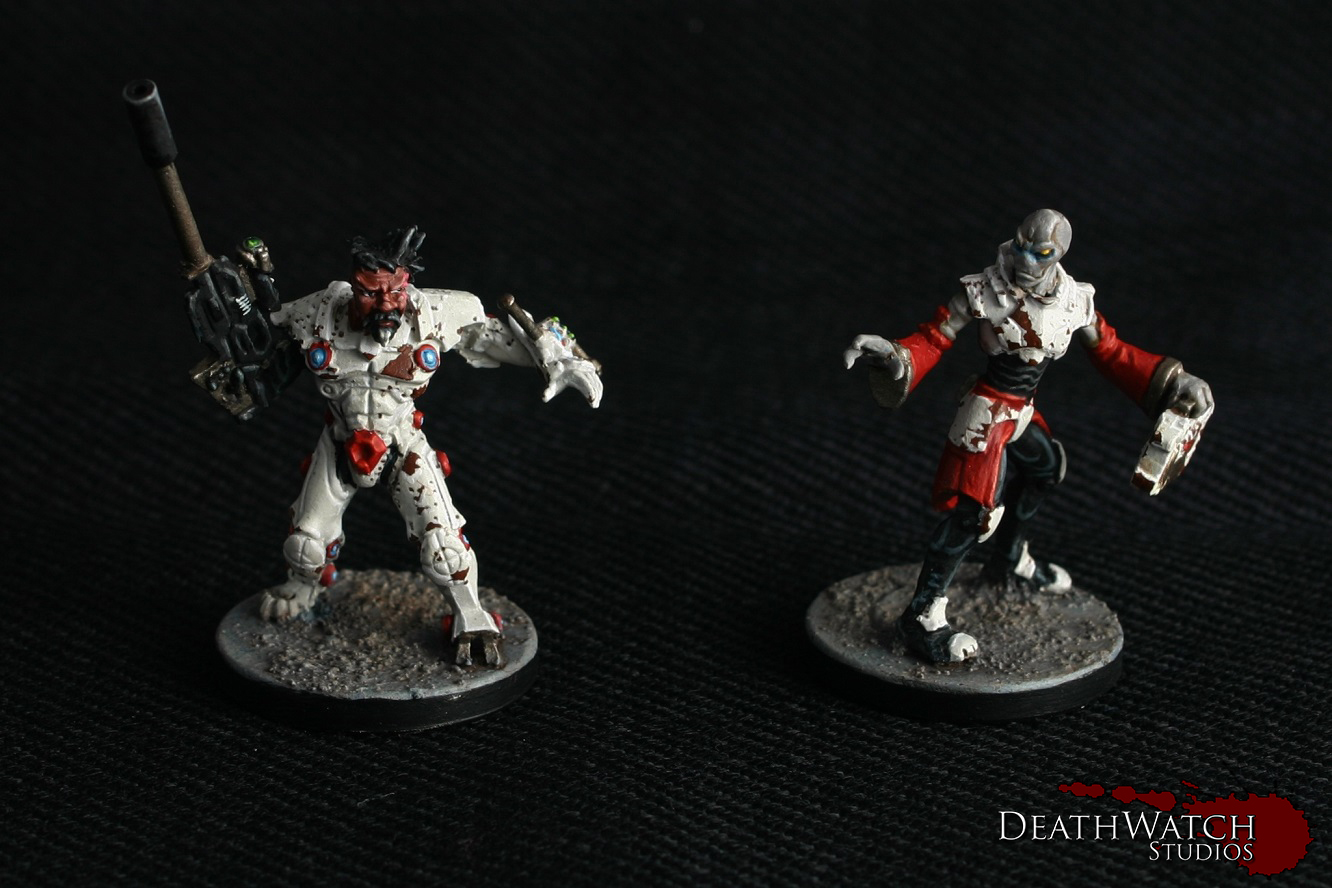
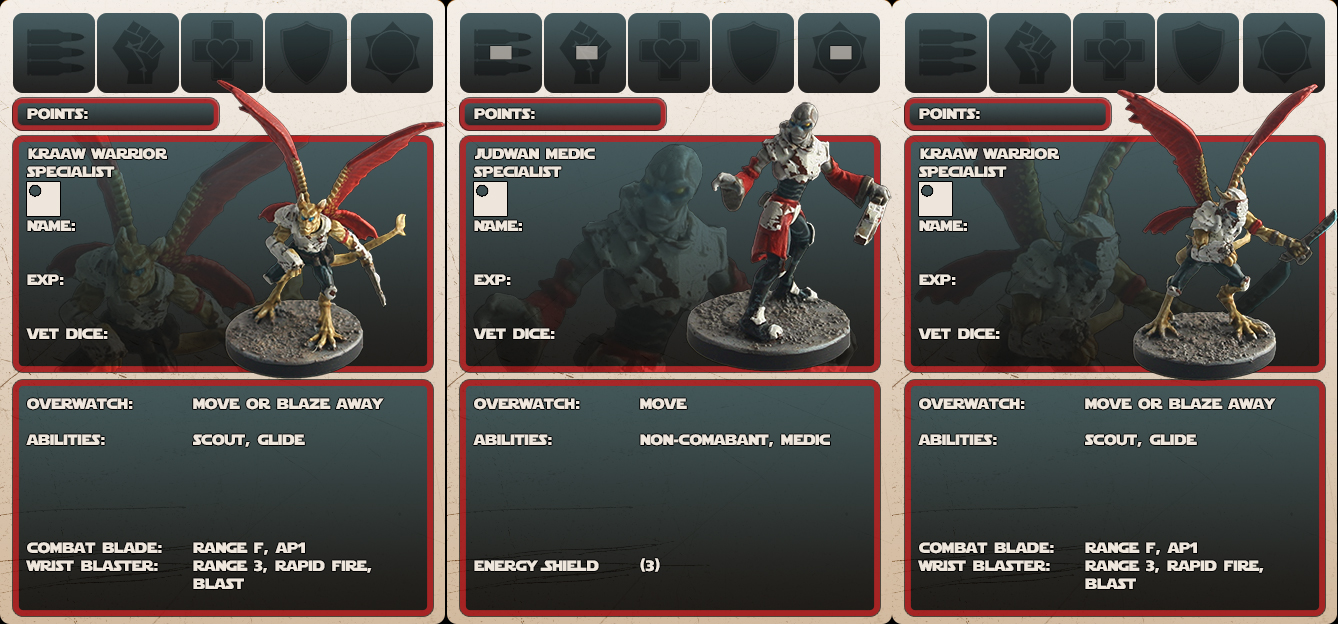
Judwan Flesh: 2:1 mix of Mechanicus Standard Grey and Rakkarth Flesh followed by a light wash of Seraphim Sepia
Coat of 3:2 Mechanicus Standard Grey and Rakkarth Flesh leaving the recesses the base colour
Highlight of 2:1 Codex Grey and Rakkarth Flesh
Fine Highlight of 1:1 Fortress Grey and Rakkarth Flesh

Kraaw Flesh: Basecoat of Zamesi Desert followed by a wash of Seraphim Sepia
Layer of Zamesi Desert leaving the recesses the basecoat colour
Highlight of 2:1 Zamesi Desert and Menoth White Highlight
Fine highlight of 1:1 Zamesi Desert and Menoth White Highlight

Sphyr Flesh: Basecoat all over of Lothern Blue followed by a wash of Drakenhof Nightshade
Add a coat of Lothern Blue but leave the recesses the basecoat colour
Highlight of 2:1 Lothern Blue and Menoth White Highlight
Highlight 1:1 Lothern Blue and Menoth White Highlight

Zee Flesh: Basecoat of 2:1 mix of Mechanicus Standard Grey and Rakarth Flesh, followed by a light wash of Seraphim Sepia
Highlight of 3:2 mix of Mechanicus Standard Grey and Rakarth Flesh
Highlight of 1:1 Mechanicus Standard Grey and Rakarth Flesh

Teraton Flesh: Basecoat of Sotek Green followed by a Drakenhof Nightshade wash
Once dry apply a coat of Sotek Green in fine lines whilst leaving the recesses the basecoat colour
Highlight the fine lines with a 2:1 mix of Sotek Green and Menoth White Highlight
Highlight the lines with a 1:1 mix of Sotek Green and Menoth White Highlight

Blue Glowy Bits: Wash of 3:1 water and Lothern Blue about 1-2mm out from and over the ‘source’
Coat of Lothern Blue over the ‘source’
Coat of 2:1 Lothern Blue and Ceramite White leaving the edges the original colur
Final coat of 1:1 Lothern Blue and Ceramite White in the centre of the ‘source’

Lenses/Screens: I use the same method for these no matter the colour using a Dark, Medium and Light version of whatever colour I would like them to be…
Basecoat of Dark
Highlight of Medium but keeping to the bottom and right
Fine Highlight of Light again to the bottom and right
Final dot of 1:1 Light and Ceramite White on the bottom right corner
A tiny dot of white in the top left corner and a coat of gloss varnish can be used to further enhance this
And there you have it, thats pretty much how I painted my Rebs force. I hope this helps anyone else looking to get the same or a similar effect 🙂